Using the Pipedrive API to Get Deals (with Javascript examples)
Introduction to Pipedrive CRM and API Integration
Pipedrive is a powerful sales CRM platform designed to help businesses manage their sales processes effectively. With its intuitive interface and robust features, Pipedrive enables sales teams to track deals, manage contacts, and automate workflows, making it a popular choice for businesses aiming to enhance their sales performance.
Integrating with Pipedrive's API allows developers to access and manipulate sales data programmatically, facilitating seamless integration with other business tools. For example, a developer might use the Pipedrive API to retrieve deal information and synchronize it with an external analytics platform, providing real-time insights into sales performance.
Setting Up Your Pipedrive Developer Sandbox Account
Before diving into the Pipedrive API, it's crucial to set up a developer sandbox account. This environment allows you to test and develop your integration without affecting live data. Pipedrive offers a sandbox account that mimics a regular company account, providing a safe space for development and testing.
Steps to Create a Pipedrive Developer Sandbox Account
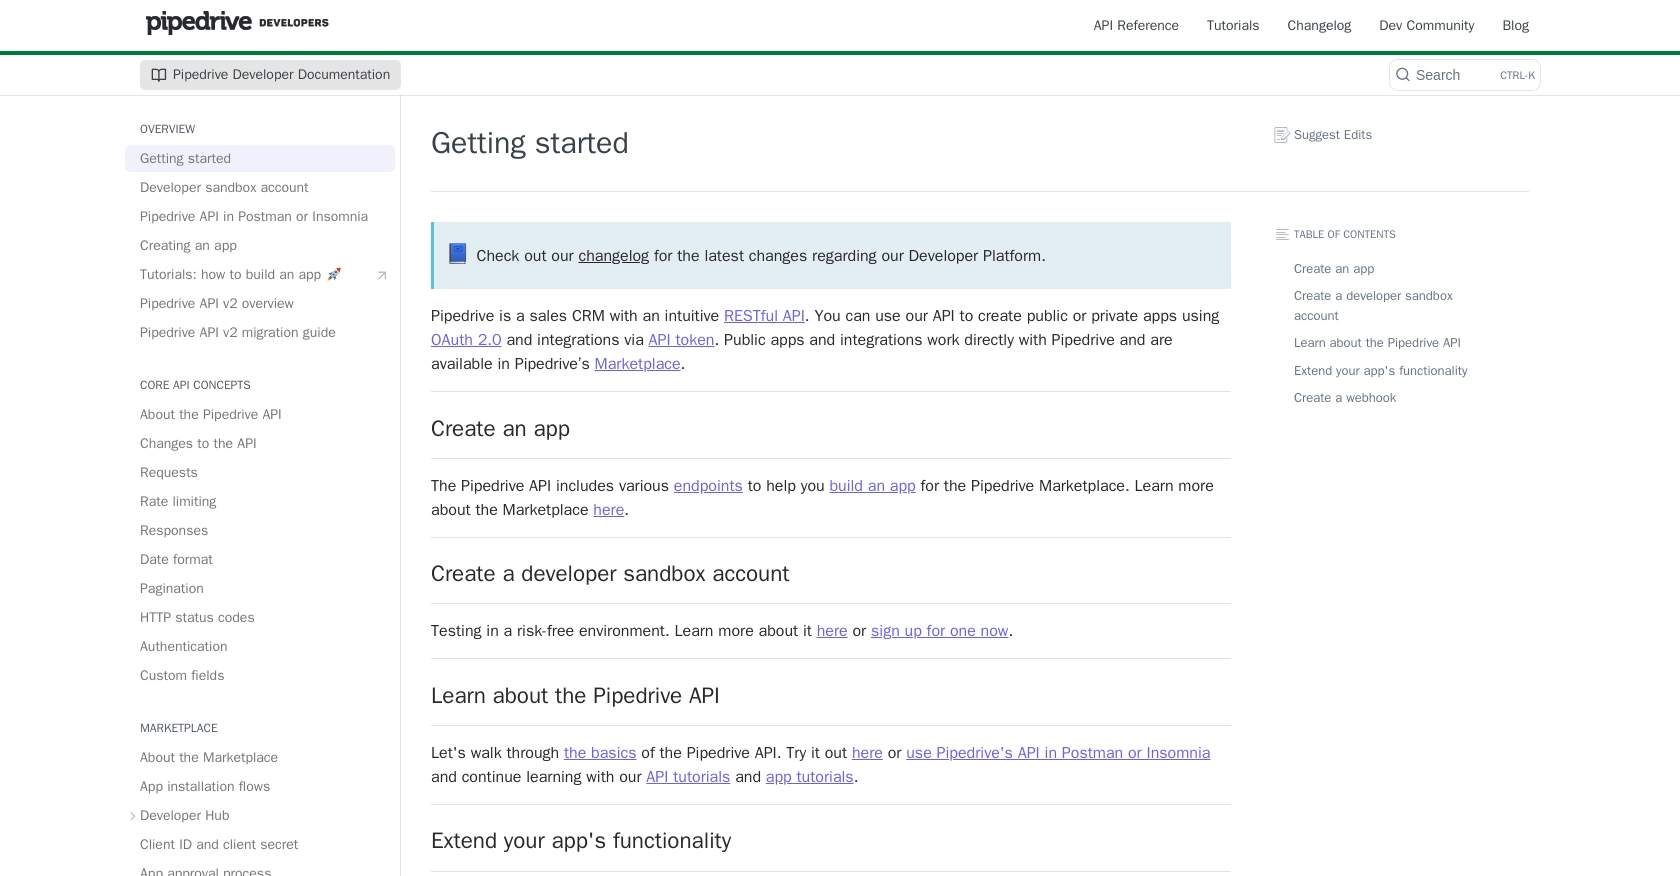
- Visit the Pipedrive Developer Sandbox Account page.
- Fill out the form to request access to a sandbox account. This account is limited to five seats by default, allowing you to explore and test various features.
- Once your sandbox account is set up, log in to access the Developer Hub, where you can manage your apps and integrations.
Creating a Pipedrive App for OAuth Authentication
To interact with the Pipedrive API, you'll need to create an app that uses OAuth 2.0 for authentication. Follow these steps to set up your app:
- Navigate to the Developer Hub within your sandbox account.
- Register a new app by providing the necessary details such as app name, description, and redirect URL.
- After registration, you'll receive a client ID and client secret. These credentials are essential for implementing the OAuth flow.
- Ensure your app requests the appropriate scopes and permissions needed for accessing deal data.
Generating OAuth Tokens for API Access
With your app set up, you can now generate OAuth tokens to authenticate API requests:
- Direct users to the authorization URL, where they can grant your app the necessary permissions.
- Upon successful authorization, users will be redirected to your specified redirect URL with an authorization code.
- Exchange this authorization code for an access token by making a POST request to Pipedrive's token endpoint, including your client ID, client secret, and redirect URL.
// Example: Exchange authorization code for access token
const axios = require('axios');

async function getAccessToken(authCode) {
    const response = await axios.post('https://oauth.pipedrive.com/oauth/token', {
        grant_type: 'authorization_code',
        code: authCode,
        redirect_uri: 'YOUR_REDIRECT_URI',
        client_id: 'YOUR_CLIENT_ID',
        client_secret: 'YOUR_CLIENT_SECRET'
    });
    return response.data.access_token;
}
With the access token, you can now make authenticated requests to the Pipedrive API to retrieve and manage deals.
sbb-itb-96038d7
Making API Calls to Retrieve Deals from Pipedrive Using JavaScript
To interact with the Pipedrive API and retrieve deals, you'll need to make HTTP requests using JavaScript. This section will guide you through the process of setting up your environment, writing the code to make API calls, and handling the responses effectively.
Setting Up Your JavaScript Environment for Pipedrive API Integration
Before making API calls, ensure you have the necessary tools and libraries installed:
- Node.js: Ensure you have Node.js installed on your machine. You can download it from the official website.
- Axios: A promise-based HTTP client for the browser and Node.js. Install it using npm:
npm install axiosWriting JavaScript Code to Fetch Deals from Pipedrive API
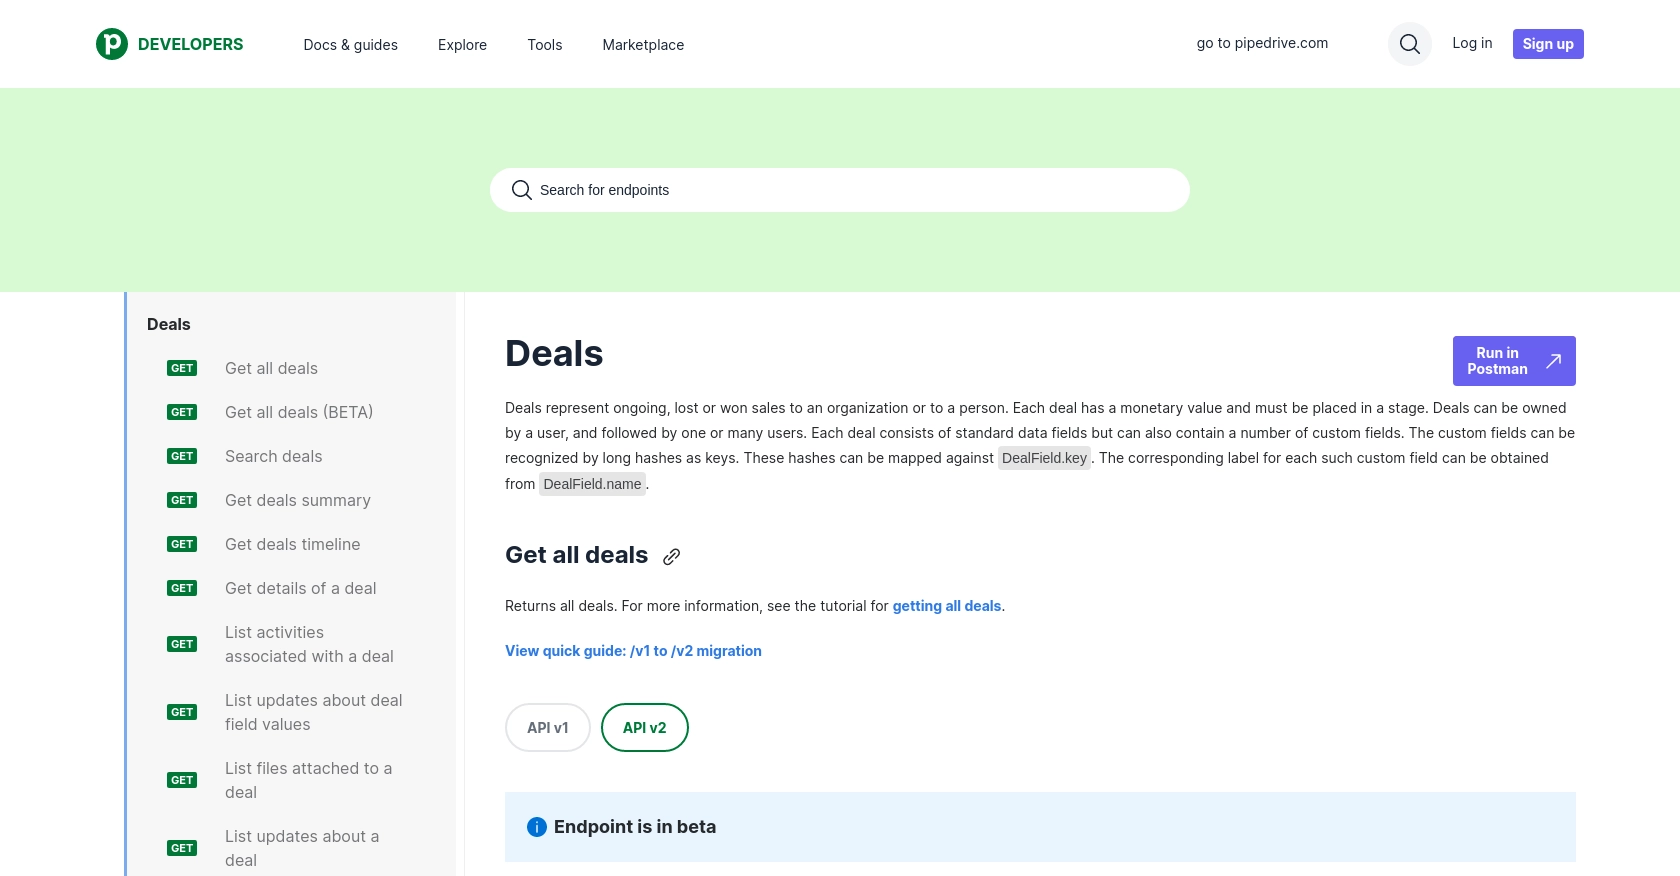
With your environment set up, you can now write the JavaScript code to fetch deals from Pipedrive. The following example demonstrates how to make a GET request to the Pipedrive API to retrieve all deals:
// Import the Axios library
const axios = require('axios');

// Function to get deals from Pipedrive
async function getPipedriveDeals(accessToken) {
    try {
        // Define the API endpoint
        const endpoint = 'https://api.pipedrive.com/v1/deals';

        // Set the headers for the request
        const headers = {
            'Authorization': `Bearer ${accessToken}`
        };

        // Make the GET request to the Pipedrive API
        const response = await axios.get(endpoint, { headers });

        // Log the response data
        console.log('Deals:', response.data.data);
    } catch (error) {
        // Handle errors
        console.error('Error fetching deals:', error.response ? error.response.data : error.message);
    }
}

// Example usage
const accessToken = 'YOUR_ACCESS_TOKEN';
getPipedriveDeals(accessToken);
Understanding and Handling API Responses from Pipedrive
When you make a successful API call, Pipedrive will return a response containing the deals data. You can access this data through the response.data.data property. If the request fails, handle errors gracefully by checking the error response and logging appropriate messages.
Verifying API Call Success in Pipedrive Sandbox
After running your code, verify the success of your API call by checking the deals in your Pipedrive sandbox account. Ensure that the data returned matches the deals available in your sandbox environment.
Handling Pipedrive API Errors and Status Codes
It's crucial to handle potential errors when interacting with the Pipedrive API. Common HTTP status codes you might encounter include:
- 200 OK: The request was successful.
- 401 Unauthorized: Invalid or missing access token.
- 429 Too Many Requests: Rate limit exceeded. Consider implementing retry logic or reducing request frequency.
For more detailed information on error codes, refer to the Pipedrive documentation.
Best Practices for Using Pipedrive API in JavaScript Integrations
When working with the Pipedrive API, it's essential to follow best practices to ensure efficient and secure integrations. Here are some recommendations:
- Securely Store Credentials: Always keep your client ID, client secret, and access tokens secure. Avoid hardcoding them in your source code. Instead, use environment variables or secure vaults to store sensitive information.
- Implement Rate Limiting Strategies: Pipedrive's API has rate limits based on your plan. For OAuth apps, the limit is up to 480 requests per 2 seconds for Enterprise plans. Monitor your API usage and implement retry logic to handle HTTP 429 errors gracefully. For more details, refer to the rate limiting documentation.
- Use Webhooks for Real-Time Updates: Instead of polling the API for changes, consider using webhooks to receive real-time updates. This approach reduces API calls and ensures your application stays in sync with Pipedrive data.
- Handle Errors Gracefully: Always check for error responses and handle them appropriately. Log errors for debugging and provide meaningful feedback to users when issues arise.
- Optimize Data Handling: When retrieving large datasets, use pagination to manage data efficiently. Pipedrive supports both cursor and offset pagination methods.
Streamlining Integrations with Endgrate
Building and maintaining integrations can be time-consuming and complex. Endgrate simplifies this process by providing a unified API endpoint that connects to multiple platforms, including Pipedrive. With Endgrate, you can:
- Save Time and Resources: Focus on your core product while Endgrate handles the intricacies of integration development.
- Build Once, Use Everywhere: Develop a single integration that works across various platforms, reducing the need for multiple implementations.
- Enhance Customer Experience: Offer your customers a seamless and intuitive integration experience with minimal effort.
Explore how Endgrate can transform your integration strategy by visiting Endgrate's website.
Read More
- https://endgrate.com/provider/pipedrive
- https://pipedrive.readme.io/docs/getting-started
- https://pipedrive.readme.io/docs/developer-sandbox-account
- https://pipedrive.readme.io/docs/marketplace-creating-a-proper-app
- https://pipedrive.readme.io/docs/core-api-concepts-rate-limiting
- https://pipedrive.readme.io/docs/core-api-concepts-pagination
- https://pipedrive.readme.io/docs/core-api-concepts-http-status-codes
- https://pipedrive.readme.io/docs/core-api-concepts-custom-fields
- https://developers.pipedrive.com/docs/api/v1/Deals
- https://developers.pipedrive.com/docs/api/v1/DealFields

Ready to get started?
