How to Create or Update Customers with the Customer.io Track API in Javascript

Introduction to Customer.io Track API
Customer.io is a powerful platform designed to help businesses automate and personalize their customer interactions. With its robust suite of tools, Customer.io enables companies to send targeted messages based on user behavior, preferences, and data.
Integrating with the Customer.io Track API allows developers to efficiently manage customer data, such as creating or updating customer profiles. For example, you can automatically update customer information in real-time as they interact with your website or app, ensuring your marketing campaigns are always based on the most current data.
Setting Up Your Customer.io Track API Test Account
Before you can start integrating with the Customer.io Track API, you'll need to set up a test account. This allows you to safely experiment with API calls without affecting live data. Follow these steps to get started:
Create a Customer.io Account
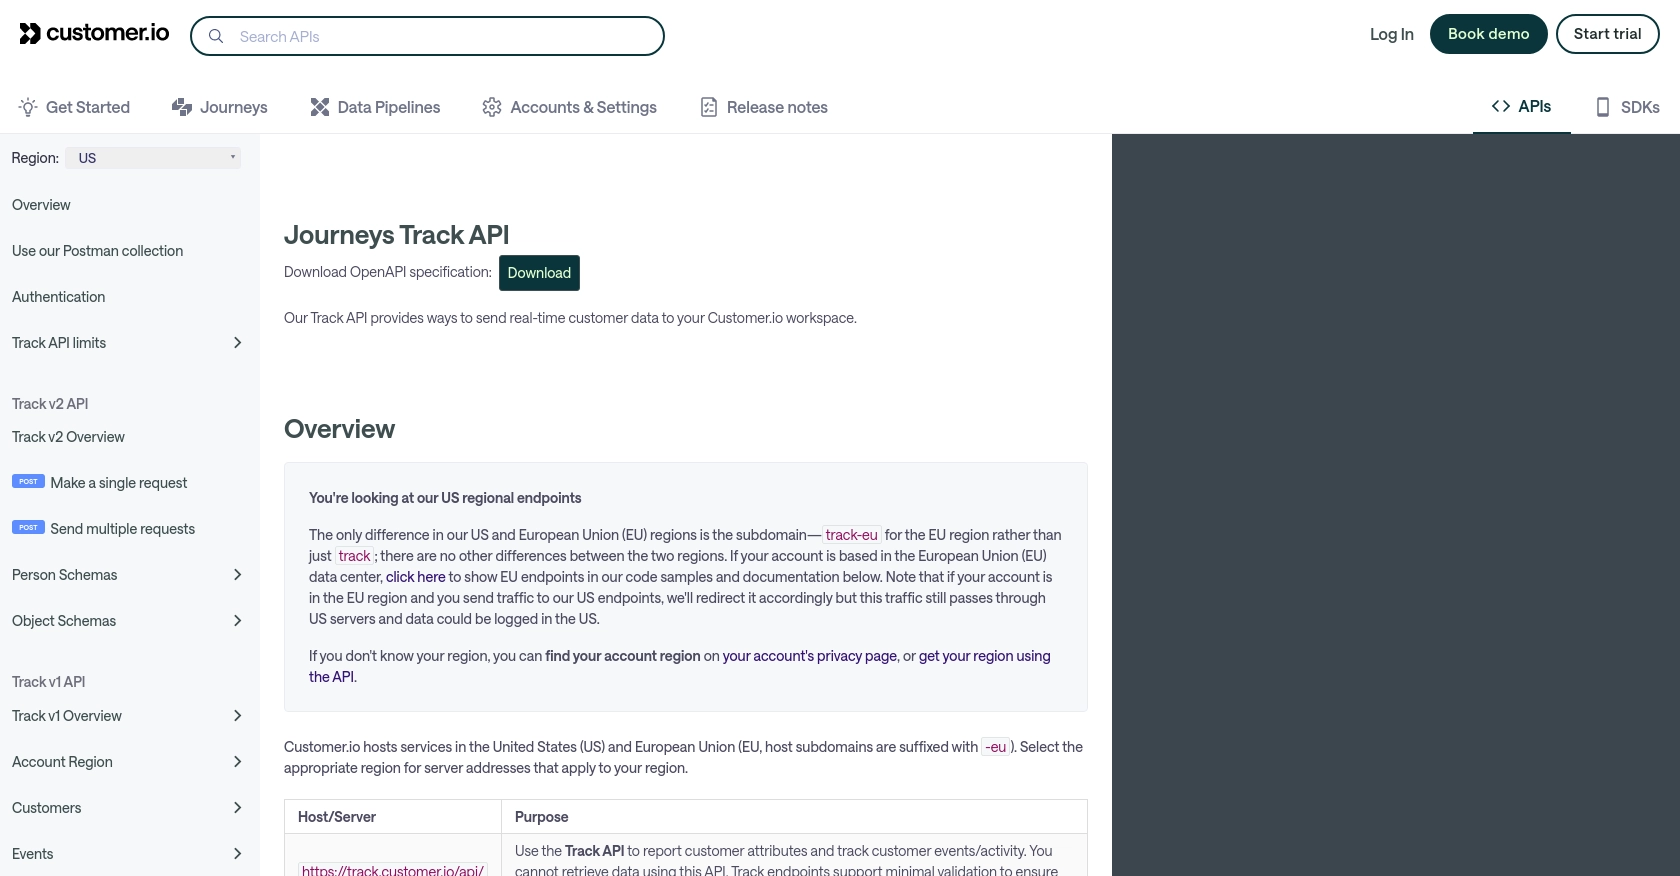
- Visit the Customer.io website and sign up for a free trial or create a demo account.
- Follow the on-screen instructions to complete your account setup.
- Once your account is created, log in to access the Customer.io dashboard.
Generate API Credentials
To interact with the Customer.io Track API, you'll need to generate API credentials. These credentials will be used to authenticate your API requests.
- Navigate to the Account Settings in the Customer.io dashboard.
- Locate the API Keys section and click on Create API Key.
- Provide a name for your API key and select the appropriate permissions.
- Click Create to generate your Site ID and API key. Make sure to store these credentials securely, as they will be used in your API requests.
Understanding Customer.io Track API Authentication
The Customer.io Track API uses HTTP basic authentication. Your credentials consist of your Site ID and API key, which must be Base-64 encoded in the format site_id:api_key.
// Example of setting up basic authentication in JavaScript
const siteId = 'your_site_id';
const apiKey = 'your_api_key';
const credentials = btoa(`${siteId}:${apiKey}`);
const headers = {
    'Authorization': `Basic ${credentials}`,
    'Content-Type': 'application/json'
};
Verify Your Setup
To ensure your setup is correct, you can make a simple API call to verify your credentials:
// Example API call to verify credentials
fetch('https://track.customer.io/api/v1/accounts/region', {
    method: 'GET',
    headers: headers
})
.then(response => response.json())
.then(data => console.log(data))
.catch(error => console.error('Error:', error));
If your credentials are valid, you should receive a response indicating your account region and other details.
With your test account and API credentials ready, you can now proceed to make API calls to create or update customer profiles using the Customer.io Track API in JavaScript.
sbb-itb-96038d7
Making API Calls to Create or Update Customers with Customer.io Track API in JavaScript
Now that you have set up your Customer.io Track API test account and generated the necessary API credentials, it's time to make API calls to create or update customer profiles. This section will guide you through the process using JavaScript.
Setting Up Your JavaScript Environment
Before making API calls, ensure you have a JavaScript environment ready. You can use Node.js or any modern browser environment. Make sure you have access to the fetch API or a similar HTTP client library.
Creating or Updating a Customer Profile
To create or update a customer profile, you'll need to make a PUT request to the Customer.io Track API. The endpoint for this operation is https://track.customer.io/api/v1/customers/{identifier}, where {identifier} is the unique identifier for the customer, such as their email or ID.
// Example code to create or update a customer profile
const siteId = 'your_site_id';
const apiKey = 'your_api_key';
const credentials = btoa(`${siteId}:${apiKey}`);
const headers = {
    'Authorization': `Basic ${credentials}`,
    'Content-Type': 'application/json'
};

const customerData = {
    email: 'customer@example.com',
    created_at: Math.floor(Date.now() / 1000),
    first_name: 'John',
    last_name: 'Doe'
};

fetch('https://track.customer.io/api/v1/customers/customer@example.com', {
    method: 'PUT',
    headers: headers,
    body: JSON.stringify(customerData)
})
.then(response => {
    if (response.ok) {
        console.log('Customer profile created/updated successfully.');
    } else {
        console.error('Failed to create/update customer profile:', response.statusText);
    }
})
.catch(error => console.error('Error:', error));
Handling API Responses and Errors
When making API calls, it's crucial to handle responses and potential errors effectively. A successful request will return a 200 status code with an empty object. If the request fails, you might receive a 400 or 401 status code, indicating a malformed request or unauthorized access, respectively.
Always check the response status and handle errors gracefully to ensure a robust integration. You can log errors or implement retry mechanisms as needed.
Verifying Customer Profile Updates
After making the API call, verify that the customer profile has been updated in your Customer.io dashboard. This ensures that your integration is working as expected and that customer data is being managed correctly.
With these steps, you can efficiently create or update customer profiles using the Customer.io Track API in JavaScript. This integration allows you to maintain accurate and up-to-date customer information, enhancing your marketing and communication strategies.
Best Practices for Using Customer.io Track API in JavaScript
To ensure a smooth and efficient integration with the Customer.io Track API, consider the following best practices:
Securely Store API Credentials
Always store your API credentials securely. Avoid hardcoding them in your source code. Instead, use environment variables or secure vaults to manage sensitive information.
Handle Rate Limiting and API Limits
The Customer.io Track API has a fair-use rate limit of 100 requests per second. Monitor your API usage to avoid exceeding this limit, which could lead to throttling or blocked requests. Implement retry mechanisms with exponential backoff to handle rate limiting gracefully.
Standardize and Transform Data
Ensure that customer data is standardized and transformed as needed before sending it to the API. This includes formatting dates, normalizing strings, and validating email addresses to maintain data integrity.
Implement Error Handling and Logging
Implement robust error handling and logging to capture and address any issues that arise during API interactions. This will help you quickly identify and resolve problems, ensuring a reliable integration.
Regularly Review and Update Integration
Regularly review your integration to ensure it aligns with any updates or changes in the Customer.io Track API. Stay informed about new features or deprecations by checking the official documentation and release notes.
Conclusion: Enhance Your Integration with Endgrate
Integrating with the Customer.io Track API in JavaScript allows you to efficiently manage customer data and enhance your marketing strategies. By following best practices, you can ensure a secure and reliable integration.
For developers looking to streamline their integration processes, consider using Endgrate. With Endgrate, you can save time and resources by outsourcing integrations, allowing you to focus on your core product. Endgrate provides a unified API endpoint that simplifies interactions with multiple platforms, including Customer.io, offering an intuitive integration experience for your customers.
Explore the possibilities with Endgrate and take your integrations to the next level. Visit Endgrate to learn more.
Read More

Ready to get started?
