How to Get Contacts with the Insightly API in Javascript
Introduction to Insightly CRM and API Integration
Insightly is a powerful CRM platform designed to help businesses manage customer relationships and streamline their sales processes. It offers a range of features including project management, contact management, and workflow automation, making it an ideal choice for businesses looking to enhance their customer engagement strategies.
Integrating with the Insightly API allows developers to access and manage customer data programmatically. For example, you might want to retrieve contact information to synchronize it with another system or to automate marketing campaigns. This can significantly improve efficiency and ensure data consistency across platforms.
Setting Up Your Insightly Test Account for API Integration
Before you can start interacting with the Insightly API, you need to set up a test account. This will allow you to safely experiment with API calls without affecting live data. Insightly provides a straightforward way to access your API key, which is essential for authentication.
Creating an Insightly Account
If you don't already have an Insightly account, you can sign up for a free trial on the Insightly website. Follow the instructions to create your account. Once your account is set up, log in to access the dashboard.
Accessing Your Insightly API Key
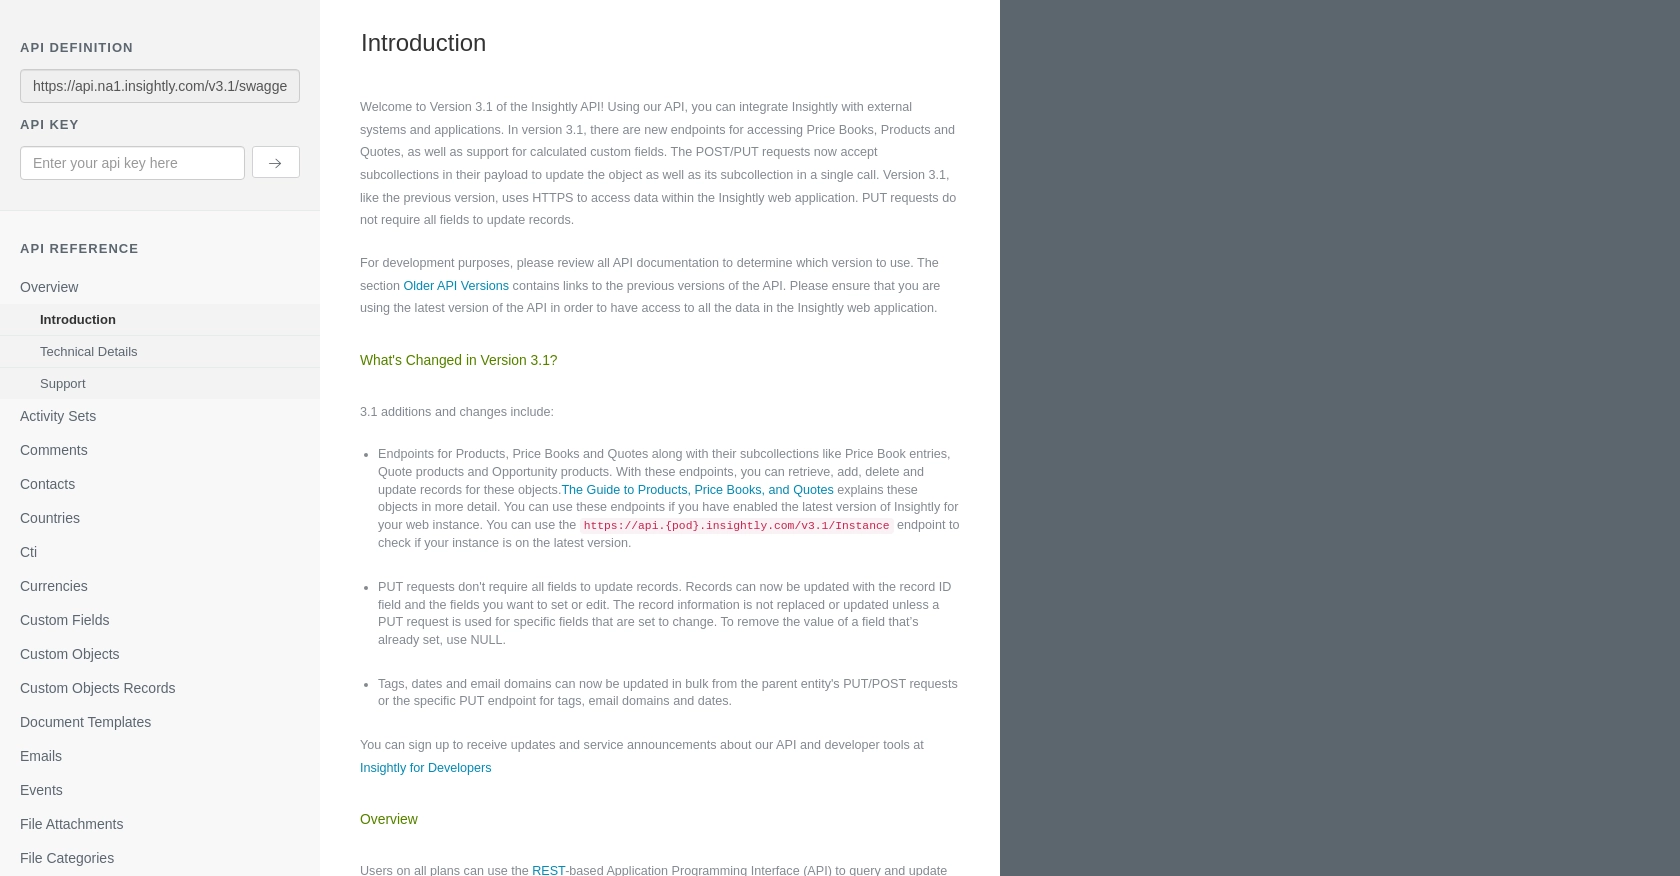
Insightly uses HTTP Basic authentication, which requires an API key to authenticate requests. Here’s how to find your API key:
- Log in to your Insightly account.
- Click on your user profile in the upper right corner and select User Settings.
- Navigate to the API Key and URL section.
- Copy the API key displayed there. This key will be used to authenticate your API requests.
For more details, refer to the Insightly API key documentation.
Understanding Insightly API Authentication
Insightly requires the API key to be included as the Base64-encoded username in the HTTP Basic authentication header, with the password left blank. However, when testing in a sandbox environment, you can use the API key directly without encoding.
For example, to authenticate a request, you would include the following header:
Authorization: Basic [Base64EncodedAPIKey]Ensure you replace [Base64EncodedAPIKey] with your actual API key encoded in Base64 format.
Testing Your API Key in the Sandbox
To verify that your API key is working correctly, you can make a simple GET request to the Insightly API using a tool like Postman or cURL. Here’s an example using JavaScript and the Fetch API:
fetch('https://api.na1.insightly.com/v3.1/Contacts', {
  method: 'GET',
  headers: {
    'Authorization': 'Basic [Base64EncodedAPIKey]',
    'Accept-Encoding': 'gzip'
  }
})
.then(response => response.json())
.then(data => console.log(data))
.catch(error => console.error('Error:', error));
Replace [Base64EncodedAPIKey] with your actual API key. If successful, this request will return a list of contacts from your Insightly account.
For more information on authentication, visit the Insightly API documentation.
sbb-itb-96038d7
How to Make API Calls to Retrieve Contacts from Insightly Using JavaScript
To interact with the Insightly API and retrieve contacts, you'll need to use JavaScript to make HTTP requests. This section will guide you through the process of setting up your environment, writing the necessary code, and handling responses and errors.
Setting Up Your JavaScript Environment for Insightly API Integration
Before making API calls, ensure you have a working JavaScript environment. You can use Node.js or any modern browser that supports JavaScript. Additionally, you'll need a tool like npm to manage dependencies if you're using Node.js.
For this tutorial, we'll use the Fetch API, which is built into modern browsers and provides a simple interface for making HTTP requests.
Writing JavaScript Code to Fetch Contacts from Insightly
Below is an example of how to use JavaScript to make a GET request to the Insightly API to retrieve contacts:
fetch('https://api.na1.insightly.com/v3.1/Contacts', {
  method: 'GET',
  headers: {
    'Authorization': 'Basic [Base64EncodedAPIKey]',
    'Accept-Encoding': 'gzip'
  }
})
.then(response => {
  if (!response.ok) {
    throw new Error('Network response was not ok ' + response.statusText);
  }
  return response.json();
})
.then(data => {
  console.log('Contacts:', data);
})
.catch(error => {
  console.error('There was a problem with the fetch operation:', error);
});
Replace [Base64EncodedAPIKey] with your actual Base64-encoded API key. This code snippet sends a GET request to the Insightly API and logs the list of contacts to the console.
Handling API Responses and Errors in Insightly Integration
When making API calls, it's crucial to handle responses and potential errors effectively. The example above checks if the response is successful using response.ok. If not, it throws an error with the response status text.
In case of an error, the catch block logs the error message to the console. This helps in debugging and understanding what went wrong during the API call.
Verifying Successful API Requests in Insightly Sandbox
After running the JavaScript code, you should verify the results in your Insightly sandbox account. Ensure that the contacts retrieved match those in your test environment. This confirms that the API call was successful and the data is accurate.
For more detailed information on handling errors and response codes, refer to the Insightly API documentation.
Best Practices for Insightly API Integration in JavaScript
- Store your API key securely and avoid hardcoding it in your source code.
- Implement rate limiting to avoid exceeding the API's request limits. Insightly allows up to 10 requests per second and has daily limits based on your plan.
- Use environment variables to manage sensitive information like API keys.
By following these best practices, you can ensure a secure and efficient integration with the Insightly API.
Conclusion and Best Practices for Insightly API Integration
Integrating with the Insightly API using JavaScript can greatly enhance your ability to manage customer data efficiently. By following the steps outlined in this guide, you can successfully retrieve contacts and ensure seamless data synchronization across platforms.
Here are some best practices to consider when working with the Insightly API:
- Secure API Key Management: Always store your API key securely. Consider using environment variables or secure vaults to manage sensitive information.
- Handle Rate Limiting: Be mindful of Insightly's rate limits, which allow up to 10 requests per second and have daily limits based on your plan. Implement strategies to manage and optimize your API requests.
- Data Standardization: Ensure that data retrieved from Insightly is standardized and transformed as needed to maintain consistency across your systems.
- Error Handling: Implement robust error handling to manage API response errors effectively. This will help in diagnosing issues and maintaining a smooth integration experience.
By adhering to these best practices, you can create a reliable and efficient integration with the Insightly API, enhancing your business processes and customer relationship management.
Streamline Your Integrations with Endgrate
If you're looking to simplify your integration processes further, consider using Endgrate. With Endgrate, you can save time and resources by outsourcing integrations, allowing you to focus on your core product. Endgrate provides a unified API endpoint that connects to multiple platforms, including Insightly, offering an intuitive integration experience for your customers.
Explore how Endgrate can transform your integration strategy by visiting Endgrate today.
Read More

Ready to get started?
