Using the Affinity API to Create or Update People in Javascript

Introduction to Affinity API Integration
Affinity is a powerful relationship intelligence platform designed to help businesses manage and leverage their professional networks. It offers a comprehensive suite of tools to track interactions, manage contacts, and analyze relationship data, making it an essential tool for organizations looking to enhance their networking capabilities.
Developers may want to integrate with the Affinity API to automate the management of contact data, such as creating or updating people within their system. This can be particularly useful for businesses that need to keep their contact information up-to-date across multiple platforms. For example, a developer could use the Affinity API to automatically update contact details when a new interaction occurs, ensuring that all team members have access to the latest information.
Setting Up Your Affinity API Test Account
Before you can start integrating with the Affinity API, you need to set up a test account. This will allow you to safely experiment with API calls without affecting your live data. Affinity provides a straightforward process to get started.
Creating an Affinity Account
If you don't already have an Affinity account, you can sign up for a free trial on the Affinity website. This will give you access to the platform's features and allow you to generate an API key for testing purposes.
- Visit the Affinity website and click on the "Sign Up" button.
- Fill in the required details and follow the instructions to create your account.
- Once your account is set up, log in to access the dashboard.
Generating an API Key for Affinity
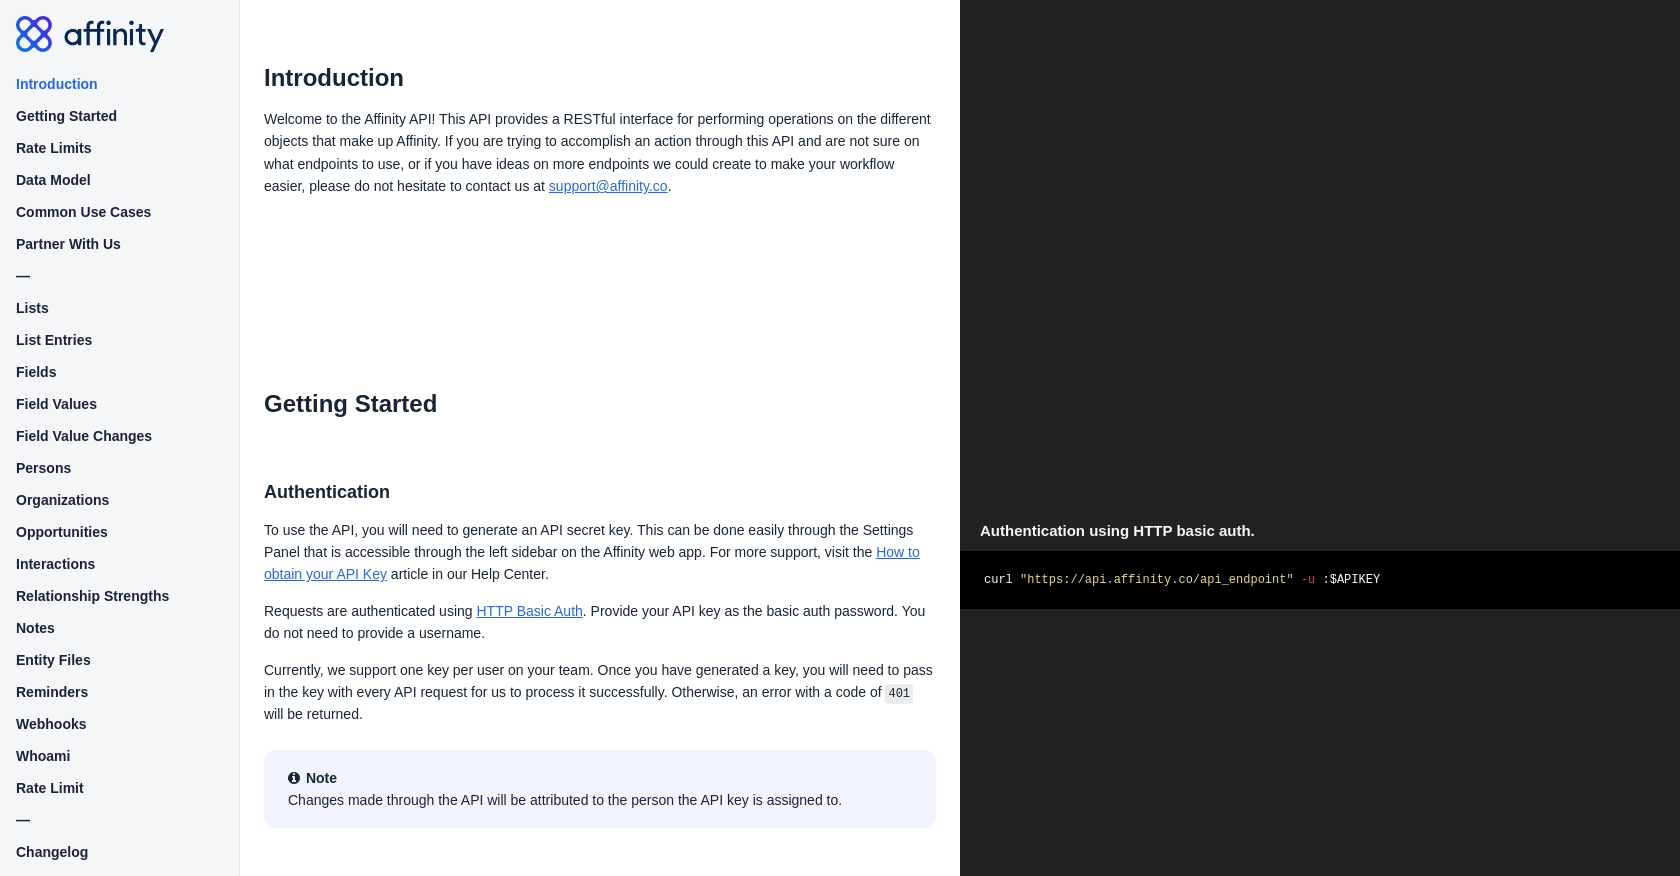
Affinity uses API key-based authentication to secure its API. Follow these steps to generate your API key:
- Log in to your Affinity account and navigate to the Settings Panel, accessible from the left sidebar.
- Locate the API section and click on "Generate API Key."
- Copy the generated API key and store it securely, as you will need it for authenticating your API requests.
For more detailed instructions, refer to the Affinity API documentation.
Testing Your Affinity API Key
To ensure your API key is working correctly, you can make a simple test request. Use the following JavaScript code snippet to verify your setup:
const axios = require('axios');

const apiKey = 'Your_API_Key';
const endpoint = 'https://api.affinity.co/auth/whoami';

axios.get(endpoint, {
    auth: {
        username: '',
        password: apiKey
    }
})
.then(response => {
    console.log('API Key is valid:', response.data);
})
.catch(error => {
    console.error('Error validating API Key:', error.response.data);
});
Replace Your_API_Key with the API key you generated. This code uses the axios library to send a GET request to the Affinity API's whoami endpoint, which returns information about the authenticated user. If successful, your API key is correctly set up.

sbb-itb-96038d7
Making API Calls to Create or Update People with Affinity API in JavaScript
To interact with the Affinity API for creating or updating people, you'll need to use JavaScript to make HTTP requests. This section will guide you through the process of setting up your environment, writing the necessary code, and handling responses effectively.
Setting Up Your JavaScript Environment for Affinity API Integration
Before making API calls, ensure you have Node.js installed on your machine, as it provides the runtime for executing JavaScript code outside the browser. Additionally, you'll need the axios library to simplify HTTP requests.
- Install Node.js from the official website if you haven't already.
- Open your terminal and run the following command to install
axios:
npm install axiosCreating a New Person Using Affinity API
To create a new person in Affinity, you'll need to send a POST request to the appropriate endpoint. Here's a sample code snippet to achieve this:
const axios = require('axios');

const apiKey = 'Your_API_Key';
const endpoint = 'https://api.affinity.co/persons';

const newPerson = {
    first_name: 'Alice',
    last_name: 'Doe',
    emails: ['alice@example.com']
};

axios.post(endpoint, newPerson, {
    auth: {
        username: '',
        password: apiKey
    },
    headers: {
        'Content-Type': 'application/json'
    }
})
.then(response => {
    console.log('Person created successfully:', response.data);
})
.catch(error => {
    console.error('Error creating person:', error.response.data);
});
Replace Your_API_Key with your actual API key. This code sends a POST request to create a new person with the specified details. If successful, the response will contain the newly created person's data.
Updating an Existing Person Using Affinity API
To update an existing person's details, you'll need to send a PUT request to the API. Here's how you can do it:
const personId = 123456; // Replace with the actual person ID
const updateEndpoint = `https://api.affinity.co/persons/${personId}`;

const updatedDetails = {
    first_name: 'Alice',
    emails: ['alice.new@example.com']
};

axios.put(updateEndpoint, updatedDetails, {
    auth: {
        username: '',
        password: apiKey
    },
    headers: {
        'Content-Type': 'application/json'
    }
})
.then(response => {
    console.log('Person updated successfully:', response.data);
})
.catch(error => {
    console.error('Error updating person:', error.response.data);
});
Ensure you replace personId with the ID of the person you wish to update. This code updates the person's details and logs the response.
Handling API Responses and Errors
When making API calls, it's crucial to handle responses and potential errors effectively. The Affinity API provides detailed error codes, such as 401 for unauthorized access and 404 for not found resources. Always check the response status and handle errors gracefully to ensure a robust integration.
For more information on error codes, refer to the Affinity API documentation.
Conclusion and Best Practices for Affinity API Integration
Integrating with the Affinity API using JavaScript offers a powerful way to manage and automate contact data within your organization. By following the steps outlined in this guide, you can efficiently create and update people in your Affinity account, ensuring that your team always has access to the most current information.
Best Practices for Secure and Efficient API Usage
- Secure API Keys: Always store your API keys securely and avoid hardcoding them in your source files. Consider using environment variables or a secure vault.
- Handle Rate Limits: Be mindful of the Affinity API's rate limits, which are set at 900 requests per user per minute. Implement logic to handle 429 errors gracefully and retry requests after a delay.
- Error Handling: Implement comprehensive error handling to manage different response codes effectively. This ensures a robust integration that can handle unexpected issues.
- Data Standardization: Ensure that data fields are standardized across platforms to maintain consistency and accuracy in your contact management.
Enhance Your Integration with Endgrate
While integrating with the Affinity API directly can be beneficial, using a tool like Endgrate can further streamline your integration process. Endgrate provides a unified API endpoint that connects to multiple platforms, allowing you to build once and deploy across various services. This not only saves time and resources but also enhances the integration experience for your customers.
Explore how Endgrate can help you focus on your core product by outsourcing integrations and providing an intuitive experience for your users. Visit Endgrate to learn more about how you can simplify your integration efforts.
Read More
Ready to get started?
