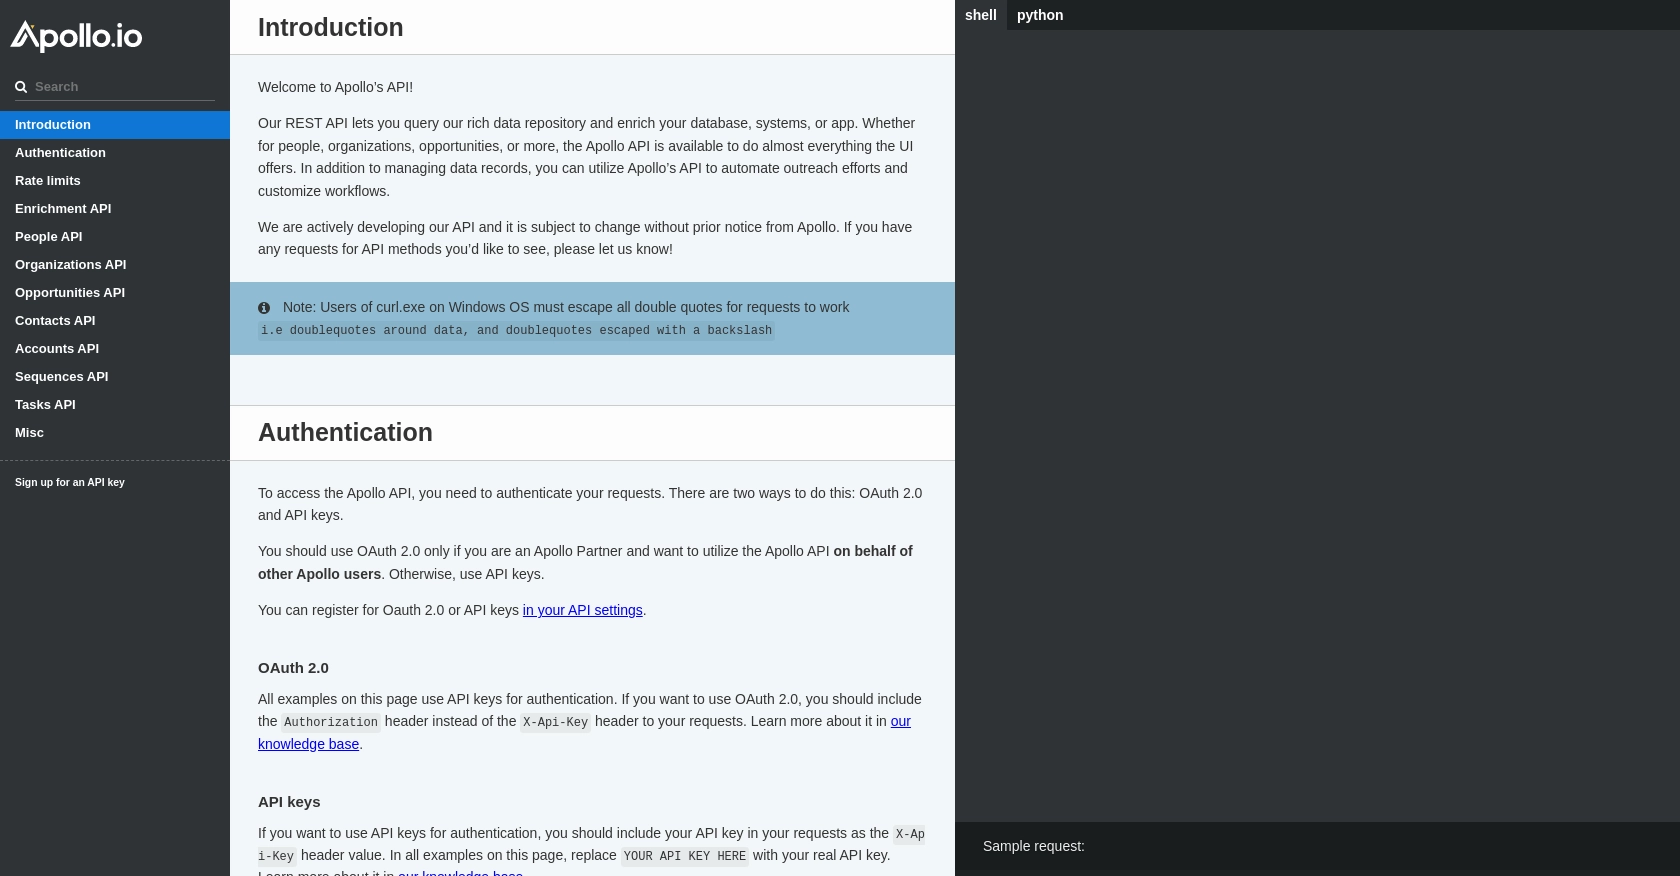
Using the Apollo API to Get Users (with Python examples)

Introduction to Apollo API for User Management
Apollo is a powerful sales engagement platform that provides businesses with a comprehensive suite of tools to enhance their sales processes. With its rich database and advanced features, Apollo helps sales teams identify prospects, automate outreach, and streamline workflows.
Integrating with Apollo's API allows developers to access and manage user data efficiently. For example, a developer might use the Apollo API to retrieve a list of users within an organization, enabling seamless integration with internal systems for enhanced data management and reporting.
Setting Up Your Apollo API Test Account
Before you can start using the Apollo API to manage users, you need to set up a test account. This will allow you to safely experiment with API calls without affecting live data.
Create an Apollo Account
If you don't already have an Apollo account, you can sign up for a free trial on the Apollo website. Follow the instructions to create your account and log in.
Generate an API Key for Apollo API Access
Once your account is set up, you'll need to generate an API key to authenticate your requests to the Apollo API. Follow these steps:
- Log in to your Apollo account.
- Navigate to the API settings section in your account dashboard.
- Click on "Generate API Key" to create a new key.
- Copy the API key and store it securely, as you'll need it for authentication in your API requests.
Verify API Key Authentication
To ensure your API key is working correctly, you can test it with a simple API call. Use the following Python code to verify authentication:
import requests

url = "https://api.apollo.io/v1/auth/health"
headers = {
    'Cache-Control': 'no-cache',
    'Content-Type': 'application/json',
    'X-Api-Key': 'YOUR_API_KEY_HERE'
}

response = requests.get(url, headers=headers)
print(response.text)
Replace YOUR_API_KEY_HERE with your actual API key. If authentication is successful, you should see a response indicating that you are logged in.
With your test account and API key ready, you can now proceed to make API calls to retrieve user data from Apollo.

sbb-itb-96038d7
Making API Calls to Retrieve Users with Apollo API Using Python
To interact with the Apollo API and retrieve user data, you'll need to use Python, a versatile programming language known for its simplicity and readability. This section will guide you through the process of making API calls to get a list of users from Apollo.
Python Setup and Required Libraries
Before making API calls, ensure you have Python installed on your machine. This tutorial uses Python 3.11.1. Additionally, you'll need the requests library to handle HTTP requests. Install it using pip:
pip install requestsExample Code to Retrieve Users from Apollo API
Once your environment is set up, you can proceed with writing the code to make an API call to Apollo. Create a file named get_apollo_users.py and add the following code:
import requests

# Set the API endpoint and headers
url = "https://api.apollo.io/v1/users/search"
headers = {
    'Cache-Control': 'no-cache',
    'Content-Type': 'application/json',
    'X-Api-Key': 'YOUR_API_KEY_HERE'
}

# Make a GET request to the API
response = requests.get(url, headers=headers)

# Parse the JSON data from the response
data = response.json()

# Loop through the users and print their information
for user in data.get("users", []):
    print(f"Name: {user['first_name']} {user['last_name']}, Email: {user['email']}")
Replace YOUR_API_KEY_HERE with your actual API key. This script sends a GET request to the Apollo API to retrieve a list of users and prints their names and email addresses.
Running the Python Script and Verifying Output
Run the script from your terminal or command line using the following command:
python get_apollo_users.pyIf the request is successful, you should see a list of users with their names and email addresses printed in the console.
Handling Errors and Understanding Response Codes
While making API calls, it's crucial to handle potential errors. The Apollo API may return various HTTP status codes indicating the success or failure of your request:
- 200 OK: The request was successful.
- 401 Unauthorized: Authentication failed. Check your API key.
- 429 Too Many Requests: Rate limit exceeded. Refer to the rate limit headers to manage your requests.
Implement error handling in your script to manage these scenarios gracefully:
if response.status_code == 200:
    # Process the data
    data = response.json()
    # Print user information
else:
    print(f"Error: {response.status_code} - {response.text}")
By following these steps, you can efficiently retrieve user data from Apollo using Python, ensuring seamless integration with your internal systems.
Conclusion and Best Practices for Using Apollo API with Python
Integrating with the Apollo API using Python provides a powerful way to manage user data efficiently. By following the steps outlined in this guide, developers can seamlessly retrieve and handle user information, enhancing internal systems and workflows.
Best Practices for Secure and Efficient API Integration
- Secure API Key Storage: Always store your API keys securely, using environment variables or a secure vault, to prevent unauthorized access.
- Rate Limiting Awareness: Be mindful of Apollo's rate limits, which are 50 requests per minute, 100 per hour, and 300 per day. Implement logic to handle rate limit responses gracefully.
- Error Handling: Implement robust error handling to manage different HTTP status codes and ensure your application can recover from API call failures.
- Data Standardization: Standardize and transform data fields as needed to ensure consistency across your systems.
Enhance Your Integration Strategy with Endgrate
While integrating with Apollo API is straightforward, managing multiple integrations can become complex. Endgrate simplifies this process by providing a unified API endpoint for various platforms, including Apollo. This allows you to build once for each use case, saving time and resources.
Explore how Endgrate can streamline your integration efforts, allowing you to focus on your core product while delivering an intuitive integration experience for your customers. Visit Endgrate to learn more.
Read More
Ready to get started?
