Using the Endear API to Create Tasks in Python

Introduction to Endear API Integration
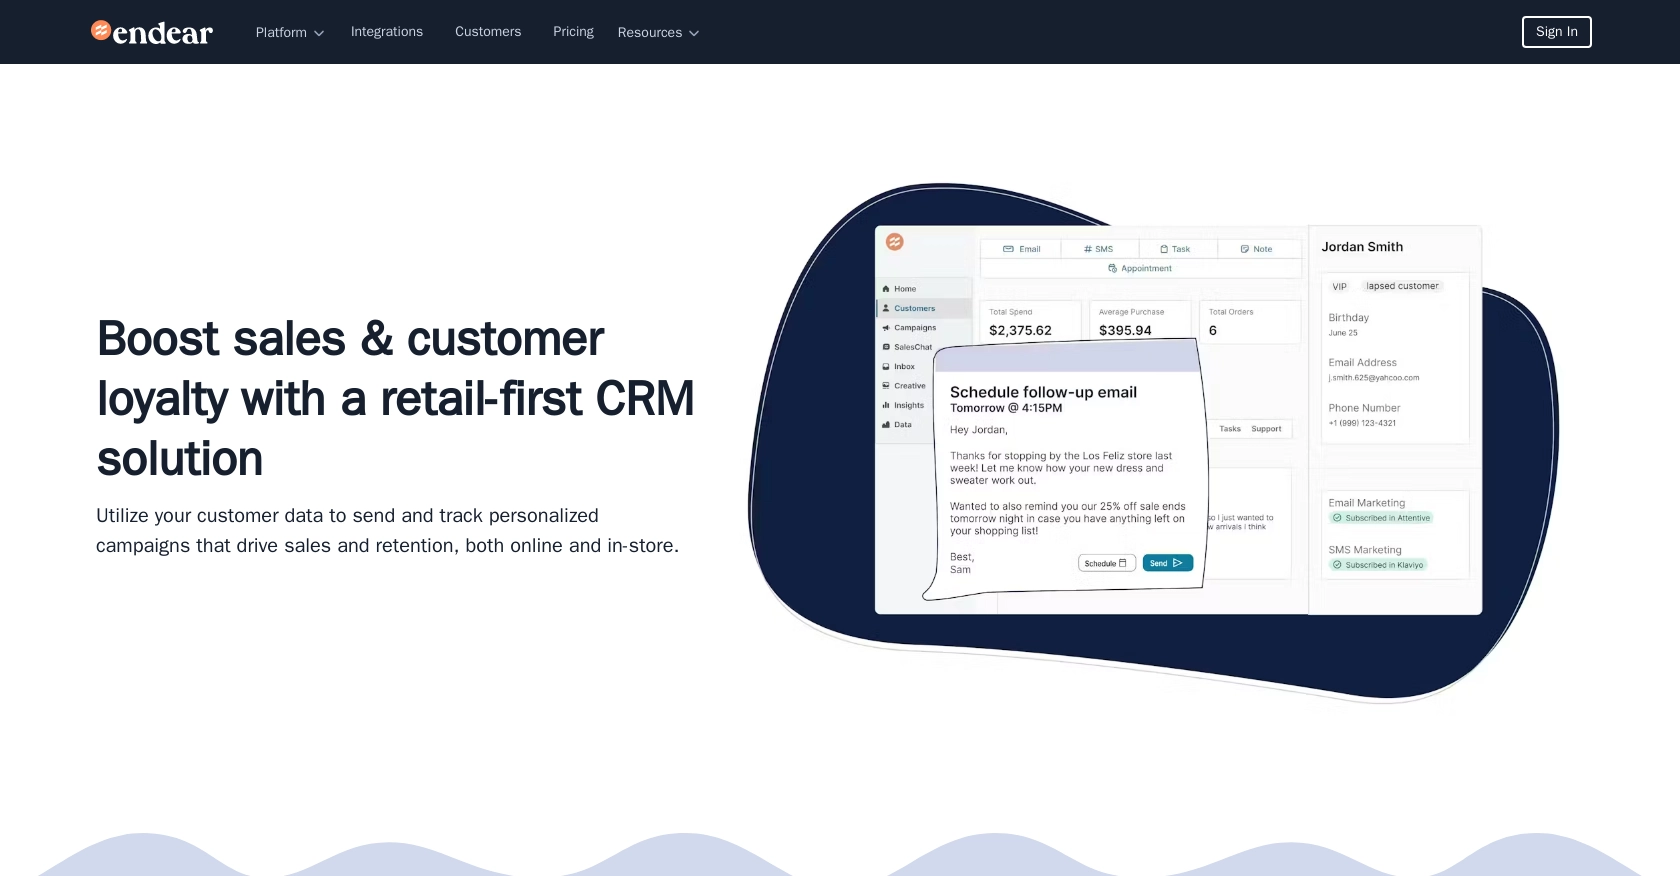
Endear is a powerful CRM platform designed to enhance customer engagement and streamline communication for businesses. It offers a comprehensive suite of tools that allow companies to manage customer relationships effectively, providing insights and automation capabilities to improve customer interactions.
Developers may want to integrate with Endear's API to automate task management and enhance productivity. For example, using the Endear API, a developer can create tasks programmatically to ensure timely follow-ups with clients, thereby improving customer service and operational efficiency.
Setting Up Your Endear API Test Account
Before you can start creating tasks using the Endear API, you need to set up a test account. This will allow you to safely experiment with the API without affecting live data.
Creating an Endear Account
If you don't already have an Endear account, you can sign up for a free trial on the Endear website. Follow the on-screen instructions to complete the registration process. Once your account is set up, log in to access the dashboard.
Generating an API Key for Endear Integration
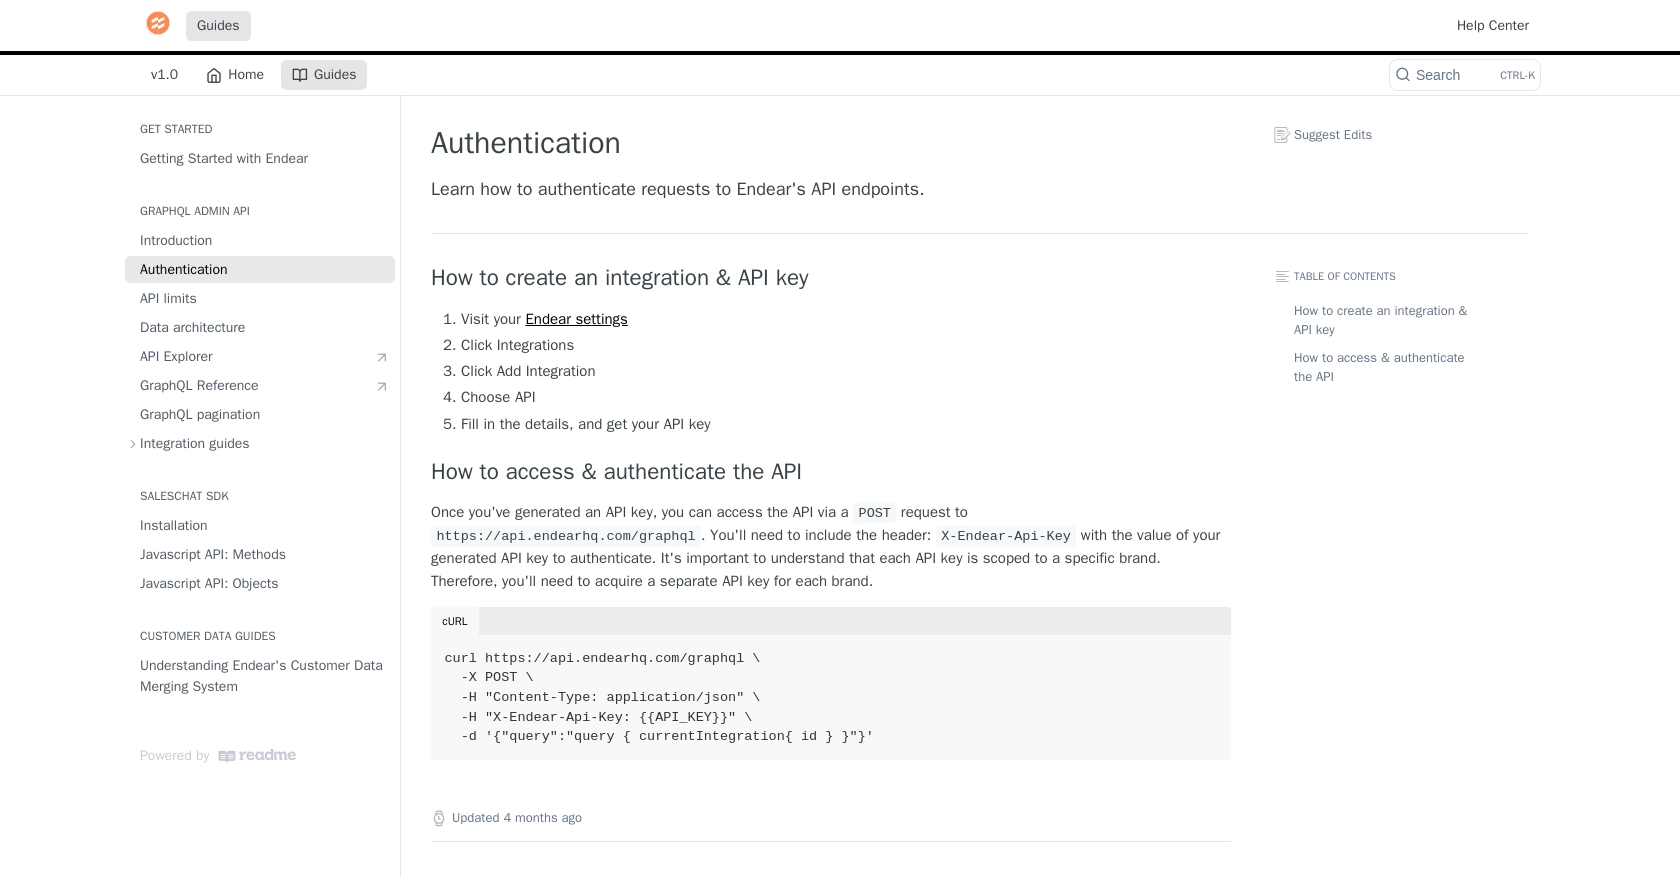
To interact with the Endear API, you'll need to generate an API key. Follow these steps to create one:
- Navigate to your Endear account settings.
- Click on Integrations from the menu.
- Select Add Integration and choose API.
- Fill in the required details and submit the form to generate your API key.
Make sure to store your API key securely, as you'll need it to authenticate your API requests.
Authenticating Your API Requests
With your API key ready, you can authenticate your requests to the Endear API. Use the following header in your HTTP requests:
headers = {
    "Content-Type": "application/json",
    "X-Endear-Api-Key": "Your_API_Key"
}
Replace Your_API_Key with the API key you generated earlier. This header is crucial for accessing the API endpoints.
For more details on authentication, refer to the Endear Authentication Documentation.

sbb-itb-96038d7
How to Make an API Call to Create Tasks with Endear API Using Python
To create tasks using the Endear API in Python, you'll need to set up your environment and write a script to interact with the API. This section will guide you through the necessary steps, including setting up Python, installing dependencies, and writing the code to make the API call.
Setting Up Your Python Environment for Endear API Integration
Before you begin, ensure you have Python 3.11.1 installed on your machine. You'll also need the requests library to handle HTTP requests. Install it using the following command:
pip install requestsOnce you have the necessary tools, you can proceed to write the script to create tasks in Endear.
Writing the Python Script to Create Tasks in Endear
Create a new Python file named create_endear_task.py and add the following code:
import requests

# Define the API endpoint
url = "https://api.endearhq.com/graphql"

# Set the request headers
headers = {
    "Content-Type": "application/json",
    "X-Endear-Api-Key": "Your_API_Key"
}

# Define the GraphQL mutation for creating a task
mutation = """
mutation {
  createTask(input: {
    note: "Follow up with client",
    deadline: "2023-12-31T23:59:59Z"
  }) {
    task {
      id
      note
      deadline
    }
  }
}
"""

# Make the POST request to the API
response = requests.post(url, headers=headers, json={"query": mutation})

# Check the response status
if response.status_code == 200:
    print("Task Created Successfully:", response.json())
else:
    print("Failed to Create Task:", response.status_code, response.text)
Replace Your_API_Key with the API key you generated earlier. This script sends a GraphQL mutation to create a task with a specified note and deadline.
Running the Script and Verifying Task Creation in Endear
Run the script from your terminal using the following command:
python create_endear_task.pyIf successful, the script will output the details of the created task. You can verify the task's creation by checking your Endear dashboard.
Handling Errors and Understanding Endear API Rate Limits
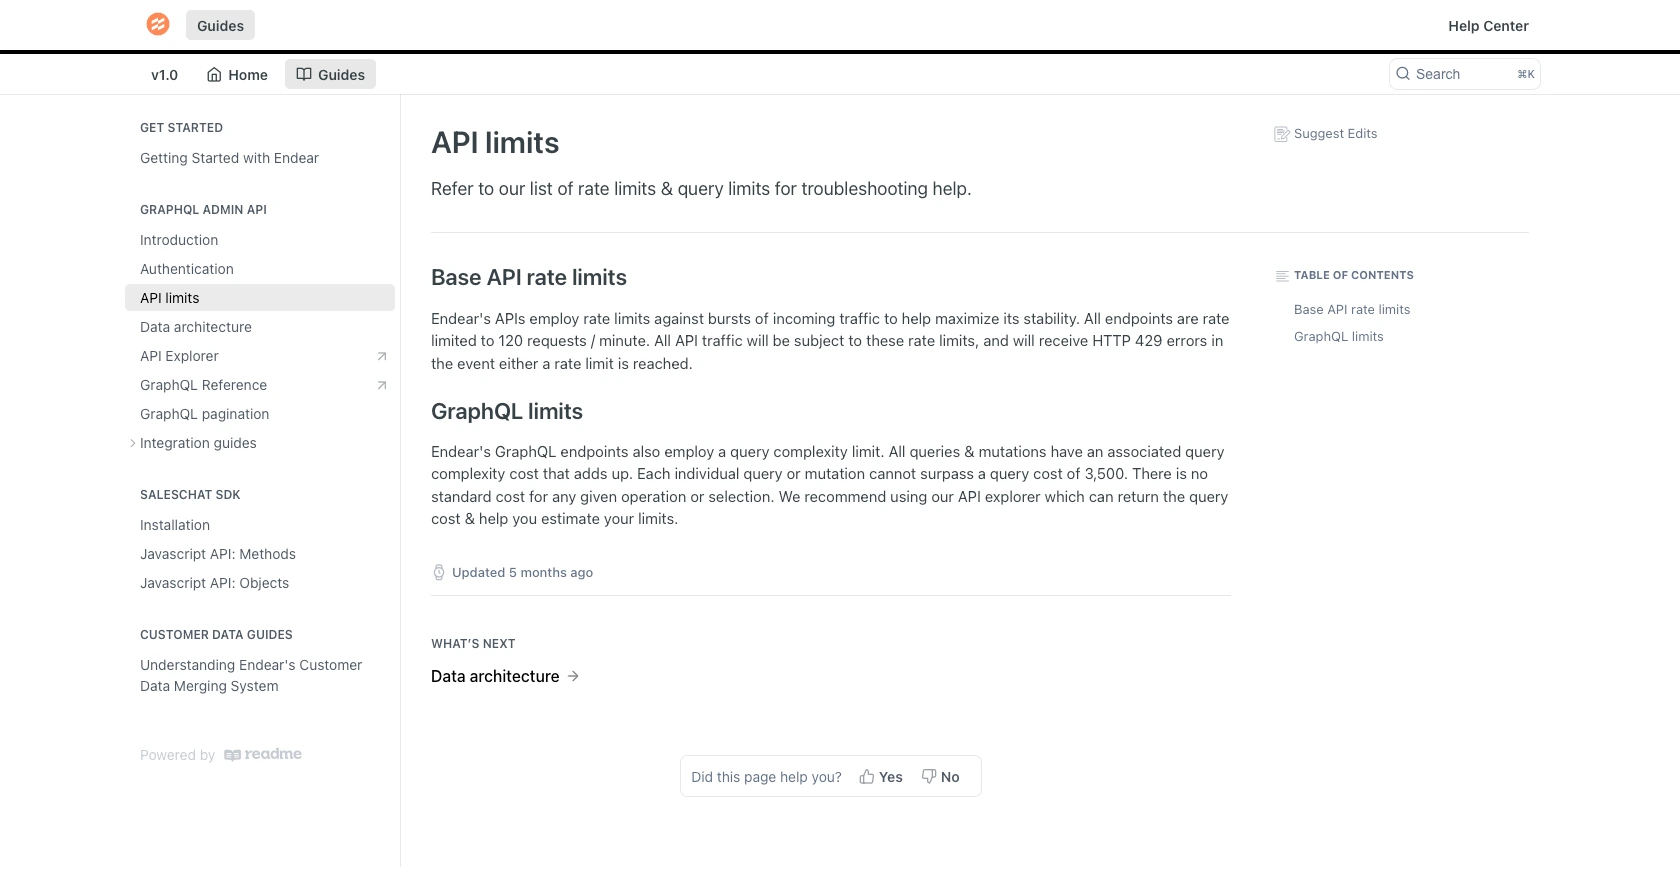
In case of errors, the script will print the status code and error message. Common errors include authentication failures and exceeding rate limits. Endear's API allows up to 120 requests per minute. If you exceed this limit, you'll receive an HTTP 429 error. For more information, refer to the Endear Rate Limits Documentation.

Conclusion and Best Practices for Using Endear API in Python
Integrating with the Endear API to create tasks programmatically can significantly enhance your team's productivity and ensure timely follow-ups with clients. By automating task management, you can streamline operations and improve customer service.
Best Practices for Secure and Efficient Endear API Integration
- Secure Storage of API Keys: Always store your API keys securely, using environment variables or a secure vault, to prevent unauthorized access.
- Handle Rate Limits: Be mindful of Endear's rate limit of 120 requests per minute. Implement retry logic with exponential backoff to handle HTTP 429 errors gracefully.
- Data Standardization: Ensure that data fields are standardized and consistent to avoid errors and improve data quality across integrations.
Enhance Your Integration Strategy with Endgrate
While integrating with APIs like Endear can be powerful, managing multiple integrations can become complex and time-consuming. Endgrate simplifies this process by providing a unified API endpoint that connects to various platforms, including Endear.
By using Endgrate, you can save time and resources, allowing your team to focus on core product development. Build once for each use case and enjoy an intuitive integration experience for your customers. Explore how Endgrate can streamline your integration strategy by visiting Endgrate.
Read More
- https://endgrate.com/provider/endear
- https://docs.endearhq.com/docs/authentication
- https://docs.endearhq.com/docs/rate-limits-status-codes-and-errors
- https://docs.endearhq.com/docs/disclaimers
- https://developers.endearhq.com/docs/graphql/objects/Task
- https://docs.endearhq.com/docs/send-your-first-record
Ready to get started?
