Using the OnePageCRM API to Create or Update Contacts in Javascript

Introduction to OnePageCRM API
OnePageCRM is a dynamic CRM platform designed to simplify sales processes and enhance productivity for businesses. It offers a streamlined approach to managing customer relationships, focusing on actionable tasks and efficient workflows.
Developers may want to integrate with OnePageCRM's API to automate and optimize contact management. For example, you can use the API to create or update contacts directly from your application, ensuring your sales team always has the most up-to-date information at their fingertips.
This article will guide you through using JavaScript to interact with the OnePageCRM API, specifically focusing on creating and updating contact records. By the end of this tutorial, you'll be equipped to seamlessly integrate OnePageCRM's powerful features into your own applications.
Setting Up a OnePageCRM Test Account for API Integration
Before you can start integrating with the OnePageCRM API, you'll need to set up a test account. This will allow you to safely experiment with API calls without affecting live data.
Creating a OnePageCRM Account
If you don't already have a OnePageCRM account, you can sign up for a free trial on their website. This trial will give you access to all the features necessary for testing API interactions.
- Visit the OnePageCRM website and click on the "Free Trial" button.
- Fill in the required details to create your account.
- Once your account is set up, log in to access the OnePageCRM dashboard.
Generating API Credentials for OnePageCRM
To interact with the OnePageCRM API, you'll need to generate API credentials. Follow these steps to obtain the necessary credentials:
- Navigate to the "Settings" section in your OnePageCRM dashboard.
- Under "Integrations," find the API section and click on "Create API Key."
- Note down the API key provided, as you'll need it for authentication in your API requests.
Understanding OnePageCRM Custom Authentication
OnePageCRM uses a custom authentication method for API access. Ensure you have your API key ready, as it will be required in the headers of your API requests.
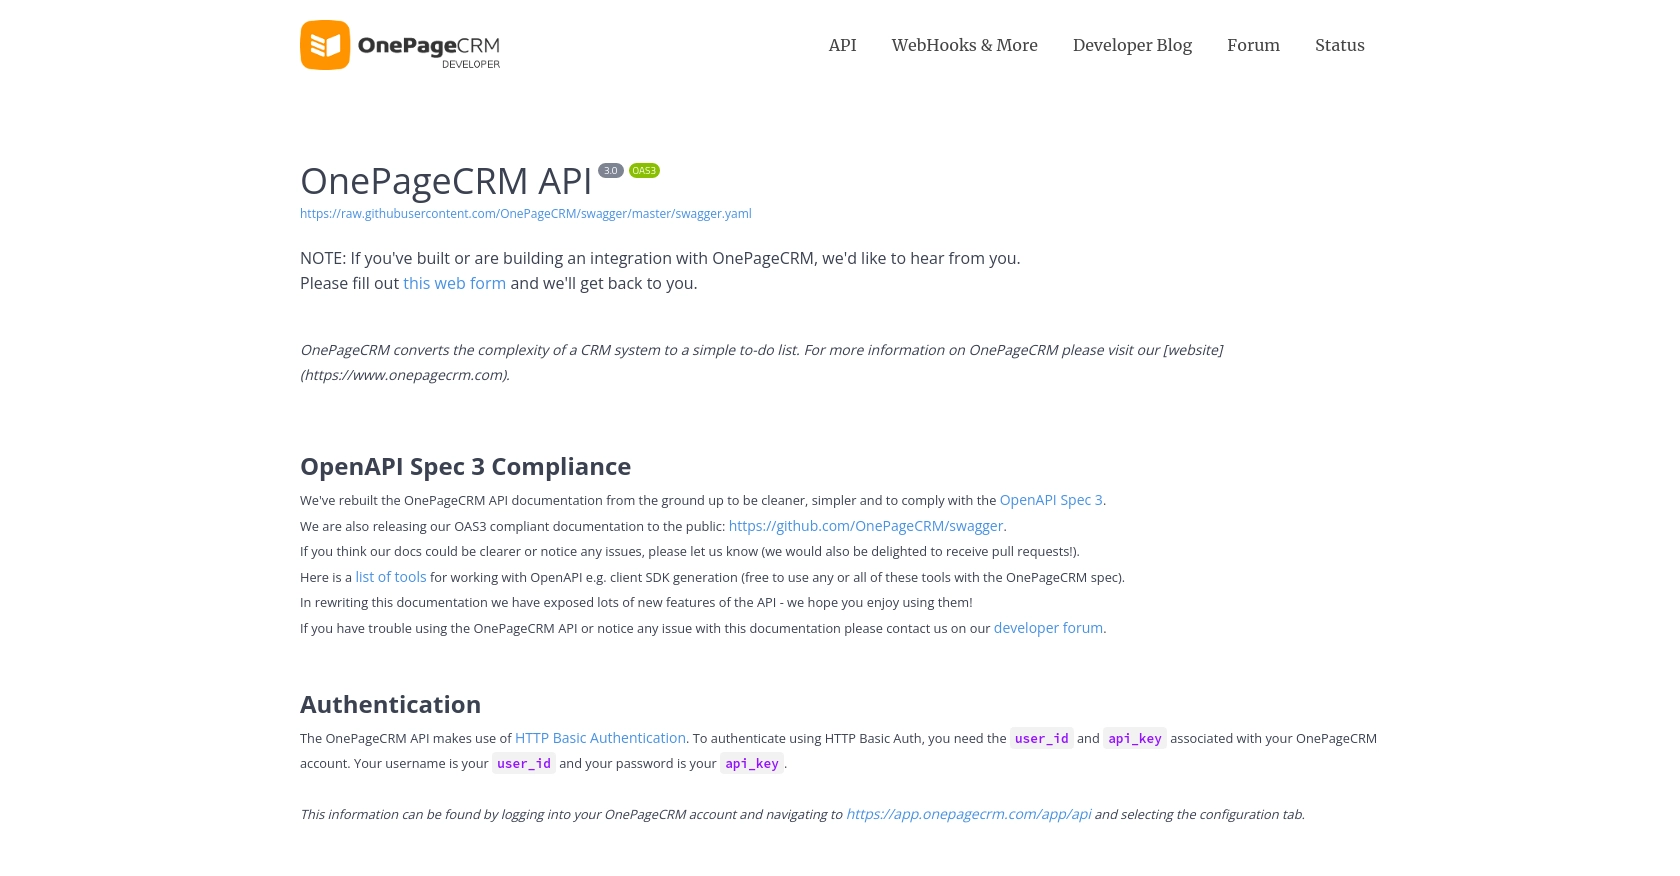
For more detailed information on authentication, refer to the OnePageCRM API documentation.

sbb-itb-96038d7
Making API Calls to OnePageCRM Using JavaScript
To interact with the OnePageCRM API using JavaScript, you'll need to make HTTP requests to the API endpoints. This section will guide you through the process of creating and updating contacts using JavaScript, ensuring you have the necessary setup and code examples to get started.
Setting Up Your JavaScript Environment for OnePageCRM API Integration
Before making API calls, ensure you have a working JavaScript environment. You can use Node.js or a browser-based environment for this purpose. Additionally, you'll need to install the axios library to simplify HTTP requests.
- Ensure you have Node.js installed on your machine. You can download it from the official Node.js website.
- Install the
axioslibrary by running the following command in your terminal:
npm install axiosCreating a Contact in OnePageCRM Using JavaScript
To create a contact in OnePageCRM, you'll need to send a POST request to the API endpoint with the required contact details. Below is an example of how to achieve this using JavaScript and the axios library.
const axios = require('axios');

const createContact = async () => {
    const url = 'https://app.onepagecrm.com/api/v3/contacts';
    const apiKey = 'Your_API_Key'; // Replace with your actual API key

    const contactData = {
        title: 'Mr',
        first_name: 'Joe',
        last_name: 'Bloggs',
        job_title: 'Engineer',
        company_name: "Morgan's Forensic Lab",
        emails: [{ type: 'work', value: 'joe.bloggs@example.com' }],
        phones: [{ type: 'work', value: '(912) 644-1770' }]
    };

    try {
        const response = await axios.post(url, contactData, {
            headers: {
                'Content-Type': 'application/json',
                'Authorization': `Bearer ${apiKey}`
            }
        });
        console.log('Contact Created:', response.data);
    } catch (error) {
        console.error('Error Creating Contact:', error.response.data);
    }
};

createContact();
In this code, replace Your_API_Key with the API key you generated earlier. The createContact function constructs the contact data and sends it to the OnePageCRM API. If successful, it logs the created contact's details.
Updating a Contact in OnePageCRM Using JavaScript
Updating a contact involves sending a PUT request to the API endpoint with the updated contact information. Here's how you can do it:
const updateContact = async (contactId) => {
    const url = `https://app.onepagecrm.com/api/v3/contacts/${contactId}`;
    const apiKey = 'Your_API_Key'; // Replace with your actual API key

    const updatedData = {
        first_name: 'Joseph',
        job_title: 'Senior Engineer'
    };

    try {
        const response = await axios.put(url, updatedData, {
            headers: {
                'Content-Type': 'application/json',
                'Authorization': `Bearer ${apiKey}`
            }
        });
        console.log('Contact Updated:', response.data);
    } catch (error) {
        console.error('Error Updating Contact:', error.response.data);
    }
};

// Call the function with the contact ID you wish to update
updateContact('contact_id_here');
Replace contact_id_here with the ID of the contact you want to update. This function modifies the contact's first name and job title, demonstrating how to update specific fields.
Handling Errors and Verifying API Requests
When making API calls, it's crucial to handle potential errors gracefully. The OnePageCRM API may return various error codes, such as 400 for bad requests or 401 for unauthorized access. Ensure you check the response status and handle errors appropriately.
After creating or updating a contact, verify the changes by checking the OnePageCRM dashboard or using a GET request to retrieve the contact details. This ensures your API interactions are successful and data is accurately reflected in the system.
Best Practices for OnePageCRM API Integration
When integrating with the OnePageCRM API, it's essential to follow best practices to ensure a smooth and secure experience. Here are some recommendations:
- Securely Store API Credentials: Always store your API key securely, using environment variables or secure vaults, to prevent unauthorized access.
- Handle Rate Limiting: Be mindful of any rate limits imposed by OnePageCRM. Implement retry logic with exponential backoff to handle rate limit errors gracefully.
- Data Standardization: Ensure that data fields are standardized across your application to maintain consistency and avoid errors during API interactions.
- Error Handling: Implement comprehensive error handling to manage different HTTP status codes and provide meaningful feedback to users.
Streamline Your Integrations with Endgrate
Integrating with multiple platforms can be complex and time-consuming. Endgrate simplifies this process by providing a unified API endpoint that connects to various platforms, including OnePageCRM.
With Endgrate, you can:
- Save time and resources by outsourcing integrations and focusing on your core product development.
- Build once for each use case instead of multiple times for different integrations.
- Offer an intuitive integration experience for your customers, enhancing their satisfaction and engagement.
Explore how Endgrate can transform your integration strategy by visiting Endgrate today.
Read More
Ready to get started?
