Using the Pipedrive API to Create or Update People in Javascript

Introduction to Pipedrive CRM
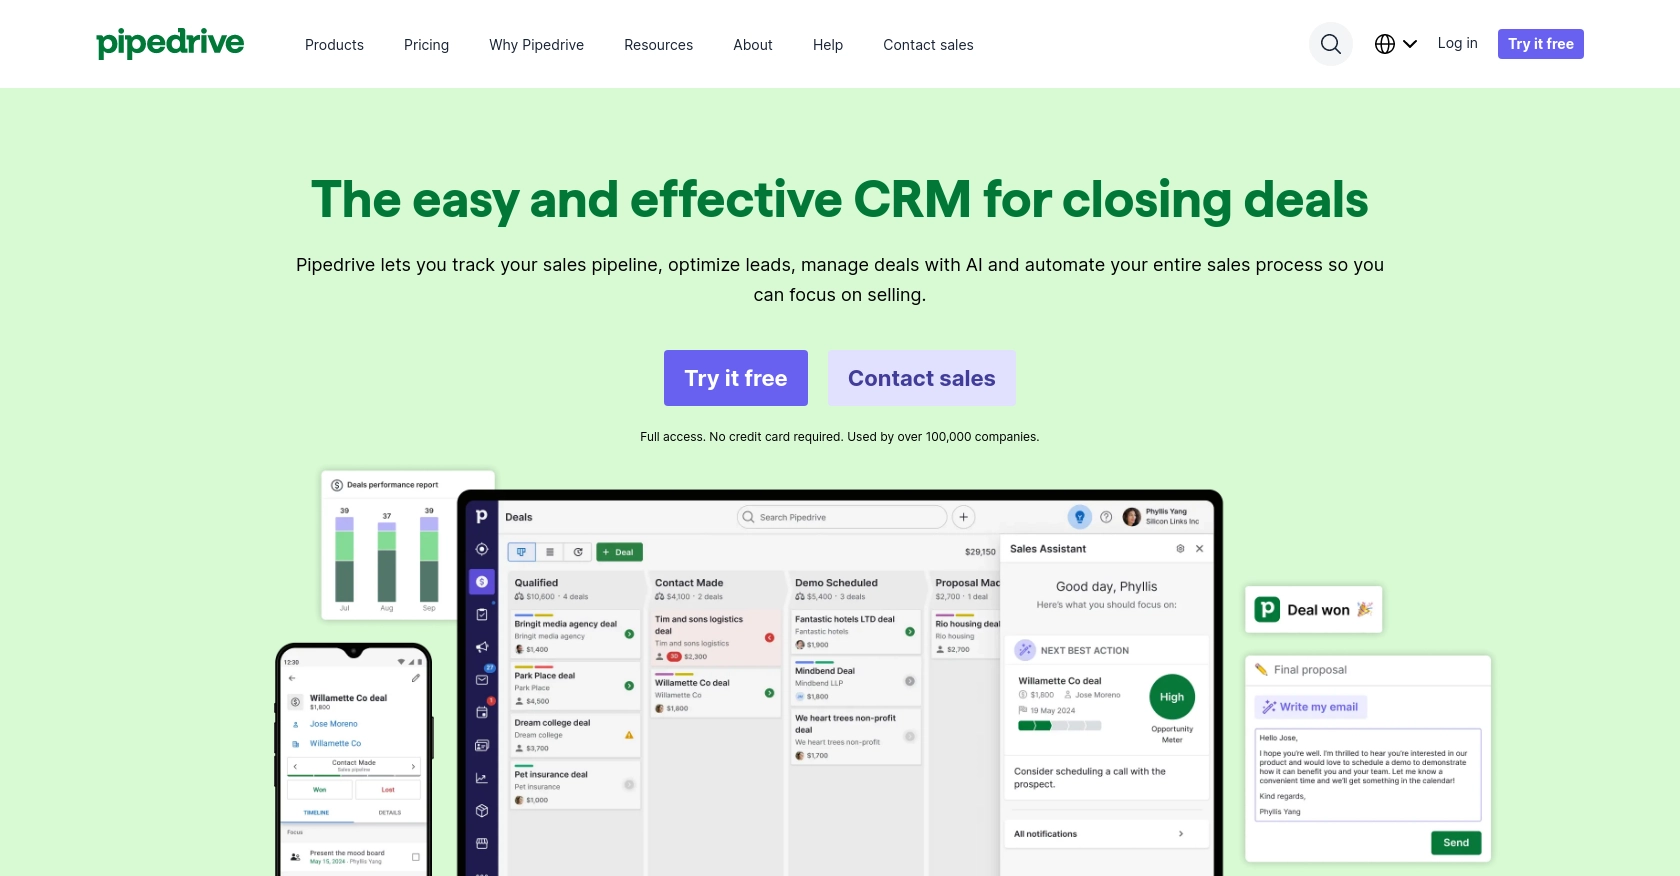
Pipedrive is a powerful sales CRM platform designed to help businesses manage their sales processes more effectively. Known for its intuitive interface and robust features, Pipedrive enables sales teams to track leads, manage customer relationships, and close deals efficiently.
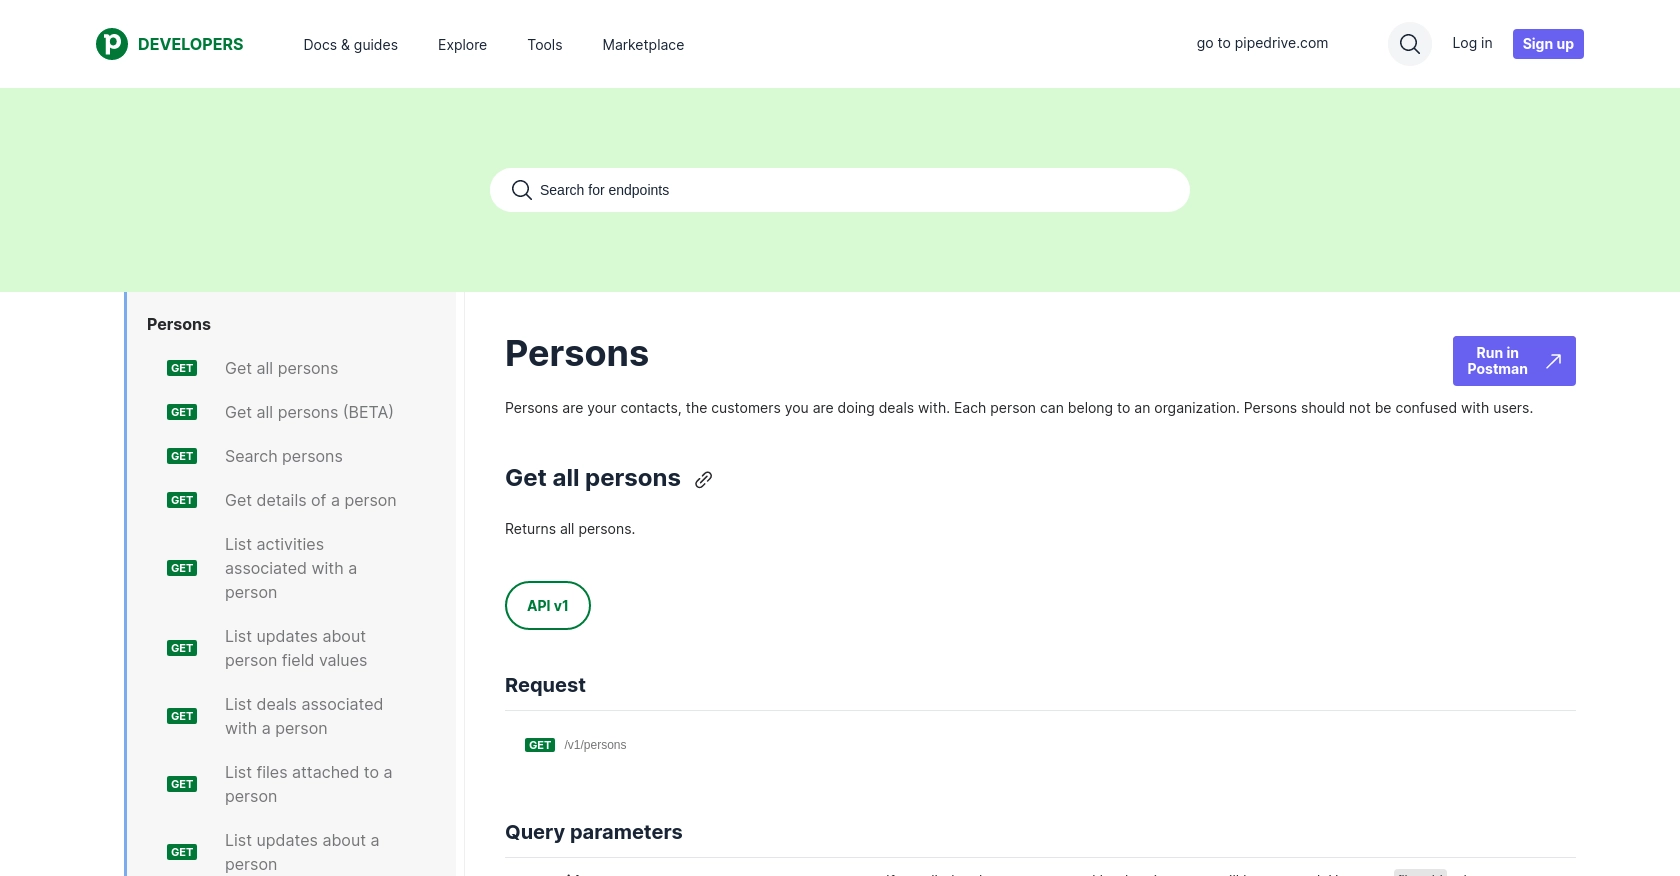
Integrating with Pipedrive's API allows developers to automate and enhance sales workflows by interacting with customer data programmatically. For example, you can use the Pipedrive API to create or update contact information, ensuring that your sales team always has access to the most current data. This can be particularly useful for syncing contact information from other platforms or automating data entry tasks, saving time and reducing errors.
Setting Up Your Pipedrive Developer Sandbox Account
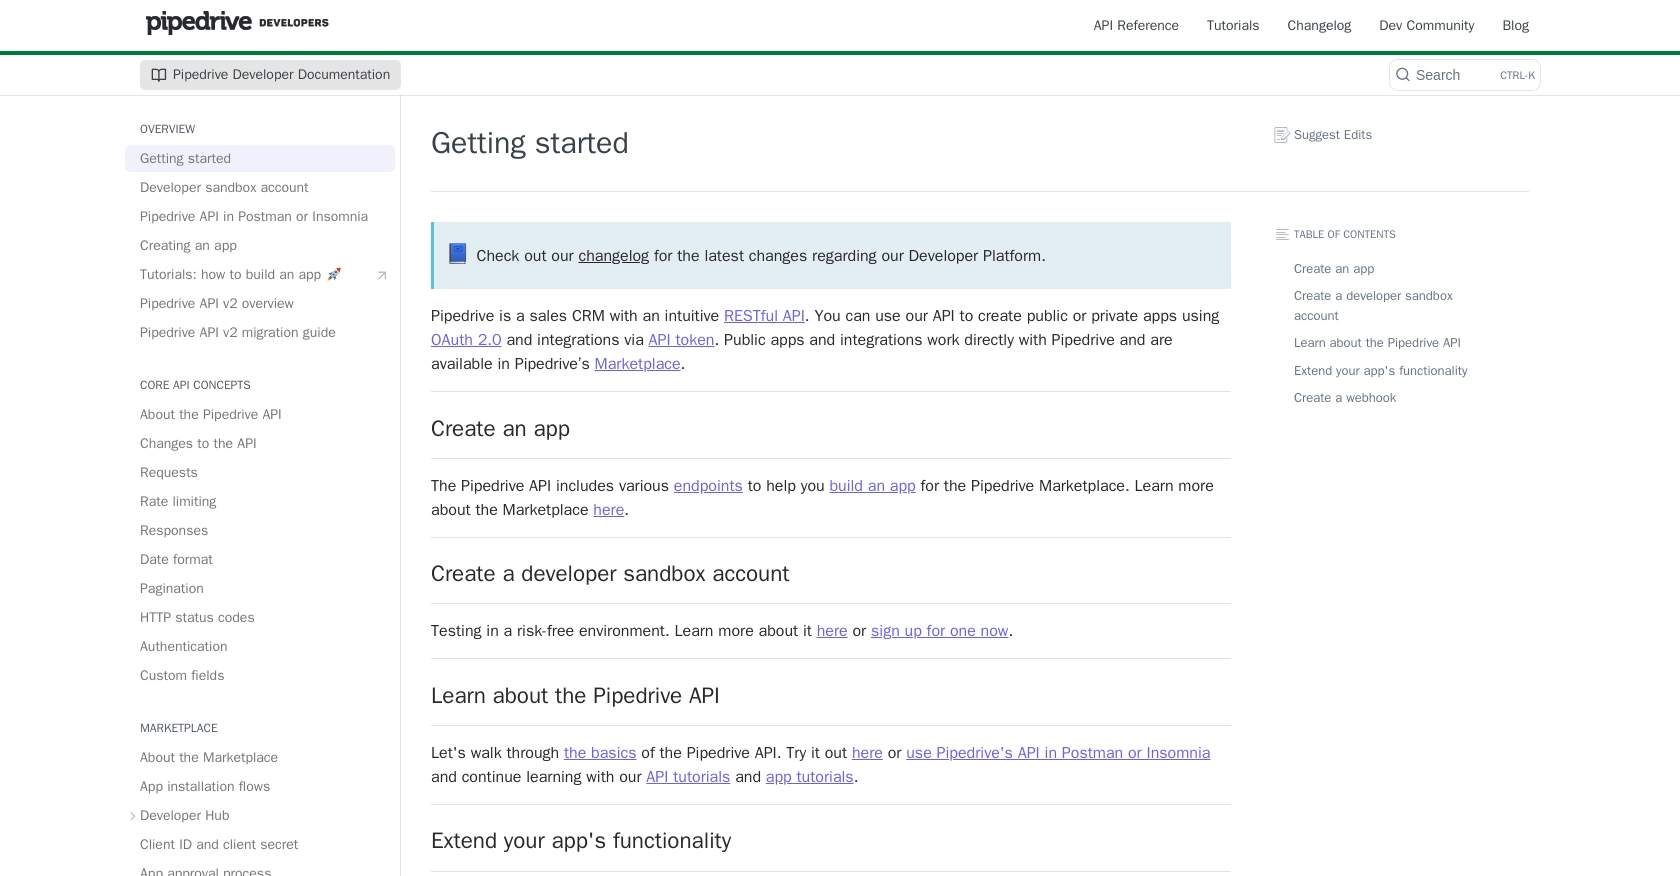
Before diving into the integration with Pipedrive's API, it's essential to set up a developer sandbox account. This account provides a risk-free environment to test and develop your applications without affecting live data.
Steps to Create a Pipedrive Developer Sandbox Account
- Sign Up for a Sandbox Account: Visit the Pipedrive Developer Documentation and fill out the form to request access to a sandbox account. This account mimics a regular Pipedrive company account and is limited to five seats.
- Access Developer Hub: Once your sandbox account is set up, you can access the Developer Hub. This platform allows you to manage your apps, perform testing, and develop integrations with Pipedrive.
- Import Sample Data: To see how Pipedrive displays information, you can import sample data. Navigate to “...” (More) > Import data > From a spreadsheet in the Pipedrive web app to upload template spreadsheets.
Creating a Pipedrive App for OAuth Authentication
Since Pipedrive uses OAuth 2.0 for authentication, you need to create an app to obtain the necessary credentials.
-
Register Your App: In the Developer Hub, register your app to obtain the
client_idandclient_secret. These credentials are crucial for implementing the OAuth flow. - Configure OAuth Scopes: Choose the appropriate scopes for your app. Ensure you only request the permissions necessary for your use case to streamline the user experience.
- Set Up Redirect URIs: Define the redirect URIs that Pipedrive will use to send authorization codes. Ensure these URIs are correctly configured in your app settings.
With your sandbox account and app set up, you're ready to start integrating with Pipedrive's API using JavaScript.

sbb-itb-96038d7
Making API Calls to Pipedrive Using JavaScript
To interact with Pipedrive's API using JavaScript, you'll need to set up your environment and write code to create or update people in your Pipedrive account. This section will guide you through the necessary steps, including setting up your JavaScript environment, making API requests, and handling responses.
Setting Up Your JavaScript Environment for Pipedrive API Integration
Before making API calls, ensure you have Node.js installed on your machine. Node.js allows you to run JavaScript on the server side, making it ideal for backend API interactions.
- Install Node.js: Download and install Node.js from the official website. This will also install npm, the Node package manager.
-
Initialize Your Project: Create a new directory for your project and run
npm init -yto initialize a new Node.js project. -
Install Axios: Use Axios, a popular HTTP client, to make API requests. Install it by running
npm install axios.
Creating or Updating People in Pipedrive Using Axios
With your environment set up, you can now write code to interact with the Pipedrive API. Below is an example of how to create or update a person in Pipedrive using Axios.
const axios = require('axios');

// Set your Pipedrive API endpoint and access token
const apiEndpoint = 'https://api.pipedrive.com/v1/persons';
const accessToken = 'Your_Access_Token';

// Function to create or update a person
async function createOrUpdatePerson(personData) {
    try {
        const response = await axios.post(apiEndpoint, personData, {
            headers: {
                'Authorization': `Bearer ${accessToken}`,
                'Content-Type': 'application/json'
            }
        });
        console.log('Person created/updated successfully:', response.data);
    } catch (error) {
        console.error('Error creating/updating person:', error.response.data);
    }
}

// Example person data
const personData = {
    name: 'John Doe',
    email: [{ value: 'john.doe@example.com', primary: true }],
    phone: [{ value: '1234567890', primary: true }]
};

// Call the function
createOrUpdatePerson(personData);
In this code, we define a function createOrUpdatePerson that sends a POST request to the Pipedrive API to create or update a person. The function takes personData as an argument, which includes the person's name, email, and phone number.
Verifying API Call Success and Handling Errors
After executing the API call, you should verify the success of the operation. Check the response data to ensure the person was created or updated as expected. If there are any errors, the catch block will log the error details.
Common HTTP status codes you might encounter include:
- 200 OK: The request was successful.
- 201 Created: A new resource was successfully created.
- 400 Bad Request: The request was invalid or cannot be served.
- 401 Unauthorized: Authentication failed or user does not have permissions.
- 429 Too Many Requests: Rate limit exceeded. Consider implementing rate limiting strategies.
For more detailed information on error codes, refer to the Pipedrive API documentation.
By following these steps, you can efficiently create or update people in Pipedrive using JavaScript, streamlining your sales processes and ensuring your data is always up-to-date.

Conclusion: Best Practices for Pipedrive API Integration
Integrating with the Pipedrive API using JavaScript can significantly enhance your sales processes by automating data management and ensuring real-time updates. To maximize the benefits of this integration, consider the following best practices:
Securely Storing User Credentials
Always store your API credentials securely. Use environment variables or secure vaults to keep your client_id, client_secret, and access tokens safe from unauthorized access.
Handling Pipedrive API Rate Limiting
Pipedrive imposes rate limits on API requests to ensure fair usage. For OAuth apps, the rate limit is up to 480 requests per 2 seconds per access token, depending on your plan. Implement strategies such as exponential backoff or request queuing to handle rate limit errors gracefully. For more details, refer to the Pipedrive API rate limiting documentation.
Transforming and Standardizing Data Fields
Ensure that data fields are consistently formatted across different platforms. This includes standardizing phone numbers, email addresses, and names to maintain data integrity and improve synchronization between systems.
Utilizing Endgrate for Streamlined Integrations
Consider using Endgrate to simplify your integration processes. With Endgrate, you can manage multiple integrations through a single API endpoint, saving time and resources. Focus on your core product while Endgrate handles the complexities of integration, providing an intuitive experience for your customers.
By following these best practices, you can ensure a robust and efficient integration with Pipedrive, enhancing your sales operations and driving business success.
Read More
- https://endgrate.com/provider/pipedrive
- https://pipedrive.readme.io/docs/getting-started
- https://pipedrive.readme.io/docs/developer-sandbox-account
- https://pipedrive.readme.io/docs/marketplace-creating-a-proper-app
- https://pipedrive.readme.io/docs/core-api-concepts-rate-limiting
- https://pipedrive.readme.io/docs/core-api-concepts-pagination
- https://pipedrive.readme.io/docs/core-api-concepts-http-status-codes
- https://pipedrive.readme.io/docs/core-api-concepts-custom-fields
- https://developers.pipedrive.com/docs/api/v1/Persons
- https://developers.pipedrive.com/docs/api/v1/PersonFields
Ready to get started?
