Using the Quickbooks API to Create Or Update Vendors in Python
Introduction to QuickBooks API for Vendor Management
QuickBooks is a widely-used accounting software that offers a comprehensive suite of tools for managing financial operations in businesses of all sizes. Its robust features include invoicing, payroll, expense tracking, and vendor management, making it an essential tool for streamlining financial processes.
Integrating with the QuickBooks API allows developers to automate and enhance financial workflows by programmatically accessing and managing data. For example, using the QuickBooks API to create or update vendor information can significantly reduce manual data entry and ensure that vendor records are always up-to-date. This capability is particularly useful for businesses that handle a large number of vendors and need to maintain accurate and timely records.
Setting Up Your QuickBooks Sandbox Account for API Integration
Before you can start interacting with the QuickBooks API to manage vendor information, you need to set up a QuickBooks sandbox account. This sandbox environment allows you to test your integration without affecting real data, providing a safe space to experiment and develop your application.
Creating a QuickBooks Developer Account
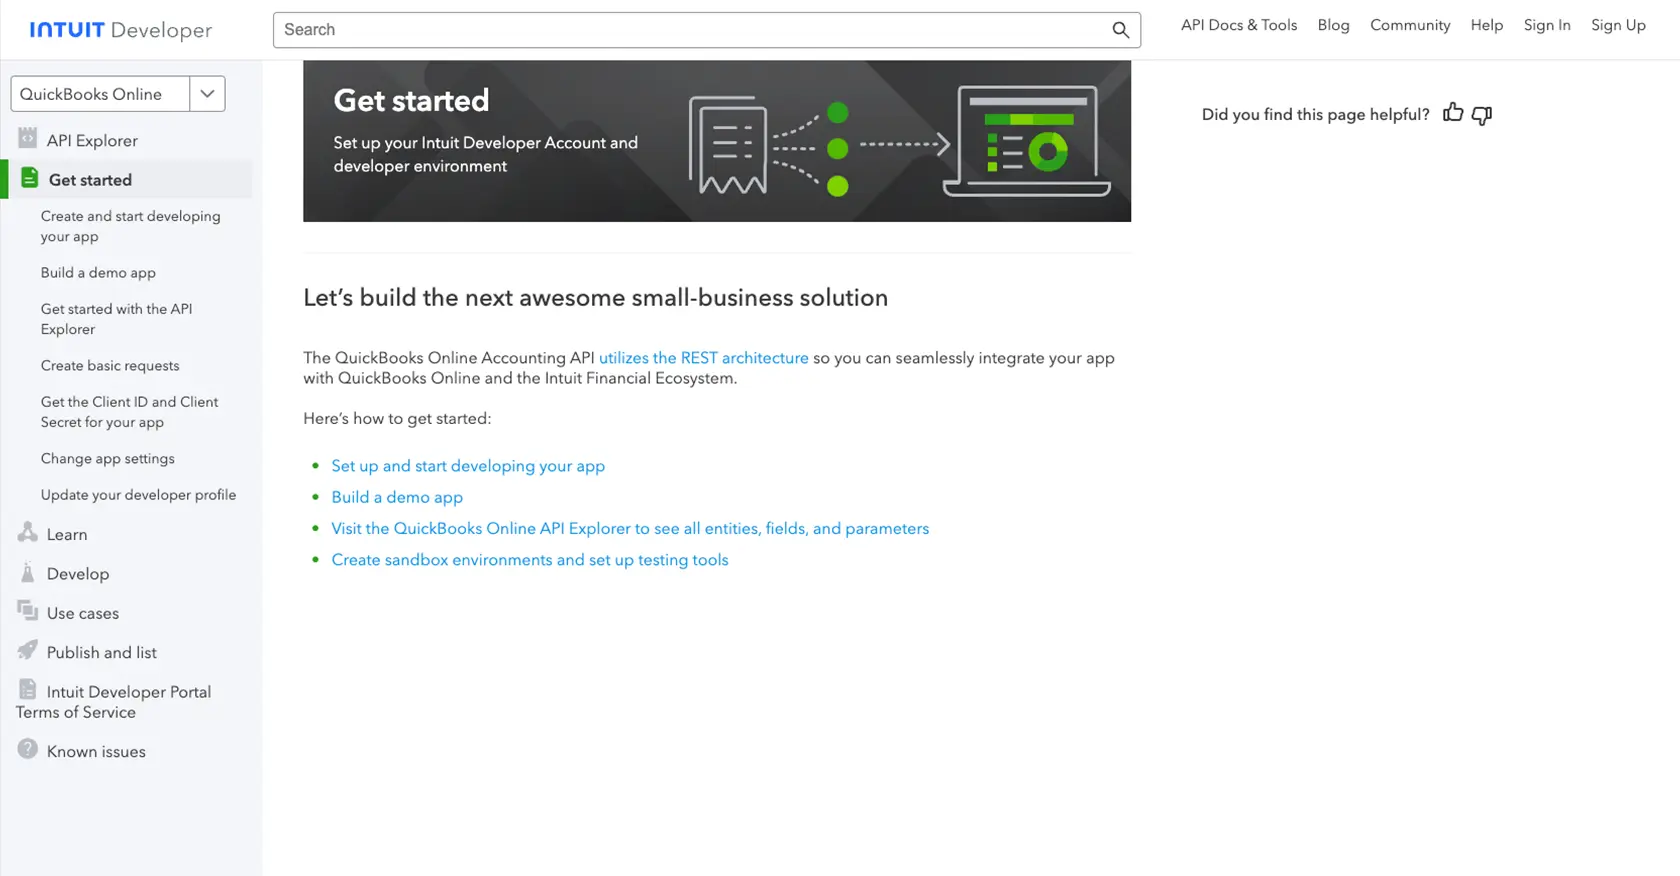
To begin, you'll need to create a QuickBooks Developer account. Follow these steps:
- Visit the QuickBooks Developer Portal.
- Click on the "Sign Up" button and fill in the required information to create your account.
- Once your account is created, log in to access the developer dashboard.
Setting Up a QuickBooks Sandbox Company
Next, you need to set up a sandbox company to simulate a real business environment:
- In the developer dashboard, navigate to the "Sandbox" section.
- Click on "Add Sandbox" to create a new sandbox company.
- Choose the type of company you want to simulate and complete the setup process.
Creating a QuickBooks App for OAuth Authentication
Since the QuickBooks API uses OAuth for authentication, you'll need to create an app to obtain the necessary credentials:
- Go to the "My Apps" section in your developer dashboard.
- Click on "Create an App" and select "QuickBooks Online and Payments" as the platform.
- Fill in the required details, such as app name and description.
- Once the app is created, navigate to the "Keys & OAuth" section to find your Client ID and Client Secret.
These credentials will be used to authenticate API requests. Make sure to store them securely.
Configuring OAuth Redirect URIs
To complete the OAuth setup, configure the redirect URIs:
- In the "Keys & OAuth" section, scroll down to "Redirect URIs."
- Add the URIs where you want QuickBooks to redirect users after authentication.
- Ensure these URIs match the ones used in your application code.
With your sandbox account and app set up, you're ready to start making API calls to QuickBooks. For more detailed information, refer to the QuickBooks API documentation.
sbb-itb-96038d7
Making API Calls to QuickBooks for Vendor Management Using Python
To interact with the QuickBooks API for creating or updating vendors, you'll need to use Python. This section will guide you through the necessary steps, including setting up your environment and writing the code to make API calls.
Setting Up Your Python Environment for QuickBooks API Integration
Before you begin coding, ensure you have the following prerequisites installed on your machine:
- Python 3.11.1
- The Python package installer, pip
Once these are installed, open your terminal or command prompt and install the required dependencies using the following command:
pip install requestsThe requests library will be used to make HTTP requests to the QuickBooks API.
Creating or Updating Vendors with QuickBooks API in Python
Now that your environment is ready, you can proceed to write the Python code to create or update vendor information in QuickBooks.
Example Code to Create a Vendor
Create a file named create_vendor.py and add the following code:
import requests

# Set the API endpoint
url = "https://sandbox-quickbooks.api.intuit.com/v3/company/YOUR_COMPANY_ID/vendor"

# Set the request headers
headers = {
    "Content-Type": "application/json",
    "Authorization": "Bearer YOUR_ACCESS_TOKEN"
}

# Define the vendor information
vendor = {
    "DisplayName": "New Vendor",
    "PrimaryPhone": {
        "FreeFormNumber": "123-456-7890"
    },
    "PrimaryEmailAddr": {
        "Address": "vendor@example.com"
    }
}

# Send the request
response = requests.post(url, json=vendor, headers=headers)

if response.status_code == 200:
    print("Vendor Created Successfully")
else:
    print("Failed to Create Vendor:", response.json())
Replace YOUR_COMPANY_ID and YOUR_ACCESS_TOKEN with your actual QuickBooks company ID and access token. This code sends a POST request to the QuickBooks API to create a new vendor with the specified details.
Example Code to Update a Vendor
To update an existing vendor, create a file named update_vendor.py and use the following code:
import requests

# Set the API endpoint
url = "https://sandbox-quickbooks.api.intuit.com/v3/company/YOUR_COMPANY_ID/vendor/VENDOR_ID"

# Set the request headers
headers = {
    "Content-Type": "application/json",
    "Authorization": "Bearer YOUR_ACCESS_TOKEN"
}

# Define the updated vendor information
vendor_update = {
    "Id": "VENDOR_ID",
    "SyncToken": "SYNC_TOKEN",
    "DisplayName": "Updated Vendor Name"
}

# Send the request
response = requests.post(url, json=vendor_update, headers=headers)

if response.status_code == 200:
    print("Vendor Updated Successfully")
else:
    print("Failed to Update Vendor:", response.json())
Replace YOUR_COMPANY_ID, VENDOR_ID, YOUR_ACCESS_TOKEN, and SYNC_TOKEN with the appropriate values. This code updates the vendor's display name using a POST request.
Verifying API Call Success and Handling Errors
After running your scripts, verify the success of your API calls by checking the response status code. A status code of 200 indicates success. You can also log into your QuickBooks sandbox account to confirm the changes.
Handle errors by checking the response and printing the error message if the request fails. Refer to the QuickBooks API documentation for more details on error codes and their meanings.

Best Practices for QuickBooks API Integration and Vendor Management
When integrating with the QuickBooks API for vendor management, it's essential to follow best practices to ensure a secure and efficient implementation. Here are some key considerations:
Securely Storing QuickBooks API Credentials
Always store your QuickBooks API credentials, such as the Client ID and Client Secret, securely. Use environment variables or a secure vault service to keep these sensitive details safe and prevent unauthorized access.
Handling QuickBooks API Rate Limits
QuickBooks API has rate limits that you need to be aware of to avoid throttling. Monitor your API usage and implement exponential backoff strategies to handle rate limit errors gracefully. For specific rate limit details, refer to the QuickBooks API documentation.
Transforming and Standardizing Vendor Data
Ensure that vendor data is consistently formatted and standardized before sending it to QuickBooks. This practice helps maintain data integrity and reduces the risk of errors during API interactions.
Utilizing Endgrate for Streamlined Integrations
Consider using Endgrate to simplify your integration process. Endgrate offers a unified API endpoint that connects to multiple platforms, including QuickBooks, allowing you to manage integrations more efficiently. By leveraging Endgrate, you can focus on your core product while outsourcing complex integration tasks.
With these best practices in mind, you can effectively manage vendor information using the QuickBooks API, enhancing your financial workflows and ensuring accurate data management.
Read More
- https://endgrate.com/provider/quickbooks
- https://developer.intuit.com/app/developer/qbo/docs/get-started/start-developing-your-app
- https://developer.intuit.com/app/developer/qbo/docs/get-started/get-client-id-and-client-secret
- https://developer.intuit.com/app/developer/qbo/docs/get-started/app-settings
- https://developer.intuit.com/app/developer/qbo/docs/api/accounting/all-entities/vendor

Ready to get started?
