How to Create Or Update Accounts with the Front API in Python
Introduction to Front API for Account Management
Front is a powerful communication platform that centralizes customer interactions across various channels, providing businesses with a seamless way to manage conversations and collaborate with teams. Its robust API allows developers to integrate and automate workflows, enhancing productivity and customer engagement.
Connecting with the Front API enables developers to efficiently manage accounts, a crucial aspect for businesses that handle numerous client interactions. For example, a developer might use the Front API to create or update account information, ensuring that customer data is always current and accessible across the organization.
This guide will walk you through the process of using Python to interact with the Front API, focusing on creating and updating accounts. By following this tutorial, you'll learn how to streamline account management tasks, making your business operations more efficient.
Setting Up Your Front Developer Account for API Integration
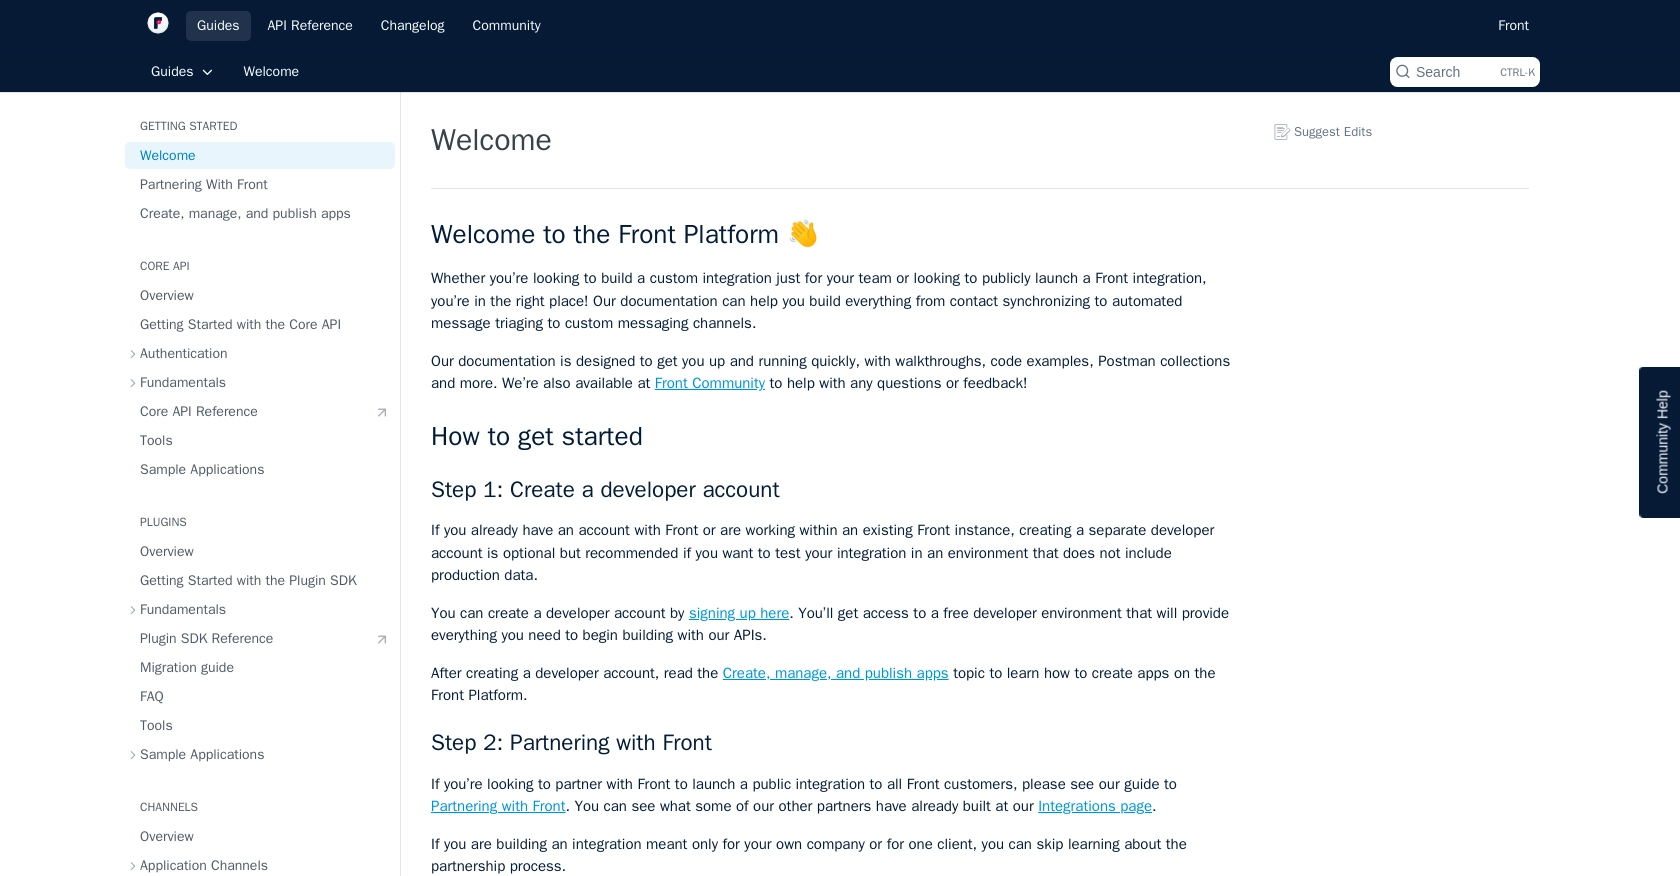
Before you can start creating or updating accounts using the Front API, you need to set up a developer account. This will allow you to test your integration in a controlled environment without affecting production data.
Creating a Front Developer Account
If you don't already have a Front account, you can sign up for a free developer account. This account provides access to a sandbox environment where you can safely build and test your integrations.
- Visit the Front Developer Portal and click on the sign-up link.
- Follow the instructions to create your developer account.
- Once your account is set up, you will have access to the developer environment.
Generating an API Token for Authentication
Front uses API tokens for authentication, allowing you to securely interact with the API. Follow these steps to generate your API token:
- Log in to your Front developer account.
- Navigate to the API tokens section in your account settings.
- Click on "Create API Token" and select the appropriate scopes for your integration, such as account management.
- Copy the generated API token and store it securely, as it will be used to authenticate your API requests.
With your developer account and API token ready, you are now set to begin integrating with the Front API to manage accounts. In the next section, we will explore how to make API calls using Python.
sbb-itb-96038d7
Making API Calls with Python to Create or Update Accounts in Front
To interact with the Front API for creating or updating accounts, you'll need to use Python, a versatile programming language known for its simplicity and readability. This section will guide you through the necessary steps to set up your Python environment, make API calls, and handle responses effectively.
Setting Up Your Python Environment for Front API Integration
Before making API calls, ensure you have the following prerequisites installed on your machine:
- Python 3.x
- pip, the Python package installer
Once these are installed, use the following command to install the requests library, which will help you make HTTP requests:
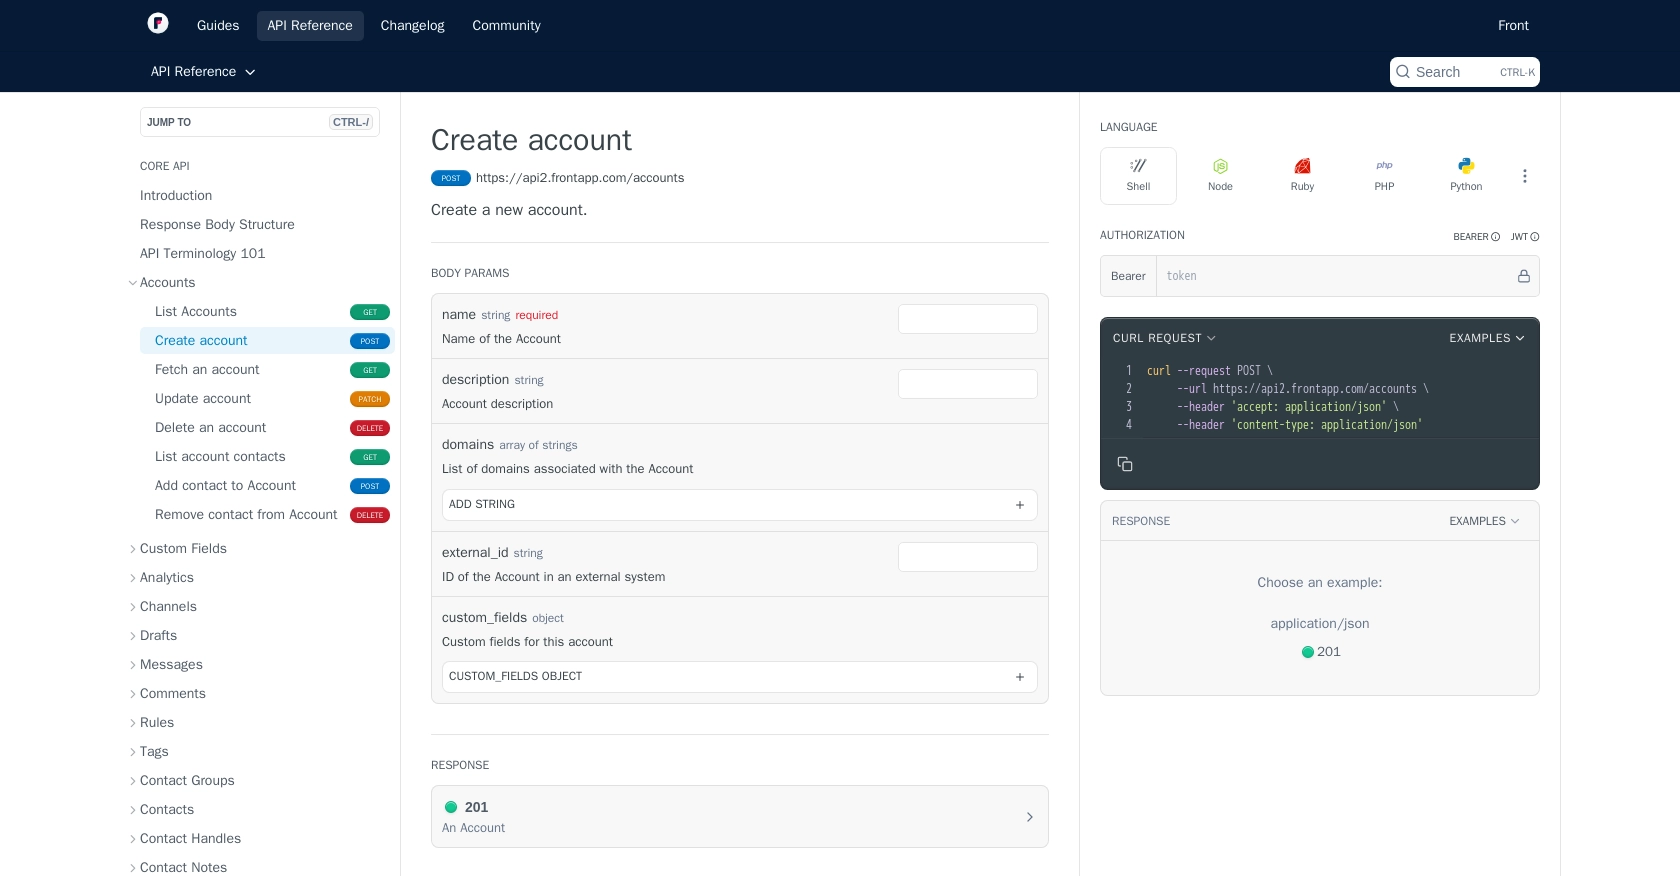
pip install requestsCreating an Account with the Front API Using Python
To create an account in Front, you'll need to make a POST request to the API endpoint. Here's a step-by-step guide:
import requests

# Set the API endpoint and headers
url = "https://api2.frontapp.com/accounts"
headers = {
    "Authorization": "Bearer YOUR_API_TOKEN",
    "Content-Type": "application/json"
}

# Define the account data
account_data = {
    "name": "New Account",
    "description": "Description of the new account"
}

# Make the POST request to create the account
response = requests.post(url, json=account_data, headers=headers)

# Check if the request was successful
if response.status_code == 201:
    print("Account created successfully:", response.json())
else:
    print("Failed to create account:", response.status_code, response.text)
Replace YOUR_API_TOKEN with the API token you generated earlier. This code sends a POST request to create a new account with the specified name and description. If successful, it prints the account details.
Updating an Account with the Front API Using Python
To update an existing account, you'll need to make a PATCH request. Here's how you can do it:
import requests

# Set the API endpoint and headers
account_id = "account_id_here"  # Replace with the actual account ID
url = f"https://api2.frontapp.com/accounts/{account_id}"
headers = {
    "Authorization": "Bearer YOUR_API_TOKEN",
    "Content-Type": "application/json"
}

# Define the updated account data
updated_data = {
    "name": "Updated Account Name",
    "description": "Updated description"
}

# Make the PATCH request to update the account
response = requests.patch(url, json=updated_data, headers=headers)

# Check if the request was successful
if response.status_code == 204:
    print("Account updated successfully")
else:
    print("Failed to update account:", response.status_code, response.text)
Replace account_id_here with the ID of the account you wish to update. This code sends a PATCH request to update the account's name and description. A successful update will return a status code of 204.
Handling Errors and Verifying API Requests
When making API calls, it's essential to handle potential errors gracefully. The Front API may return various status codes indicating success or failure:
- 201 Created: The account was successfully created.
- 204 No Content: The account was successfully updated.
- 400 Bad Request: The request was malformed.
- 401 Unauthorized: Authentication failed. Check your API token.
- 429 Too Many Requests: Rate limit exceeded. Retry after the specified time.
Refer to the Front API rate limiting documentation for more details on handling rate limits.
By following these steps, you can efficiently create and update accounts using the Front API with Python, ensuring your customer data is always up-to-date and accessible.
Conclusion and Best Practices for Using the Front API with Python
Integrating with the Front API using Python allows developers to efficiently manage account data, ensuring that customer information is always up-to-date and accessible. By following the steps outlined in this guide, you can streamline your account management processes and enhance your business operations.
Best Practices for Secure and Efficient Front API Integration
- Securely Store API Tokens: Ensure that your API tokens are stored securely and never hard-coded in your source code. Consider using environment variables or secure vaults.
- Handle Rate Limits: Be mindful of the rate limits imposed by Front's API. Implement logic to handle 429 status codes gracefully and retry requests after the specified time. For more details, refer to the Front API rate limiting documentation.
- Validate API Responses: Always check the status codes and response data to ensure that your API calls are successful. Implement error handling to manage different response scenarios.
- Optimize Data Handling: When dealing with large datasets, consider implementing pagination to efficiently retrieve and process data.
Enhance Your Integration Strategy with Endgrate
While building integrations with the Front API can significantly improve your workflow, managing multiple integrations can become complex and time-consuming. Endgrate offers a unified API solution that simplifies integration management, allowing you to focus on your core product development.
By leveraging Endgrate, you can:
- Save time and resources by outsourcing integration management.
- Build once for each use case instead of multiple times for different integrations.
- Provide an intuitive integration experience for your customers.
Explore how Endgrate can streamline your integration processes by visiting Endgrate today.
Read More
- https://endgrate.com/provider/front
- https://dev.frontapp.com/docs/welcome
- https://dev.frontapp.com/docs/core-api-getting-started
- https://dev.frontapp.com/docs/oauth
- https://dev.frontapp.com/docs/rate-limiting
- https://dev.frontapp.com/docs/pagination
- https://dev.frontapp.com/reference/create-account
- https://dev.frontapp.com/reference/update-account

Ready to get started?
