How to Create or Update Contacts with the Moneybird API in Javascript
Introduction to Moneybird API Integration
Moneybird is a versatile online accounting software designed to simplify financial management for businesses. It offers a comprehensive suite of tools for invoicing, expense tracking, and financial reporting, making it an essential platform for small to medium-sized enterprises.
Integrating with the Moneybird API allows developers to automate and streamline various accounting processes. For example, you can create or update contact information directly from your application, ensuring that your financial records are always up-to-date. This integration can be particularly useful for businesses that need to synchronize customer data across multiple platforms, reducing manual data entry and minimizing errors.
Setting Up Your Moneybird Sandbox Account for API Integration
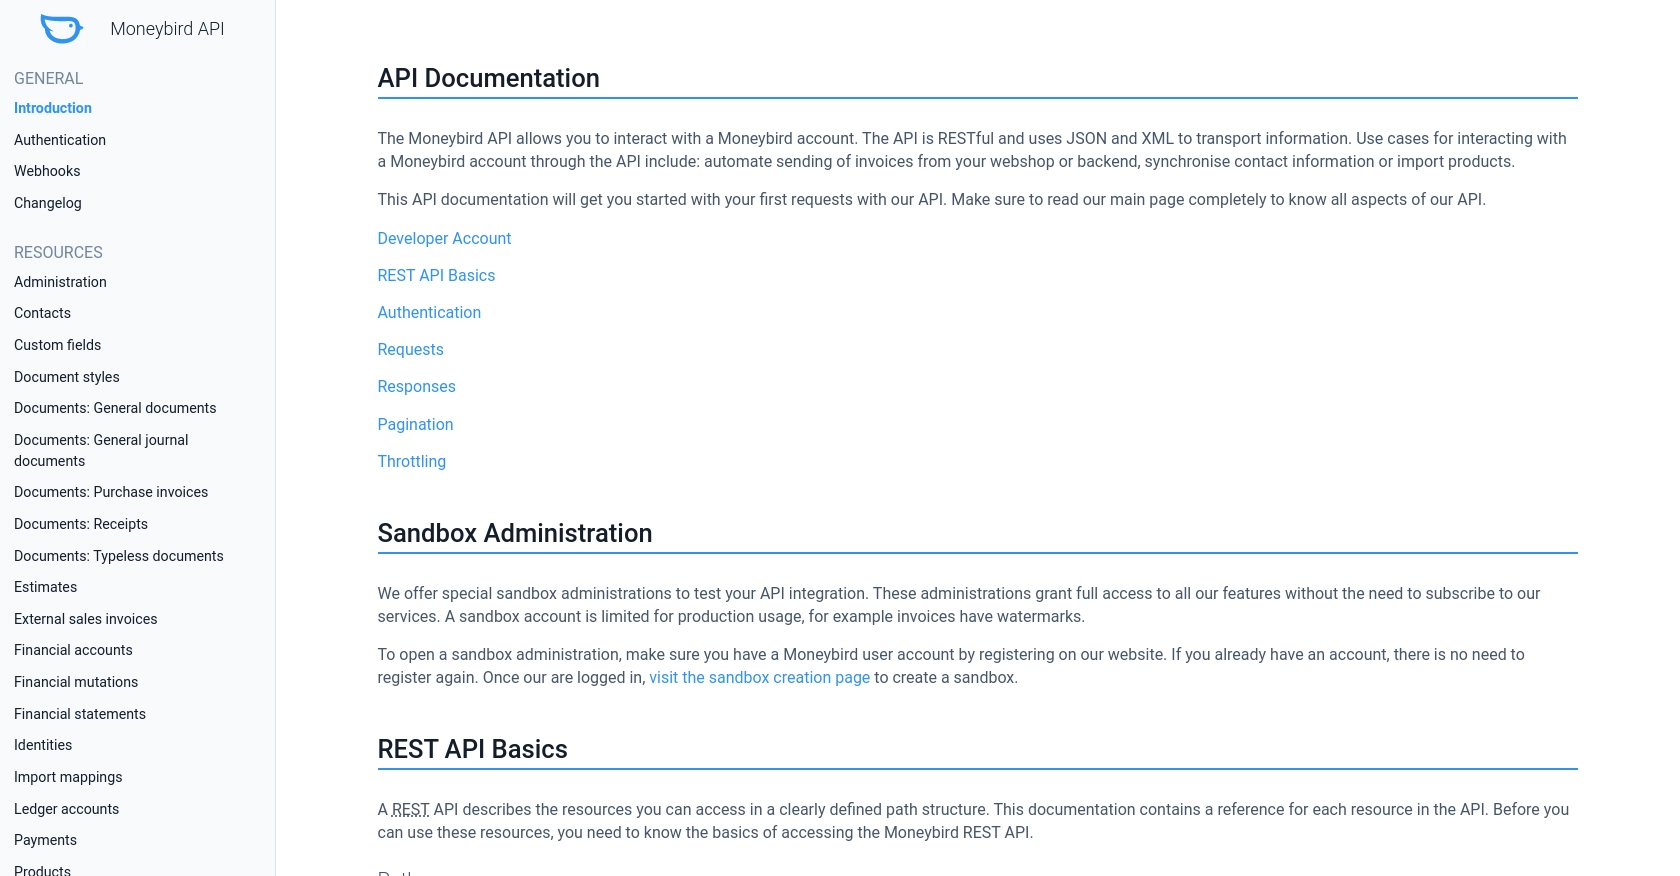
Before you begin integrating with the Moneybird API, it's essential to set up a sandbox account. This allows you to test your integration without affecting live data. Moneybird offers sandbox administrations that provide full access to all features, enabling you to experiment and develop confidently.
Step-by-Step Guide to Creating a Moneybird Sandbox Account
-
Create a Moneybird Account:
If you don't already have a Moneybird account, start by registering on the Moneybird website. This will give you access to the platform's features and allow you to create a sandbox environment.
-
Access the Sandbox Creation Page:
Once logged in, navigate to the sandbox creation page. Here, you can set up a sandbox administration, which is a replica of a live environment but with limitations for production use.
-
Configure Your Sandbox Administration:
Follow the prompts to configure your sandbox administration. This setup will allow you to test API calls and integrations without impacting real data.
Setting Up OAuth Authentication for Moneybird API
The Moneybird API uses OAuth2 for authentication, ensuring secure access to your data. Follow these steps to set up OAuth authentication:
-
Register Your Application:
Visit Moneybird's application registration page to register your application. This process will provide you with a Client ID and Client Secret, which are necessary for OAuth authentication.
-
Obtain Authorization URL:
Use the following command to obtain a request token and authorization URL:
curl -vv 'https://moneybird.com/oauth/authorize?client_id=YOUR_CLIENT_ID&redirect_uri=YOUR_REDIRECT_URI&response_type=code'Replace
YOUR_CLIENT_IDandYOUR_REDIRECT_URIwith your application's details. -
Exchange Request Token for Access Token:
After obtaining the authorization code, exchange it for an access token using the following command:
curl -vv -X POST -d "client_id=YOUR_CLIENT_ID&client_secret=YOUR_CLIENT_SECRET&code=AUTHORIZATION_CODE&redirect_uri=YOUR_REDIRECT_URI&grant_type=authorization_code" https://moneybird.com/oauth/tokenReplace
YOUR_CLIENT_ID,YOUR_CLIENT_SECRET, andAUTHORIZATION_CODEwith the appropriate values.
For more details on authentication, refer to the Moneybird Authentication Documentation.
sbb-itb-96038d7
Making API Calls to Create or Update Contacts with Moneybird API in JavaScript
To interact with the Moneybird API using JavaScript, you'll need to set up your environment and make HTTP requests to the API endpoints. This section will guide you through the process of creating or updating contacts using the Moneybird API.
Setting Up Your JavaScript Environment for Moneybird API Integration
Before making API calls, ensure you have the necessary tools and libraries installed:
- Node.js: Ensure you have Node.js installed on your machine. You can download it from the official website.
- Axios: Install Axios, a promise-based HTTP client for the browser and Node.js, to make API requests. Run the following command in your terminal:
npm install axiosCreating a New Contact with Moneybird API
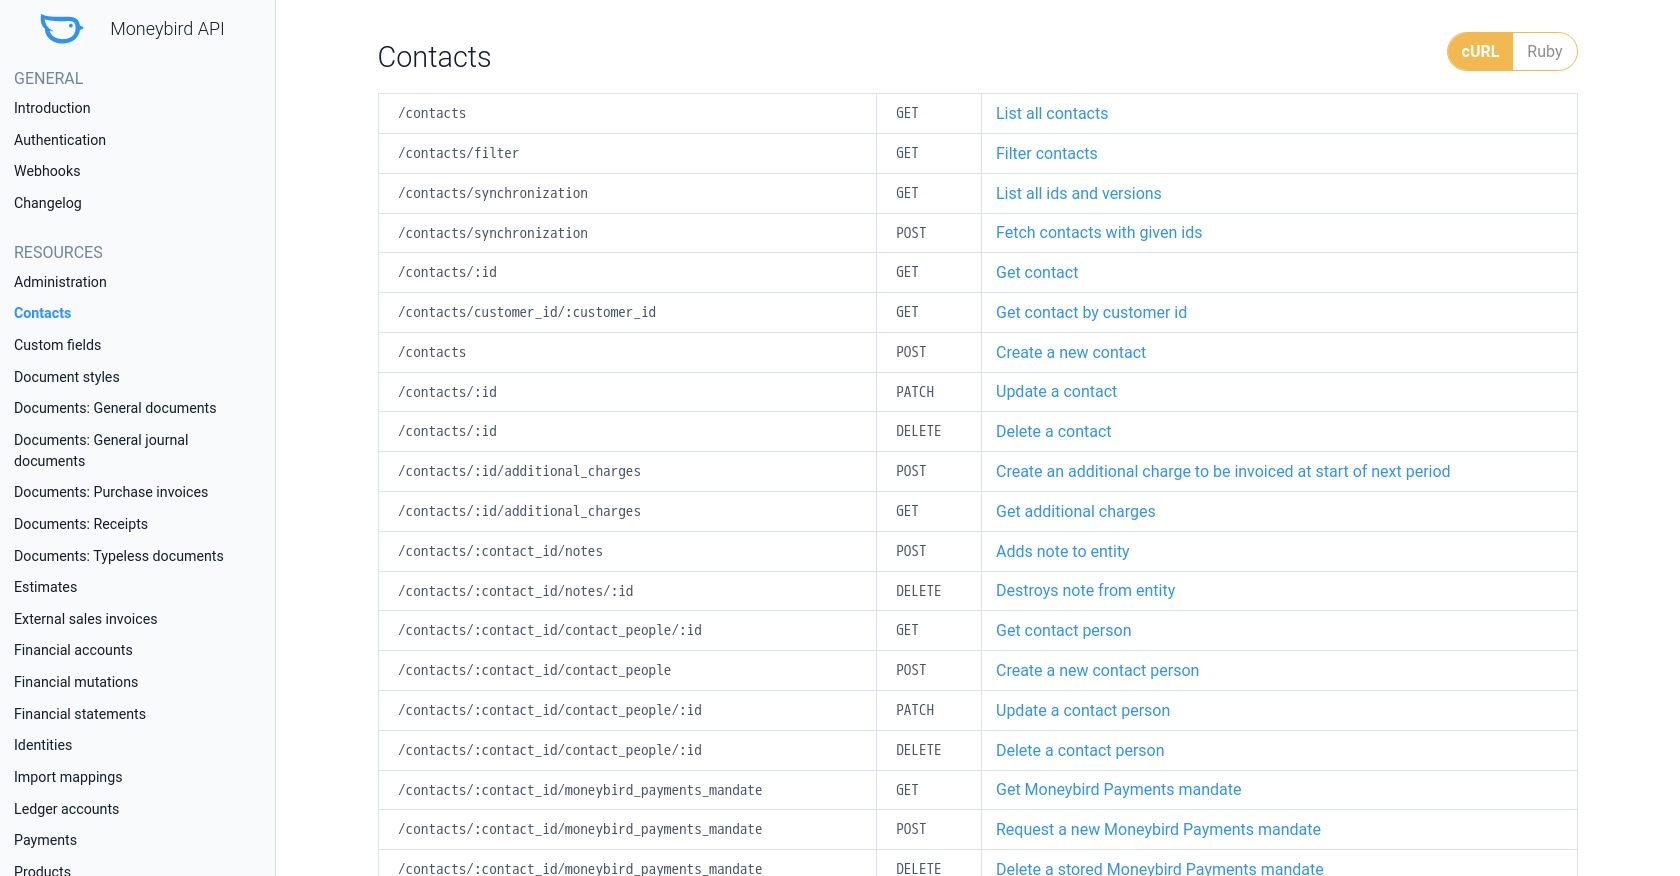
To create a new contact, you'll need to make a POST request to the Moneybird API's contacts endpoint. Here's an example of how to do this using Axios:
const axios = require('axios');

const createContact = async () => {
    const url = 'https://moneybird.com/api/v2/YOUR_ADMINISTRATION_ID/contacts.json';
    const token = 'YOUR_ACCESS_TOKEN';
    const contactData = {
        contact: {
            company_name: 'New Company',
            firstname: 'John',
            lastname: 'Doe',
            email: 'john.doe@example.com'
        }
    };

    try {
        const response = await axios.post(url, contactData, {
            headers: {
                'Content-Type': 'application/json',
                'Authorization': `Bearer ${token}`
            }
        });
        console.log('Contact Created:', response.data);
    } catch (error) {
        console.error('Error creating contact:', error.response.data);
    }
};

createContact();
Replace YOUR_ADMINISTRATION_ID and YOUR_ACCESS_TOKEN with your specific details. The response should include the newly created contact's information.
Updating an Existing Contact with Moneybird API
To update an existing contact, use the PATCH method. Here's how you can update a contact's details:
const updateContact = async (contactId) => {
    const url = `https://moneybird.com/api/v2/YOUR_ADMINISTRATION_ID/contacts/${contactId}.json`;
    const token = 'YOUR_ACCESS_TOKEN';
    const updatedData = {
        contact: {
            company_name: 'Updated Company Name'
        }
    };

    try {
        const response = await axios.patch(url, updatedData, {
            headers: {
                'Content-Type': 'application/json',
                'Authorization': `Bearer ${token}`
            }
        });
        console.log('Contact Updated:', response.data);
    } catch (error) {
        console.error('Error updating contact:', error.response.data);
    }
};

updateContact('CONTACT_ID');
Replace YOUR_ADMINISTRATION_ID, YOUR_ACCESS_TOKEN, and CONTACT_ID with the appropriate values. The response will confirm the updated contact details.
Handling API Responses and Errors
When making API calls, it's crucial to handle responses and errors effectively. The Moneybird API provides various HTTP status codes to indicate the result of your requests:
- 200 OK: The request was successful.
- 201 Created: A new resource was successfully created.
- 400 Bad Request: The request parameters are missing or malformed.
- 401 Unauthorized: Invalid or missing authentication credentials.
- 404 Not Found: The requested resource could not be found.
- 422 Unprocessable Entity: Validation errors occurred.
Refer to the Moneybird API Documentation for more details on handling responses and errors.
Conclusion and Best Practices for Moneybird API Integration
Integrating with the Moneybird API using JavaScript can significantly enhance your application's ability to manage financial data efficiently. By automating the creation and updating of contacts, you reduce manual data entry and minimize errors, ensuring your financial records are always accurate and up-to-date.
Best Practices for Secure and Efficient Moneybird API Usage
- Securely Store Credentials: Always store your OAuth tokens and API keys securely. Consider using environment variables or secure vaults to keep sensitive information safe.
- Handle Rate Limiting: The Moneybird API allows 150 requests every 5 minutes. Implement logic to handle rate limits gracefully, such as retrying requests after a delay. For more details, refer to the Moneybird API Documentation.
- Validate and Transform Data: Ensure that the data you send to Moneybird is validated and transformed to meet the API's requirements. This includes checking for required fields and correct data formats.
- Error Handling: Implement robust error handling to manage different HTTP status codes and provide meaningful feedback to users or logs for debugging.
Streamline Your Integration Process with Endgrate
While integrating with Moneybird can be straightforward, managing multiple integrations can become complex. Endgrate simplifies this process by offering a unified API endpoint that connects to various platforms, including Moneybird. This allows you to build once for each use case instead of multiple times for different integrations, saving time and resources.
Explore how Endgrate can enhance your integration experience by visiting Endgrate's website. Focus on your core product while outsourcing integrations to a reliable partner.
Read More

Ready to get started?
