Using the Mailchimp API to Create Members (with PHP examples)

Introduction to Mailchimp API Integration
Mailchimp is a powerful marketing automation platform that allows businesses to create, send, and analyze email and ad campaigns. With its robust suite of tools, Mailchimp helps businesses manage their audience data, engage with customers, and drive sales growth.
Integrating with the Mailchimp API enables developers to automate and enhance marketing efforts by programmatically managing audience lists, campaigns, and more. For example, a developer might use the Mailchimp API to automatically add new subscribers to a mailing list from a website signup form, ensuring seamless audience growth and engagement.
Setting Up Your Mailchimp Test Account for API Integration
Before diving into the Mailchimp API, it's essential to set up a test account. This allows you to safely experiment with API calls without affecting live data. Mailchimp offers a straightforward process to create a test account and obtain the necessary credentials for API access.
Creating a Mailchimp Account
If you don't already have a Mailchimp account, follow these steps to create one:
- Visit the Mailchimp website and click on the "Sign Up Free" button.
- Fill in the required information, including your email, username, and password.
- Follow the instructions to complete the account setup process.
Once your account is created, you can log in to access the Mailchimp dashboard.
Generating Your Mailchimp API Key
To interact with the Mailchimp API, you'll need an API key. Here's how to generate one:
- Log in to your Mailchimp account and navigate to the "Account" section.
- Click on "Extras" and select "API keys" from the dropdown menu.
- Click on "Create A Key" to generate a new API key.
- Copy the generated API key and store it securely, as it provides full access to your Mailchimp account.
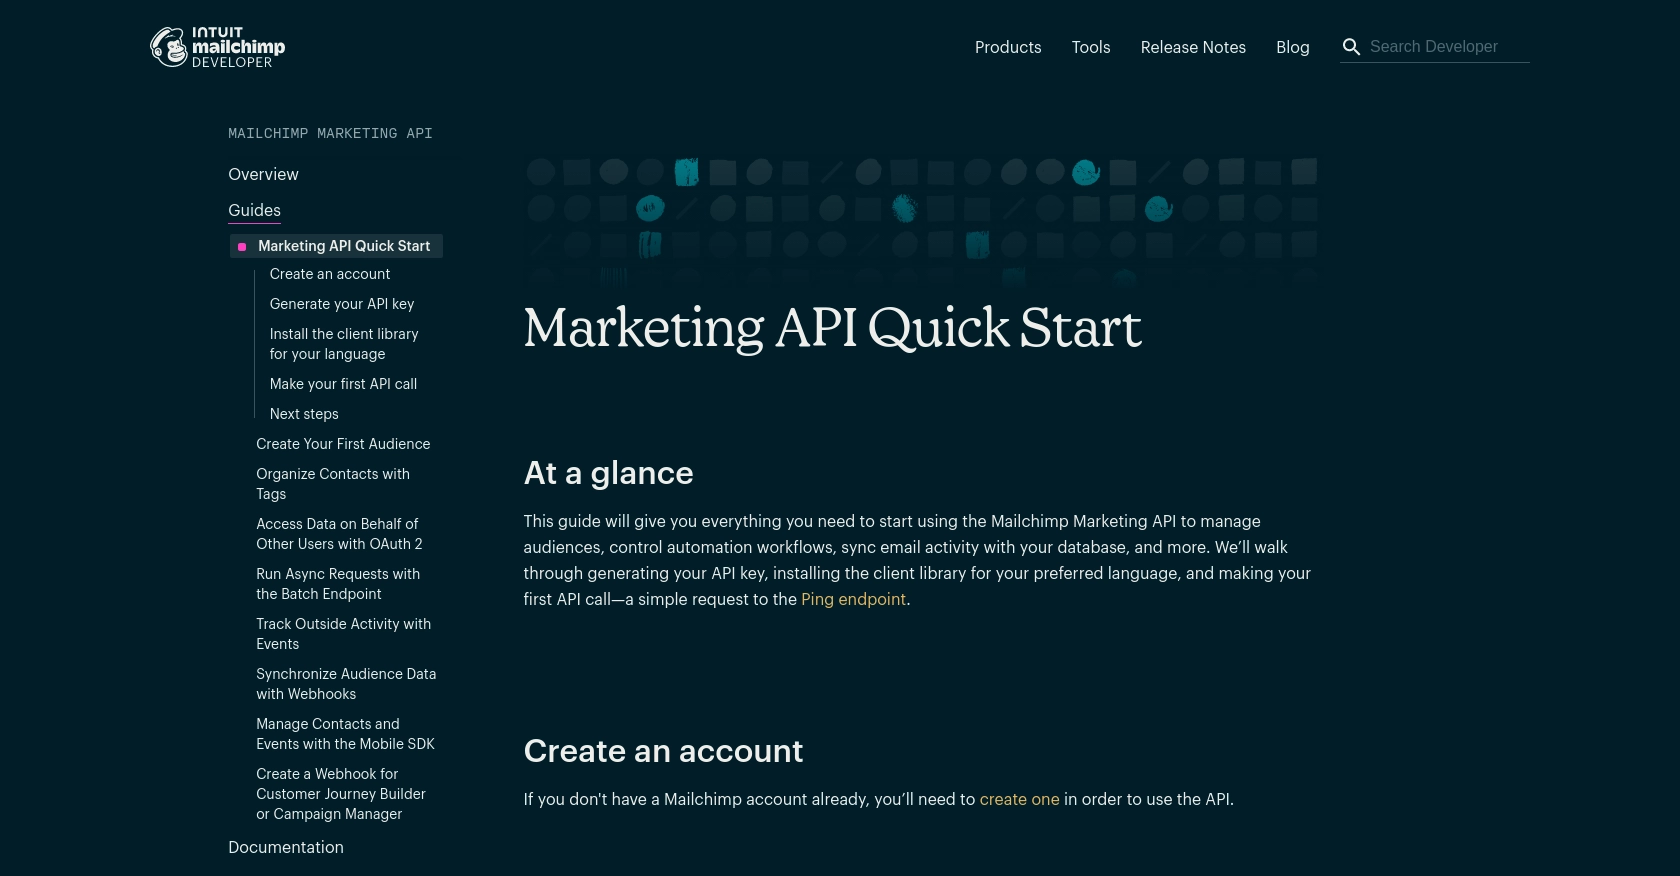
For more details, refer to the Mailchimp API Quick Start Guide.
Setting Up OAuth for Mailchimp API Access
If your integration requires access to Mailchimp on behalf of other users, you'll need to set up OAuth 2.0 authentication:
- Navigate to the "Integrations" section in your Mailchimp account.
- Select "OAuth 2" and follow the instructions to create an OAuth app.
- Once created, you'll receive a client ID and client secret, which are necessary for OAuth authentication.
For more information on OAuth setup, visit the Mailchimp OAuth Guide.
Testing Your Mailchimp API Setup
To ensure everything is set up correctly, you can make a simple API call to the Ping endpoint:
$dc = 'YOUR_DC'; // Replace with your data center prefix
$apikey = 'YOUR_API_KEY'; // Replace with your API key

$ch = curl_init();
curl_setopt($ch, CURLOPT_URL, "https://{$dc}.api.mailchimp.com/3.0/ping");
curl_setopt($ch, CURLOPT_USERPWD, "anystring:{$apikey}");
curl_setopt($ch, CURLOPT_RETURNTRANSFER, true);

$response = curl_exec($ch);
curl_close($ch);

echo $response;
If the setup is correct, you should receive a response indicating that "Everything's Chimpy!"

sbb-itb-96038d7
Making API Calls to Add Members to Mailchimp Lists Using PHP
In this section, we'll explore how to use PHP to interact with the Mailchimp API, specifically focusing on adding or updating members in a Mailchimp list. This functionality is crucial for automating subscriber management and ensuring your audience data is always up-to-date.
Prerequisites for Mailchimp API Integration with PHP
Before proceeding, ensure you have the following:
- PHP 7.4 or later installed on your server.
- The
curlextension enabled in your PHP configuration. - Your Mailchimp API key and data center prefix.
Installing Required PHP Libraries for Mailchimp API
To simplify HTTP requests in PHP, we recommend using the curl library, which is typically included with PHP installations. Ensure it's enabled in your php.ini file:
; Enable curl extension module
extension=curl
PHP Code Example: Adding a Member to a Mailchimp List
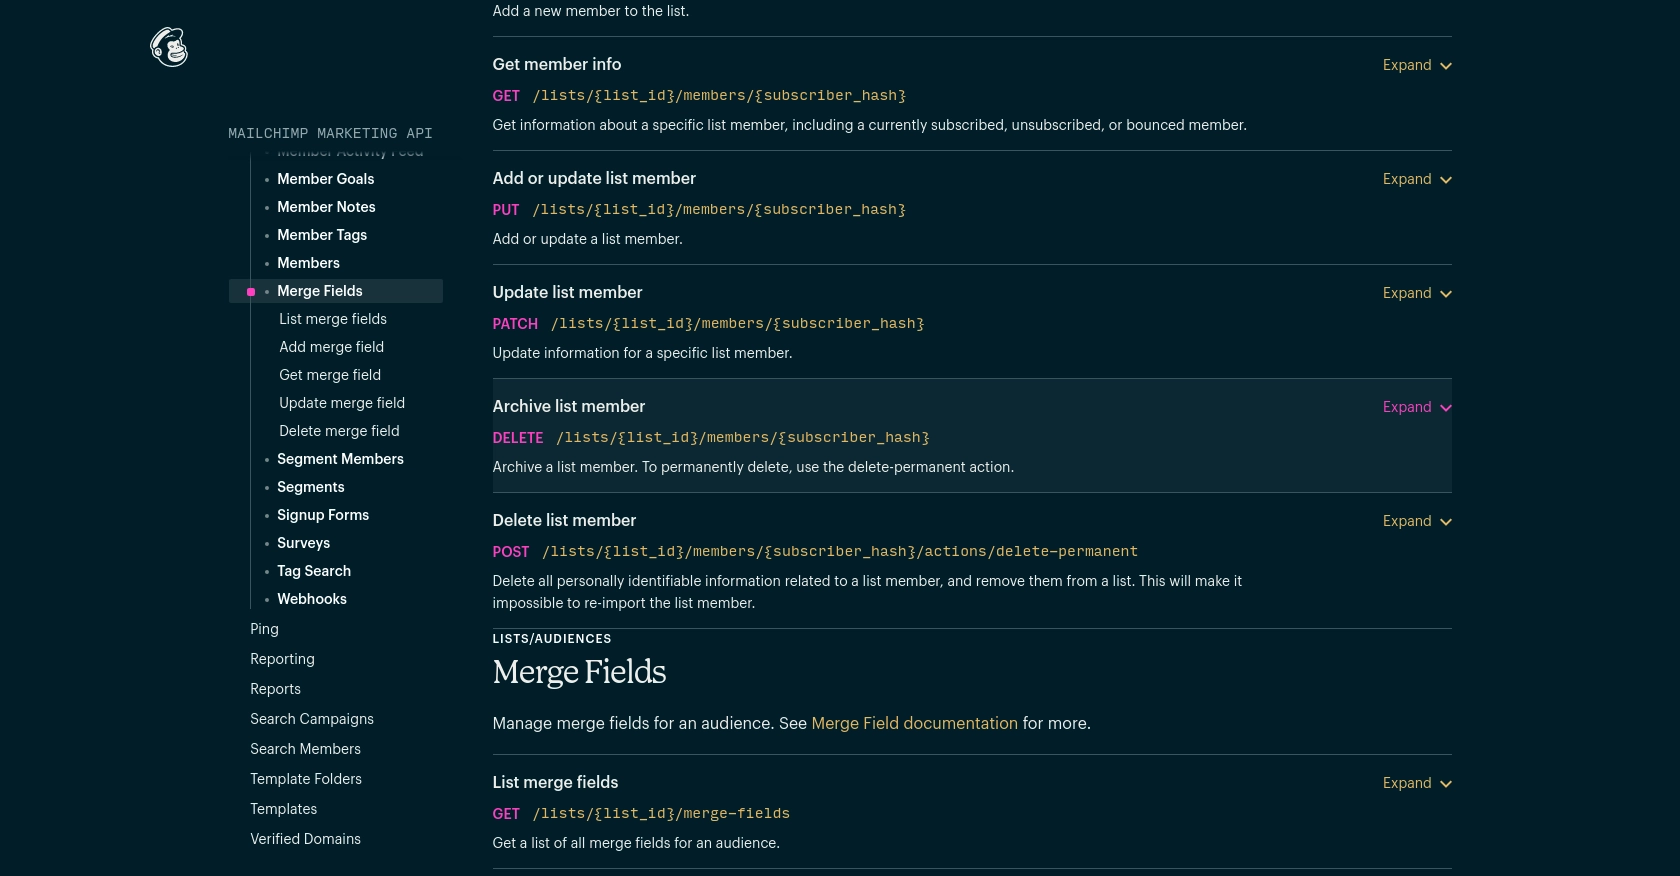
Below is a PHP example demonstrating how to add or update a member in a Mailchimp list:
$dc = 'YOUR_DC'; // Replace with your data center prefix
$apikey = 'YOUR_API_KEY'; // Replace with your API key
$list_id = 'YOUR_LIST_ID'; // Replace with your list ID

// Member data
$memberData = [
    'email_address' => 'example@example.com',
    'status' => 'subscribed',
    'merge_fields' => [
        'FNAME' => 'John',
        'LNAME' => 'Doe'
    ]
];

// Initialize cURL
$ch = curl_init();
curl_setopt($ch, CURLOPT_URL, "https://{$dc}.api.mailchimp.com/3.0/lists/{$list_id}/members/");
curl_setopt($ch, CURLOPT_USERPWD, "anystring:{$apikey}");
curl_setopt($ch, CURLOPT_POST, true);
curl_setopt($ch, CURLOPT_RETURNTRANSFER, true);
curl_setopt($ch, CURLOPT_HTTPHEADER, ['Content-Type: application/json']);
curl_setopt($ch, CURLOPT_POSTFIELDS, json_encode($memberData));

// Execute cURL request
$response = curl_exec($ch);
curl_close($ch);

// Output response
echo $response;
Replace YOUR_DC, YOUR_API_KEY, and YOUR_LIST_ID with your actual Mailchimp data center prefix, API key, and list ID, respectively. The email_address, status, and merge_fields are part of the member data you wish to add or update.
Verifying Successful Mailchimp API Requests
After executing the API call, check the response for a successful status code (e.g., 200 or 201). You can also verify the addition or update by logging into your Mailchimp account and checking the list for the new or updated member.
Handling Mailchimp API Errors and Rate Limits
Mailchimp API responses include error codes and messages if something goes wrong. Common errors include:
- 400 Bad Request: Check your request syntax and data.
- 401 Unauthorized: Verify your API key and permissions.
- 429 Too Many Requests: You've hit the rate limit. Mailchimp allows up to 10 simultaneous connections. Consider implementing retry logic with exponential backoff.
For more details on error handling, refer to the Mailchimp API documentation.

Conclusion and Best Practices for Mailchimp API Integration
Integrating with the Mailchimp API using PHP provides a powerful way to automate and enhance your marketing efforts. By programmatically managing audience lists and subscriber data, you can ensure that your marketing campaigns are both efficient and effective.
Best Practices for Storing Mailchimp API Credentials Securely
- Store your API keys and OAuth credentials in a secure location, such as environment variables or a secure vault, to prevent unauthorized access.
- Avoid hardcoding sensitive information directly into your codebase.
Handling Mailchimp API Rate Limits and Optimizing Requests
- Be mindful of Mailchimp's rate limits, which allow up to 10 simultaneous connections. Implement retry logic with exponential backoff to handle 429 errors gracefully.
- Cache frequently accessed data to reduce the number of API calls and improve performance.
Transforming and Standardizing Data for Mailchimp API
- Ensure that data fields sent to Mailchimp are properly formatted and standardized to match the expected API schema.
- Utilize Mailchimp's merge fields to personalize and segment your audience effectively.
Streamlining Integrations with Endgrate
For developers looking to simplify their integration processes, Endgrate offers a unified API endpoint that connects to multiple platforms, including Mailchimp. By using Endgrate, you can save time and resources, allowing you to focus on your core product while providing an intuitive integration experience for your customers.
Explore how Endgrate can enhance your integration capabilities by visiting Endgrate.
Read More
Ready to get started?
