How to Create or Update Customers with the Chargebee API in Python
Introduction to Chargebee API Integration
Chargebee is a robust subscription management and billing platform designed to streamline recurring billing operations for businesses. It offers a comprehensive suite of tools to manage subscriptions, invoicing, payments, and more, making it a popular choice for SaaS companies looking to automate their billing processes.
Integrating with Chargebee's API allows developers to efficiently manage customer data, automate billing tasks, and enhance the overall customer experience. For example, a developer might use the Chargebee API to create or update customer records in real-time, ensuring that customer information is always up-to-date and accurate.
This article will guide you through the process of using Python to interact with the Chargebee API, specifically focusing on creating or updating customer records. By following this tutorial, you'll learn how to set up your environment, authenticate requests, and execute API calls to manage customer data effectively.
Setting Up Your Chargebee Test/Sandbox Account
Before diving into the Chargebee API integration, it's essential to set up a test or sandbox account. This environment allows you to safely experiment with API calls without affecting live data, ensuring that your integration works as expected.
Creating a Chargebee Test Account
If you don't already have a Chargebee account, follow these steps to create a test account:
- Visit the Chargebee signup page and register for a free trial account.
- Once registered, log in to your Chargebee dashboard.
- Navigate to the "Sites" section and create a new test site. This site will be used for all your API testing purposes.
Obtaining Chargebee API Keys
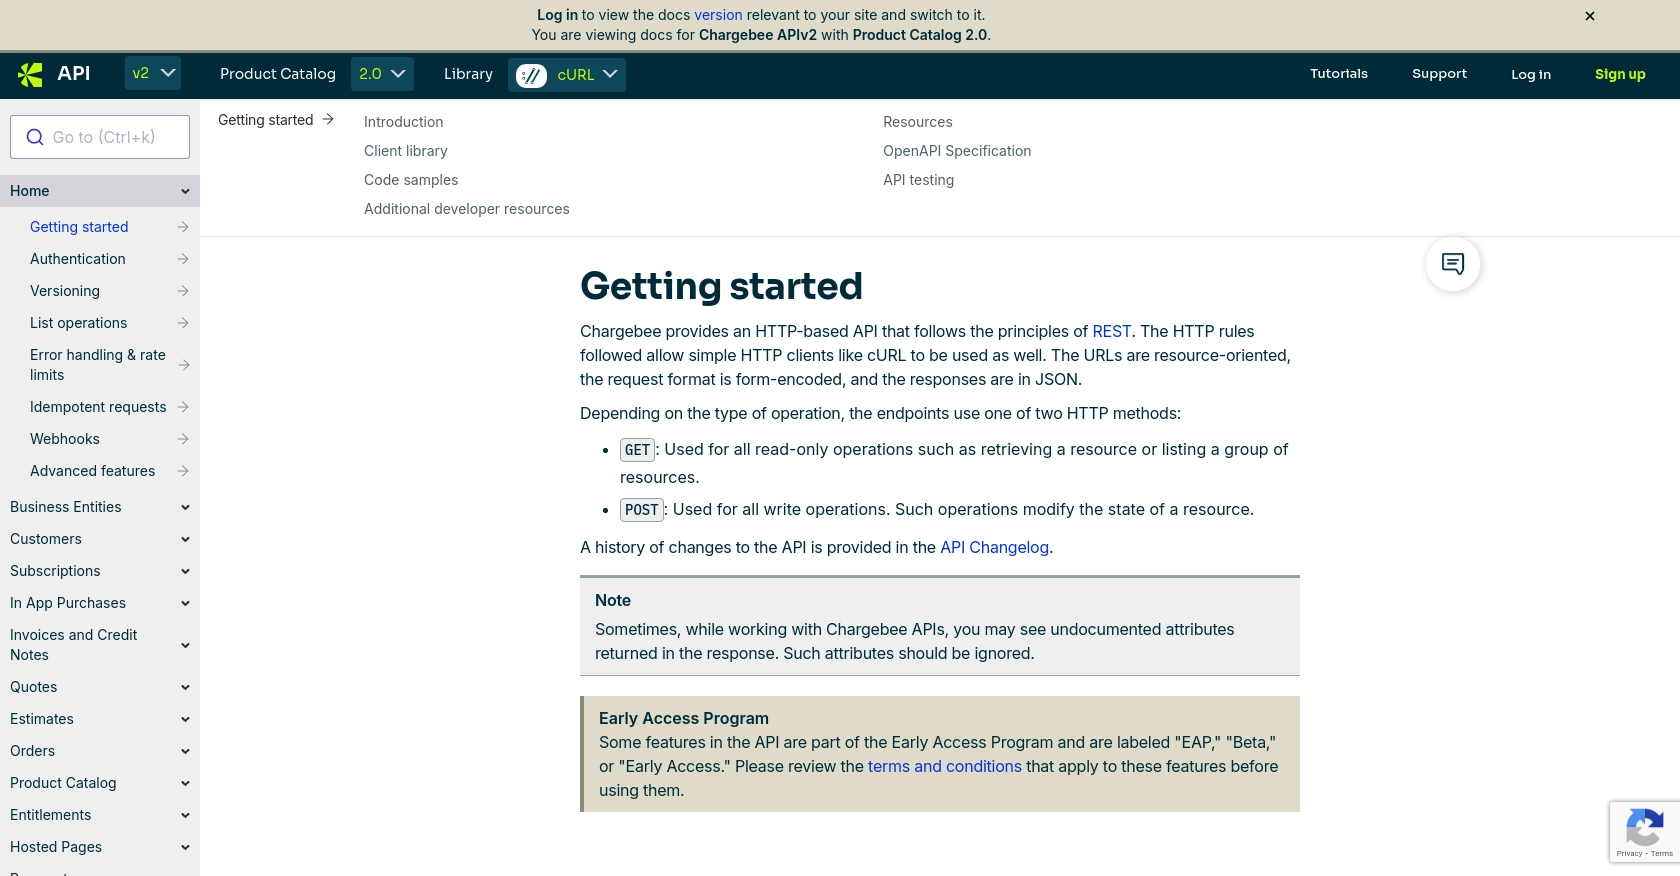
Chargebee uses HTTP Basic authentication for API calls, where your API key acts as the username, and the password is left empty. Follow these steps to obtain your API keys:
- In your Chargebee dashboard, go to the "Settings" section.
- Select "API Keys" under the "Configure Chargebee" menu.
- Click on "Create a Key" to generate a new API key for your test site.
- Copy the generated API key and store it securely, as you'll need it to authenticate your API requests.
Configuring API Access for Chargebee
Ensure that your API key has the necessary permissions to create or update customer records:
- In the "API Keys" section, click on the key you created.
- Under "Permissions," ensure that the key has access to customer-related operations.
- Save any changes to the key settings.
Testing Your Chargebee API Setup
With your test account and API key ready, you can now proceed to test your API setup:
- Use a tool like Postman or a simple Python script to make a test API call to Chargebee.
- Verify that the API call is successful and that you can create or update customer records in your test site.
By setting up your Chargebee test account and obtaining the necessary API keys, you're now ready to integrate and interact with the Chargebee API using Python.
sbb-itb-96038d7
Making API Calls to Create or Update Customers with Chargebee in Python
To interact with the Chargebee API using Python, you'll need to set up your environment and write code to make API calls. This section will guide you through the process of creating or updating customer records using Chargebee's API.
Setting Up Your Python Environment for Chargebee API Integration
Before making API calls, ensure your Python environment is correctly configured:
- Install Python 3.11.1 or later.
- Install the necessary dependencies using pip. For this tutorial, you'll need the
requestslibrary:
pip install requestsWriting Python Code to Create or Update Customers in Chargebee
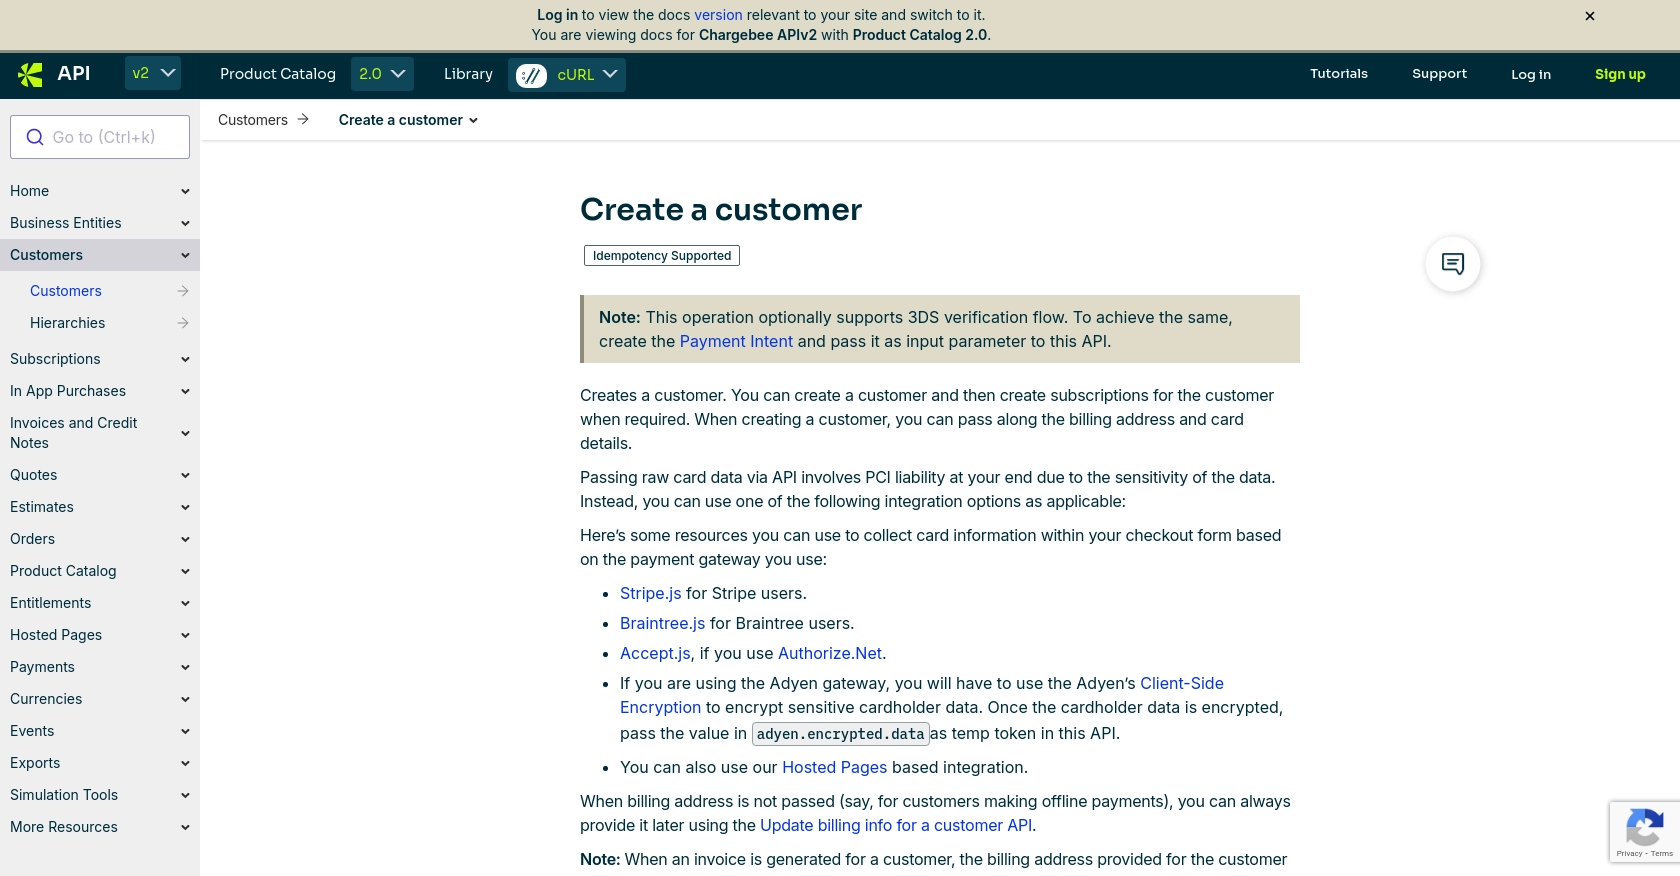
With your environment set up, you can now write Python code to interact with the Chargebee API. Below is an example of how to create or update a customer:
import requests

# Define the API endpoint and headers
api_endpoint = "https://{site}.chargebee.com/api/v2/customers"
headers = {
    "Authorization": "Basic {api_key}:",
    "Content-Type": "application/x-www-form-urlencoded"
}

# Define the customer data
customer_data = {
    "first_name": "Jane",
    "last_name": "Doe",
    "email": "jane.doe@example.com"
}

# Make a POST request to create or update a customer
response = requests.post(api_endpoint, headers=headers, data=customer_data)

# Check if the request was successful
if response.status_code == 200:
    print("Customer created/updated successfully.")
else:
    print(f"Failed to create/update customer: {response.json()}")
Replace {site} with your Chargebee site name and {api_key} with your API key. The customer_data dictionary contains the customer information you want to create or update.
Verifying Successful API Requests in Chargebee
After executing the API call, verify the success of the operation:
- Check the response status code. A status code of 200 indicates success.
- Log in to your Chargebee test site and verify that the customer record has been created or updated as expected.
Handling Errors and Understanding Chargebee API Error Codes
It's crucial to handle potential errors when making API calls. Chargebee provides detailed error codes and messages:
- HTTP 400: Bad Request - Check the request parameters.
- HTTP 401: Unauthorized - Verify your API key.
- HTTP 404: Not Found - Ensure the endpoint URL is correct.
- HTTP 429: Too Many Requests - Implement rate limiting strategies.
For more details on error handling, refer to the Chargebee API documentation.
Best Practices for Chargebee API Integration
When integrating with the Chargebee API, it's essential to follow best practices to ensure a smooth and secure implementation. Here are some recommendations:
- Secure API Keys: Store your API keys securely and avoid hardcoding them in your source code. Use environment variables or secure vaults to manage sensitive information.
- Handle Rate Limiting: Chargebee enforces rate limits to ensure fair usage. Implement exponential backoff strategies and monitor your API usage to avoid hitting these limits. For more details, refer to the Chargebee API documentation.
- Validate Input Data: Always validate the data you send to the API to prevent errors and ensure data integrity. This includes checking for required fields and data formats.
- Monitor API Responses: Log API responses and errors for troubleshooting and auditing purposes. This will help you quickly identify and resolve issues.
- Use Idempotency: For operations that can be retried, use idempotency keys to prevent duplicate actions, especially for create and update operations.
Conclusion: Streamlining Your SaaS Integrations with Endgrate
Integrating with Chargebee's API using Python allows you to efficiently manage customer data and automate billing processes. By following the steps outlined in this guide, you can create or update customer records seamlessly.
However, building and maintaining multiple integrations can be time-consuming and complex. This is where Endgrate can help. With Endgrate, you can:
- Save time and resources by outsourcing integrations, allowing you to focus on your core product development.
- Build once for each use case instead of multiple times for different integrations, reducing redundancy and effort.
- Provide an easy, intuitive integration experience for your customers, enhancing their satisfaction and engagement.
Explore how Endgrate can simplify your integration needs by visiting Endgrate today.
Read More

Ready to get started?
