How to Create or Update Leads with the Zendesk Sell API in PHP
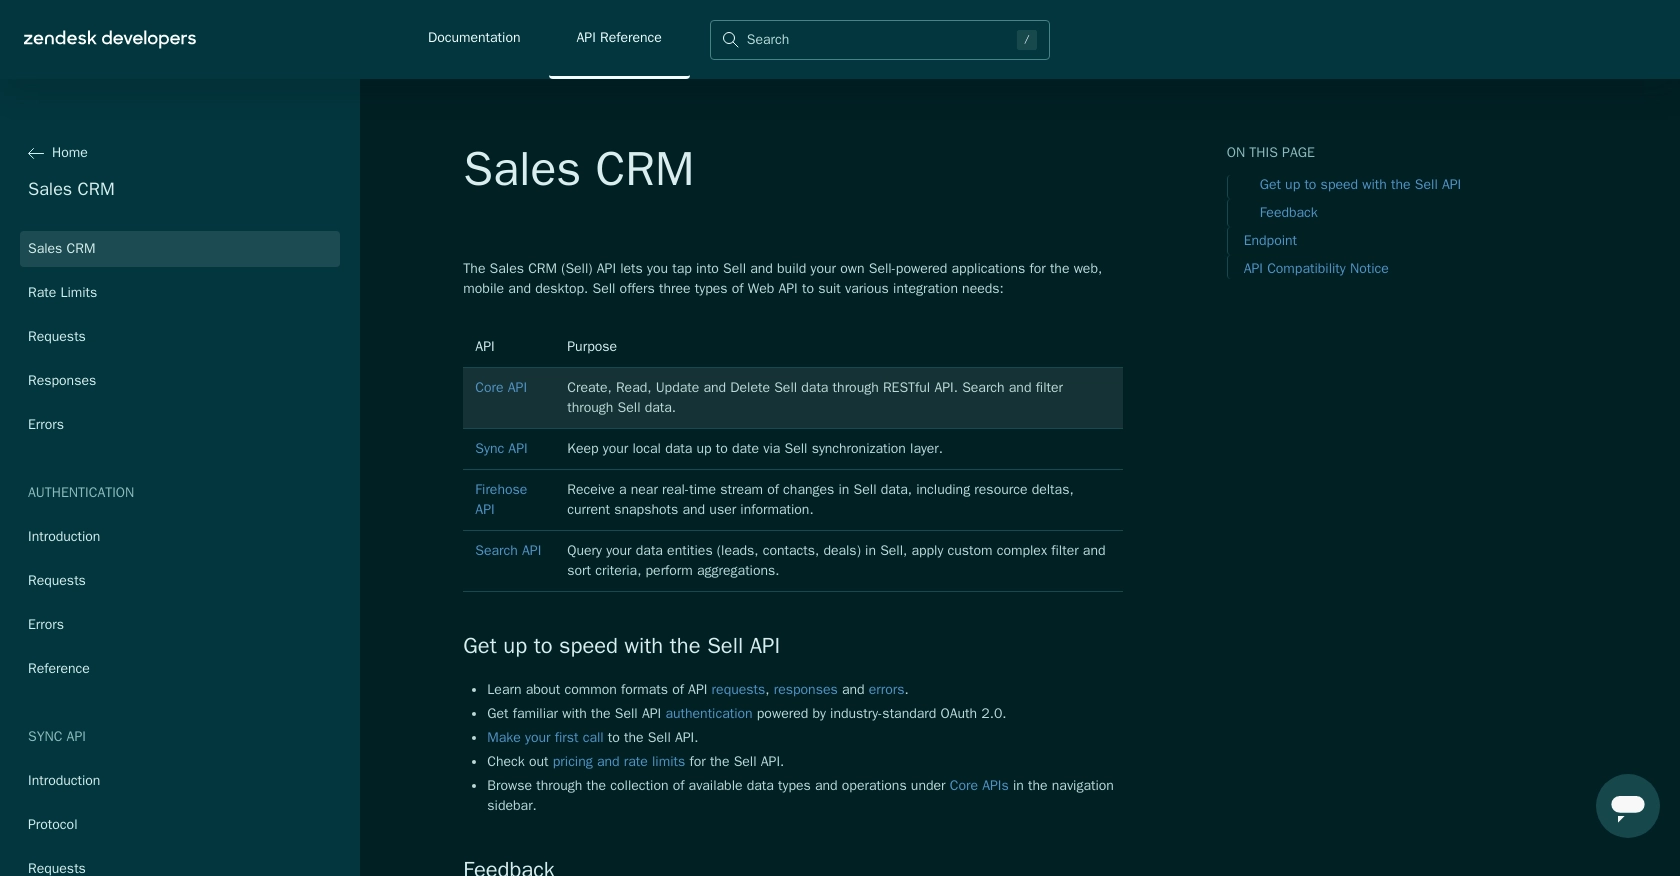
Introduction to Zendesk Sell API
Zendesk Sell is a powerful sales CRM platform designed to enhance productivity and streamline sales processes for businesses. It offers a comprehensive suite of tools to manage leads, contacts, and deals, making it an essential tool for sales teams aiming to improve their efficiency and close more deals.
Integrating with the Zendesk Sell API allows developers to automate and manage sales data effectively. For example, you can create or update leads directly from your application, ensuring that your sales team always has the most up-to-date information at their fingertips. This integration can be particularly useful for syncing lead data from various sources into Zendesk Sell, reducing manual data entry and minimizing errors.
Setting Up Your Zendesk Sell Test Account
Before you can start integrating with the Zendesk Sell API, you need to set up a test or sandbox account. This will allow you to safely experiment with API calls without affecting live data. Zendesk Sell provides a sandbox environment that mirrors the production environment, making it ideal for testing and development purposes.
Creating a Zendesk Sell Sandbox Account
To get started, follow these steps to create a sandbox account:
- Visit the Zendesk registration page and sign up for a free trial account if you don't already have one.
- Once registered, log in to your Zendesk Sell account.
- Navigate to the Admin section and select Sandbox from the menu.
- Follow the prompts to create a new sandbox environment. This may take a few minutes to set up.
Configuring OAuth Authentication for Zendesk Sell API
The Zendesk Sell API uses OAuth 2.0 for authentication. Here's how to set up OAuth for your application:
- In your Zendesk Sell account, go to the Admin section and select API & Apps.
- Click on Create API Client to register a new application.
- Fill in the required details, including the Client Name, Redirect URL, and Description.
- After creating the API client, note down the Client ID and Client Secret. These will be used to authenticate API requests.
Generating Access Tokens for Zendesk Sell API
With your OAuth client set up, you can now generate access tokens:
- Direct users to the authorization URL to obtain an authorization code:
- Exchange the authorization code for an access token using a POST request:
- Store the access token securely, as it will be used to authenticate API requests.
https://api.getbase.com/oauth2/authorize?client_id=YOUR_CLIENT_ID&response_type=code&redirect_uri=YOUR_REDIRECT_URIcurl -X POST https://api.getbase.com/oauth2/token \
-u "YOUR_CLIENT_ID:YOUR_CLIENT_SECRET" \
-d "grant_type=authorization_code" \
-d "code=AUTHORIZATION_CODE" \
-d "redirect_uri=YOUR_REDIRECT_URI"With your sandbox account and OAuth authentication configured, you're ready to start making API calls to Zendesk Sell. This setup ensures that you can test your integration thoroughly before deploying it in a live environment.
sbb-itb-96038d7
Making API Calls to Create or Update Leads with Zendesk Sell API in PHP
Setting Up Your PHP Environment for Zendesk Sell API Integration
Before making API calls to Zendesk Sell, ensure your PHP environment is properly configured. You'll need PHP 7.4 or later and the cURL extension enabled. Use the following command to install cURL if it's not already installed:
sudo apt-get install php-curlCreating a Lead with Zendesk Sell API Using PHP
To create a lead in Zendesk Sell, you'll need to send a POST request to the API endpoint. Here's a step-by-step guide:
- Set the API endpoint URL:
- Prepare the headers, including the Authorization header with your access token:
- Create the lead data in JSON format:
- Initialize cURL and set the options:
- Execute the request and handle the response:
$url = "https://api.getbase.com/v2/leads";$headers = [
"Authorization: Bearer YOUR_ACCESS_TOKEN",
"Content-Type: application/json",
"Accept: application/json"
];$data = [
"data" => [
"first_name" => "John",
"last_name" => "Doe",
"email" => "john.doe@example.com",
"organization_name" => "Example Corp"
]
];
$jsonData = json_encode($data);$ch = curl_init($url);
curl_setopt($ch, CURLOPT_HTTPHEADER, $headers);
curl_setopt($ch, CURLOPT_POST, true);
curl_setopt($ch, CURLOPT_POSTFIELDS, $jsonData);
curl_setopt($ch, CURLOPT_RETURNTRANSFER, true);$response = curl_exec($ch);
$httpCode = curl_getinfo($ch, CURLINFO_HTTP_CODE);
curl_close($ch);
if ($httpCode == 201) {
echo "Lead created successfully.";
} else {
echo "Failed to create lead. HTTP Status Code: " . $httpCode;
}Updating a Lead with Zendesk Sell API Using PHP
To update an existing lead, send a PUT request to the API endpoint with the lead's ID. Follow these steps:
- Set the API endpoint URL with the lead ID:
- Prepare the headers and updated lead data:
- Initialize cURL and set the options for a PUT request:
- Execute the request and handle the response:
$leadId = 123;
$url = "https://api.getbase.com/v2/leads/$leadId";$headers = [
"Authorization: Bearer YOUR_ACCESS_TOKEN",
"Content-Type: application/json",
"Accept: application/json"
];
$data = [
"data" => [
"first_name" => "Jane",
"last_name" => "Doe"
]
];
$jsonData = json_encode($data);$ch = curl_init($url);
curl_setopt($ch, CURLOPT_HTTPHEADER, $headers);
curl_setopt($ch, CURLOPT_CUSTOMREQUEST, "PUT");
curl_setopt($ch, CURLOPT_POSTFIELDS, $jsonData);
curl_setopt($ch, CURLOPT_RETURNTRANSFER, true);$response = curl_exec($ch);
$httpCode = curl_getinfo($ch, CURLINFO_HTTP_CODE);
curl_close($ch);
if ($httpCode == 200) {
echo "Lead updated successfully.";
} else {
echo "Failed to update lead. HTTP Status Code: " . $httpCode;
}Handling Errors and Verifying API Requests
After making API calls, check the response status codes to verify success. Common HTTP status codes include:
- 200 OK: Request succeeded.
- 201 Created: Resource created successfully.
- 400 Bad Request: Invalid request format.
- 401 Unauthorized: Invalid or expired access token.
- 429 Too Many Requests: Rate limit exceeded. The Zendesk Sell API allows up to 36,000 requests per hour.
For more detailed error handling, refer to the Zendesk Sell API error documentation.

Conclusion and Best Practices for Zendesk Sell API Integration
Integrating with the Zendesk Sell API using PHP provides a powerful way to automate and manage your sales data efficiently. By following the steps outlined in this guide, you can create and update leads seamlessly, ensuring your sales team has access to the most current information.
Best Practices for Secure and Efficient Zendesk Sell API Usage
- Secure Storage of Credentials: Always store your OAuth credentials, such as the Client ID, Client Secret, and access tokens, securely. Consider using environment variables or secure vaults to protect sensitive information.
- Handle Rate Limiting: Be mindful of the Zendesk Sell API rate limit of 36,000 requests per hour. Implement logic to handle the
429 Too Many Requestserror by retrying requests after a delay. - Data Transformation and Standardization: Ensure that data fields are consistent and standardized before sending them to the API. This helps maintain data integrity and reduces errors.
- Error Handling: Implement robust error handling to manage different HTTP status codes and provide meaningful feedback to users or logs for debugging.
By adhering to these best practices, you can enhance the reliability and security of your integrations with Zendesk Sell.
Streamline Your Integrations with Endgrate
If managing multiple integrations becomes overwhelming, consider using Endgrate to simplify the process. Endgrate offers a unified API endpoint that connects to various platforms, including Zendesk Sell, allowing you to focus on your core product while outsourcing integration complexities. Save time and resources by building once for each use case and providing an intuitive integration experience for your customers.
Explore how Endgrate can transform your integration strategy by visiting Endgrate today.
Read More
- https://endgrate.com/provider/zendesksell
- https://developer.zendesk.com/api-reference/sales-crm/introduction/
- https://developer.zendesk.com/api-reference/sales-crm/rate-limits/
- https://developer.zendesk.com/api-reference/sales-crm/requests/
- https://developer.zendesk.com/api-reference/sales-crm/errors/
- https://developer.zendesk.com/api-reference/sales-crm/authentication/introduction/
- https://developer.zendesk.com/api-reference/sales-crm/authentication/requests/#client-authentication
- https://developer.zendesk.com/api-reference/sales-crm/resources/leads/

Ready to get started?
