How to Create Tasks with the Todoist API in Python

Introduction to Todoist API for Task Management
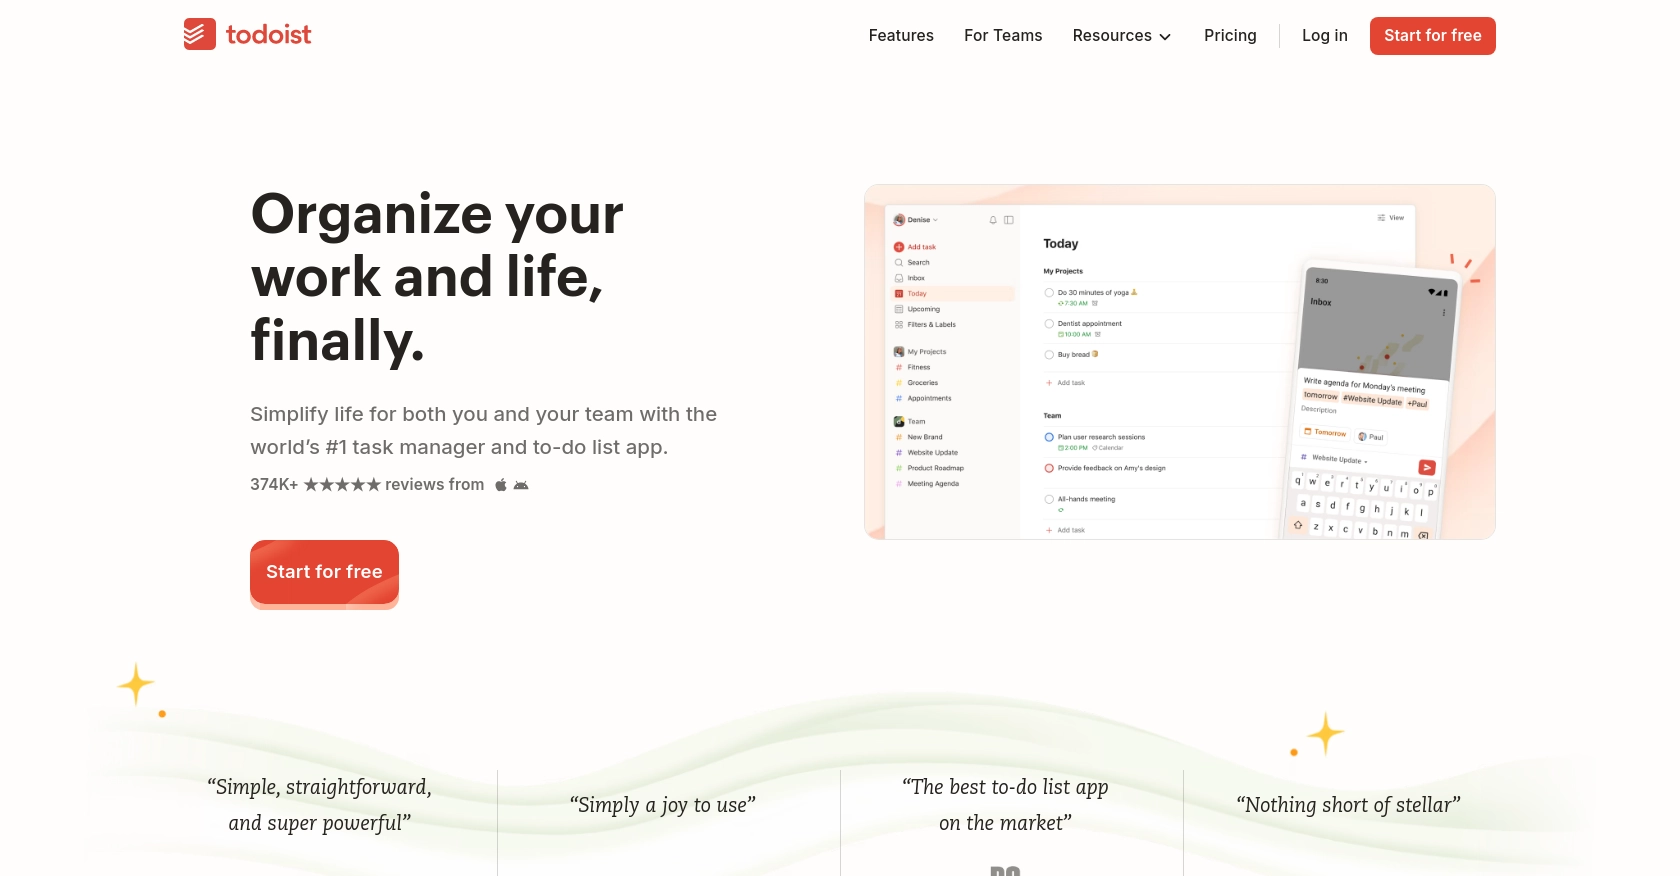
Todoist is a powerful task management application that helps individuals and teams organize, plan, and collaborate on tasks and projects. With its intuitive interface and robust features, Todoist is a popular choice for users looking to enhance productivity and streamline workflows.
Integrating with the Todoist API allows developers to automate and manage tasks programmatically. This can be particularly useful for creating tasks dynamically based on external triggers or data. For example, a developer might use the Todoist API to automatically create tasks from incoming emails or form submissions, ensuring that important tasks are never overlooked.
Setting Up Your Todoist Developer Account for API Integration
Before you can start creating tasks with the Todoist API, you'll need to set up a developer account and obtain the necessary credentials. Todoist provides a straightforward process for developers to access their API through OAuth-based authentication.
Creating a Todoist Account and Accessing Developer Settings
If you don't already have a Todoist account, you can sign up for a free account on the Todoist website. Once your account is set up, log in and navigate to the settings to access the developer options.
Generating OAuth Credentials for Todoist API Access
Todoist uses OAuth for secure API access. Follow these steps to create an app and obtain your OAuth credentials:
- Go to the Todoist Developer Portal and log in with your Todoist account.
- Navigate to the "Manage App" section and click on "Create New App."
- Fill in the required details for your app, such as the app name and description.
- Specify the redirect URI, which is the URL where users will be redirected after authorization.
- Once your app is created, you will receive a Client ID and Client Secret. Keep these credentials secure as they are essential for API authentication.
Obtaining Your Personal API Token
For testing purposes, you can use your personal API token to authenticate API requests. To find your token:
- Log in to your Todoist account on the web.
- Go to the "Integrations" section in your account settings.
- Locate your personal API token and copy it for use in your API requests.
Testing Your Todoist API Setup
With your OAuth credentials and API token ready, you can now test your setup by making a simple API call. This will ensure that your credentials are working correctly and that you can interact with the Todoist API.
For more detailed information on Todoist's API authentication, refer to the Todoist API documentation.

sbb-itb-96038d7
Making API Calls to Create Tasks with Todoist in Python
To interact with the Todoist API and create tasks programmatically, you'll need to use Python. This section will guide you through the process of setting up your environment, writing the necessary code, and executing API calls to create tasks in Todoist.
Setting Up Your Python Environment for Todoist API Integration
Before you begin, ensure you have Python installed on your machine. This tutorial uses Python 3.11.1. You will also need the requests library to handle HTTP requests and the todoist-api-python package for interacting with the Todoist API.
pip install requests
pip install todoist-api-python
Writing Python Code to Create Tasks with Todoist API
Once your environment is set up, you can write the Python code to create tasks in Todoist. Below is an example script that demonstrates how to make an API call to create a new task.
from todoist_api_python.api import TodoistAPI

# Replace 'your_api_token' with your actual Todoist API token
api = TodoistAPI('your_api_token')

try:
    # Create a new task
    task = api.add_task(
        content="Complete the project report",
        due_string="tomorrow at 5pm",
        due_lang="en",
        priority=4
    )
    print("Task created successfully:", task)
except Exception as error:
    print("Error creating task:", error)
Understanding the Python Code for Todoist Task Creation
In the code above, we start by importing the TodoistAPI class from the todoist-api-python package. We then create an instance of TodoistAPI using your API token. The add_task method is used to create a new task, where you can specify various parameters such as content, due_string, due_lang, and priority.
Executing the Python Script and Verifying Task Creation in Todoist
Run the script using the following command:
python create_todoist_task.pyIf successful, you should see a message indicating that the task was created. You can verify the task's creation by checking your Todoist account.
Handling Errors and Understanding API Response Codes
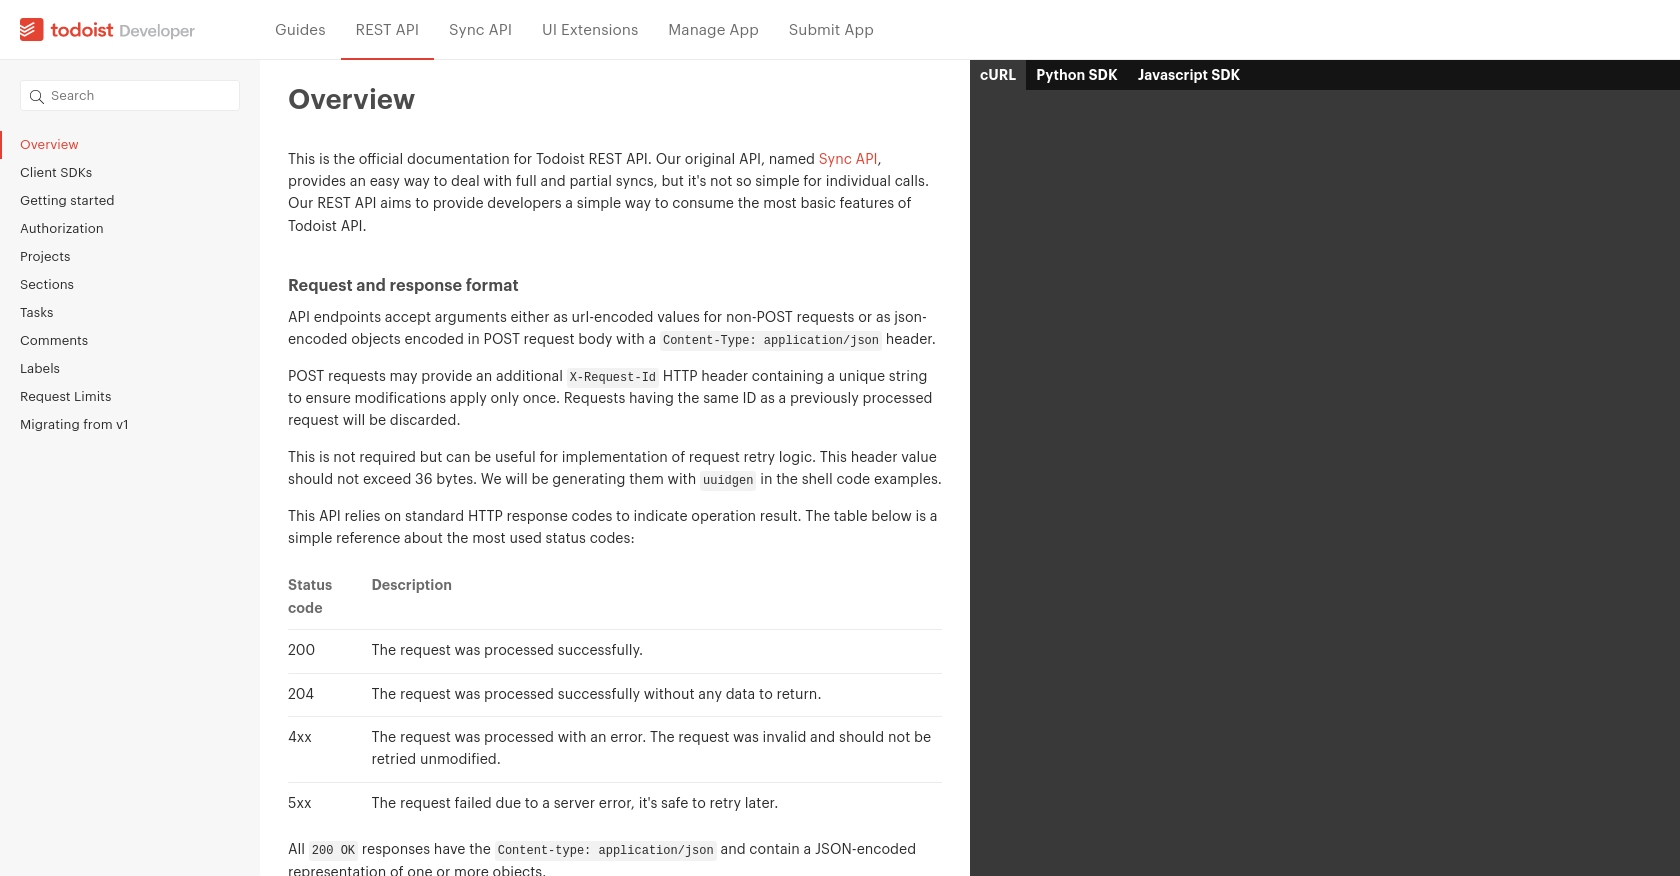
When making API calls, it's essential to handle potential errors. The Todoist API uses standard HTTP response codes to indicate the result of an operation:
- 200 OK: The request was successful.
- 204 No Content: The request was successful, but there is no content to return.
- 4xx Client Error: The request was invalid. Do not retry without modification.
- 5xx Server Error: The request failed due to a server error. It is safe to retry later.
For more details on error handling, refer to the Todoist API documentation.
Conclusion and Best Practices for Using Todoist API in Python
Integrating with the Todoist API using Python allows developers to automate task management efficiently. By following the steps outlined in this guide, you can create tasks programmatically and enhance productivity through automation.
Best Practices for Secure and Efficient Todoist API Integration
- Secure Storage of Credentials: Always store your API tokens and OAuth credentials securely. Avoid hardcoding them in your scripts. Consider using environment variables or secure vaults.
- Handling Rate Limits: Todoist API allows a maximum of 1000 requests per 15-minute period. Implement logic to handle rate limiting gracefully by checking response headers and retrying requests if necessary.
- Data Standardization: Ensure that data fields are standardized and transformed as needed to maintain consistency across your application and Todoist.
Explore More with Endgrate for Seamless Integrations
While integrating with Todoist API directly is powerful, managing multiple integrations can be complex. Endgrate simplifies this process by providing a unified API endpoint for various platforms, including Todoist. By using Endgrate, you can streamline your integration efforts, save time, and focus on your core product development.
Visit Endgrate to learn more about how you can enhance your integration strategy and provide a seamless experience for your users.
Read More
Ready to get started?
