How to Get Contacts with the Microsoft Dynamics 365 API in Javascript

Introduction to Microsoft Dynamics 365 API
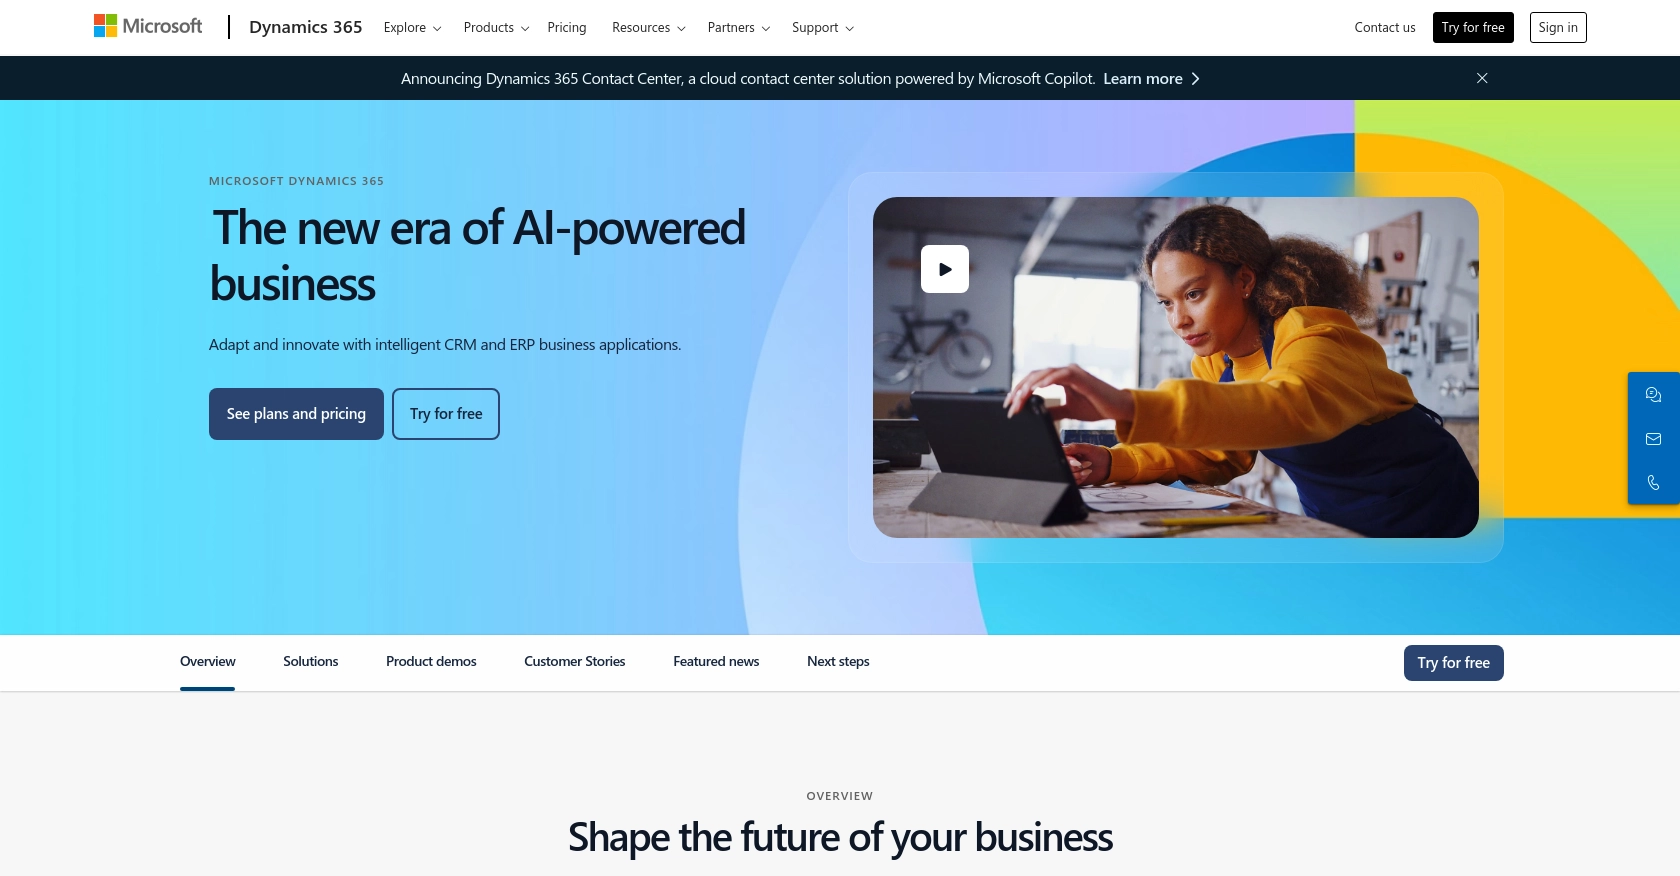
Microsoft Dynamics 365 is a comprehensive suite of business applications that seamlessly integrate CRM and ERP capabilities. It empowers organizations to drive digital transformation by providing tools for sales, customer service, finance, operations, and more. With its robust API, developers can extend and customize Dynamics 365 to meet specific business needs.
Connecting with the Microsoft Dynamics 365 API allows developers to access and manage customer data efficiently. For example, retrieving contact information can enable businesses to enhance customer engagement strategies by personalizing communication and automating workflows.
This article will guide you through using JavaScript to interact with the Microsoft Dynamics 365 API, focusing on retrieving contact data. By following these steps, developers can streamline integration processes and leverage Dynamics 365's powerful features to enhance their applications.
Setting Up a Microsoft Dynamics 365 Test or Sandbox Account
Before you can begin integrating with the Microsoft Dynamics 365 API, it's essential to set up a test or sandbox account. This environment allows developers to experiment and test API interactions without affecting live data.
Creating a Microsoft Dynamics 365 Free Trial Account
If you don't have a Microsoft Dynamics 365 account, you can start by signing up for a free trial. Follow these steps:
- Visit the Microsoft Dynamics 365 website.
- Click on the "Try for free" button to begin the registration process.
- Fill in the required information, including your name, email, and company details.
- Follow the on-screen instructions to complete the setup of your trial account.
Once your account is created, you will have access to a sandbox environment where you can safely test API calls.
Registering an Application for OAuth Authentication
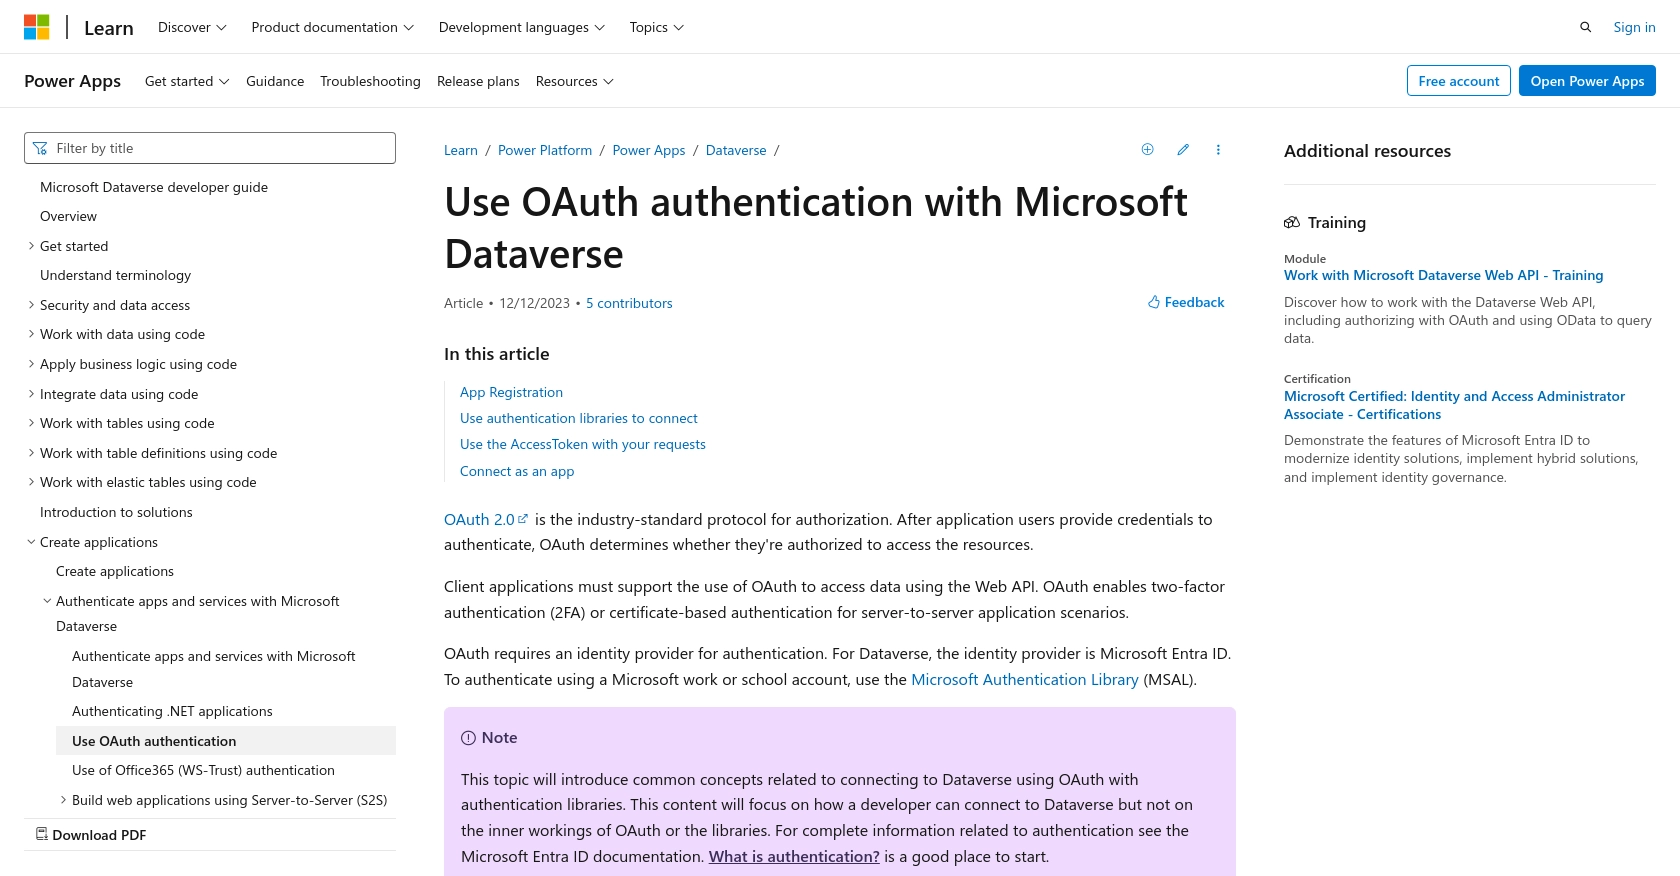
To interact with the Microsoft Dynamics 365 API, you'll need to register an application in your Microsoft Entra ID tenant. This registration will provide you with the necessary credentials to authenticate API requests using OAuth.
- Navigate to the Azure Portal and sign in with your Microsoft account.
- Go to "Azure Active Directory" and select "App registrations" from the sidebar.
- Click on "New registration" and provide a name for your application.
- Set the "Redirect URI" to
https://localhostfor local development. - Click "Register" to create the application.
After registration, note down the Application (client) ID and Directory (tenant) ID, as these will be needed for authentication.
Generating Client Secret for Microsoft Dynamics 365 API
To complete the OAuth setup, you'll need to generate a client secret:
- In the Azure Portal, navigate to your registered application.
- Select "Certificates & secrets" from the sidebar.
- Under "Client secrets," click "New client secret."
- Provide a description and set an expiration period for the secret.
- Click "Add" and copy the generated secret value. Store it securely, as it will not be shown again.
Configuring API Permissions for Microsoft Dynamics 365
To ensure your application can access Dynamics 365 data, configure the necessary API permissions:
- Go to the "API permissions" section of your registered application in the Azure Portal.
- Click "Add a permission" and select "Dynamics CRM."
- Choose the permissions required for your application, such as "user_impersonation" for delegated access.
- Click "Add permissions" to apply the changes.
Ensure you grant admin consent for the permissions to take effect.
With your Microsoft Dynamics 365 test account and application registration complete, you're ready to start making API calls using JavaScript. This setup provides a secure and isolated environment to develop and test your integration solutions.

sbb-itb-96038d7
Making API Calls to Retrieve Contacts from Microsoft Dynamics 365 Using JavaScript
To interact with the Microsoft Dynamics 365 API and retrieve contact data, you'll need to set up your JavaScript environment and make authenticated requests. This section will guide you through the process of making API calls using JavaScript, ensuring you can efficiently access and manage contact information.
Setting Up Your JavaScript Environment for Microsoft Dynamics 365 API
Before making API calls, ensure your development environment is ready. You'll need Node.js and npm installed on your machine. Follow these steps to set up your environment:
- Install Node.js from the official website.
- Verify the installation by running
node -vandnpm -vin your terminal. - Create a new project directory and navigate into it.
- Initialize a new Node.js project by running
npm init -y. - Install the required dependencies by running
npm install axios msal.
Authenticating with Microsoft Dynamics 365 API Using OAuth
To authenticate your requests, you'll use the Microsoft Authentication Library (MSAL) to obtain an access token. Here's how you can set up authentication:
const msal = require('@azure/msal-node');

const config = {
    auth: {
        clientId: 'Your_Client_ID',
        authority: 'https://login.microsoftonline.com/Your_Tenant_ID',
        clientSecret: 'Your_Client_Secret'
    }
};

const cca = new msal.ConfidentialClientApplication(config);

async function getAccessToken() {
    const result = await cca.acquireTokenByClientCredential({
        scopes: ['https://Your_Org.crm.dynamics.com/.default']
    });
    return result.accessToken;
}
Replace Your_Client_ID, Your_Tenant_ID, and Your_Client_Secret with the values obtained during your app registration.
Retrieving Contacts from Microsoft Dynamics 365 API
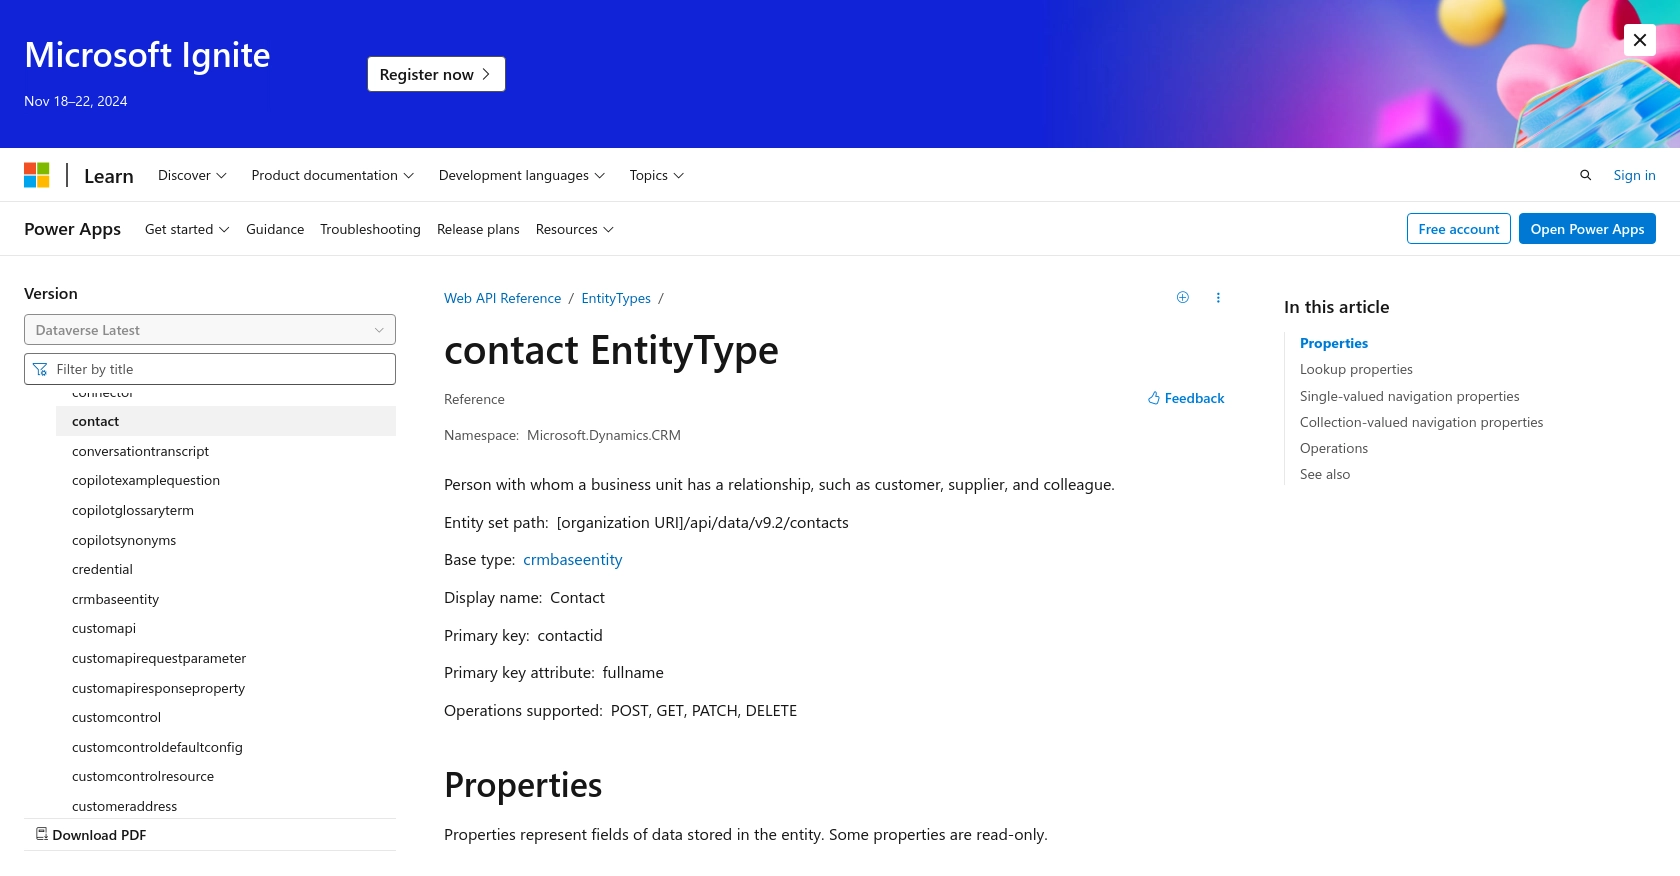
Once authenticated, you can make API calls to retrieve contact data. Use the following code to fetch contacts:
const axios = require('axios');

async function getContacts() {
    const token = await getAccessToken();
    const url = 'https://Your_Org.crm.dynamics.com/api/data/v9.2/contacts';

    try {
        const response = await axios.get(url, {
            headers: {
                Authorization: `Bearer ${token}`,
                'OData-MaxVersion': '4.0',
                'OData-Version': '4.0',
                Accept: 'application/json'
            }
        });

        console.log(response.data.value);
    } catch (error) {
        console.error('Error fetching contacts:', error.response ? error.response.data : error.message);
    }
}

getContacts();
Replace Your_Org with your organization's specific domain. This code uses Axios to make a GET request to the Dynamics 365 API, retrieving contact data in JSON format.
Handling API Response and Errors
After making the API call, you should verify the response to ensure it succeeded. The response will contain the contact data, which you can use to enhance your application. Handle any errors by checking the response status and logging the error message for debugging purposes.
For more detailed information on error codes and handling, refer to the Microsoft Dynamics 365 API documentation.

Conclusion and Best Practices for Integrating with Microsoft Dynamics 365 API
Integrating with the Microsoft Dynamics 365 API using JavaScript provides developers with powerful capabilities to manage and access customer data efficiently. By following the steps outlined in this guide, you can streamline your integration processes and enhance your application's functionality.
Best Practices for Secure and Efficient API Integration
- Securely Store Credentials: Always store your client ID, client secret, and access tokens securely. Consider using environment variables or secure vaults to protect sensitive information.
- Handle Rate Limiting: Be aware of API rate limits and implement retry logic to handle rate-limited responses gracefully. For more information, refer to the Microsoft Dynamics 365 API documentation.
- Data Transformation and Standardization: Ensure that data retrieved from the API is transformed and standardized to fit your application's data model. This will help maintain consistency and improve data quality.
- Error Handling: Implement robust error handling to capture and log errors for debugging. Use the error codes provided in the API documentation to identify and resolve issues effectively.
Enhance Your Integration Strategy with Endgrate
While integrating with Microsoft Dynamics 365 API can be a rewarding experience, it can also be time-consuming and complex. Endgrate offers a solution to simplify your integration strategy. By using Endgrate, you can:
- Save time and resources by outsourcing integrations, allowing you to focus on your core product development.
- Build once for each use case and leverage a unified API for multiple integrations, reducing redundancy and complexity.
- Provide an intuitive and seamless integration experience for your customers, enhancing user satisfaction and engagement.
Explore how Endgrate can transform your integration processes by visiting Endgrate's website and discover the benefits of a streamlined integration approach.
Read More
- https://endgrate.com/provider/microsoftdynamics365
- https://learn.microsoft.com/en-us/power-apps/developer/data-platform/authenticate-oauth
- https://learn.microsoft.com/en-us/graph/use-the-api
- https://learn.microsoft.com/en-us/power-apps/developer/data-platform/webapi/reference/contact?view=dataverse-latest
Ready to get started?
