How to Get Customers with the Microsoft Dynamics 365 Business Central API in Javascript

Introduction to Microsoft Dynamics 365 Business Central
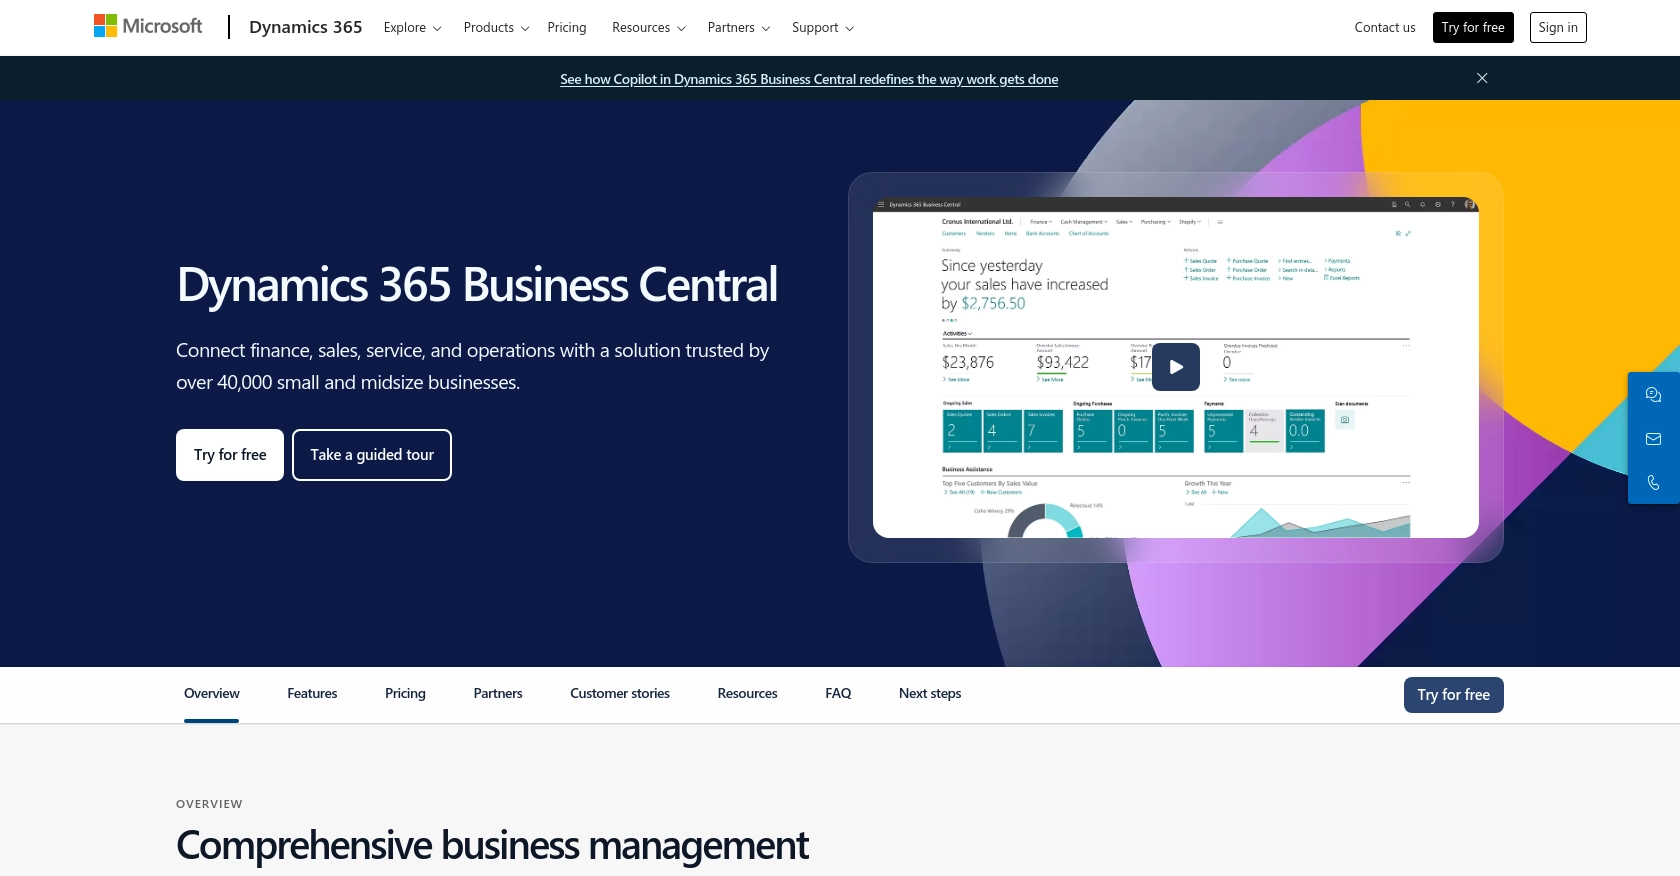
Microsoft Dynamics 365 Business Central is a comprehensive business management solution designed to streamline operations for small to medium-sized enterprises. It offers a wide range of functionalities, including finance, sales, service, and operations management, all integrated into a single platform.
Developers may want to integrate with Microsoft Dynamics 365 Business Central to access and manage customer data efficiently. By leveraging its API, developers can automate processes such as retrieving customer information, which can be used to enhance customer relationship management and streamline business operations.
For example, a developer might use the Microsoft Dynamics 365 Business Central API to fetch customer details and integrate them into a custom CRM application, enabling real-time updates and improved customer service.
Setting Up a Microsoft Dynamics 365 Business Central Sandbox Account
Before you can start working with the Microsoft Dynamics 365 Business Central API, you'll need to set up a sandbox account. This allows you to test API interactions without affecting live data. Follow these steps to create and configure your sandbox environment.
Create a Microsoft Dynamics 365 Business Central Account
If you don't have an account, sign up for a free trial on the Microsoft Dynamics 365 Business Central website. Follow the instructions to create your account and log in.
Set Up a Sandbox Environment
Once logged in, navigate to the Admin Center and select Environments. Click on New to create a new environment. Choose Sandbox as the type and fill in the necessary details. This sandbox will be used for testing API calls.
Register an Application for OAuth Authentication
To interact with the API, you'll need to register an application in your Microsoft Entra ID tenant. Follow these steps:
- Go to the Azure Portal and navigate to Azure Active Directory.
- Select App registrations and click on New registration.
- Enter a name for your app and choose Accounts in this organizational directory only.
- Set the Redirect URI to
https://localhostfor local development. - Click Register to create the app.
Configure API Permissions
After registering your app, you'll need to configure API permissions:
- In the app registration, go to API permissions and click on Add a permission.
- Select Dynamics 365 Business Central and choose the permissions required for accessing customer data.
- Click Add permissions and grant admin consent if necessary.
Generate Client Secret
To authenticate your API requests, generate a client secret:
- Navigate to Certificates & secrets in your app registration.
- Click on New client secret, provide a description, and set an expiration period.
- Click Add and copy the client secret value. Store it securely as it will not be shown again.
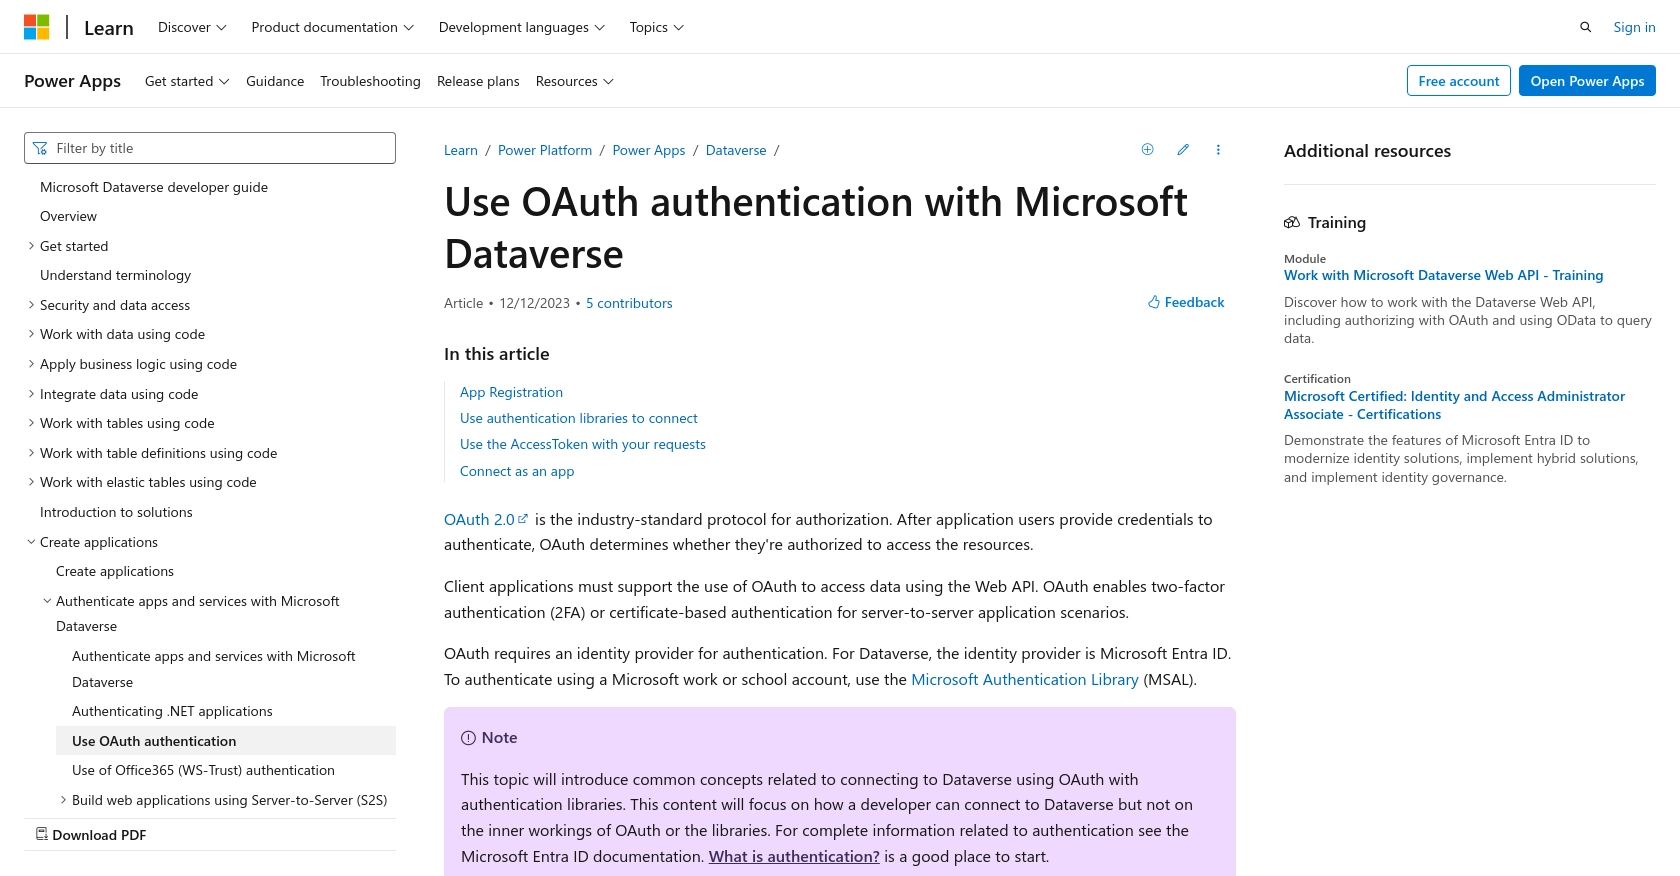
With your sandbox environment and application registration set up, you're ready to start making API calls to Microsoft Dynamics 365 Business Central using OAuth authentication. For more detailed information on authentication, refer to the Microsoft documentation.

sbb-itb-96038d7
Making API Calls to Retrieve Customers from Microsoft Dynamics 365 Business Central Using JavaScript
To interact with the Microsoft Dynamics 365 Business Central API and retrieve customer data, you'll need to set up your JavaScript environment and make HTTP requests. This section will guide you through the process of making API calls using JavaScript, ensuring you have the necessary tools and code to get started.
Setting Up Your JavaScript Environment
Before making API calls, ensure you have the following prerequisites:
- Node.js installed on your machine.
- A code editor like Visual Studio Code.
- Familiarity with JavaScript and asynchronous programming.
Installing Required Dependencies
You'll need to install the axios library to handle HTTP requests. Run the following command in your terminal:
npm install axiosWriting JavaScript Code to Fetch Customers
Create a new JavaScript file named getCustomers.js and add the following code:
const axios = require('axios');

// Set the API endpoint and headers
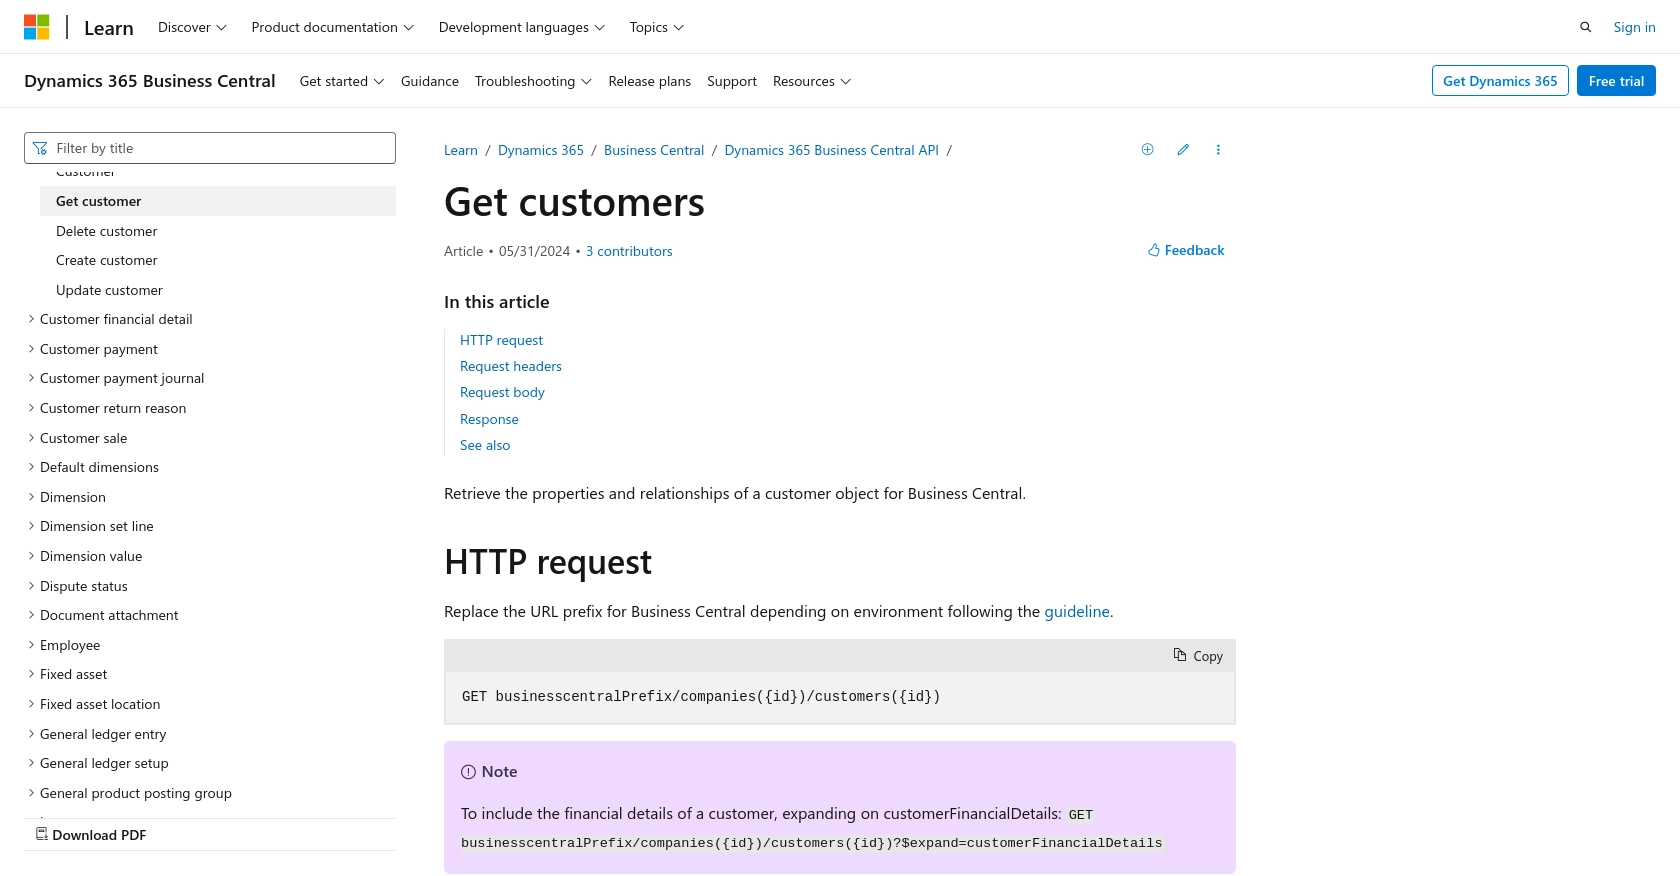
const endpoint = 'https://{businesscentralPrefix}/api/v2.0/companies({id})/customers';
const headers = {
    'Authorization': 'Bearer Your_Token',
    'Content-Type': 'application/json'
};

// Function to get customers
async function getCustomers() {
    try {
        const response = await axios.get(endpoint, { headers });
        const customers = response.data.value;
        console.log('Customers:', customers);
    } catch (error) {
        console.error('Error fetching customers:', error.response ? error.response.data : error.message);
    }
}

// Execute the function
getCustomers();
Replace Your_Token with the access token obtained during the OAuth authentication process. Ensure the businesscentralPrefix and id are correctly set for your environment.
Running the JavaScript Code
Execute the script using Node.js by running the following command in your terminal:
node getCustomers.jsIf successful, the console will display the list of customers retrieved from your Microsoft Dynamics 365 Business Central sandbox environment.
Handling Errors and Verifying API Requests
To ensure your API requests are successful, check the response status code. A status code of 200 OK indicates a successful request. If you encounter errors, the code will log detailed error messages to help you troubleshoot.
Verify the retrieved customer data by comparing it with the data in your sandbox environment. This ensures the API call is correctly fetching the intended information.
For more detailed information on making API calls, refer to the Microsoft documentation.

Conclusion and Best Practices for Integrating with Microsoft Dynamics 365 Business Central API
Integrating with the Microsoft Dynamics 365 Business Central API using JavaScript can significantly enhance your business operations by automating customer data retrieval and management. By following the steps outlined in this guide, you can efficiently set up your environment, authenticate using OAuth, and make API calls to access customer information.
Best Practices for Secure and Efficient API Integration
- Secure Storage of Credentials: Always store your client secrets and tokens securely. Consider using environment variables or secure vaults to protect sensitive information.
- Handling Rate Limits: Be aware of API rate limits to avoid throttling. Implement retry logic with exponential backoff to handle rate limit errors gracefully.
- Data Standardization: Ensure that the data retrieved from the API is standardized and transformed as needed to fit your application's requirements.
- Error Handling: Implement robust error handling to manage API call failures. Log errors for troubleshooting and provide meaningful feedback to users.
Enhancing Integration Capabilities with Endgrate
While integrating with Microsoft Dynamics 365 Business Central API can be straightforward, managing multiple integrations can become complex. Endgrate simplifies this process by offering a unified API endpoint that connects to various platforms, including Microsoft Dynamics 365 Business Central.
By using Endgrate, you can save time and resources, allowing your team to focus on core product development. Build once for each use case and enjoy an intuitive integration experience for your customers. Explore how Endgrate can streamline your integration processes by visiting Endgrate.
Read More
- https://endgrate.com/provider/microsoftdynamics365businesscentral
- https://learn.microsoft.com/en-us/power-apps/developer/data-platform/authenticate-oauth
- https://learn.microsoft.com/en-us/graph/use-the-api
- https://learn.microsoft.com/en-us/dynamics365/business-central/dev-itpro/api-reference/v2.0/api/dynamics_customer_get
Ready to get started?
