Using the Insightly API to Create Leads (with Python examples)
Introduction to Insightly CRM and API Integration
Insightly is a powerful CRM platform that helps businesses manage customer relationships, projects, and sales pipelines efficiently. With its robust set of features, Insightly is a popular choice for organizations looking to streamline their operations and improve customer engagement.
Developers may want to integrate with the Insightly API to automate and enhance various business processes. For example, using the Insightly API, developers can create leads programmatically, allowing for seamless integration with other business applications and systems.
This article will guide you through using Python to interact with the Insightly API, specifically focusing on creating leads. By following this tutorial, you'll learn how to efficiently manage lead data within the Insightly platform, enabling your business to capture and nurture potential customers more effectively.
Setting Up Your Insightly Test Account for API Integration
Before you can start creating leads using the Insightly API, you'll need to set up a test account. This will allow you to safely experiment with API calls without affecting live data. Insightly offers a straightforward process to get started with their API using a test or sandbox account.
Creating an Insightly Account
If you don't already have an Insightly account, you can sign up for a free trial on the Insightly website. Follow the instructions to create your account. Once your account is set up, you'll have access to the Insightly CRM platform, where you can manage your data and test API interactions.
Generating Your Insightly API Key
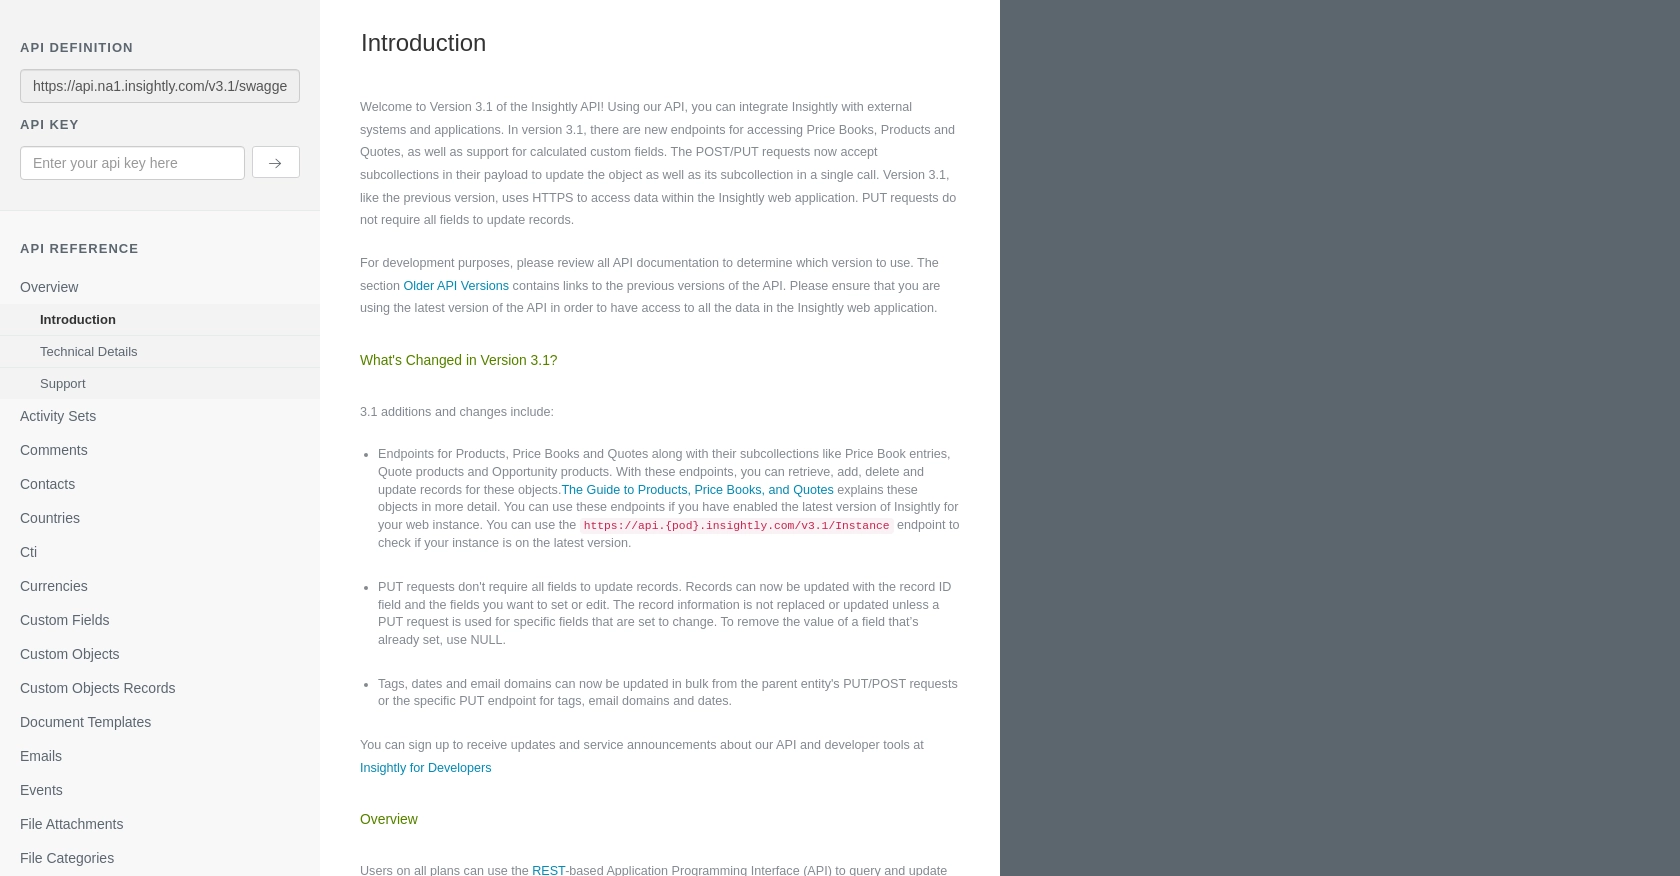
Insightly uses API key-based authentication to authorize API requests. Follow these steps to obtain your API key:
- Log in to your Insightly account.
- Navigate to the User Settings by clicking on your profile icon in the upper right corner and selecting User Settings.
- In the API Key and URL section, you will find your API key. Make sure to copy this key and store it securely, as you'll need it to authenticate your API requests.
- If you need to reset your API key, you can generate a new one by clicking Generate New API Key.
For more detailed instructions, you can refer to the Insightly support documentation.
Understanding Insightly API Authentication
Insightly uses HTTP Basic authentication, where the API key is included as the Base64-encoded username, leaving the password blank. This means that each API call will assume the identity of the user associated with the API key, and permissions will match those of the user in the Insightly web application.
For testing purposes, you can paste your API key directly into the API key field on the left side of the page without Base64 encoding when using the sandbox environment.
With your Insightly account and API key ready, you can now proceed to make API calls to create leads and explore other functionalities offered by the Insightly API.
sbb-itb-96038d7
Making API Calls to Create Leads in Insightly Using Python
To create leads in Insightly using Python, you'll need to set up your environment and write a script that interacts with the Insightly API. This section will guide you through the process, including setting up Python, installing necessary dependencies, and writing the code to make API calls.
Setting Up Your Python Environment for Insightly API Integration
Before you begin, ensure you have Python installed on your machine. This tutorial uses Python 3.11.1. You will also need the requests library to handle HTTP requests.
- Install Python 3.11.1 from the official Python website if you haven't already.
- Open your terminal or command prompt and install the
requestslibrary using pip:
pip install requestsWriting the Python Script to Create Leads in Insightly
With your environment set up, you can now write a Python script to create leads in Insightly. Follow these steps:
- Create a new Python file named
create_insightly_lead.py. - Add the following code to the file:
import requests
import base64

# Your Insightly API key
api_key = 'Your_API_Key'

# Encode the API key for HTTP Basic Authentication
auth_header = base64.b64encode(f'{api_key}:'.encode()).decode()

# Set the API endpoint for creating leads
url = 'https://api.na1.insightly.com/v3.1/Leads'

# Define the lead data
lead_data = {
    "FIRST_NAME": "John",
    "LAST_NAME": "Doe",
    "EMAIL": "johndoe@example.com",
    "LEAD_SOURCE": "Website"
}

# Set the request headers
headers = {
    "Authorization": f"Basic {auth_header}",
    "Content-Type": "application/json"
}

# Make the POST request to create a lead
response = requests.post(url, json=lead_data, headers=headers)

# Check the response status
if response.status_code == 201:
    print("Lead created successfully:", response.json())
else:
    print("Failed to create lead:", response.status_code, response.text)
Replace Your_API_Key with the API key you obtained from your Insightly account.
Running the Python Script and Verifying Lead Creation in Insightly
To run the script and create a lead in Insightly, execute the following command in your terminal:
python create_insightly_lead.pyIf the request is successful, you should see a message indicating that the lead was created, along with the lead's details. You can verify the creation by checking your Insightly account.
Handling Errors and Understanding Insightly API Response Codes
When making API calls, it's essential to handle potential errors. The Insightly API may return various status codes, such as:
- 201 Created: The lead was successfully created.
- 400 Bad Request: The request was malformed. Check your data and try again.
- 401 Unauthorized: Authentication failed. Verify your API key.
- 429 Too Many Requests: Rate limit exceeded. Wait and retry later.
For more details on error codes, refer to the Insightly API documentation.
Best Practices for Using the Insightly API
When integrating with the Insightly API, it's crucial to follow best practices to ensure efficient and secure interactions. Here are some recommendations:
- Securely Store API Keys: Always store your API keys securely and avoid hardcoding them in your scripts. Consider using environment variables or a secure vault.
- Handle Rate Limiting: Insightly imposes rate limits to prevent abuse. For the Free/Gratis plan, the limit is 1,000 requests per day. If you exceed this limit, you'll receive a 429 status code. Implement retry logic with exponential backoff to handle these scenarios gracefully.
- Data Transformation and Standardization: Ensure that data fields are consistently formatted and standardized before sending them to Insightly. This helps maintain data integrity and simplifies data management.
- Error Handling: Implement robust error handling to manage different response codes. Log errors and provide meaningful feedback to users or systems interacting with your integration.
Enhancing Your Integration Experience with Endgrate
Building and maintaining multiple integrations can be complex and time-consuming. Endgrate simplifies this process by offering a unified API endpoint that connects to various platforms, including Insightly.
With Endgrate, you can:
- Save Time and Resources: Focus on your core product while outsourcing integration complexities to Endgrate.
- Build Once, Use Everywhere: Develop a single integration for multiple platforms, reducing redundancy and maintenance efforts.
- Provide a Seamless Experience: Offer your customers an intuitive and consistent integration experience across different services.
Explore how Endgrate can streamline your integration processes by visiting Endgrate.
Read More

Ready to get started?
