Using the Mailchimp API to Get Members in Python
Introduction to Mailchimp API Integration
Mailchimp is a powerful marketing automation platform that enables businesses to create, send, and analyze email and ad campaigns. With its robust suite of tools, Mailchimp helps organizations manage their audience data, engage with customers, and enhance their marketing strategies.
Integrating with the Mailchimp API allows developers to access and manage audience data programmatically, streamlining marketing efforts and enhancing customer engagement. For example, a developer might use the Mailchimp API to retrieve member information from a mailing list, enabling personalized communication and targeted marketing campaigns.
Setting Up Your Mailchimp Test Account for API Integration
Before you can start using the Mailchimp API to manage your audience data, you need to set up a Mailchimp account. This will allow you to generate the necessary credentials for API access and testing.
Create a Mailchimp Account
If you don't already have a Mailchimp account, follow these steps to create one:
- Visit the Mailchimp website and click on "Sign Up Free."
- Fill in the required information, including your email, username, and password.
- Follow the on-screen instructions to complete the registration process.
Once your account is created, you will have access to the Mailchimp dashboard where you can manage your audiences and campaigns.
Generate Your Mailchimp API Key
To authenticate your API requests, you'll need to generate an API key. Here's how to do it:
- Log in to your Mailchimp account and navigate to the "Account" section.
- Go to "Extras" and select "API keys."
- Click on "Create A Key" to generate a new API key.
- Copy the generated API key and store it securely. You will need this key to authenticate your API requests.
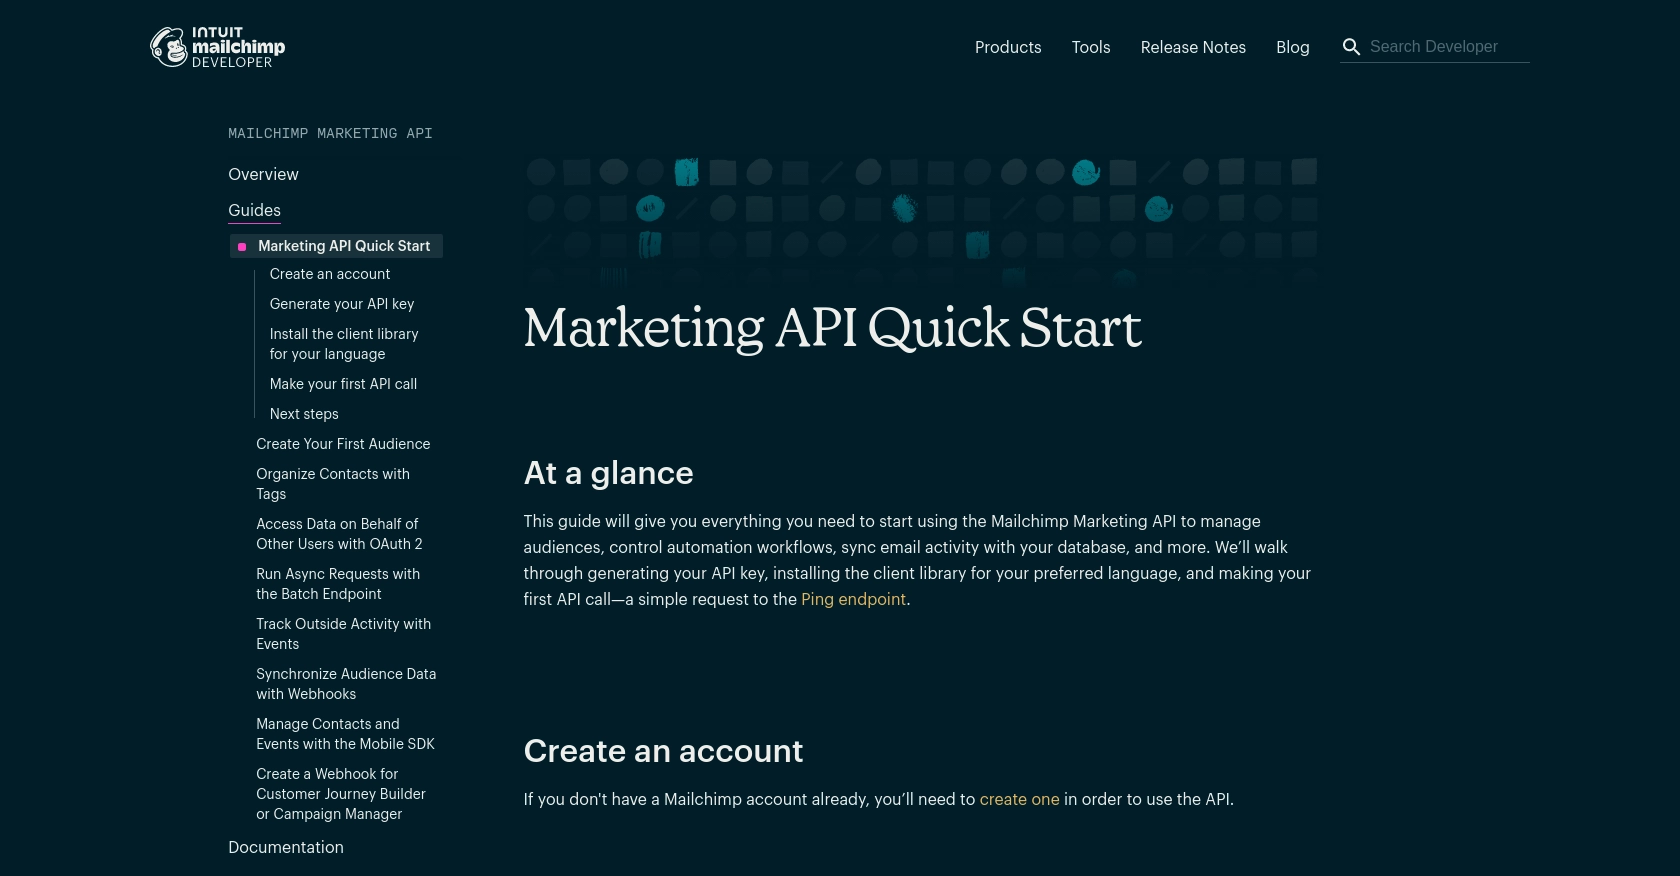
For more details, refer to the Mailchimp API Quick Start Guide.
Understanding Mailchimp OAuth Authentication
If you're developing an application that requires access to Mailchimp on behalf of other users, you'll need to set up OAuth 2 authentication. This method is more secure and is recommended for multi-user applications.
For a comprehensive guide on setting up OAuth 2, visit the Mailchimp OAuth Documentation.
Test Your Mailchimp API Setup
Once you have your API key, you can test your setup by making a simple API call to the Mailchimp "Ping" endpoint. This will verify that your API key is working correctly.
import requests

# Replace YOUR_API_KEY and YOUR_DC with your actual API key and data center prefix
api_key = "YOUR_API_KEY"
dc = "YOUR_DC"
url = f"https://{dc}.api.mailchimp.com/3.0/ping"

response = requests.get(url, auth=('anystring', api_key))

if response.status_code == 200:
    print("API setup successful!")
else:
    print("API setup failed:", response.json())
Replace YOUR_API_KEY and YOUR_DC with your actual API key and data center prefix. You can find your data center prefix in the URL of your Mailchimp account, such as us19 in https://us19.admin.mailchimp.com/.
For more information on API calls, check the Mailchimp API Documentation.
sbb-itb-96038d7
Making API Calls to Retrieve Mailchimp List Members Using Python
In this section, we'll guide you through making API calls to retrieve list members from Mailchimp using Python. This will enable you to access and manage your audience data programmatically, enhancing your marketing strategies.
Setting Up Your Python Environment for Mailchimp API Integration
Before making API calls, ensure you have Python installed on your machine. This tutorial uses Python 3.11.1. Additionally, you'll need the requests library to handle HTTP requests.
- Install Python: Download Python
- Install the
requestslibrary using pip:
pip install requestsWriting Python Code to Fetch Mailchimp List Members
Now, let's write a Python script to fetch list members from your Mailchimp account. Create a file named get_mailchimp_members.py and add the following code:
import requests
# Replace YOUR_API_KEY, YOUR_DC, and YOUR_LIST_ID with your actual API key, data center prefix, and list ID
api_key = "YOUR_API_KEY"
dc = "YOUR_DC"
list_id = "YOUR_LIST_ID"
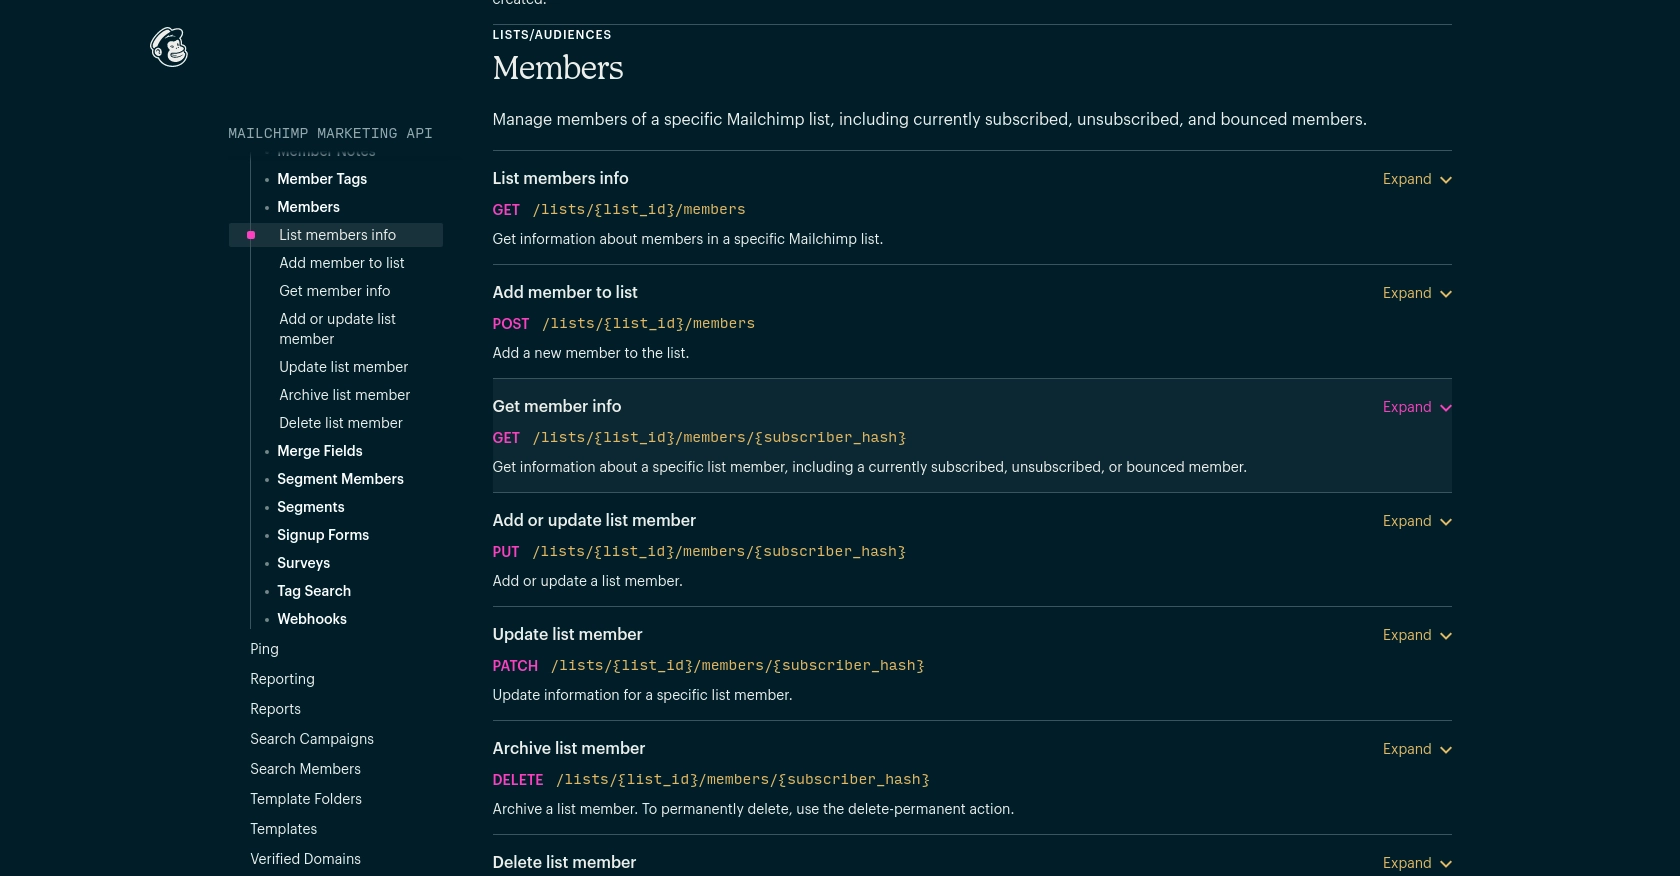
url = f"https://{dc}.api.mailchimp.com/3.0/lists/{list_id}/members"
# Make a GET request to the Mailchimp API
response = requests.get(url, auth=('anystring', api_key))
# Check if the request was successful
if response.status_code == 200:
members = response.json().get('members', [])
for member in members:
print(f"Email: {member['email_address']}, Status: {member['status']}")
else:
print("Failed to retrieve members:", response.json())
Replace YOUR_API_KEY, YOUR_DC, and YOUR_LIST_ID with your actual API key, data center prefix, and list ID. You can find your list ID in the Mailchimp dashboard under the list settings.
Running the Python Script and Verifying Output
Run the script from your terminal or command line:
python get_mailchimp_members.pyIf successful, the script will output the email addresses and statuses of the members in your specified list. If the request fails, it will print an error message with the response details.
Handling Errors and Understanding Mailchimp API Response Codes
When making API calls, it's essential to handle potential errors. Mailchimp API responses include status codes that indicate the success or failure of a request:
- 200 OK: The request was successful.
- 401 Unauthorized: Authentication failed. Check your API key.
- 404 Not Found: The specified list ID does not exist.
- 429 Too Many Requests: You've hit the API rate limit. Mailchimp allows up to 10 simultaneous connections. Consider implementing request throttling.
For more detailed error handling, refer to the Mailchimp API Documentation.
Conclusion and Best Practices for Using the Mailchimp API in Python
Integrating with the Mailchimp API using Python provides a powerful way to manage and interact with your audience data programmatically. By following the steps outlined in this guide, you can efficiently retrieve and manage list members, enhancing your marketing strategies and customer engagement efforts.
Best Practices for Secure and Efficient Mailchimp API Integration
- Secure API Keys: Always store your Mailchimp API keys securely, as they provide full access to your account. Avoid exposing them in client-side code or version control systems.
- Handle Rate Limits: Be mindful of Mailchimp's API rate limits, which allow up to 10 simultaneous connections. Implement request throttling to prevent hitting these limits and ensure smooth operation.
- Optimize Data Handling: Use pagination and partial responses to minimize data transfer and improve response times, especially when dealing with large datasets.
- Implement Error Handling: Always check API response codes and handle errors gracefully. This ensures your application can respond appropriately to issues such as authentication failures or invalid requests.
Enhancing Your Integration Experience with Endgrate
Building and maintaining multiple integrations can be time-consuming and complex. Endgrate simplifies this process by providing a unified API endpoint that connects to various platforms, including Mailchimp. By leveraging Endgrate, you can:
- Save time and resources by outsourcing integrations, allowing you to focus on your core product.
- Build once for each use case instead of multiple times for different integrations.
- Offer an intuitive integration experience for your customers, enhancing their satisfaction and engagement.
Explore how Endgrate can streamline your integration needs by visiting Endgrate today.
Read More

Ready to get started?
