How to Get Organization with the Pipedrive API in Javascript
Introduction to Pipedrive CRM
Pipedrive is a powerful sales CRM platform designed to help businesses manage their sales processes more effectively. With its intuitive interface and robust features, Pipedrive enables sales teams to track leads, manage customer relationships, and close deals efficiently.
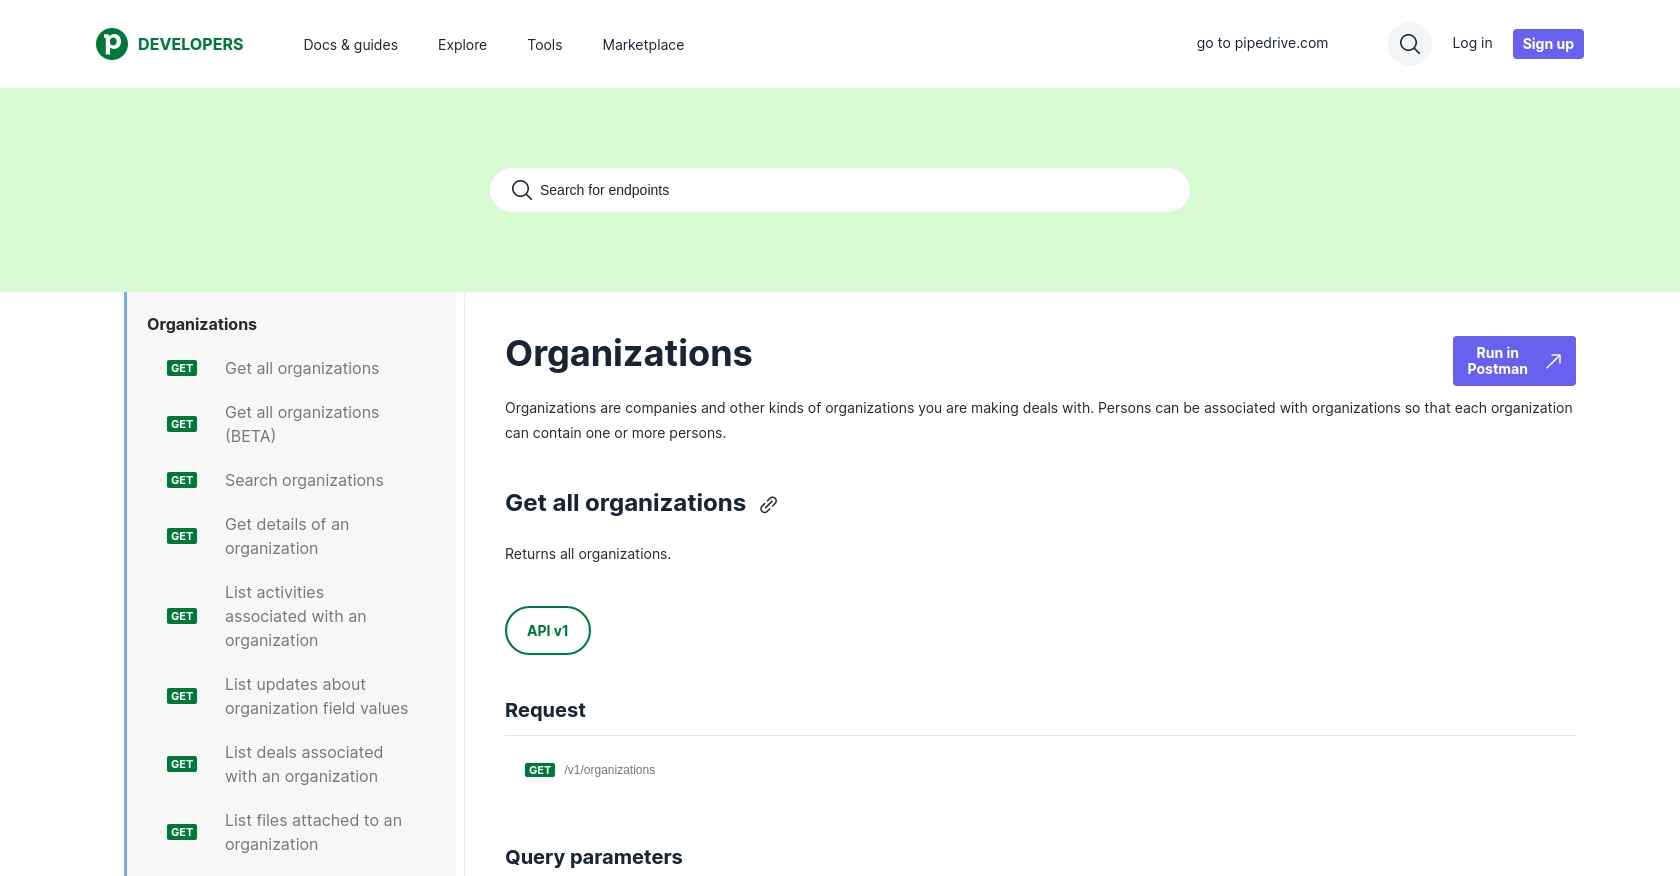
Developers often seek to integrate with Pipedrive's API to automate and enhance sales operations. For example, accessing organization data through the Pipedrive API can enable developers to synchronize customer information across different platforms, ensuring that sales teams have up-to-date and accurate data at their fingertips.
This article will guide you through the process of retrieving organization details using the Pipedrive API with JavaScript, providing you with the tools to streamline your sales data management.
Setting Up Your Pipedrive Developer Sandbox Account
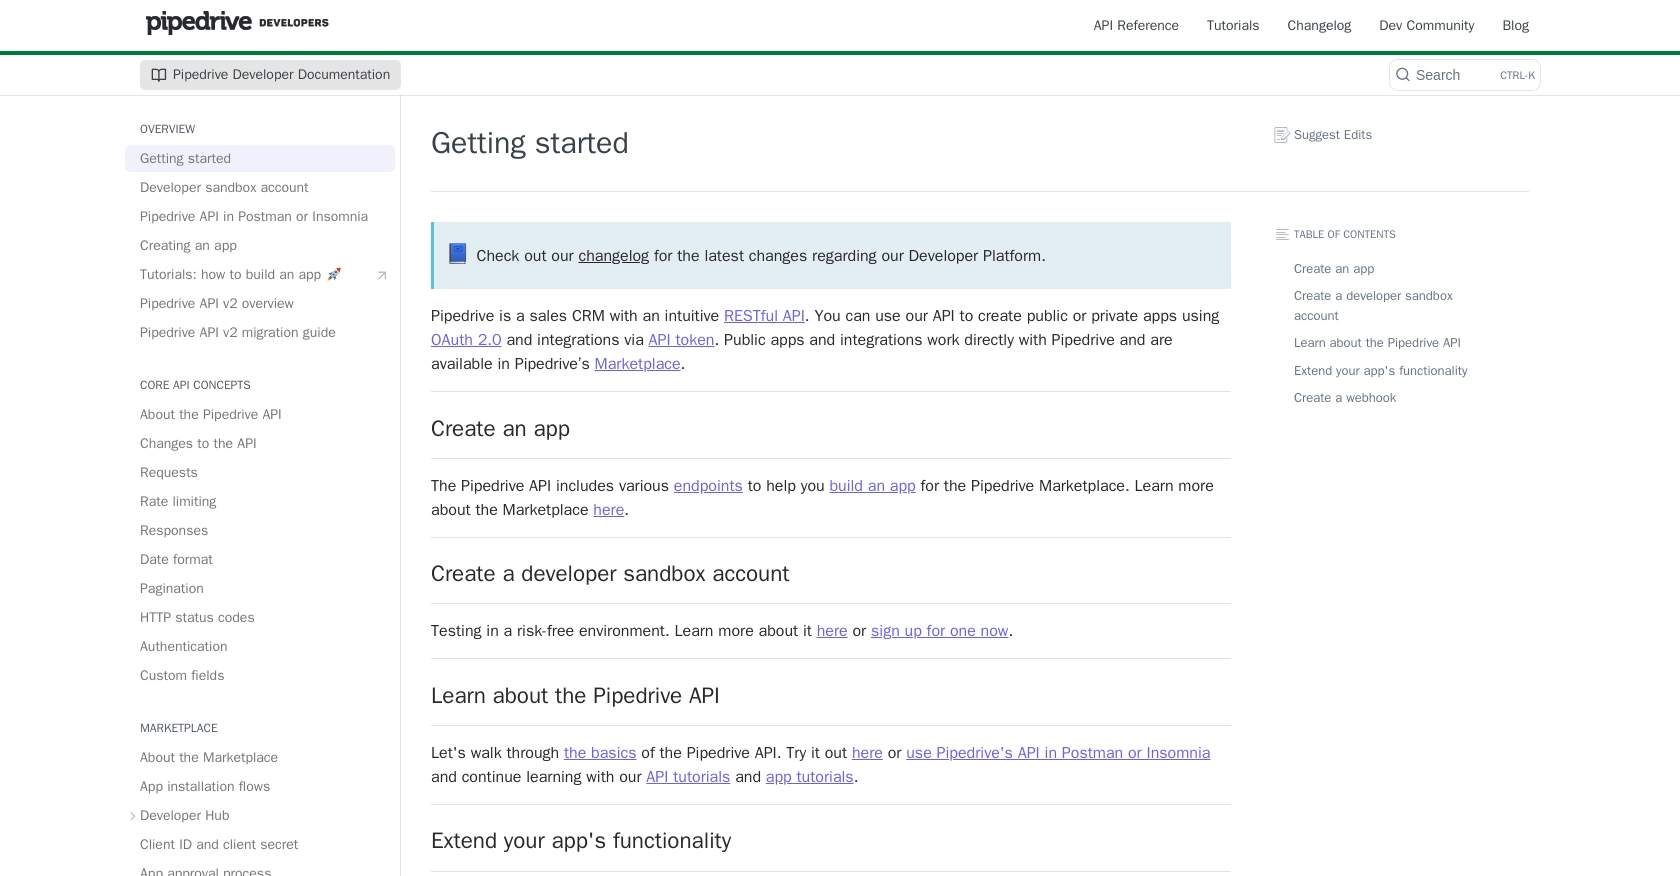
Before you can start integrating with the Pipedrive API, you'll need to set up a developer sandbox account. This environment allows you to test and develop your application without affecting live data, providing a risk-free space to experiment with the API.
Creating a Pipedrive Sandbox Account
To create a sandbox account, follow these steps:
- Visit the Pipedrive Developer Sandbox page.
- Fill out the form to request access to a sandbox account. This account mimics a regular Pipedrive company account and is limited to 5 seats by default.
- Once your request is approved, you'll receive access to the Developer Hub, where you can manage your apps and integrations.
Generating OAuth Credentials for Pipedrive API
Pipedrive uses OAuth 2.0 for authentication, which requires you to create an app to obtain the necessary credentials. Here's how to do it:
- Log in to your sandbox account and navigate to the Developer Hub.
- Register a new app by providing the required information, such as the app name and description.
- Once registered, you'll receive a Client ID and Client Secret. These credentials are essential for the OAuth flow.
- Ensure your app has the appropriate scopes and permissions to access organization data. For more details, refer to the Pipedrive App Creation Guide.
Importing Sample Data into Your Sandbox
To effectively test your integration, you may want to import sample data:
- Go to the Pipedrive web app and click on the “...” (More) menu.
- Select Import data and choose From a spreadsheet.
- Use the provided template spreadsheets to import sample data in English or Portuguese.
With your sandbox account and OAuth credentials set up, you're ready to start interacting with the Pipedrive API using JavaScript.
sbb-itb-96038d7
Making API Calls to Retrieve Organization Data from Pipedrive Using JavaScript
To interact with the Pipedrive API and retrieve organization data, you'll need to set up your JavaScript environment and make HTTP requests. This section will guide you through the necessary steps, including setting up your environment, writing the code, and handling potential errors.
Setting Up Your JavaScript Environment for Pipedrive API Integration
Before making API calls, ensure you have Node.js installed on your machine. Node.js allows you to run JavaScript code outside of a browser, making it ideal for server-side applications.
You'll also need to install the axios library, which simplifies making HTTP requests. Run the following command in your terminal:
npm install axiosWriting JavaScript Code to Fetch Organization Details from Pipedrive
With your environment set up, you can now write the code to fetch organization details. Create a new file named getPipedriveOrganizations.js and add the following code:
const axios = require('axios');

// Replace with your actual access token
const accessToken = 'Your_Access_Token';

// Set the API endpoint
const endpoint = 'https://api.pipedrive.com/v1/organizations';

// Configure the request headers
const headers = {
    'Authorization': `Bearer ${accessToken}`
};

// Function to fetch organizations
async function fetchOrganizations() {
    try {
        const response = await axios.get(endpoint, { headers });
        const organizations = response.data.data;

        // Log the organization data
        organizations.forEach(org => {
            console.log(`ID: ${org.id}, Name: ${org.name}`);
        });
    } catch (error) {
        console.error('Error fetching organizations:', error.response ? error.response.data : error.message);
    }
}

// Execute the function
fetchOrganizations();
In this code, you import the axios library and set up the API endpoint and headers. The fetchOrganizations function makes a GET request to the Pipedrive API to retrieve organization data. It logs each organization's ID and name to the console.
Running Your JavaScript Code to Access Pipedrive Organization Data
To execute your code, run the following command in your terminal:
node getPipedriveOrganizations.jsYou should see a list of organizations printed to the console, confirming that your API call was successful.
Handling Errors and Verifying API Call Success in Pipedrive
It's crucial to handle errors gracefully when making API calls. The code above includes a try-catch block to catch and log any errors that occur during the request. Common HTTP status codes you might encounter include:
- 200 OK: The request was successful.
- 401 Unauthorized: The access token is invalid or expired.
- 429 Too Many Requests: You've exceeded the rate limit.
For more details on error codes, refer to the Pipedrive HTTP Status Codes Documentation.
To verify the success of your request, you can cross-check the returned data with the organizations listed in your Pipedrive sandbox account.
Conclusion and Best Practices for Pipedrive API Integration in JavaScript
Integrating with the Pipedrive API using JavaScript can significantly enhance your sales operations by automating data synchronization and ensuring that your sales team has access to the most current information. By following the steps outlined in this guide, you can efficiently retrieve organization data and integrate it into your applications.
Best Practices for Secure and Efficient Pipedrive API Integration
- Securely Store Credentials: Always store your OAuth credentials, such as the Client ID and Client Secret, securely. Avoid hardcoding them in your source code. Consider using environment variables or a secure vault.
- Handle Rate Limiting: Be mindful of Pipedrive's rate limits, which allow up to 80 requests per 2 seconds per access token for the Essential plan. Implement retry logic or exponential backoff to handle HTTP 429 errors gracefully. For more details, refer to the Pipedrive Rate Limiting Documentation.
- Data Transformation and Standardization: Ensure that the data retrieved from Pipedrive is transformed and standardized to fit your application's requirements. This might include mapping custom fields or converting data formats.
Streamlining Integration Development with Endgrate
While building integrations can be rewarding, it can also be time-consuming and complex. Endgrate offers a solution by providing a unified API endpoint that connects to multiple platforms, including Pipedrive. By leveraging Endgrate, you can save time and resources, allowing you to focus on your core product development.
Endgrate simplifies the integration process with its intuitive interface and robust plugin system, enabling you to build once for each use case instead of multiple times for different integrations. Explore how Endgrate can enhance your integration strategy by visiting Endgrate.
By adhering to these best practices and utilizing tools like Endgrate, you can create efficient, secure, and scalable integrations with Pipedrive, ultimately driving better sales outcomes for your business.
Read More
- https://endgrate.com/provider/pipedrive
- https://pipedrive.readme.io/docs/getting-started
- https://pipedrive.readme.io/docs/developer-sandbox-account
- https://pipedrive.readme.io/docs/marketplace-creating-a-proper-app
- https://pipedrive.readme.io/docs/core-api-concepts-rate-limiting
- https://pipedrive.readme.io/docs/core-api-concepts-pagination
- https://pipedrive.readme.io/docs/core-api-concepts-http-status-codes
- https://pipedrive.readme.io/docs/core-api-concepts-custom-fields
- https://developers.pipedrive.com/docs/api/v1/Organizations
- https://developers.pipedrive.com/docs/api/v1/OrganizationFields
- https://developers.pipedrive.com/docs/api/v1/OrganizationRelationships

Ready to get started?
