How to Get Records with the Airtable API in Javascript
Introduction to Airtable API Integration
Airtable is a versatile cloud-based platform that combines the simplicity of a spreadsheet with the power of a database. It allows users to organize and manage data in a highly customizable and collaborative environment. With its intuitive interface and robust features, Airtable is a popular choice for businesses looking to streamline their data management processes.
Developers often seek to integrate with Airtable's API to automate data workflows and enhance productivity. By connecting to Airtable, developers can programmatically access and manipulate records, enabling seamless data synchronization between Airtable and other applications. For example, a developer might use the Airtable API to retrieve records from a project management base and display them in a custom dashboard, providing real-time insights into project progress.
Setting Up Your Airtable Test Account for API Integration
Before diving into the Airtable API, you need to set up a test account to experiment with API calls without affecting your live data. Airtable offers a free version that is perfect for development and testing purposes.
Creating an Airtable Account
If you don't already have an Airtable account, follow these steps to create one:
- Visit the Airtable signup page and register for a free account.
- Follow the on-screen instructions to complete your registration.
- Once registered, log in to your Airtable dashboard.
Setting Up a Base for Testing
To interact with the Airtable API, you'll need a base set up with some sample data:
- In your Airtable dashboard, click on "Add a base" to create a new base.
- Choose a template or start from scratch, depending on your testing needs.
- Add a few tables and populate them with sample data to test API interactions.
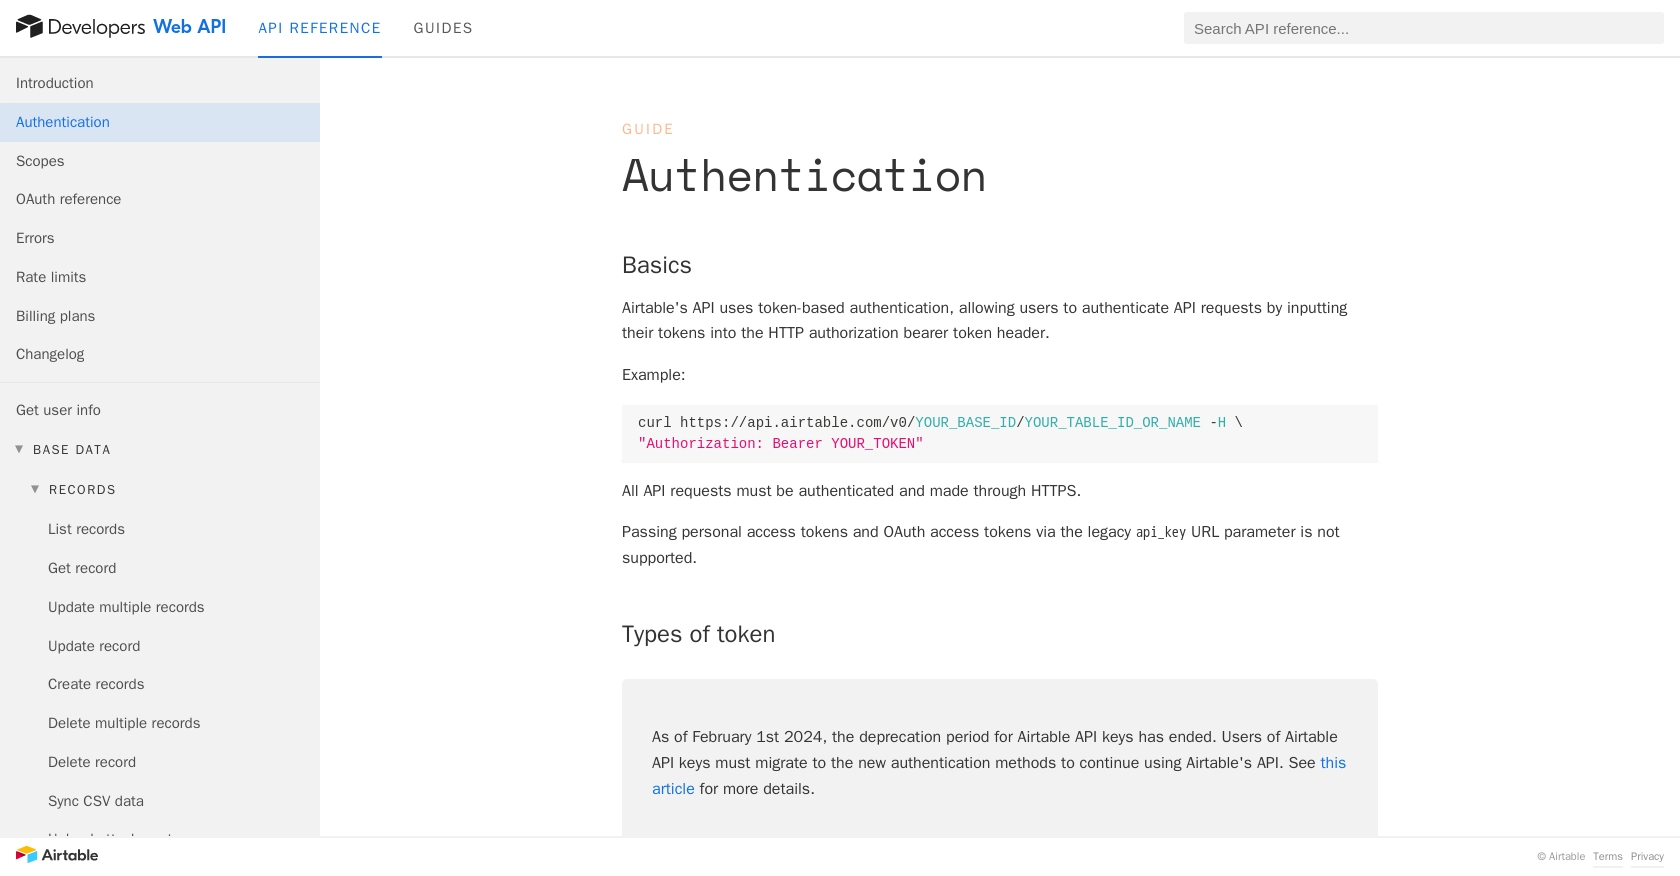
Generating an OAuth Access Token
Since Airtable uses OAuth for authentication, you'll need to create an OAuth app to obtain an access token:
- Navigate to the Airtable OAuth creation page.
- Register your application by providing necessary details such as the app name, redirect URI, and scopes required for your integration.
- Once registered, you'll receive a client ID and client secret. Use these to initiate the OAuth flow and obtain an access token.
For detailed instructions on setting up OAuth, refer to the Airtable OAuth documentation.
Configuring Scopes and Permissions
Ensure your access token has the necessary scopes to read records:
- During the OAuth setup, request the
data.records:readscope to access records. - Verify that the user granting access has the appropriate permissions for the bases you wish to access.
For more information on scopes, visit the Airtable Scopes documentation.
sbb-itb-96038d7
Making API Calls to Retrieve Records from Airtable Using JavaScript
To interact with Airtable's API using JavaScript, you'll need to set up your environment and write code to make HTTP requests. This section will guide you through the process of retrieving records from an Airtable base using JavaScript.
Setting Up Your JavaScript Environment for Airtable API Integration
Before you start coding, ensure you have the necessary tools and libraries installed:
- Ensure you have Node.js installed on your machine. You can download it from the official Node.js website.
- Use npm (Node Package Manager) to install the Axios library, which simplifies making HTTP requests:
npm install axiosWriting JavaScript Code to Fetch Records from Airtable
Now that your environment is set up, you can write the JavaScript code to fetch records from Airtable. Create a new file named getAirtableRecords.js and add the following code:
const axios = require('axios');

// Replace with your Airtable base ID and table name
const baseId = 'YOUR_BASE_ID';
const tableName = 'YOUR_TABLE_NAME';

// Set up the Airtable API endpoint
const endpoint = `https://api.airtable.com/v0/${baseId}/${tableName}`;

// Configure the request headers with your OAuth access token
const headers = {
    'Authorization': 'Bearer YOUR_ACCESS_TOKEN'
};

// Function to fetch records from Airtable
async function fetchRecords() {
    try {
        const response = await axios.get(endpoint, { headers });
        const records = response.data.records;

        // Output the records
        records.forEach(record => {
            console.log(record.fields);
        });
    } catch (error) {
        console.error('Error fetching records:', error.response.data);
    }
}

// Call the function to fetch records
fetchRecords();
Replace YOUR_BASE_ID, YOUR_TABLE_NAME, and YOUR_ACCESS_TOKEN with your actual Airtable base ID, table name, and OAuth access token.
Running Your JavaScript Code to Retrieve Airtable Records
Once your code is ready, run the script using Node.js:
node getAirtableRecords.jsIf successful, you should see the records from your Airtable base printed in the console. This confirms that your API call was successful.
Handling Errors and Verifying API Call Success
When making API calls, it's crucial to handle potential errors. The Airtable API may return various HTTP status codes to indicate success or failure. Here are some common error codes you might encounter:
- 401 Unauthorized: Check if your access token is correct and has the necessary permissions.
- 403 Forbidden: Ensure that your token has access to the requested base and table.
- 404 Not Found: Verify that the base ID and table name are correct.
- 429 Too Many Requests: Airtable's API limits requests to 5 per second per base. Implement a retry mechanism if you encounter this error.
For more details on error handling, refer to the Airtable Errors documentation.
Conclusion and Best Practices for Airtable API Integration with JavaScript
Integrating with the Airtable API using JavaScript opens up a world of possibilities for automating and enhancing your data workflows. By following the steps outlined in this guide, you can efficiently retrieve records from Airtable and incorporate them into your applications, providing real-time data insights and improving productivity.
Best Practices for Secure and Efficient Airtable API Usage
- Securely Store Credentials: Always store your OAuth access tokens securely. Avoid hardcoding them in your source code and consider using environment variables or secure vaults.
- Handle Rate Limits: Be mindful of Airtable's rate limits, which allow 5 requests per second per base. Implement retry logic with exponential backoff to handle 429 status codes gracefully. For more information, refer to the Airtable Rate Limits documentation.
- Optimize Data Handling: When fetching large datasets, consider using pagination to manage data efficiently and reduce the load on your application.
- Standardize Data Formats: Ensure consistent data formats when integrating with other systems to avoid discrepancies and maintain data integrity.
Leverage Endgrate for Streamlined Integration Solutions
If you're looking to simplify your integration processes further, consider using Endgrate. With Endgrate, you can save time and resources by outsourcing integrations, allowing you to focus on your core product. Build once for each use case and enjoy an intuitive integration experience for your customers. Explore more at Endgrate.
By adhering to these best practices and leveraging tools like Endgrate, you can ensure a robust and efficient integration with Airtable, enhancing your application's capabilities and delivering greater value to your users.
Read More
- https://endgrate.com/provider/airtable
- https://airtable.com/developers/web/api/authentication
- https://airtable.com/developers/web/api/scopes
- https://airtable.com/developers/web/api/oauth-reference
- https://airtable.com/developers/web/api/errors
- https://airtable.com/developers/web/api/rate-limits
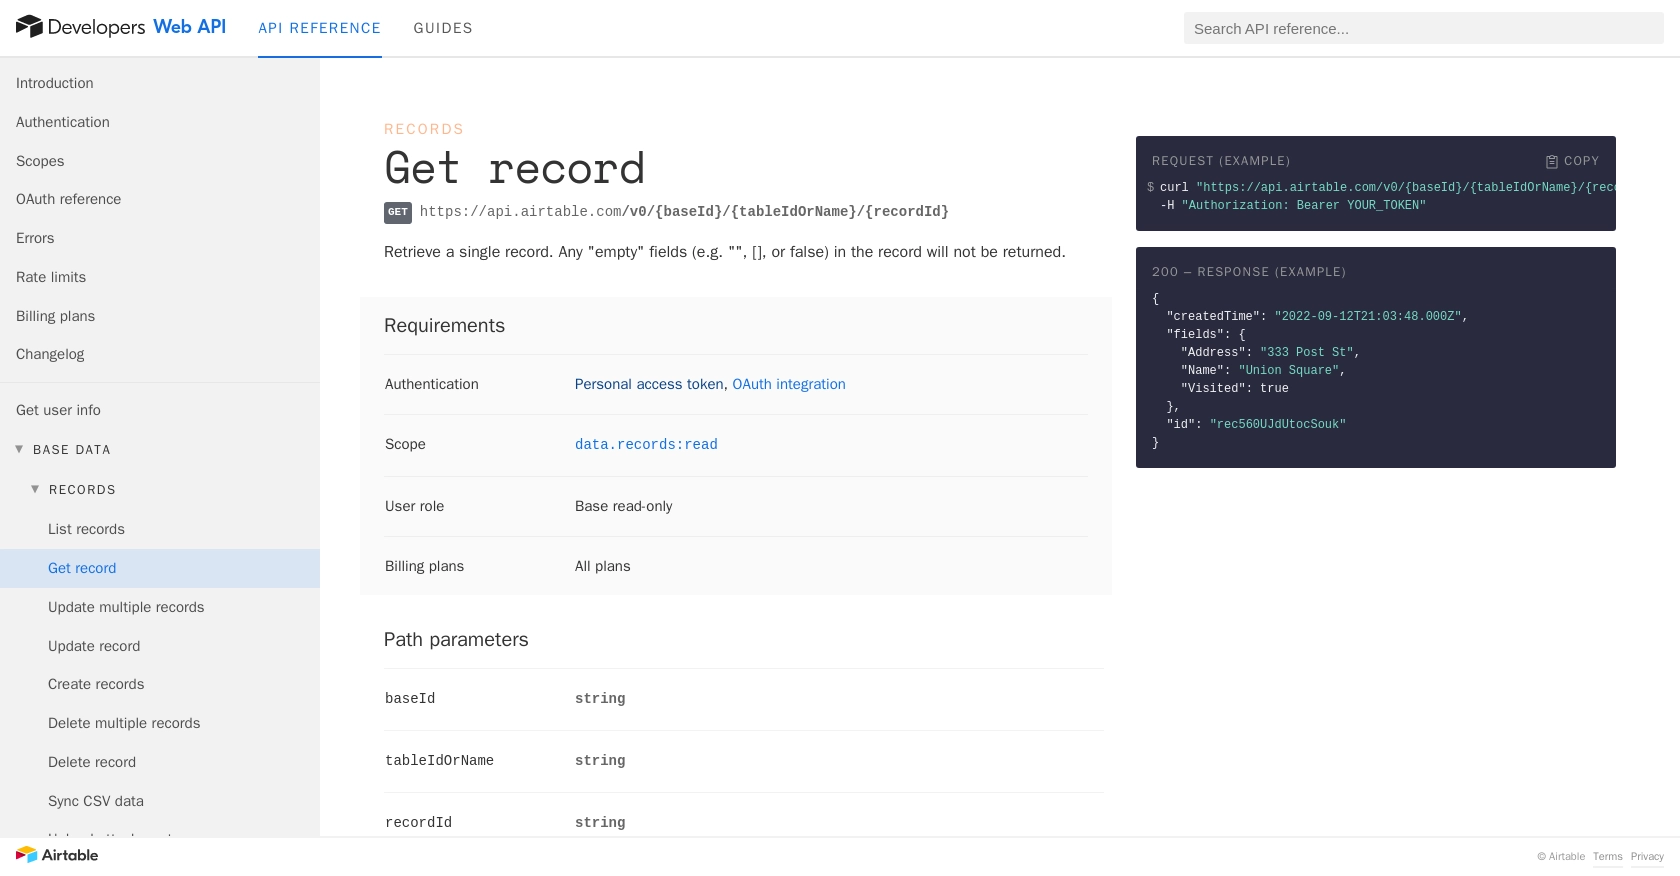
- https://airtable.com/developers/web/api/get-record

Ready to get started?
