How to Get Records with the MongoDB API in Javascript

Introduction to MongoDB API Integration
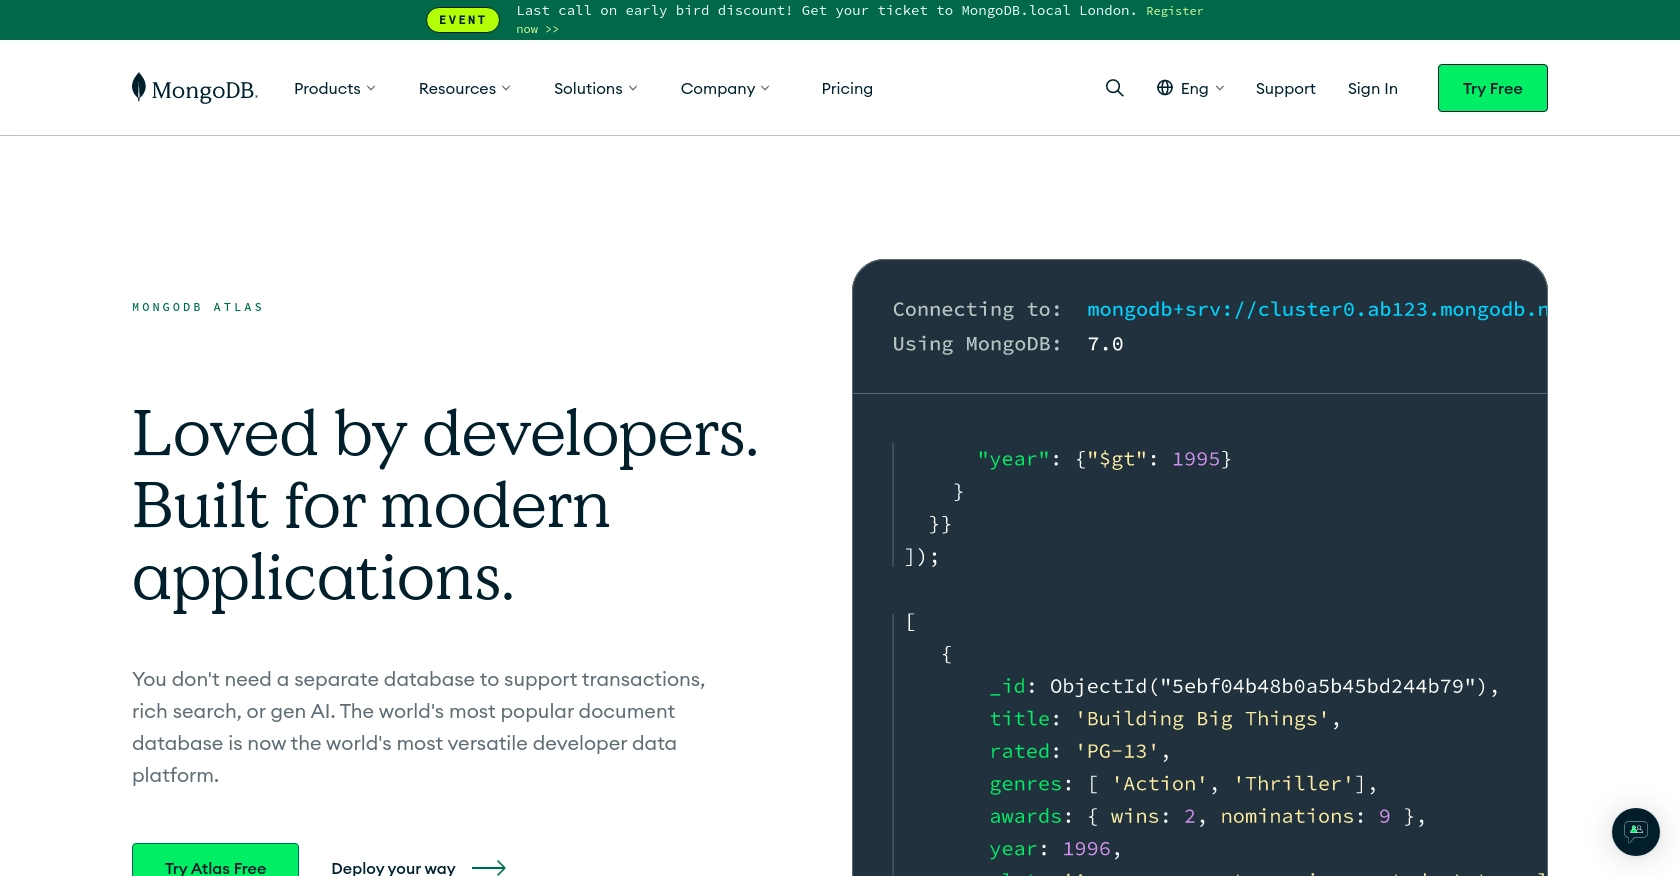
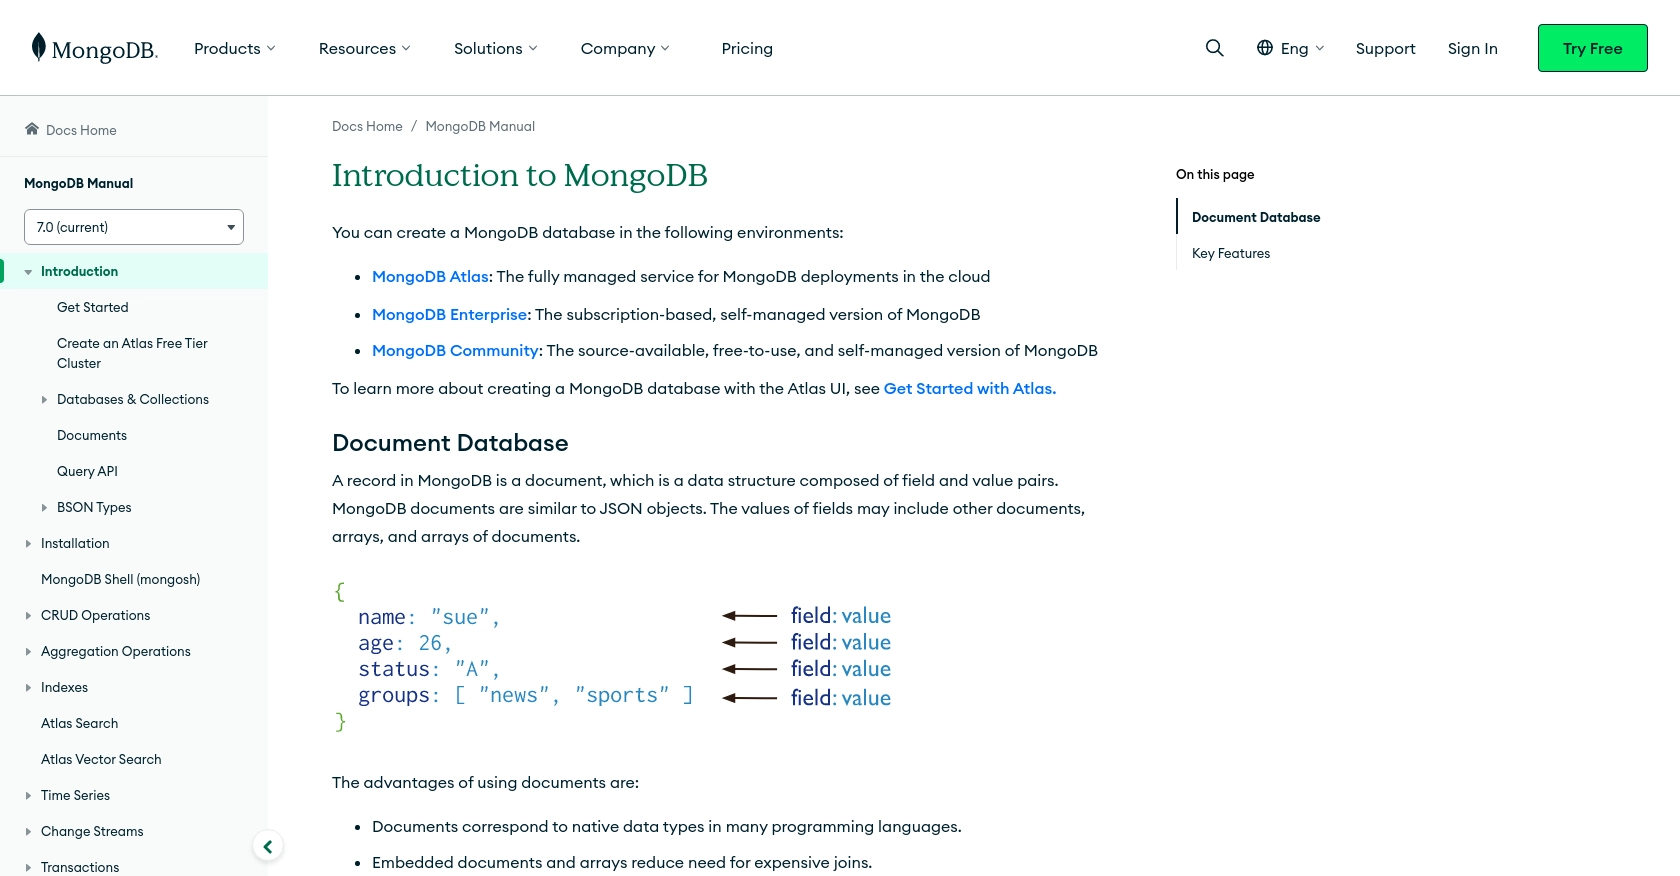
MongoDB is a powerful, flexible, and scalable NoSQL database that is widely used for modern application development. It offers a document-oriented data model, which allows developers to store data in JSON-like documents, providing a more natural way to work with data in many programming languages.
Integrating with MongoDB's API enables developers to efficiently manage and retrieve data stored in MongoDB databases. For example, a developer might want to access customer records stored in MongoDB to display them on a web application or to perform data analysis.
This article will guide you through the process of using JavaScript to interact with the MongoDB API, specifically focusing on retrieving records. By the end of this tutorial, you'll be able to seamlessly connect to MongoDB and perform data retrieval operations using JavaScript.
Setting Up Your MongoDB Test Environment
Before you can start interacting with the MongoDB API using JavaScript, you'll need to set up a test environment. This involves creating a MongoDB account and configuring a database to work with. MongoDB offers several options for setting up a database, including MongoDB Atlas, a fully managed cloud database service.
Creating a MongoDB Atlas Account
To get started with MongoDB, you'll need to create an account on MongoDB Atlas. Follow these steps:
- Visit the MongoDB Atlas website and click on "Start Free" to sign up for a free account.
- Fill in the required information to create your account. You can use your email or sign up with Google.
- Once your account is created, log in to the MongoDB Atlas dashboard.
Setting Up a MongoDB Cluster
After logging in, you'll need to set up a MongoDB cluster, which is a collection of databases:
- In the MongoDB Atlas dashboard, click on "Build a Cluster."
- Select the free tier option to create a free cluster.
- Choose your preferred cloud provider and region, then click "Create Cluster."
- Wait for the cluster to be created. This may take a few minutes.
Configuring Database Access and Network Security
Once your cluster is ready, you'll need to configure access and security settings:
- In the cluster view, click on "Database Access" and then "Add New Database User."
- Create a new user with a username and password. Make sure to save these credentials as you'll need them later.
- Under "Network Access," click on "Add IP Address" and allow access from your current IP address or set it to allow access from anywhere (0.0.0.0/0) for testing purposes.
Connecting to Your MongoDB Cluster
With your cluster and user set up, you can now connect to your MongoDB database:
- In the cluster view, click on "Connect" and choose "Connect Your Application."
- Select the driver version for Node.js and copy the connection string provided.
- Replace the placeholders in the connection string with your database username and password.
With these steps completed, your MongoDB test environment is ready, and you can proceed to interact with the MongoDB API using JavaScript.

sbb-itb-96038d7
Making API Calls to Retrieve Records from MongoDB Using JavaScript
To interact with the MongoDB API using JavaScript, you'll need to set up your development environment and write code to perform API calls. This section will guide you through the process of retrieving records from a MongoDB database using JavaScript.
Setting Up Your JavaScript Environment
Before making API calls, ensure you have Node.js installed on your machine. You can download it from the official Node.js website. Once installed, you can use npm (Node Package Manager) to manage your project dependencies.
- Create a new directory for your project and navigate into it:
- Initialize a new Node.js project:
- Install the MongoDB Node.js driver:
mkdir mongodb-api-js && cd mongodb-api-jsnpm init -ynpm install mongodbConnecting to MongoDB and Retrieving Records
With your environment set up, you can now write JavaScript code to connect to MongoDB and retrieve records. Follow these steps:
- Create a new file named
getRecords.jsand open it in your preferred code editor. - Add the following code to connect to your MongoDB database and retrieve records:
- Replace
your_mongodb_connection_string,your_database_name, andyour_collection_namewith your actual MongoDB connection string, database name, and collection name.
const { MongoClient } = require('mongodb');

// Replace with your MongoDB connection string
const uri = "your_mongodb_connection_string";

async function getRecords() {
    const client = new MongoClient(uri, { useNewUrlParser: true, useUnifiedTopology: true });

    try {
        // Connect to the MongoDB cluster
        await client.connect();

        // Specify the database and collection
        const database = client.db('your_database_name');
        const collection = database.collection('your_collection_name');

        // Query the collection for records
        const records = await collection.find({}).toArray();

        // Output the records
        console.log(records);
    } catch (error) {
        console.error("Error retrieving records:", error);
    } finally {
        // Close the connection
        await client.close();
    }
}

getRecords().catch(console.error);Running the JavaScript Code
To execute the code and retrieve records from your MongoDB database, run the following command in your terminal:
node getRecords.jsIf successful, you should see the records from your specified collection output in the terminal.
Handling Errors and Verifying API Call Success
It's important to handle potential errors when making API calls. In the code above, errors are caught and logged to the console. Ensure you verify the success of your API calls by checking the output and confirming the retrieved data matches the records in your MongoDB collection.
By following these steps, you can efficiently retrieve records from MongoDB using JavaScript, enabling you to integrate MongoDB data into your applications seamlessly.
Best Practices for MongoDB API Integration in JavaScript
When working with the MongoDB API in JavaScript, it's essential to follow best practices to ensure efficient and secure data handling. Here are some recommendations:
Securely Storing MongoDB Credentials
Always store your MongoDB credentials securely. Avoid hardcoding them in your source code. Instead, use environment variables or configuration files that are not included in version control to manage sensitive information.
Handling MongoDB API Rate Limits
While MongoDB itself does not impose strict API rate limits, it's crucial to design your application to handle potential limitations imposed by network or server resources. Implementing retry logic and exponential backoff strategies can help manage request failures gracefully.
Optimizing MongoDB Queries
To improve performance, ensure your queries are optimized. Use indexes effectively to speed up data retrieval and reduce the load on your database. Regularly review and refine your queries to maintain optimal performance.
Transforming and Standardizing Data
When retrieving data from MongoDB, consider transforming and standardizing it to fit your application's requirements. This can involve converting data types, normalizing field names, or aggregating data for easier consumption.
Streamlining Integrations with Endgrate
Building and maintaining integrations can be time-consuming and complex. Endgrate simplifies this process by providing a unified API endpoint that connects to multiple platforms, including MongoDB. By leveraging Endgrate, you can focus on your core product development while ensuring seamless integration experiences for your customers.
Explore how Endgrate can help you save time and resources by visiting Endgrate today.
Read More
Ready to get started?
