How to Get Tasks with the Todoist API in Javascript

Introduction to Todoist API Integration
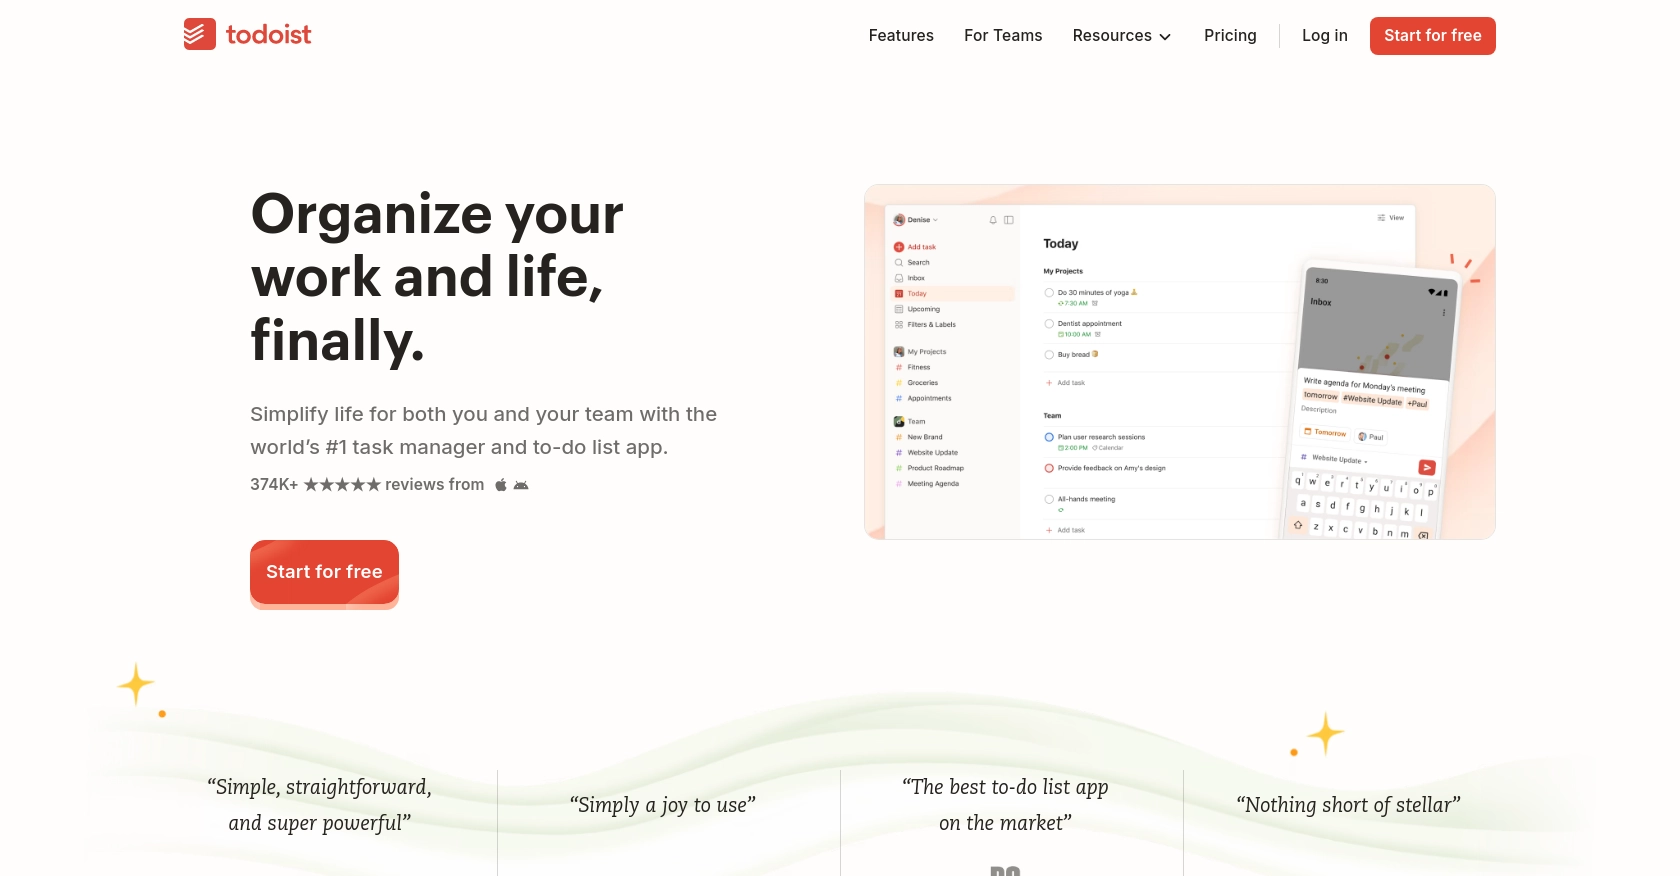
Todoist is a popular task management application that helps individuals and teams organize, plan, and collaborate on tasks efficiently. With its intuitive interface and powerful features, Todoist is used by millions to manage their daily tasks and projects.
Integrating with the Todoist API allows developers to automate and enhance task management workflows. For example, you can use the Todoist API to retrieve tasks and display them in a custom dashboard, providing users with a centralized view of their to-do lists across multiple projects.
This article will guide you through the process of using JavaScript to interact with the Todoist API, specifically focusing on retrieving tasks. By the end of this tutorial, you'll be able to seamlessly integrate Todoist's task management capabilities into your own applications.
Setting Up Your Todoist Developer Account for API Integration
Before you can start interacting with the Todoist API using JavaScript, you'll need to set up a developer account and obtain the necessary credentials. This involves creating a Todoist app and generating an OAuth token for authentication. Follow these steps to get started:
Step 1: Create a Todoist Account
If you don't already have a Todoist account, you'll need to create one. Visit the Todoist website and sign up for a free account. If you already have an account, simply log in.
Step 2: Access the Todoist Developer Portal
Once logged in, navigate to the Todoist Developer Portal. This portal provides access to all the tools and resources you need to create and manage your Todoist apps.
Step 3: Create a New Todoist App
- In the Developer Portal, click on "Create App" to start the process.
- Fill in the required details, such as the app name and description. Make sure to provide a clear and concise description of your app's purpose.
- Set the redirect URI, which is the URL to which users will be redirected after they authorize your app. This is crucial for OAuth authentication.
Step 4: Obtain Your Client ID and Client Secret
After creating your app, you'll receive a Client ID and Client Secret. These credentials are essential for authenticating API requests. Keep them secure and do not share them publicly.
Step 5: Generate an OAuth Token
To interact with the Todoist API, you'll need an OAuth token. Follow these steps to generate one:
- Direct users to the Todoist authorization URL, including your Client ID and redirect URI.
- Once users authorize your app, they'll be redirected to the specified URI with an authorization code.
- Exchange this authorization code for an OAuth token by making a POST request to the Todoist token endpoint.
// Example code to exchange authorization code for OAuth token
const axios = require('axios');

async function getOAuthToken(authCode) {
    try {
        const response = await axios.post('https://todoist.com/oauth/access_token', {
            client_id: 'YOUR_CLIENT_ID',
            client_secret: 'YOUR_CLIENT_SECRET',
            code: authCode,
            redirect_uri: 'YOUR_REDIRECT_URI',
        });
        return response.data.access_token;
    } catch (error) {
        console.error('Error obtaining OAuth token:', error);
    }
}
With your OAuth token, you can now authenticate requests to the Todoist API and start retrieving tasks using JavaScript.

sbb-itb-96038d7
How to Make API Calls to Retrieve Tasks Using Todoist API in JavaScript
To interact with the Todoist API and retrieve tasks, you'll need to use JavaScript to make HTTP requests. This section will guide you through setting up your environment, writing the necessary code, and handling responses effectively.
Setting Up Your JavaScript Environment for Todoist API Integration
Before making API calls, ensure you have Node.js and npm installed on your machine. You'll also need the Axios library to handle HTTP requests.
npm install axiosWriting JavaScript Code to Retrieve Tasks from Todoist API
With your environment ready, you can now write JavaScript code to fetch tasks from Todoist. Use the following code as a starting point:
const axios = require('axios');

async function getTodoistTasks(oauthToken) {
    try {
        const response = await axios.get('https://api.todoist.com/rest/v2/tasks', {
            headers: {
                'Authorization': `Bearer ${oauthToken}`
            }
        });
        return response.data;
    } catch (error) {
        console.error('Error retrieving tasks:', error);
    }
}

// Example usage
const oauthToken = 'YOUR_OAUTH_TOKEN';
getTodoistTasks(oauthToken).then(tasks => console.log(tasks));
Replace YOUR_OAUTH_TOKEN with the OAuth token you obtained earlier. This code makes a GET request to the Todoist API to retrieve active tasks.
Understanding the Response and Handling Errors
The API will return a JSON array of tasks if the request is successful. You can iterate over this array to process each task. If an error occurs, the catch block will log the error details.
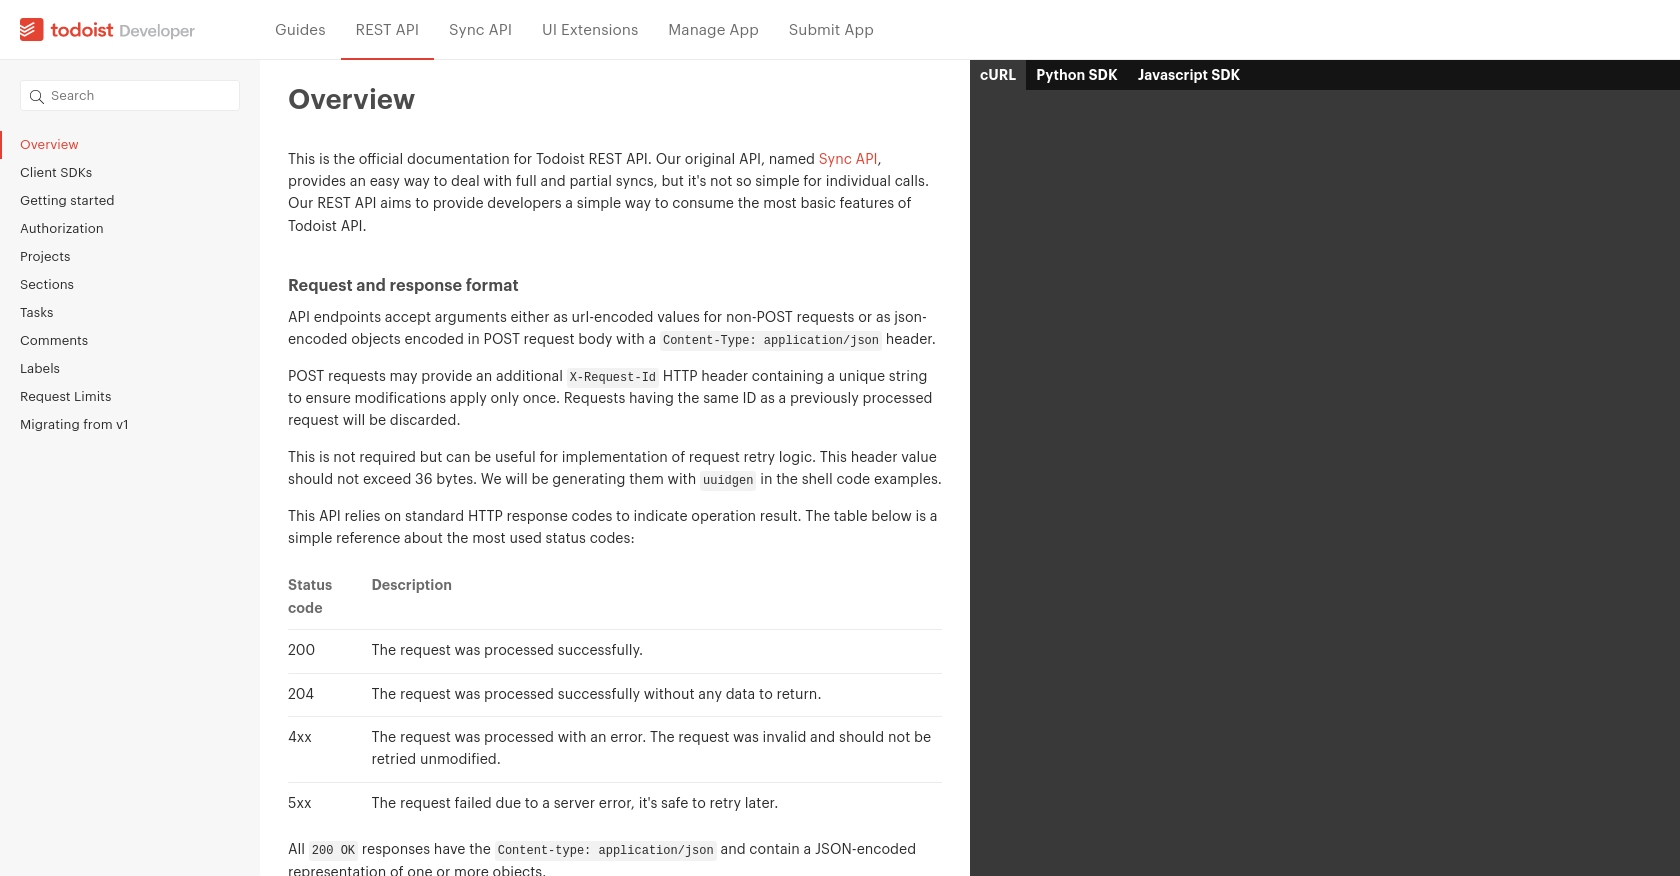
Todoist API uses standard HTTP status codes to indicate success or failure:
- 200 OK: The request was successful, and the tasks are returned.
- 4xx: Client error, such as invalid request or authentication failure.
- 5xx: Server error, indicating a problem on Todoist's end.
For more details on error codes, refer to the Todoist API documentation.
Verifying API Call Success in Todoist Sandbox
To ensure your API call is successful, verify the retrieved tasks against your Todoist account. Check that the tasks returned match those in your Todoist dashboard.
By following these steps, you can efficiently integrate Todoist's task management features into your JavaScript applications, enhancing your productivity and workflow automation.
Conclusion and Best Practices for Integrating Todoist API with JavaScript
Integrating the Todoist API with JavaScript provides a powerful way to enhance task management capabilities within your applications. By following the steps outlined in this guide, you can efficiently retrieve tasks and incorporate them into your custom solutions.
Best Practices for Secure and Efficient Todoist API Integration
- Securely Store Credentials: Always keep your OAuth tokens, Client ID, and Client Secret secure. Avoid hardcoding them in your source code and consider using environment variables or secure vaults.
- Handle Rate Limiting: Todoist API allows a maximum of 1000 requests per user within a 15-minute period. Implement logic to handle rate limiting gracefully, such as retrying requests after a delay.
- Standardize Data Handling: Ensure that the data retrieved from Todoist is transformed and standardized to fit your application's needs. This includes handling different date formats and task priorities.
Enhance Your Integrations with Endgrate
While integrating with Todoist API is straightforward, managing multiple integrations can become complex. Endgrate simplifies this process by providing a unified API endpoint for various platforms, including Todoist. By using Endgrate, you can save time and resources, allowing you to focus on your core product development.
Explore how Endgrate can streamline your integration processes and provide an intuitive experience for your users. Visit Endgrate to learn more and get started with seamless integrations today.
Read More
Ready to get started?
