Using the Notion API to Create Records (with Javascript examples)
Introduction to Notion API Integration
Notion is a versatile all-in-one workspace that allows teams to organize tasks, manage projects, and store information in a highly customizable environment. With its robust API, developers can seamlessly integrate Notion with other applications, enhancing productivity and collaboration.
Connecting with the Notion API enables developers to automate workflows, such as creating and managing records within Notion databases. For example, you might want to automatically generate project pages in Notion based on tasks created in another project management tool, streamlining your team's workflow and ensuring data consistency across platforms.
Setting Up Your Notion API Test Account
Before diving into the Notion API, you'll need to set up a test environment. This involves creating a Notion integration and obtaining the necessary credentials to authenticate API requests. Follow these steps to get started:
Create a Notion Integration
- Log in to your Notion account. If you don't have one, you can sign up for free on the Notion website.
- Navigate to the My Integrations page by clicking on your profile picture in the top right corner and selecting Settings & Members.
- Click on Integrations in the left sidebar, then select New Integration.
- Fill out the required fields, including the integration name and associated workspace. Ensure you select the appropriate permissions for your integration, such as Insert Content capabilities.
- Once created, you'll receive an Integration Token. Keep this token secure, as it will be used to authenticate your API requests.
Authorize Your Integration with OAuth 2.0
The Notion API uses OAuth 2.0 for authorization. Follow these steps to authorize your integration:
- Direct users to the authorization URL provided in your integration settings. This URL includes parameters such as
client_id,redirect_uri, andresponse_type. - After users authorize the integration, they will be redirected to your specified
redirect_uriwith a temporary authorization code. - Exchange this code for an access token by making a POST request to the Notion token endpoint. Use HTTP Basic Authentication with your
CLIENT_IDandCLIENT_SECRET.
Secure Your Integration Token
It's crucial to keep your integration token secure. Here are some best practices:
- Store the token in environment variables or a secure vault, not in your source code.
- Use a secret manager to manage and access your tokens securely.
With your Notion integration set up and authorized, you're ready to start making API calls to create and manage records within Notion. For more details, refer to the Notion API Authorization Guide.
sbb-itb-96038d7
Making API Calls to Create Records in Notion Using JavaScript
Now that your Notion integration is set up and authorized, it's time to make API calls to create records within Notion. This section will guide you through the process using JavaScript, ensuring you have the right tools and code to interact with the Notion API effectively.
Prerequisites for Using JavaScript with Notion API
Before you begin, ensure you have the following installed on your machine:
- Node.js (version 14 or later)
- NPM (Node Package Manager)
Install the Notion SDK for JavaScript by running the following command in your terminal:
npm install @notionhq/clientCreating a New Page in Notion with JavaScript
To create a new page in Notion, you'll need to use the Notion SDK to make a POST request to the Notion API. Follow these steps to create a page:
const { Client } = require('@notionhq/client');

// Initialize a client
const notion = new Client({ auth: process.env.NOTION_TOKEN });

// Define the function to create a new page
async function createNotionPage() {
    try {
        const response = await notion.pages.create({
            parent: { database_id: 'your_database_id' },
            properties: {
                Name: {
                    title: [
                        {
                            text: {
                                content: 'New Project Page'
                            }
                        }
                    ]
                },
                Description: {
                    rich_text: [
                        {
                            text: {
                                content: 'This is a description of the new project.'
                            }
                        }
                    ]
                }
            }
        });
        console.log('Page created successfully:', response);
    } catch (error) {
        console.error('Error creating page:', error);
    }
}

// Call the function
createNotionPage();
Replace your_database_id with the actual ID of the database where you want to create the page. The properties object should match the properties defined in your Notion database.
Verifying the API Call Success in Notion
After running the code, check your Notion workspace to verify that the new page has been created in the specified database. The page should appear with the title and description you provided in the code.
Handling Errors and Understanding Notion API Responses
When making API calls, it's crucial to handle potential errors. The Notion API provides various error codes to help you diagnose issues. For example, a 400 status code indicates a bad request, while a 403 status code means your integration lacks the necessary permissions. Refer to the Notion API Status Codes documentation for more details.
Additionally, be mindful of the rate limits imposed by Notion, which allow an average of three requests per second. If you exceed this limit, you'll receive a 429 error code. Implement retry logic or backoff strategies to handle rate limiting gracefully. For more information, see the Notion API Request Limits documentation.
Best Practices for Using Notion API in JavaScript Integrations
When working with the Notion API to create records using JavaScript, it's essential to follow best practices to ensure security, efficiency, and maintainability. Here are some key recommendations:
- Secure Token Storage: Always store your integration tokens in environment variables or secure vaults. Avoid hardcoding them in your source code to prevent unauthorized access.
- Handle Rate Limits: Notion imposes a rate limit of three requests per second. Implement retry logic or exponential backoff strategies to manage rate limiting effectively. Refer to the Notion API Request Limits documentation for guidance.
- Error Handling: Implement robust error handling to manage various API response codes. Use the Notion API Status Codes documentation to understand and handle errors appropriately.
- Data Validation: Ensure that the data you send to the API matches the schema of your Notion database properties. This prevents validation errors and ensures successful API calls.
- Optimize API Calls: Minimize the number of API calls by batching requests when possible. This helps in staying within rate limits and improves performance.
Enhancing Your Integration Experience with Endgrate
Building integrations can be complex and time-consuming, especially when dealing with multiple platforms. Endgrate simplifies this process by providing a unified API endpoint that connects to various platforms, including Notion.
With Endgrate, you can:
- Save Time and Resources: Focus on your core product while outsourcing integration tasks to Endgrate.
- Build Once, Use Everywhere: Create a single integration for each use case, reducing the need for multiple implementations.
- Enhance User Experience: Offer your customers an intuitive and seamless integration experience.
Explore how Endgrate can streamline your integration processes by visiting Endgrate's website.
Read More
- https://endgrate.com/provider/Notion
- https://developers.notion.com/reference/intro
- https://developers.notion.com/docs/getting-started
- https://developers.notion.com/docs/authorization
- https://developers.notion.com/reference/request-limits
- https://developers.notion.com/reference/status-codes
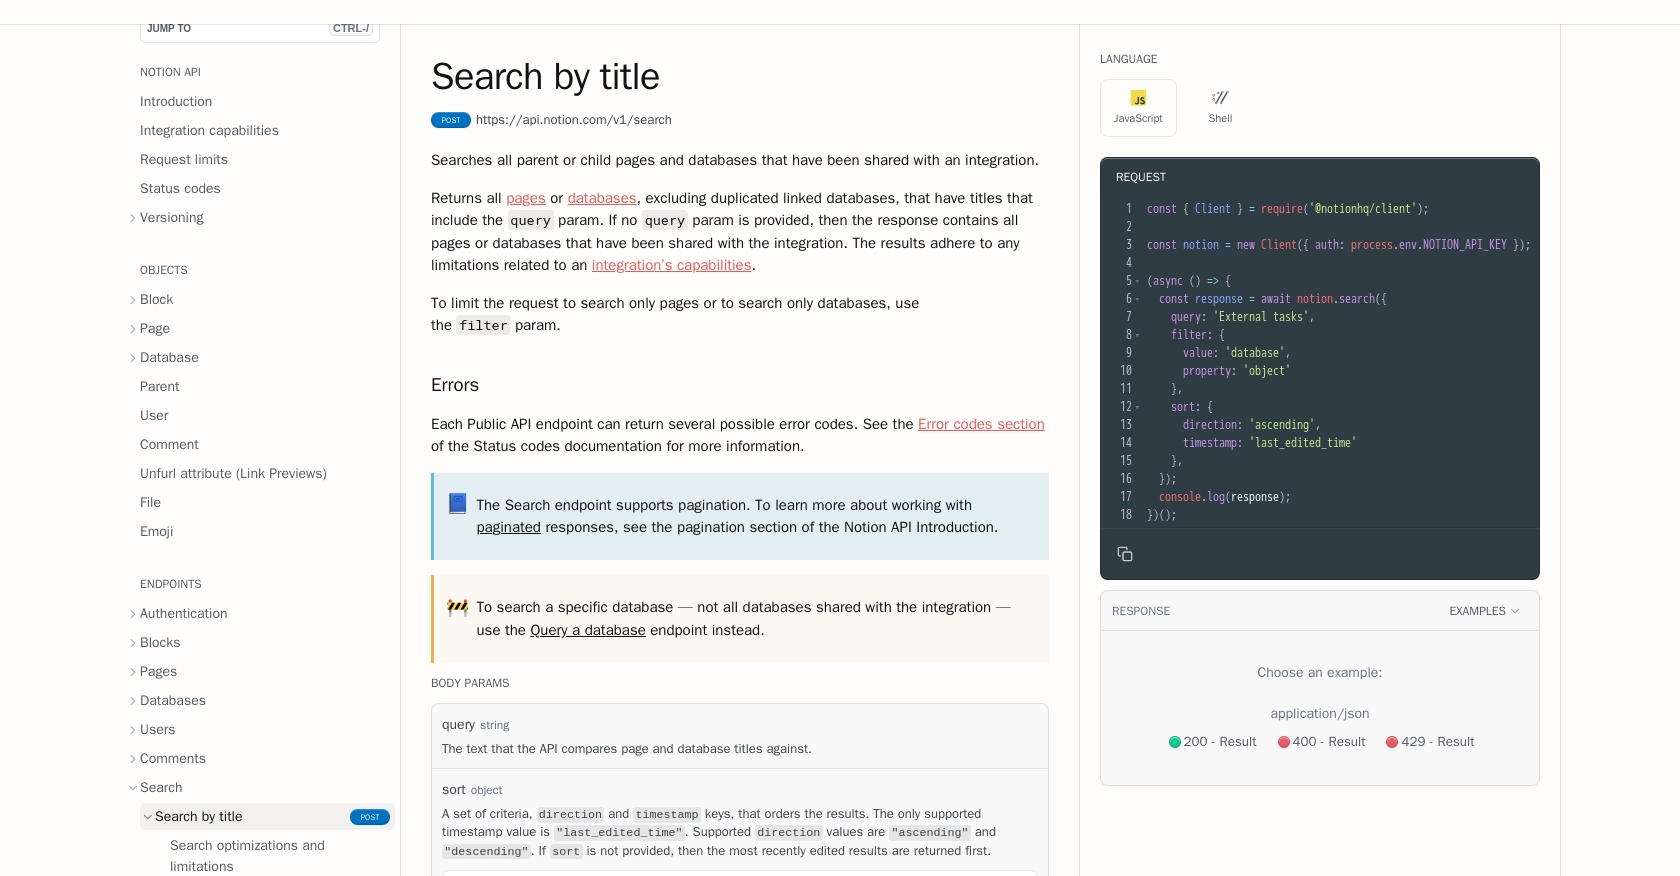
- https://developers.notion.com/reference/post-search
- https://developers.notion.com/reference/post-page

Ready to get started?
