Using the Moneybird API to Get External Invoices (with Javascript examples)

Introduction to Moneybird API for External Invoices
Moneybird is a versatile financial administration tool designed to simplify bookkeeping for businesses. It offers a comprehensive suite of features, including invoicing, expense tracking, and financial reporting, making it an essential tool for businesses looking to streamline their financial processes.
Integrating with Moneybird's API allows developers to automate and manage financial data more efficiently. For example, you can use the Moneybird API to retrieve external invoices, enabling seamless synchronization with other financial systems or applications. This integration can help businesses maintain accurate financial records and improve their overall financial management.
Setting Up Your Moneybird Sandbox Account for API Integration
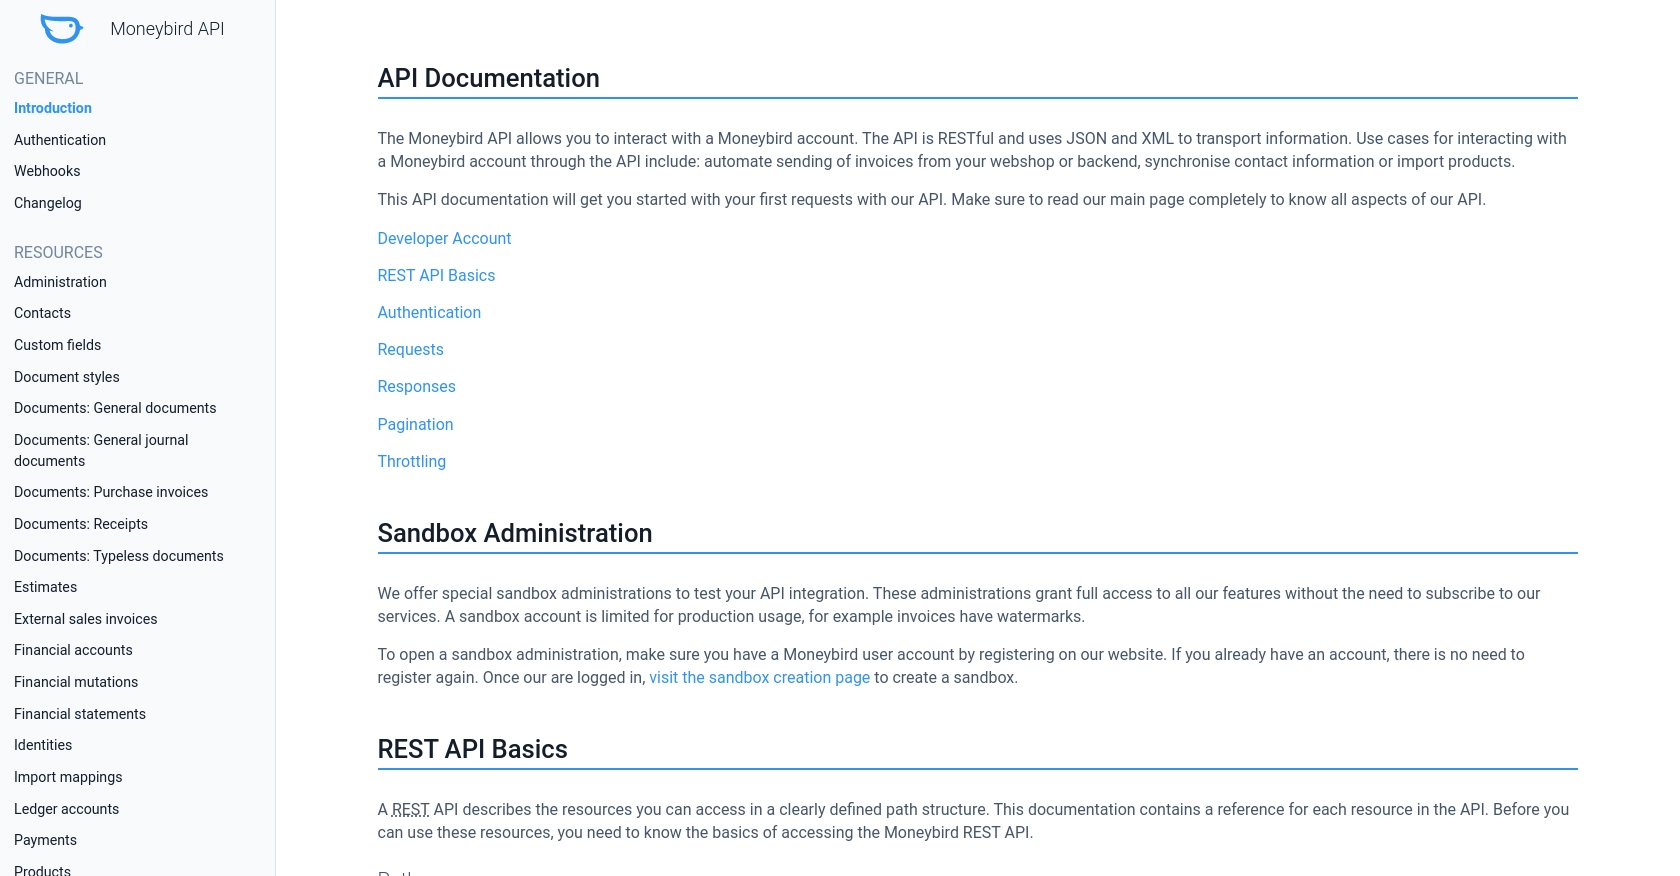
Before you can start interacting with the Moneybird API, you'll need to set up a sandbox account. This allows you to test your integration without affecting live data. Moneybird provides a sandbox environment that grants full access to all features, ensuring a safe space for development and testing.
Creating a Moneybird Sandbox Account
To create a sandbox account, follow these steps:
- Visit the Moneybird website and register for a user account if you don't already have one.
- Once registered, log in to your Moneybird account.
- Navigate to the sandbox creation page by visiting this link.
- Follow the instructions to create a new sandbox administration. This will provide you with a separate environment for testing your API integration.
Setting Up OAuth Authentication for Moneybird API
Moneybird uses OAuth2 for authentication, which allows secure access to the API. Here's how to set it up:
- Log in to your Moneybird account and go to the application registration page.
- Register your application by providing the necessary details. This will generate a Client ID and Client Secret.
- Use these credentials to obtain an access token. You can do this by making an authorization request:
const axios = require('axios');

const clientId = 'your_client_id';
const clientSecret = 'your_client_secret';
const redirectUri = 'urn:ietf:wg:oauth:2.0:oob';

axios.post('https://moneybird.com/oauth/token', {
    client_id: clientId,
    client_secret: clientSecret,
    redirect_uri: redirectUri,
    grant_type: 'authorization_code',
    code: 'your_authorization_code'
})
.then(response => {
    console.log('Access Token:', response.data.access_token);
})
.catch(error => {
    console.error('Error obtaining access token:', error);
});
Replace your_client_id, your_client_secret, and your_authorization_code with the actual values obtained during the registration process.
Generating an Access Token
After obtaining the authorization code, exchange it for an access token. This token will be used to authenticate API requests:
axios.post('https://moneybird.com/oauth/token', {
    client_id: clientId,
    client_secret: clientSecret,
    redirect_uri: redirectUri,
    grant_type: 'authorization_code',
    code: 'your_authorization_code'
})
.then(response => {
    console.log('Access Token:', response.data.access_token);
})
.catch(error => {
    console.error('Error obtaining access token:', error);
});
Ensure you store the access token securely, as it provides access to your Moneybird account.
With your sandbox account and OAuth authentication set up, you're ready to start making API calls to Moneybird and explore its capabilities.

sbb-itb-96038d7
Making API Calls to Retrieve External Invoices from Moneybird Using JavaScript
Once you have set up your Moneybird sandbox account and obtained an access token, you can begin making API calls to retrieve external invoices. This section will guide you through the process of interacting with the Moneybird API using JavaScript, specifically focusing on retrieving external sales invoices.
Prerequisites for JavaScript Integration with Moneybird API
Before proceeding, ensure you have the following installed on your machine:
- Node.js (latest version recommended)
- Axios library for making HTTP requests
To install Axios, run the following command in your terminal:
npm install axiosRetrieving External Sales Invoices from Moneybird API
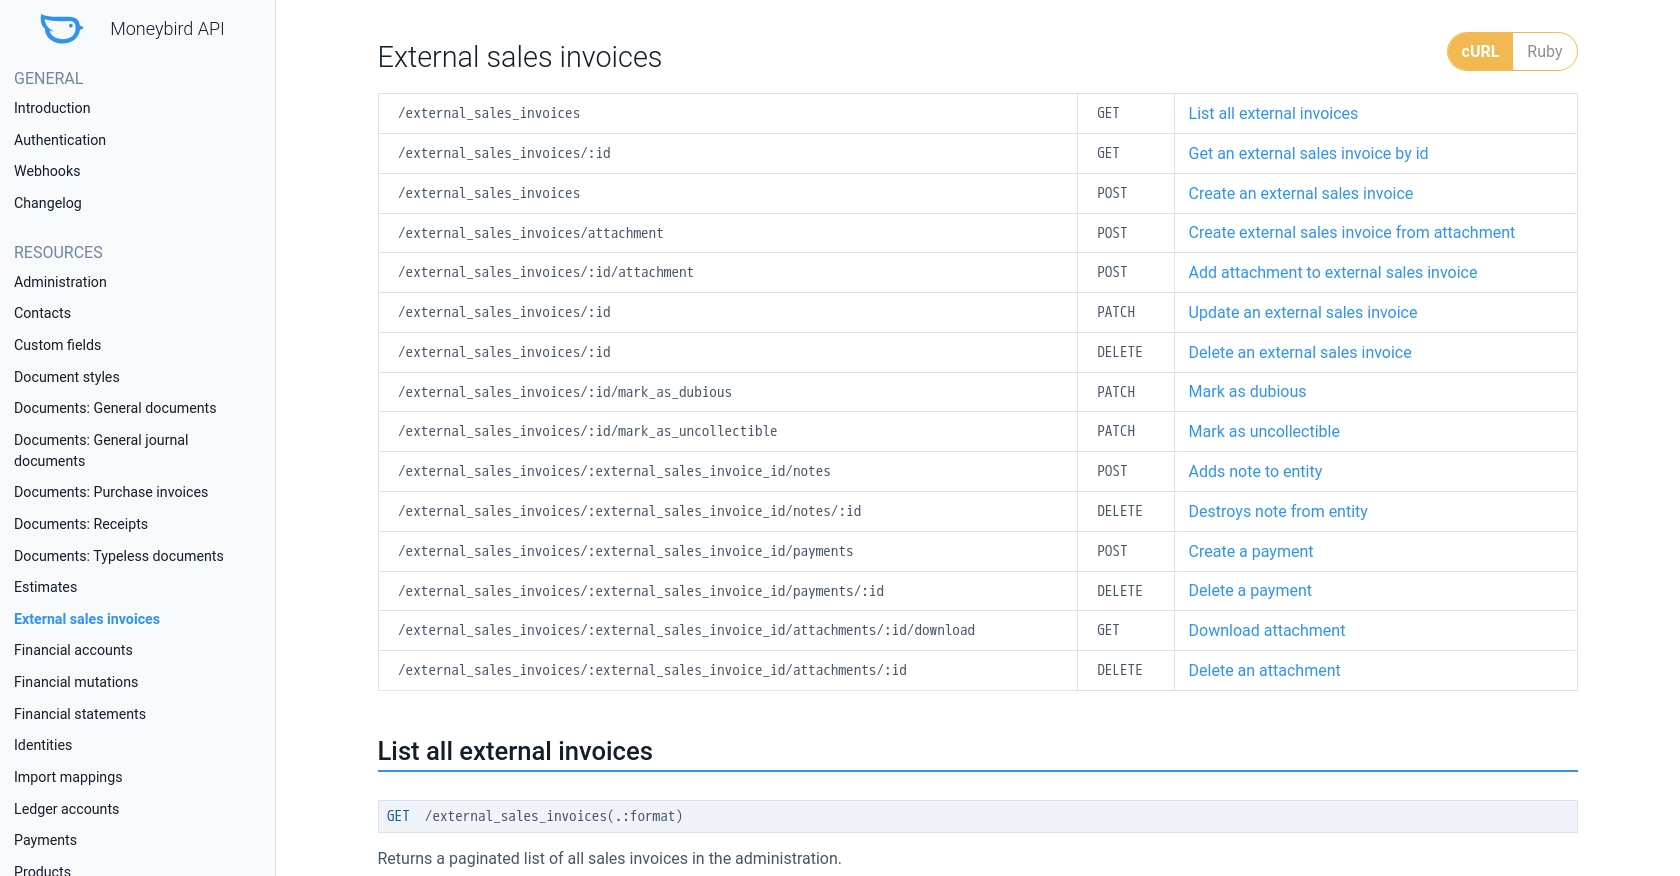
To retrieve external sales invoices, you'll need to make a GET request to the Moneybird API endpoint. Here's a step-by-step guide:
const axios = require('axios');

const accessToken = 'your_access_token';
const administrationId = 'your_administration_id';

axios.get(`https://moneybird.com/api/v2/${administrationId}/external_sales_invoices.json`, {
    headers: {
        'Authorization': `Bearer ${accessToken}`,
        'Content-Type': 'application/json'
    }
})
.then(response => {
    console.log('External Invoices:', response.data);
})
.catch(error => {
    console.error('Error fetching external invoices:', error);
});
Replace your_access_token and your_administration_id with the actual values you have obtained. This code will fetch a list of external sales invoices from your Moneybird account.
Verifying API Request Success in Moneybird Sandbox
After running the code, you should see the external invoices printed in your console. To verify the request's success, log in to your Moneybird sandbox account and check the external sales invoices section. The data returned by the API should match the invoices listed in your sandbox environment.
Handling Errors and Understanding Moneybird API Response Codes
When making API calls, it's crucial to handle potential errors gracefully. The Moneybird API provides various HTTP status codes to indicate the outcome of your requests:
- 200 OK: The request was successful.
- 401 Unauthorized: Invalid or missing authorization information.
- 404 Not Found: The requested resource could not be found.
- 429 Too Many Requests: Rate limit exceeded. Refer to the Moneybird documentation for more details.
For a complete list of status codes, refer to the Moneybird API documentation.

Conclusion and Best Practices for Integrating Moneybird API
Integrating with the Moneybird API can significantly enhance your financial management capabilities by automating the retrieval and management of external invoices. By following the steps outlined in this guide, you can efficiently set up your sandbox environment, authenticate using OAuth, and make API calls using JavaScript.
Best Practices for Secure and Efficient Moneybird API Integration
- Secure Storage of Credentials: Always store your access tokens and client secrets securely. Consider using environment variables or secure vaults to prevent unauthorized access.
- Handling Rate Limits: Be mindful of the Moneybird API's rate limits, which allow 150 requests every 5 minutes. Implement logic to handle
429 Too Many Requestserrors by retrying after the specifiedRetry-Afterperiod. - Data Standardization: Ensure that the data retrieved from Moneybird is standardized and transformed as needed to integrate seamlessly with your existing systems.
- Error Handling: Implement robust error handling to manage various HTTP status codes and provide meaningful feedback to users or logs for debugging.
Streamlining Integrations with Endgrate
While integrating with Moneybird's API can be straightforward, managing multiple integrations can become complex. Endgrate simplifies this process by offering a unified API endpoint that connects to various platforms, including Moneybird. By using Endgrate, you can:
- Save time and resources by outsourcing integrations and focusing on your core product development.
- Build once for each use case, avoiding repetitive integration efforts for different platforms.
- Provide an intuitive and seamless integration experience for your customers.
Explore how Endgrate can enhance your integration strategy by visiting Endgrate's website and discover the benefits of a unified API approach.
Read More
Ready to get started?
