How to Get Users with the Apollo API in Javascript

Introduction to Apollo API
Apollo is a comprehensive sales intelligence and engagement platform that empowers businesses to streamline their sales processes. With a vast database of over 265 million contacts and 70 million companies, Apollo provides tools for lead generation, sales engagement, and workflow automation.
Developers might want to integrate with the Apollo API to access and manage user data efficiently. For example, using the Apollo API, a developer can retrieve a list of users within an organization to enhance team collaboration and streamline communication efforts.
Setting Up Your Apollo API Account
Before you can start using the Apollo API to retrieve user data, you need to set up an account and obtain an API key. This key will allow you to authenticate your requests and access the necessary endpoints.
Create an Apollo Account
If you don't already have an Apollo account, visit the Apollo website and sign up for a free trial or a demo account. Follow the on-screen instructions to complete the registration process. Once your account is created, log in to access the Apollo dashboard.
Generate an API Key for Apollo API Access
To interact with the Apollo API, you need an API key. Follow these steps to generate your key:
- Log in to your Apollo account.
- Navigate to the API settings section in your account dashboard.
- Click on "Generate API Key" to create a new key.
- Copy the generated API key and store it securely, as you will need it to authenticate your API requests.
Understanding Apollo API Authentication
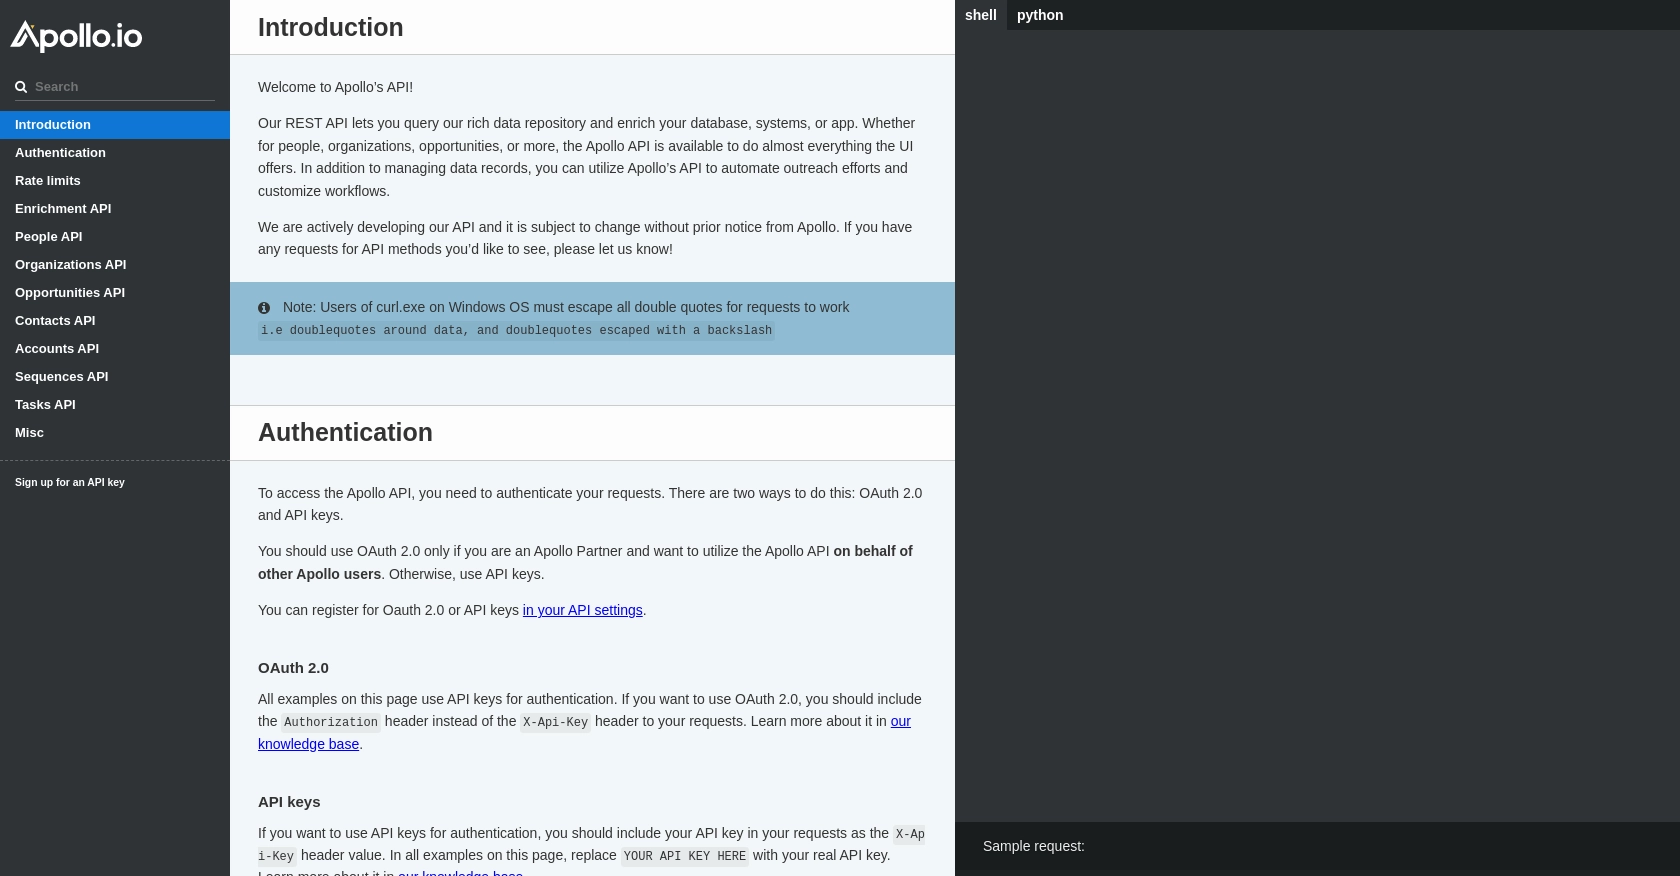
Apollo uses API key-based authentication. When making requests to the Apollo API, include your API key in the request headers as follows:
// Example of setting headers with API key
const headers = {
    'Content-Type': 'application/json',
    'Cache-Control': 'no-cache',
    'X-Api-Key': 'YOUR_API_KEY_HERE'
};
Replace YOUR_API_KEY_HERE with the API key you generated earlier.
Testing Your Apollo API Key
To ensure your API key is working correctly, you can test it by making a simple API call to check your authentication status:
// Example API call to test authentication
fetch('https://api.apollo.io/v1/auth/health', {
    method: 'GET',
    headers: headers
})
.then(response => response.json())
.then(data => console.log(data))
.catch(error => console.error('Error:', error));
If your API key is valid, you should receive a response indicating that you are logged in.
For more information on authentication, refer to the Apollo API documentation.

sbb-itb-96038d7
Making API Calls to Retrieve Users with Apollo API in JavaScript
Now that you have your Apollo API key set up, it's time to make an API call to retrieve user data. This section will guide you through the process of using JavaScript to interact with the Apollo API and fetch a list of users.
Prerequisites for Using JavaScript with Apollo API
Before proceeding, ensure you have the following installed on your machine:
- Node.js (version 14 or later)
- A code editor like Visual Studio Code
Additionally, you'll need to use the node-fetch library to make HTTP requests. Install it using the following command:
npm install node-fetchExample Code to Fetch Users from Apollo API
Create a new JavaScript file named get_apollo_users.js and add the following code:
const fetch = require('node-fetch');

// Set the API endpoint and headers
const endpoint = 'https://api.apollo.io/v1/users/search';
const headers = {
    'Content-Type': 'application/json',
    'Cache-Control': 'no-cache',
    'X-Api-Key': 'YOUR_API_KEY_HERE'
};

// Make a GET request to the API
fetch(endpoint, {
    method: 'GET',
    headers: headers
})
.then(response => response.json())
.then(data => {
    // Loop through the users and print their information
    data.users.forEach(user => {
        console.log(`User: ${user.first_name} ${user.last_name}, Email: ${user.email}`);
    });
})
.catch(error => console.error('Error:', error));
Replace YOUR_API_KEY_HERE with the API key you generated earlier.
Running the JavaScript Code to Retrieve Users
To execute the code, open your terminal and run the following command:
node get_apollo_users.jsYou should see a list of users printed in the console, displaying their names and email addresses.
Handling Errors and Verifying API Call Success
To ensure the API call is successful, check the response status and handle any errors appropriately. If the request fails, the error will be logged in the console. Verify the returned data by comparing it with the users listed in your Apollo dashboard.
Understanding Apollo API Rate Limits
Be mindful of the rate limits imposed by Apollo API. According to the Apollo API documentation, you are allowed up to 50 requests per minute. Plan your API calls accordingly to avoid hitting the rate limit.
Conclusion and Best Practices for Using Apollo API in JavaScript
Integrating with the Apollo API using JavaScript allows developers to efficiently manage user data and enhance team collaboration. By following the steps outlined in this guide, you can seamlessly retrieve user information and incorporate it into your applications.
Best Practices for Securely Storing Apollo API Credentials
- Store your API keys securely and avoid hardcoding them directly into your source code. Consider using environment variables or a secure vault.
- Regularly rotate your API keys to minimize security risks.
Handling Apollo API Rate Limits Effectively
- Monitor your API usage to ensure you stay within the rate limits of 50 requests per minute as specified in the Apollo API documentation.
- Implement exponential backoff strategies to handle rate limit errors gracefully.
Data Transformation and Standardization with Apollo API
- Standardize the data fields you retrieve from Apollo to ensure consistency across your application.
- Consider transforming data into a format that aligns with your existing data models for easier integration.
By leveraging the Apollo API, you can streamline your sales processes and improve data management within your organization. For developers looking to simplify integration efforts across multiple platforms, consider using Endgrate. Endgrate offers a unified API endpoint, allowing you to build once and deploy across various integrations, saving time and resources.
Read More
Ready to get started?
