Using the Chargebee API to Get Events (with Javascript examples)
Introduction to Chargebee API Integration
Chargebee is a robust subscription management platform that empowers businesses to automate billing, invoicing, and revenue operations. It offers a comprehensive suite of tools to manage subscriptions, billing cycles, and customer relationships efficiently.
Integrating with Chargebee's API allows developers to access and manage event data, which is crucial for tracking changes and updates within the platform. For example, you might want to retrieve events related to subscription renewals or customer updates to keep your internal systems synchronized with Chargebee.
This article will guide you through using JavaScript to interact with the Chargebee API, specifically focusing on retrieving events. By the end of this tutorial, you'll be equipped to seamlessly integrate Chargebee's event data into your applications.
Setting Up Your Chargebee Test/Sandbox Account
Before you can start interacting with the Chargebee API, you'll need to set up a test or sandbox account. This allows you to safely experiment with API calls without affecting live data. Chargebee provides a dedicated environment for testing, ensuring that your integration works seamlessly before going live.
Creating a Chargebee Test Account
To begin, you'll need to create a Chargebee test account. Follow these steps:
- Visit the Chargebee signup page and register for a free trial account.
- Once registered, log in to your Chargebee dashboard.
- Navigate to the 'Sites' section and create a new test site. This will serve as your sandbox environment.
Generating API Keys for Chargebee
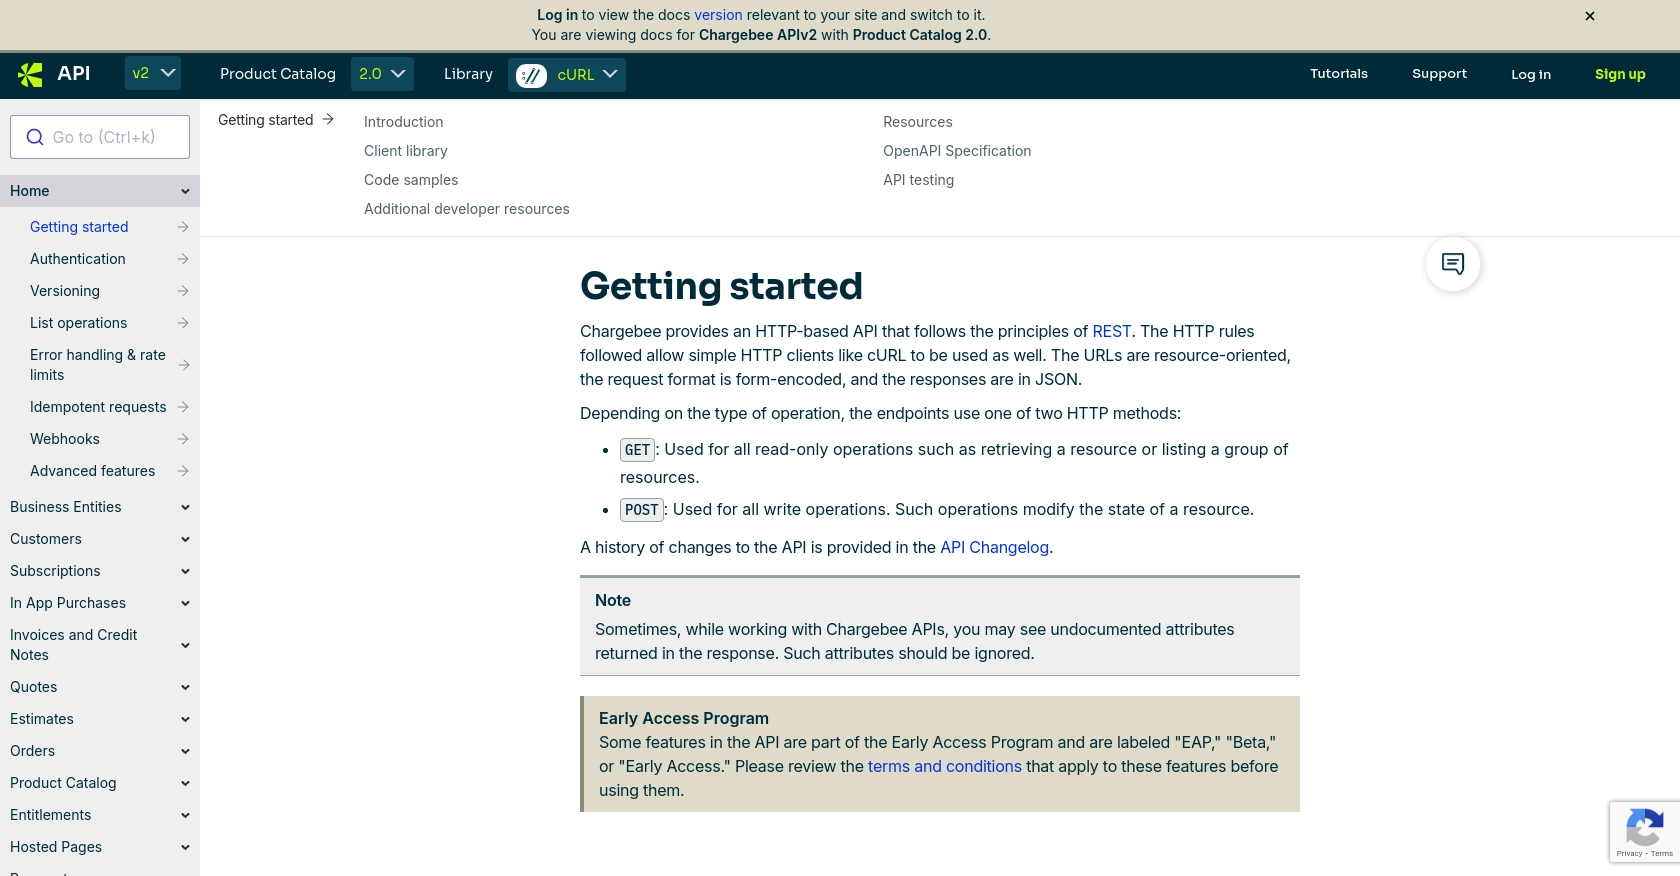
Chargebee uses HTTP Basic authentication for API calls, where the username is your API key and the password is left empty. Here's how to generate your API key:
- In your Chargebee dashboard, go to 'Settings' and select 'API Keys'.
- Click on 'Create a Key' and choose the appropriate permissions for your integration needs.
- Copy the generated API key and store it securely. Remember, the API keys for your test site and live site are different.
Configuring OAuth for Chargebee API
While Chargebee primarily uses API keys for authentication, you may also need to configure OAuth for certain integrations. Follow these steps:
- In the Chargebee dashboard, navigate to 'Settings' and select 'OAuth Apps'.
- Click 'Create an App' and fill in the necessary details such as the app name and redirect URL.
- Once created, note down the client ID and client secret for your app.
Testing Your Chargebee API Setup
With your test account and API keys ready, you can now test your integration:
- Use a tool like Postman or a simple JavaScript script to make a test API call to Chargebee.
- Verify that the API call returns the expected results and that you can access event data as needed.
By setting up your Chargebee test account and generating the necessary API keys, you're now ready to start integrating Chargebee's event data into your applications. For more detailed information, refer to the Chargebee API documentation.
sbb-itb-96038d7
Making API Calls to Retrieve Events from Chargebee Using JavaScript
To effectively interact with the Chargebee API and retrieve event data, you need to ensure that your JavaScript environment is properly set up. This section will guide you through the necessary steps to make API calls and handle responses efficiently.
Setting Up Your JavaScript Environment for Chargebee API Integration
Before making API calls, ensure you have a JavaScript environment ready. You can use Node.js or a browser-based environment. For this tutorial, we'll use Node.js. Ensure you have Node.js installed on your machine.
- Install Node.js from the official website if you haven't already.
- Initialize a new Node.js project by running
npm init -yin your terminal. - Install the Axios library for making HTTP requests by running
npm install axios.
Writing JavaScript Code to Retrieve Events from Chargebee
With your environment set up, you can now write JavaScript code to interact with the Chargebee API. Follow these steps to retrieve events:
const axios = require('axios');
// Set your Chargebee site and API key
const site = 'your-site';
const apiKey = 'your-api-key';
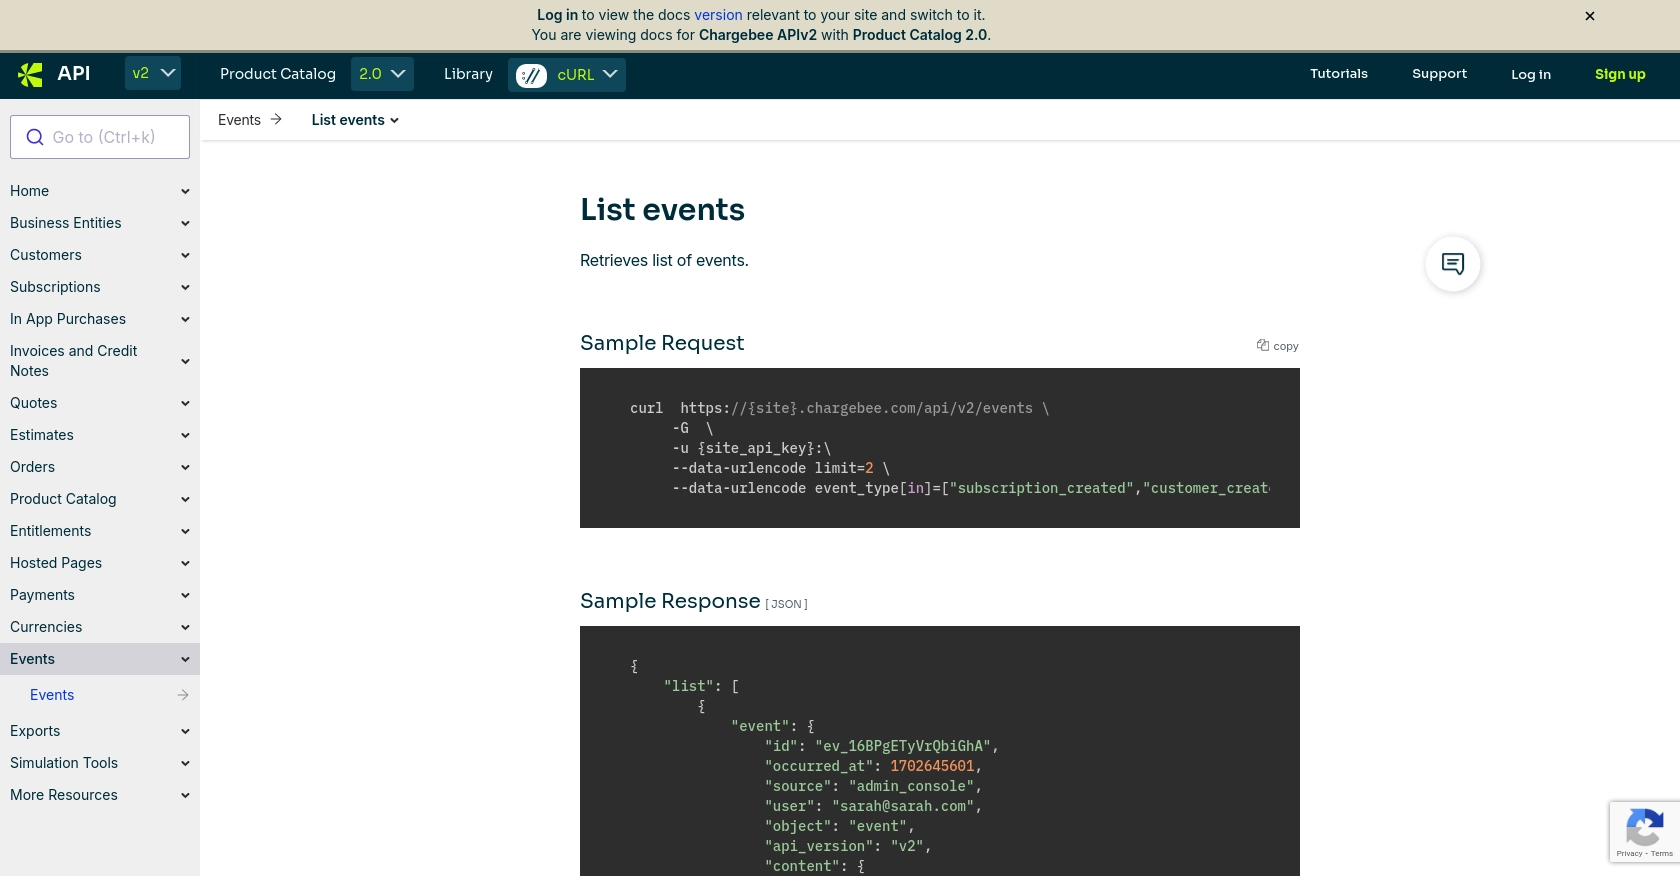
// Define the API endpoint
const endpoint = `https://${site}.chargebee.com/api/v2/events`;
// Configure the request headers
const headers = {
'Authorization': `Basic ${Buffer.from(apiKey + ':').toString('base64')}`
};
// Make a GET request to the Chargebee API
axios.get(endpoint, { headers })
.then(response => {
// Handle the successful response
console.log('Events retrieved:', response.data.list);
})
.catch(error => {
// Handle errors
console.error('Error fetching events:', error.response.data);
});
Replace your-site and your-api-key with your actual Chargebee site name and API key. This code uses Axios to send a GET request to the Chargebee API, retrieves the list of events, and logs them to the console.
Verifying the Success of Your Chargebee API Request
After running the JavaScript code, you should see the retrieved events in your console. To verify the success of your API request:
- Check the console output for the list of events. Ensure that the data matches the events in your Chargebee test account.
- If the request fails, review the error message for details and ensure your API key and site name are correct.
Handling Errors and Chargebee API Error Codes
When making API calls, it's crucial to handle potential errors gracefully. Chargebee uses standard HTTP status codes to indicate success or failure. Here are some common error codes you might encounter:
- 401 Unauthorized: Authentication failed. Check your API key.
- 404 Not Found: The requested resource could not be found.
- 429 Too Many Requests: Rate limit exceeded. Implement retry logic with exponential backoff.
For more detailed error handling, refer to the Chargebee API error handling documentation.
Conclusion and Best Practices for Chargebee API Integration Using JavaScript
Integrating with the Chargebee API to retrieve event data using JavaScript can significantly enhance your application's ability to stay updated with subscription and billing changes. By following the steps outlined in this guide, you can efficiently access and manage Chargebee events, ensuring your systems remain synchronized and responsive to customer activities.
Best Practices for Secure and Efficient Chargebee API Usage
- Secure Storage of API Keys: Always store your Chargebee API keys securely, avoiding hardcoding them in your source code. Consider using environment variables or secure vault services.
- Implement Rate Limiting: Chargebee imposes rate limits on API requests. To avoid hitting these limits, implement retry logic with exponential backoff and monitor your API usage.
- Data Standardization: Ensure that the data retrieved from Chargebee is standardized and transformed as needed to fit your application's data models.
- Error Handling: Implement robust error handling to manage API call failures gracefully. Use Chargebee's error codes to provide meaningful feedback and recovery options.
Enhance Your Integration Strategy with Endgrate
While integrating Chargebee's API is a powerful way to manage subscription events, handling multiple integrations can become complex and time-consuming. Endgrate offers a streamlined solution by providing a unified API endpoint that connects to various platforms, including Chargebee. This allows you to build once for each use case, saving time and resources while delivering a seamless integration experience for your customers.
Explore how Endgrate can simplify your integration strategy by visiting Endgrate and discover how you can focus more on your core product while outsourcing the complexities of integration management.
Read More

Ready to get started?
