Using the Chargebee API to Get Events (with Python examples)
Introduction to Chargebee API Integration
Chargebee is a robust subscription management platform that simplifies billing and revenue operations for businesses. It offers a comprehensive suite of tools to manage subscriptions, invoicing, payments, and more, making it a popular choice for SaaS companies looking to streamline their financial processes.
Integrating with Chargebee's API allows developers to automate and enhance their billing workflows. For example, by using the Chargebee API, developers can retrieve event data to monitor subscription changes, payment successes, or failures, enabling real-time updates and insights into customer interactions.
This article will guide you through using Python to interact with the Chargebee API, specifically focusing on retrieving events. This integration can help developers maintain up-to-date records of customer activities and automate responses to various billing events.
Setting Up Your Chargebee Test/Sandbox Account
Before you can start integrating with the Chargebee API, you'll need to set up a test or sandbox account. This environment allows you to safely experiment with API calls without affecting live data. Follow these steps to create and configure your Chargebee test account.
Create a Chargebee Test Account
If you don't already have a Chargebee account, you can sign up for a free trial on the Chargebee website. This trial includes access to a sandbox environment where you can test API integrations.
- Visit the Chargebee website and click on "Sign Up."
- Fill in the required information to create your account.
- Once your account is set up, log in to the Chargebee dashboard.
Generate API Keys for Authentication
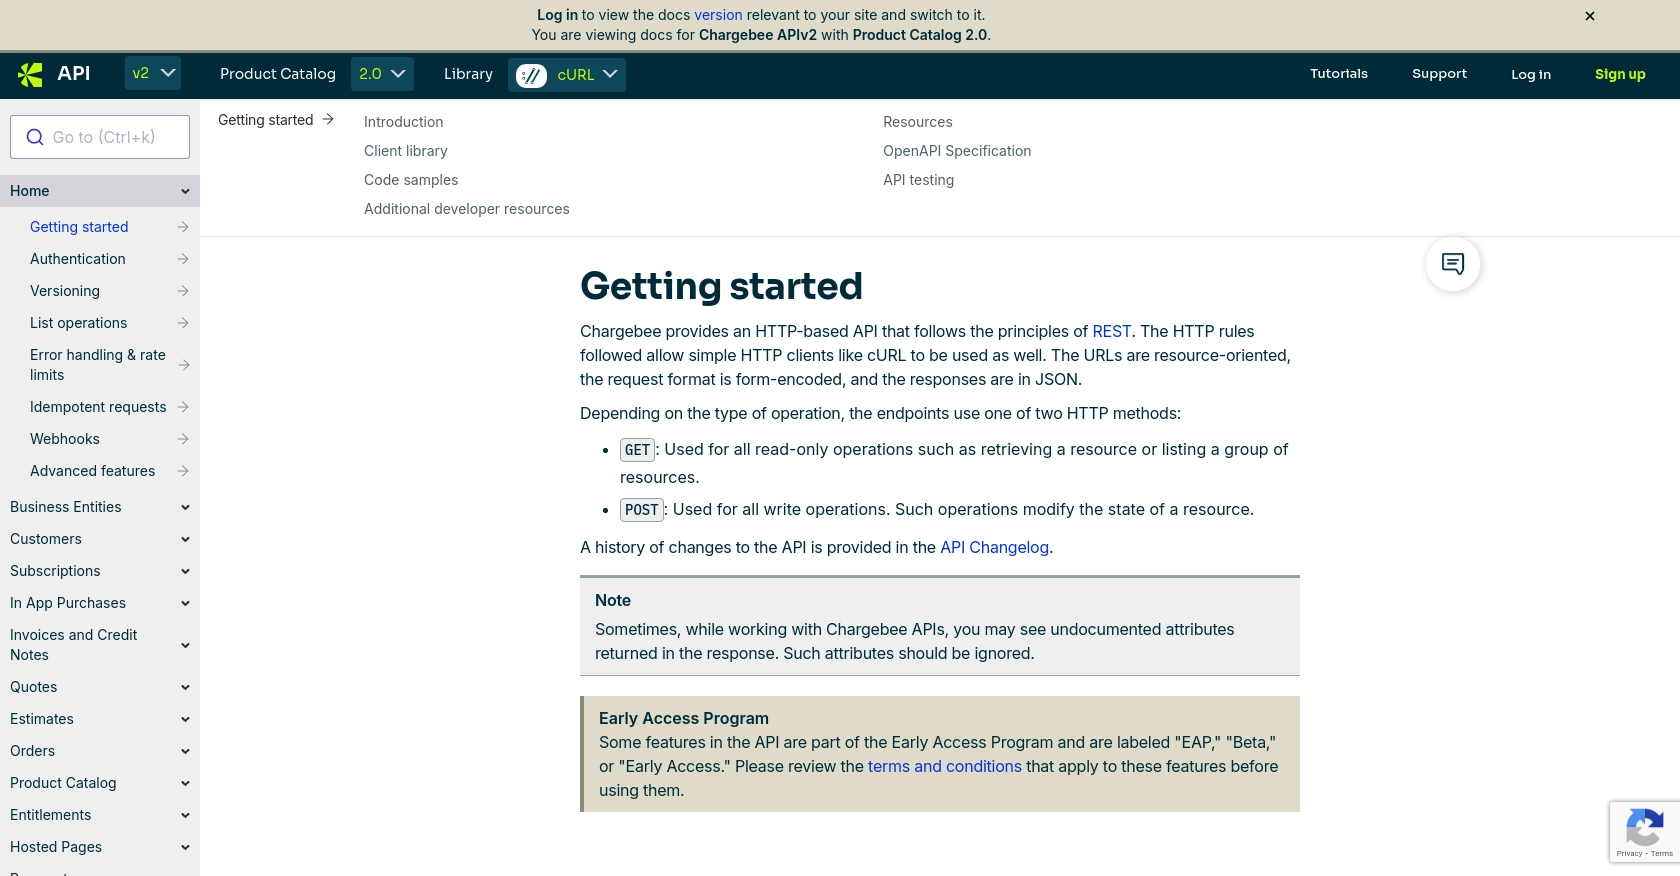
Chargebee uses HTTP Basic authentication for API calls, where the username is your API key and the password is left empty. Follow these steps to generate your API keys:
- Navigate to the "Settings" section in your Chargebee dashboard.
- Under "API & Webhooks," select "API Keys."
- Click on "Add API Key" to generate a new key.
- Choose a descriptive name for your API key and set the appropriate permissions.
- Copy the generated API key and store it securely. You'll use this key for authenticating your API requests.
Note: Ensure that you use the API key specific to your test site for development purposes.
Configure Your Chargebee Sandbox Environment
Once you have your API key, you can configure your sandbox environment to simulate various scenarios:
- Use the "Time Machine" feature to test billing cycles and subscription changes over time.
- Set up webhooks to receive real-time notifications of events in your sandbox environment.
- Experiment with different subscription models and pricing plans to see how they affect your billing processes.
With your Chargebee test account and API keys ready, you're now set to start making API calls and exploring the capabilities of the Chargebee platform.
sbb-itb-96038d7
Making API Calls to Retrieve Events from Chargebee Using Python
To interact with the Chargebee API and retrieve event data, you'll need to use Python, a versatile programming language known for its simplicity and readability. This section will guide you through the process of making API calls to Chargebee, ensuring you have the right setup and code to get started.
Python Setup and Required Dependencies for Chargebee API Integration
Before making API calls, ensure you have Python installed on your machine. This tutorial uses Python 3.11.1. Additionally, you'll need the requests library to handle HTTP requests.
- Install Python: Download and install Python from the official website.
- Install the
requestslibrary: Open your terminal or command prompt and run the following command:
pip install requestsExample Code to Retrieve Events from Chargebee
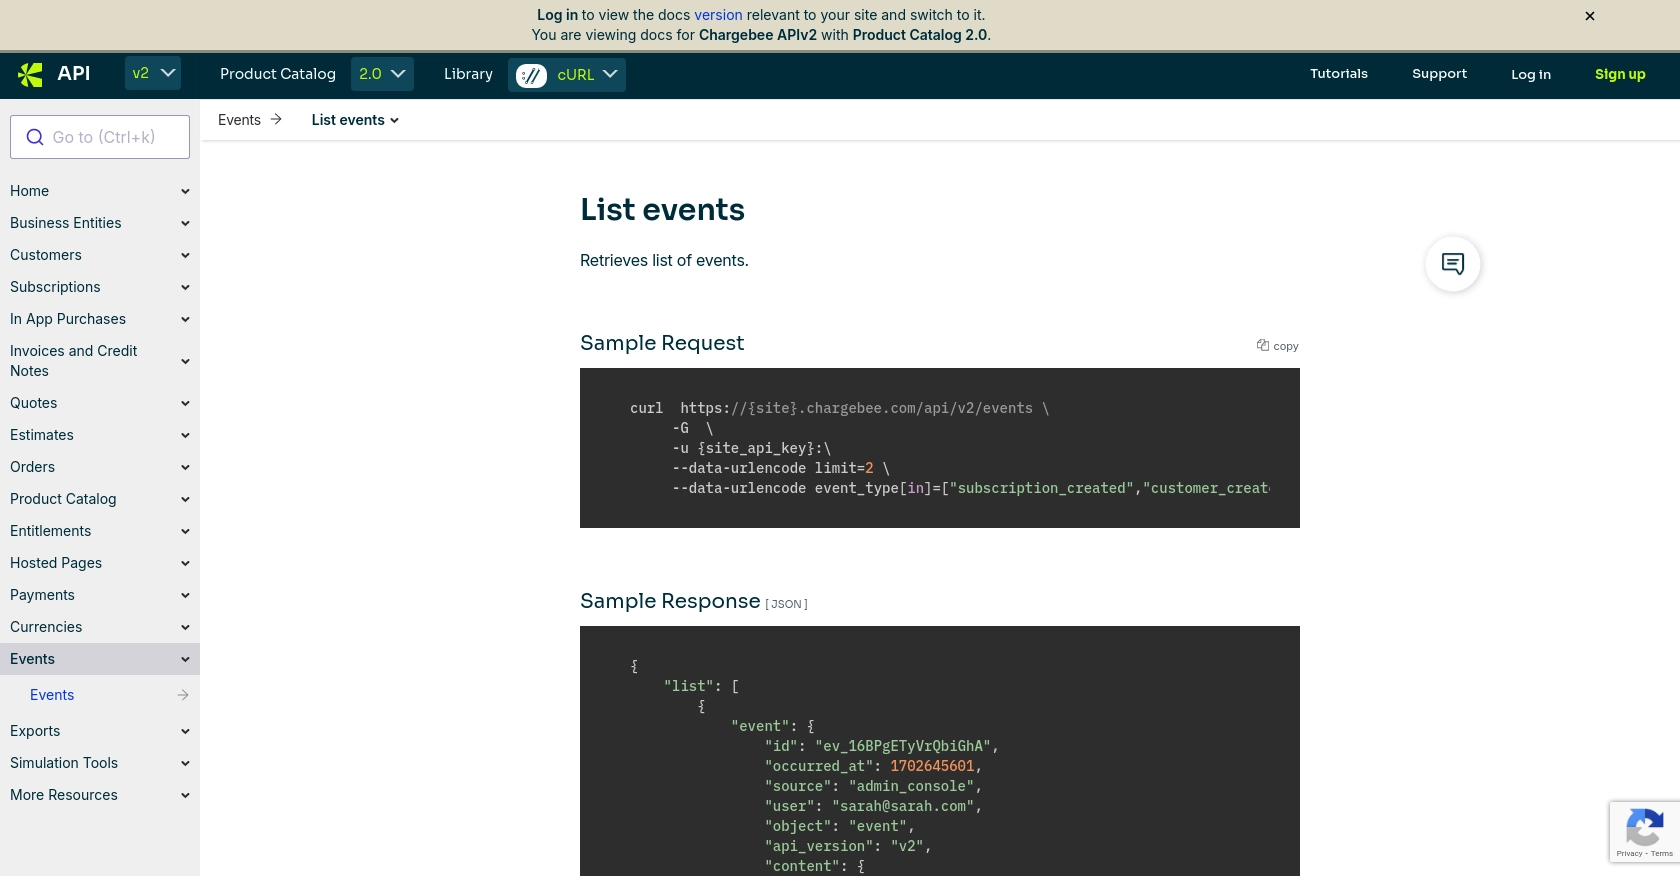
With your environment set up, you can now write a Python script to retrieve events from Chargebee. The following example demonstrates how to make a GET request to the Chargebee API to list events:
import requests

# Set the API endpoint and authentication details
api_endpoint = "https://{your-site}.chargebee.com/api/v2/events"
api_key = "your_api_key"

# Set the request headers
headers = {
    "Authorization": f"Basic {api_key}:"
}

# Make a GET request to the API
response = requests.get(api_endpoint, headers=headers)

# Check if the request was successful
if response.status_code == 200:
    events = response.json()
    for event in events['list']:
        print(event['event']['id'], event['event']['event_type'])
else:
    print("Failed to retrieve events:", response.status_code, response.text)
Replace your_api_key with the API key you generated earlier. This script sets up the API endpoint and headers, makes a GET request to retrieve events, and prints out the event IDs and types if successful.
Verifying Successful API Requests in Chargebee Sandbox
After running the script, verify the retrieved events in your Chargebee sandbox environment. You should see the events listed in the Chargebee dashboard, matching the output from your script.
Handling Errors and Chargebee API Error Codes
When making API calls, it's crucial to handle potential errors. Chargebee uses standard HTTP status codes to indicate success or failure. Here are some common error codes:
- 400 Bad Request: The request was invalid. Check your parameters.
- 401 Unauthorized: Authentication failed. Verify your API key.
- 404 Not Found: The requested resource was not found.
- 429 Too Many Requests: Rate limit exceeded. Implement retry logic with exponential backoff.
For more detailed error handling, refer to the Chargebee API documentation.
Best Practices for Chargebee API Rate Limiting
Chargebee imposes rate limits on API requests to ensure fair usage. For test sites, the limit is approximately 750 API calls every 5 minutes. For live sites, it's around 150 calls per minute. To avoid hitting these limits, consider the following:
- Space out API requests by at least one second.
- Implement retry logic with exponential backoff and randomized jitter.
- Monitor your API usage and adjust your integration as needed.
For more information on rate limits, visit the Chargebee API documentation.
Conclusion and Best Practices for Chargebee API Integration
Integrating with the Chargebee API using Python provides a powerful way to automate and enhance your subscription management processes. By retrieving event data, you can keep track of important changes and respond to customer interactions in real-time, ensuring a seamless billing experience.
Best Practices for Secure and Efficient Chargebee API Usage
- Secure API Keys: Store your API keys securely and avoid hardcoding them in your source code. Use environment variables or secure vaults to manage sensitive information.
- Handle Rate Limits: Implement retry logic with exponential backoff to handle rate limiting gracefully. Monitor your API usage to ensure compliance with Chargebee's rate limits.
- Data Standardization: Standardize and transform data fields as needed to maintain consistency across your systems and ensure accurate reporting.
- Error Handling: Implement robust error handling to manage API call failures. Use Chargebee's error codes to diagnose and resolve issues efficiently.
Streamline Your Integration Process with Endgrate
While integrating with Chargebee's API can greatly enhance your billing operations, managing multiple integrations can be complex and time-consuming. Endgrate offers a unified API solution that simplifies the integration process, allowing you to focus on your core product.
With Endgrate, you can build once for each use case and leverage a single API endpoint to connect with multiple platforms, including Chargebee. This approach not only saves time and resources but also provides an intuitive integration experience for your customers.
Explore how Endgrate can streamline your integration efforts by visiting Endgrate and discover the benefits of outsourcing your integration needs.
Read More

Ready to get started?
