Using the Front API to Get Accounts in Javascript
Introduction to Front API for Account Management
Front is a powerful communication platform that centralizes emails, messages, and other customer interactions into a single collaborative workspace. It is designed to enhance team productivity and streamline communication processes for businesses of all sizes.
Developers may want to integrate with Front's API to manage and access account data efficiently. For example, you could use the Front API to retrieve a list of company accounts, enabling seamless synchronization of account information with external systems or applications.
This article will guide you through using JavaScript to interact with the Front API, specifically focusing on retrieving account data. By following this tutorial, you'll learn how to set up your environment, authenticate requests, and handle API responses effectively.
Setting Up Your Front Developer Account for API Access
Before you can start interacting with the Front API using JavaScript, you'll need to set up a developer account. This account will provide you with the necessary environment to test your integration without affecting production data.
Creating a Front Developer Account
If you don't already have a Front account, follow these steps to create a developer account:
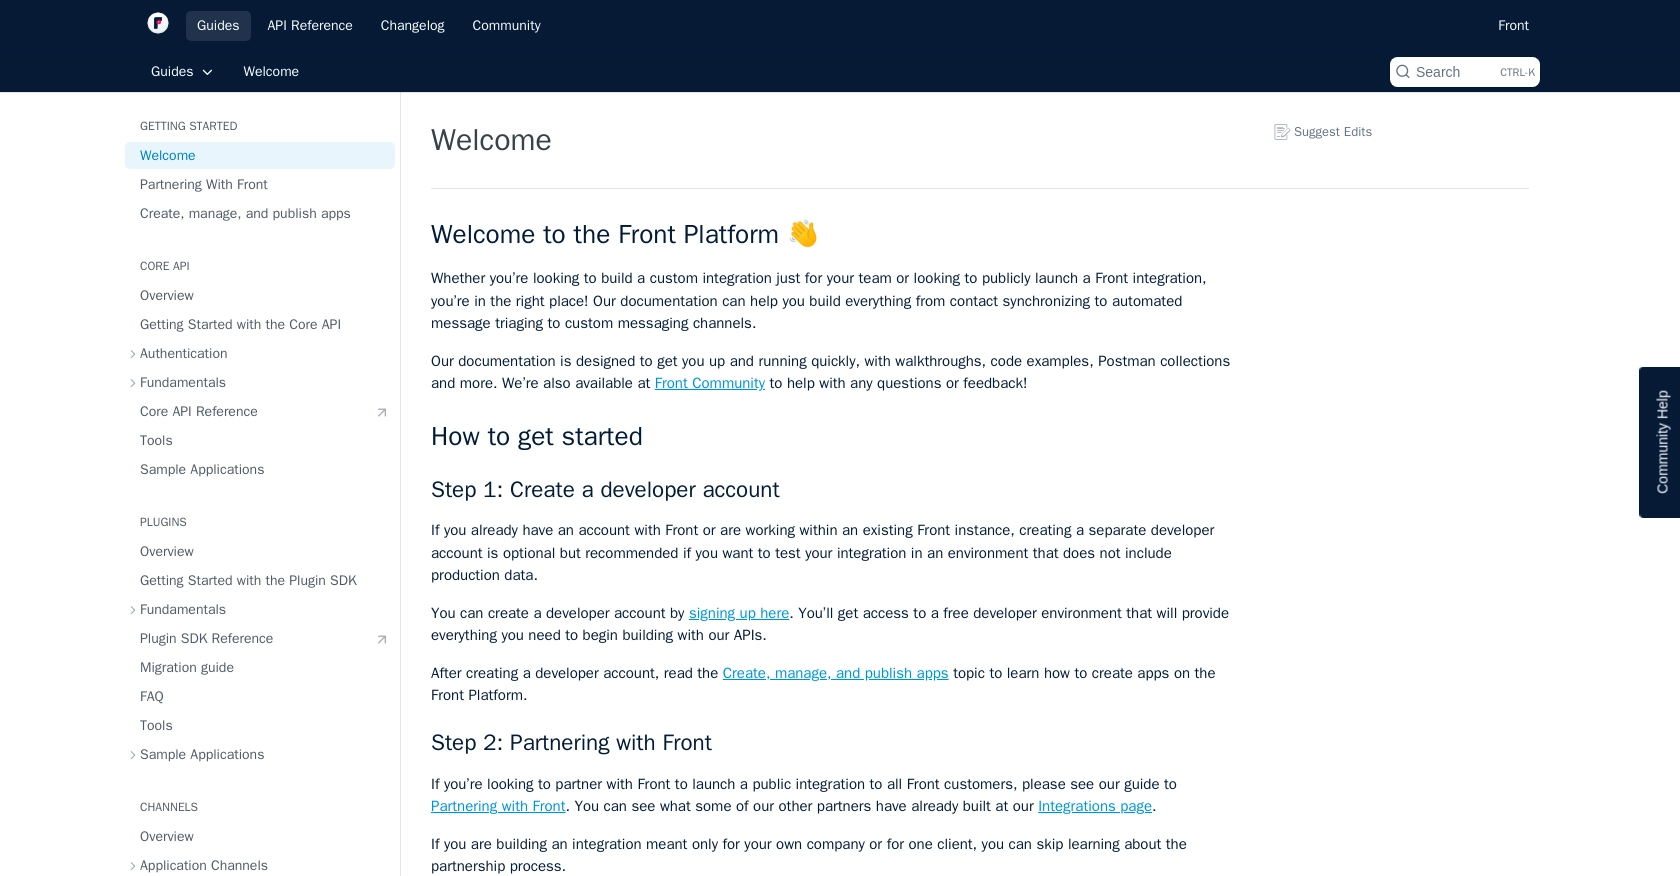
- Visit the Front Developer Portal.
- Sign up for a free developer account by following the on-screen instructions.
- Once registered, you'll have access to a sandbox environment where you can safely test your API interactions.
Generating an API Token for Authentication
Front uses API tokens for authentication, allowing you to securely access the API. Follow these steps to generate your API token:
- Log in to your Front developer account.
- Navigate to the API tokens section in your account settings.
- Click on "Create API Token" and select the necessary permissions for accessing account data.
- Copy the generated API token and store it securely, as you'll need it for making API requests.
Configuring API Token Permissions
Ensure that your API token has the appropriate permissions to access account data. Typically, you'll need read permissions for accounts to retrieve account information.
Testing Your API Setup
With your API token ready, you can now proceed to test your setup by making a simple API call to list accounts. This will confirm that your token is correctly configured and that you have access to the necessary resources.
By following these steps, you'll be prepared to interact with the Front API using JavaScript, enabling you to efficiently manage and synchronize account data with your applications.
sbb-itb-96038d7
Making API Calls to Retrieve Accounts Using JavaScript and Front API
Now that you have your Front developer account and API token set up, it's time to dive into making API calls using JavaScript. This section will guide you through the process of retrieving account data from Front's API, ensuring you understand the necessary steps and code implementation.
Setting Up Your JavaScript Environment for Front API Integration
Before making API calls, ensure you have a suitable JavaScript environment. You can use Node.js or a browser-based environment, depending on your preference. For this tutorial, we'll use Node.js.
- Ensure you have Node.js installed on your machine. You can download it from the official Node.js website.
- Initialize a new Node.js project by running
npm init -yin your terminal. - Install the
axioslibrary for making HTTP requests by runningnpm install axios.
Writing JavaScript Code to Fetch Accounts from Front API
With your environment ready, you can now write the JavaScript code to fetch account data from the Front API. Below is a sample code snippet to guide you:
const axios = require('axios');
// Define the API endpoint and headers
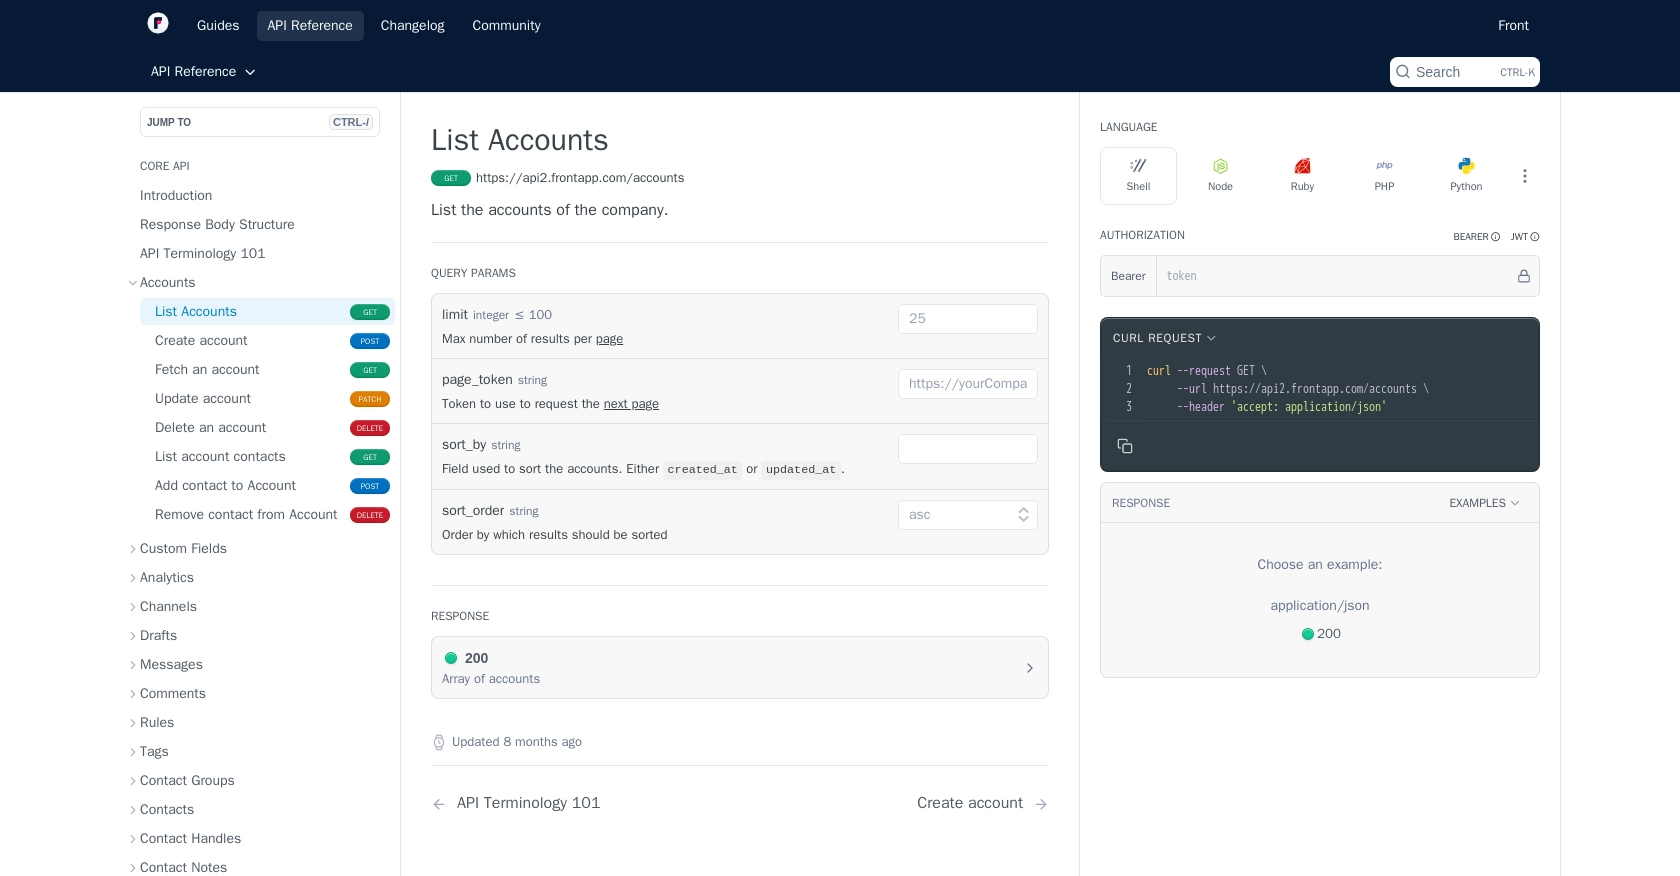
const endpoint = 'https://api2.frontapp.com/accounts';
const headers = {
'Authorization': 'Bearer YOUR_API_TOKEN',
'Accept': 'application/json'
};
// Function to fetch accounts
async function fetchAccounts() {
try {
const response = await axios.get(endpoint, { headers });
const accounts = response.data._results;
console.log('Accounts:', accounts);
} catch (error) {
console.error('Error fetching accounts:', error.response ? error.response.data : error.message);
}
}
// Call the function to fetch accounts
fetchAccounts();
Replace YOUR_API_TOKEN with the API token you generated earlier. This code uses the axios library to make a GET request to the Front API's accounts endpoint. It then logs the retrieved accounts to the console.
Understanding the API Response and Handling Errors
When you make the API call, the response will include the account data in a JSON format. You can access the accounts through the _results property of the response data. If the request is successful, you'll see the account details printed in your console.
In case of an error, the code handles it by logging the error message. This is crucial for debugging and ensuring your integration works smoothly.
Verifying Successful API Requests in Front Sandbox
To verify that your API requests are successful, you can cross-check the retrieved account data with the accounts listed in your Front sandbox environment. This ensures that your integration is correctly fetching the intended data.
By following these steps, you can efficiently retrieve account data from Front using JavaScript, allowing you to integrate and synchronize this information with your applications seamlessly.
For more details on the API endpoints, refer to the Front API documentation.
Conclusion and Best Practices for Using Front API with JavaScript
Integrating with the Front API using JavaScript allows developers to efficiently manage and synchronize account data across platforms. By following the steps outlined in this guide, you can set up your environment, authenticate requests, and handle API responses effectively.
Best Practices for Secure and Efficient Front API Integration
- Securely Store API Tokens: Ensure that your API tokens are stored securely and never exposed in your codebase. Consider using environment variables or a secure vault to manage sensitive information.
- Handle Rate Limits: Front imposes rate limits to ensure platform stability. Monitor the
X-RateLimit-Remainingheader in API responses and implement retry logic with exponential backoff to handle429 Too Many Requestserrors. For more details, refer to the Front API rate limiting documentation. - Implement Error Handling: Robust error handling is crucial for a seamless integration. Log errors and provide meaningful feedback to users to improve the debugging process.
- Optimize Data Handling: When dealing with large datasets, consider implementing pagination to efficiently manage API responses. Refer to the Front API pagination guide for more information.
Leverage Endgrate for Simplified Integration Management
While integrating with APIs like Front can be powerful, managing multiple integrations can become complex and time-consuming. Endgrate offers a streamlined solution, allowing you to focus on your core product while outsourcing integration management. With Endgrate, you can build once for each use case and enjoy an intuitive integration experience for your customers.
Explore how Endgrate can enhance your integration strategy by visiting Endgrate's website.
By adhering to these best practices and leveraging tools like Endgrate, you can ensure a robust and efficient integration with the Front API, enhancing your application's capabilities and user experience.
Read More

Ready to get started?
