Using the Mixpanel API to Create Annotations in Javascript

Introduction to Mixpanel API for Creating Annotations
Mixpanel is a powerful analytics platform that provides businesses with deep insights into user interactions and behaviors. It offers a suite of tools for tracking events, analyzing user data, and optimizing user experiences across web and mobile applications.
Integrating with Mixpanel's API allows developers to enhance their data analysis capabilities by programmatically interacting with Mixpanel's features. One such feature is the ability to create annotations, which can be used to mark significant events or changes in your data timeline. For example, a developer might want to create annotations to highlight the launch of a new feature or a marketing campaign, providing context to data trends and helping teams make informed decisions.
Setting Up a Mixpanel Test Account for API Integration
Before you can start creating annotations with the Mixpanel API, you'll need to set up a Mixpanel account. This will allow you to access the necessary credentials and configure your environment for testing and development.
Creating a Mixpanel Account
If you don't already have a Mixpanel account, you can sign up for a free account on the Mixpanel website. Follow the instructions to create your account and log in to the Mixpanel dashboard.
Generating Service Account Credentials for Mixpanel API
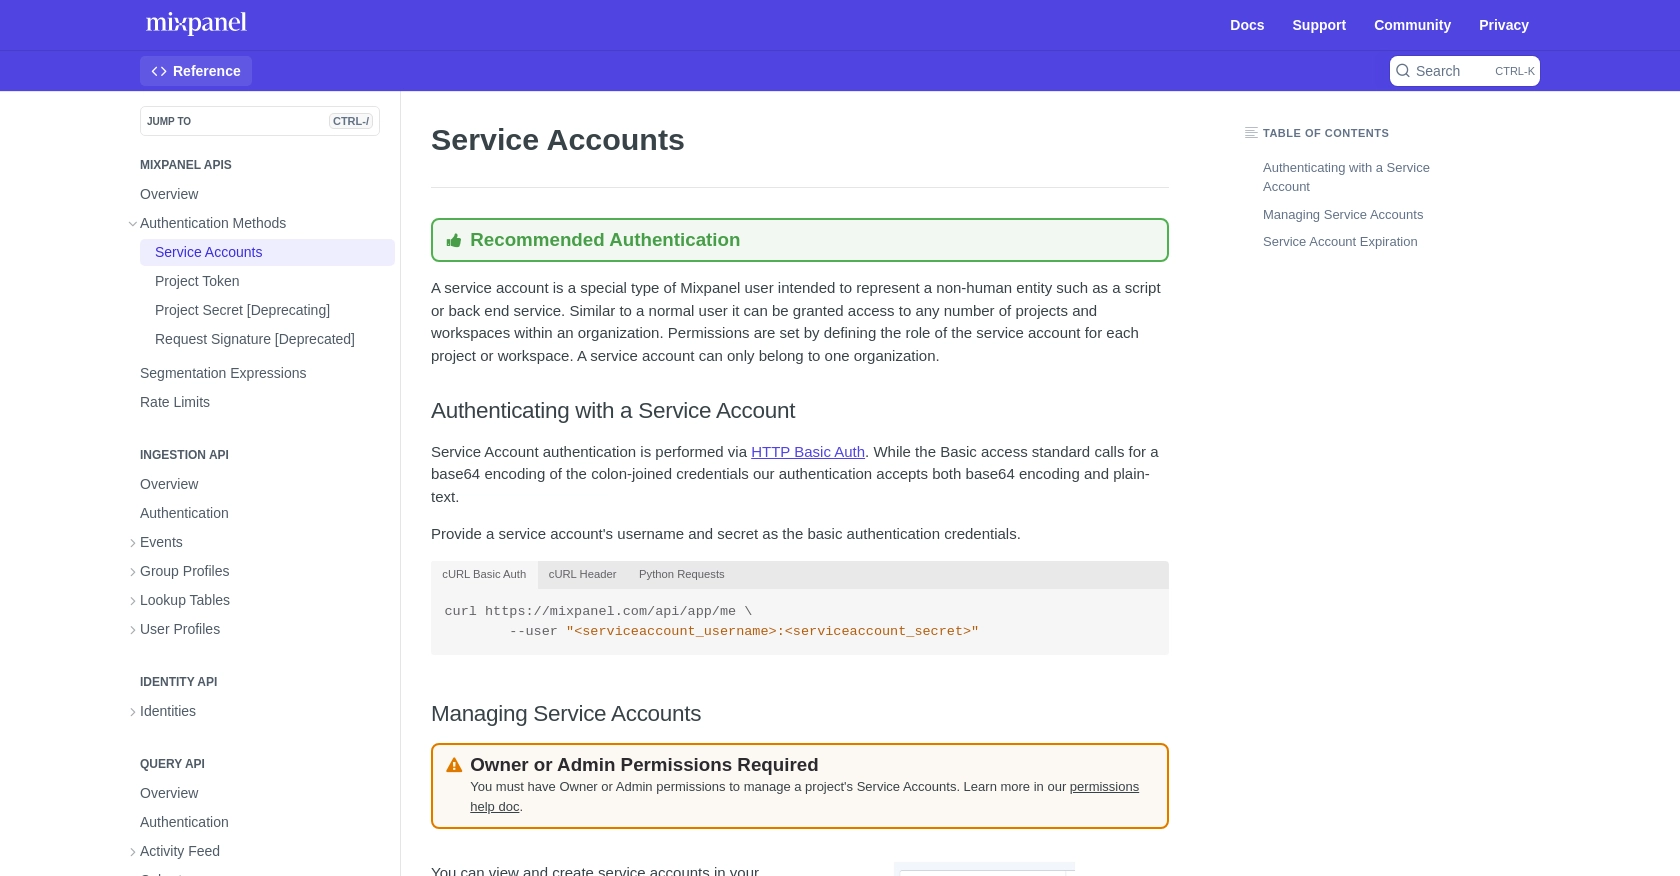
Mixpanel uses service accounts for authentication, which are designed to represent non-human entities like scripts or backend services. Follow these steps to create a service account and obtain the credentials:
- Navigate to the Organization Settings in your Mixpanel dashboard.
- Select the Service Accounts tab.
- Click on Create Service Account.
- Assign a role and select the projects the service account should have access to.
- Once created, immediately store the service account secret securely, as it won't be accessible again.
For more details on managing service accounts, refer to the Mixpanel Service Accounts documentation.
Configuring HTTP Basic Authentication
Mixpanel's API requires HTTP Basic Auth for service accounts. You will need the service account's username and secret:
// Example using fetch in JavaScript
fetch('https://mixpanel.com/api/app/me', {
    method: 'GET',
    headers: {
        'Authorization': 'Basic ' + btoa(':')
    }
})
.then(response => response.json())
.then(data => console.log(data))
.catch(error => console.error('Error:', error));
Replace <serviceaccount_username> and <serviceaccount_secret> with your actual credentials.
Testing Your Mixpanel Setup
To ensure your setup is correct, make a test API call to verify your credentials. If successful, you should receive a response confirming your access. If you encounter errors, double-check your credentials and ensure they are correctly encoded.
For further assistance, consult the Mixpanel Rate Limits documentation to understand any restrictions that might affect your API usage.
sbb-itb-96038d7
Making API Calls to Create Annotations with Mixpanel in JavaScript
To create annotations in Mixpanel using JavaScript, you'll need to interact with Mixpanel's API. This section will guide you through the process of setting up your environment, writing the necessary code, and handling responses and errors effectively.
Setting Up Your JavaScript Environment for Mixpanel API Integration
Before making API calls, ensure you have a modern JavaScript environment set up. You can use Node.js or a browser-based environment. For this guide, we'll use the fetch API available in most browsers and Node.js environments.
Writing JavaScript Code to Create Annotations in Mixpanel
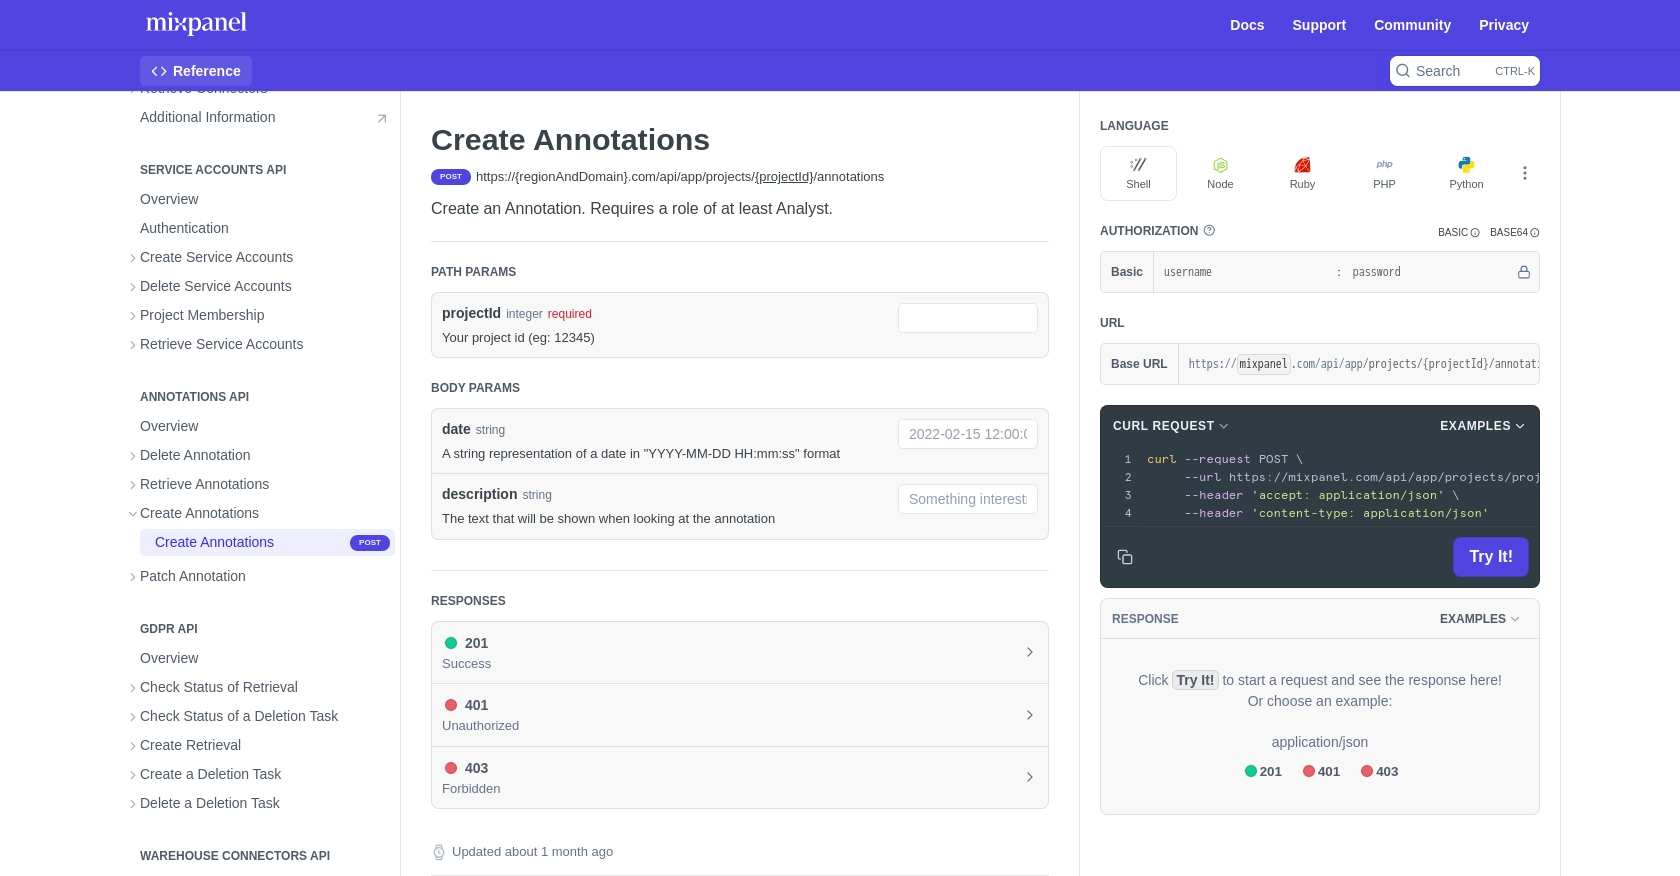
To create an annotation, you'll need to send a POST request to the Mixpanel API endpoint. Here's a step-by-step guide:
- Define the API endpoint URL, replacing
{regionAndDomain}and{projectId}with your specific details. - Set up the request headers to include your service account credentials using HTTP Basic Auth.
- Prepare the request body with the necessary parameters, such as the date and description of the annotation.
// Define the Mixpanel API endpoint
const endpoint = 'https://{regionAndDomain}.com/api/app/projects/{projectId}/annotations';

// Prepare the annotation data
const annotationData = {
    date: '2023-10-01 12:00:00',
    description: 'Launch of new feature'
};

// Make the POST request to create an annotation
fetch(endpoint, {
    method: 'POST',
    headers: {
        'Authorization': 'Basic ' + btoa(':'),
        'Content-Type': 'application/json'
    },
    body: JSON.stringify(annotationData)
})
.then(response => {
    if (response.ok) {
        return response.json();
    }
    throw new Error('Failed to create annotation: ' + response.status);
})
.then(data => console.log('Annotation created:', data))
.catch(error => console.error('Error:', error));
Replace <serviceaccount_username> and <serviceaccount_secret> with your actual credentials, and ensure the date and description fields are set according to your needs.
Verifying Successful API Requests and Handling Errors
After executing the code, check the response to confirm the annotation was created successfully. A successful response will include the annotation details. If you encounter errors, such as a 401 Unauthorized or 403 Forbidden status, verify your credentials and permissions.
For more information on error codes and handling, refer to the Mixpanel Create Annotations documentation.
Understanding Mixpanel API Rate Limits
Be aware of Mixpanel's API rate limits to avoid hitting restrictions. For instance, the Query API allows a maximum of 5 concurrent queries and 60 queries per hour. Plan your API calls accordingly to ensure smooth operation. For more details, see the Mixpanel Rate Limits documentation.
Conclusion and Best Practices for Using Mixpanel API in JavaScript
Integrating with the Mixpanel API to create annotations in JavaScript can significantly enhance your data analysis capabilities. By programmatically adding context to your data timelines, you can better understand user interactions and make informed decisions.
Best Practices for Securely Storing Mixpanel Credentials
Always store your Mixpanel service account credentials securely. Consider using environment variables or secure vault services to manage sensitive information. Avoid hardcoding credentials directly in your codebase to prevent unauthorized access.
Handling Mixpanel API Rate Limits Effectively
To ensure smooth operation, be mindful of Mixpanel's API rate limits. Plan your API calls to avoid exceeding the maximum allowed queries. Implement retry logic with exponential backoff to handle rate limit errors gracefully.
Transforming and Standardizing Data for Mixpanel Annotations
When creating annotations, ensure that your data is standardized and consistent. Use clear and descriptive text for annotation descriptions to provide meaningful insights. Consistent formatting of dates and descriptions will help maintain clarity across your data timeline.
Streamlining Integration Processes with Endgrate
For developers looking to simplify integration processes, consider using Endgrate. With Endgrate, you can save time and resources by outsourcing integrations and focusing on your core product. Build once for each use case and enjoy an intuitive integration experience for your customers. Explore more at Endgrate.
Read More

Ready to get started?
