Using the Hubspot API to Get Custom Objects (with Javascript examples)
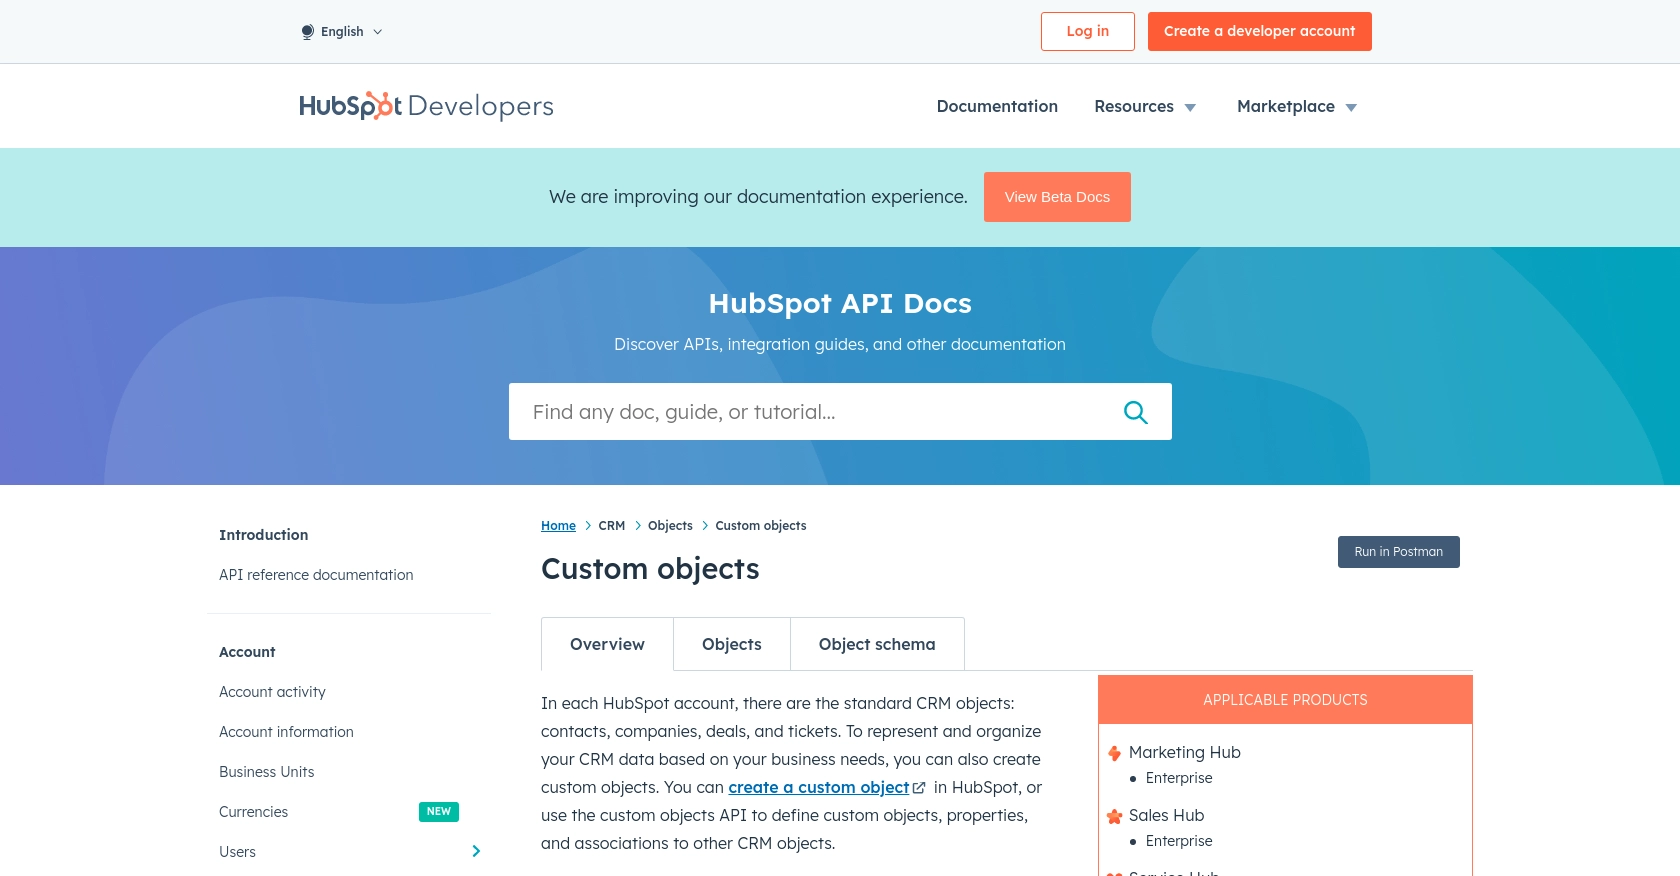
Introduction to HubSpot Custom Objects API
HubSpot is a powerful CRM platform that offers a wide range of tools to help businesses manage their marketing, sales, and customer service efforts. One of its standout features is the ability to create and manage custom objects, allowing businesses to tailor the CRM to their specific needs.
Developers often need to interact with HubSpot's API to access and manipulate these custom objects, enabling them to extend the platform's functionality. For example, a developer might use the HubSpot API to retrieve custom object data and integrate it with other business systems, providing a seamless flow of information across platforms.
This article will guide you through the process of using JavaScript to interact with HubSpot's API, specifically focusing on retrieving custom objects. By the end of this tutorial, you'll be equipped to efficiently access and manage custom objects within HubSpot, enhancing your application's capabilities.
Setting Up Your HubSpot Sandbox Account for API Integration
Before diving into the HubSpot API to retrieve custom objects using JavaScript, you'll need to set up a HubSpot sandbox account. This environment allows you to safely test and develop your integrations without affecting live data.
Creating a HubSpot Developer Account
If you don't already have a HubSpot developer account, follow these steps to create one:
- Visit the HubSpot Developer Portal.
- Click on "Create a developer account" and fill in the required information.
- Once your account is created, log in to access the developer dashboard.
Setting Up a HubSpot Sandbox Environment
With your developer account ready, you can now set up a sandbox environment:
- Navigate to the "Test Accounts" section in your developer dashboard.
- Click on "Create a test account" to generate a sandbox environment.
- Use this sandbox to experiment with API calls and test your integration without impacting real data.
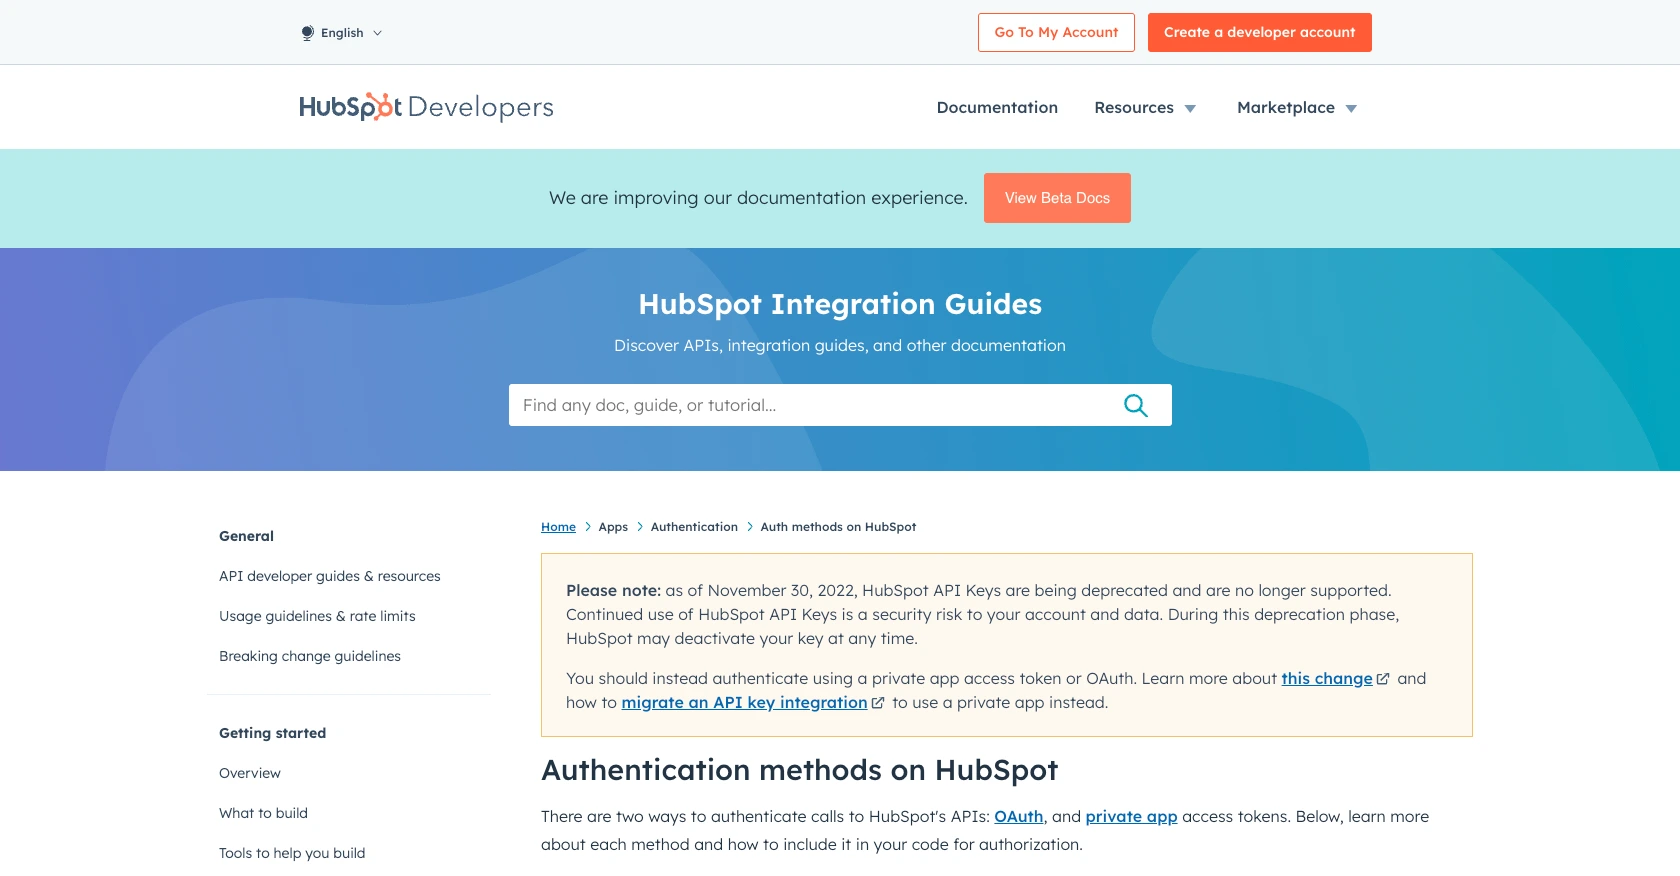
Configuring OAuth for HubSpot API Access
HubSpot uses OAuth for authentication, ensuring secure access to its APIs. Follow these steps to configure OAuth:
- In your developer dashboard, go to "Apps" and click "Create app."
- Fill in the app details, including name and description.
- Under the "Auth" tab, select "OAuth 2.0" as the authentication method.
- Define the necessary scopes for accessing custom objects, such as
crm.objects.custom.readandcrm.objects.custom.write. - Save your app settings to generate a client ID and client secret.
Generating OAuth Tokens
With your app configured, you can now generate OAuth tokens:
- Direct users to the authorization URL provided in your app settings to obtain an authorization code.
- Exchange the authorization code for an access token by making a POST request to HubSpot's token endpoint.
// Example POST request to exchange authorization code for access token
const axios = require('axios');

const tokenUrl = 'https://api.hubapi.com/oauth/v1/token';
const data = {
    grant_type: 'authorization_code',
    client_id: 'YOUR_CLIENT_ID',
    client_secret: 'YOUR_CLIENT_SECRET',
    redirect_uri: 'YOUR_REDIRECT_URI',
    code: 'AUTHORIZATION_CODE'
};

axios.post(tokenUrl, data)
    .then(response => {
        console.log('Access Token:', response.data.access_token);
    })
    .catch(error => {
        console.error('Error fetching access token:', error);
    });
Store the access token securely, as it will be used to authenticate your API requests.
With your HubSpot sandbox account and OAuth setup complete, you're ready to start interacting with HubSpot's API to retrieve custom objects using JavaScript.
sbb-itb-96038d7
Making API Calls to Retrieve HubSpot Custom Objects Using JavaScript
With your HubSpot sandbox account and OAuth setup complete, you can now proceed to make API calls to retrieve custom objects using JavaScript. This section will guide you through the necessary steps, including setting up your environment, writing the code, and handling potential errors.
Setting Up Your JavaScript Environment for HubSpot API Integration
Before making API calls, ensure your environment is ready. You'll need Node.js and npm installed on your machine. Additionally, you'll use the axios library to handle HTTP requests.
- Ensure Node.js is installed by running
node -vin your terminal. - Install the
axioslibrary by runningnpm install axios.
Writing JavaScript Code to Retrieve HubSpot Custom Objects
Now, let's write the JavaScript code to make a GET request to the HubSpot API and retrieve custom objects.
// Import the axios library
const axios = require('axios');

// Define the API endpoint and headers
const endpoint = 'https://api.hubapi.com/crm/v3/objects/custom_object';
const headers = {
    'Authorization': 'Bearer YOUR_ACCESS_TOKEN',
    'Content-Type': 'application/json'
};

// Function to retrieve custom objects
async function getCustomObjects() {
    try {
        const response = await axios.get(endpoint, { headers });
        console.log('Custom Objects:', response.data);
    } catch (error) {
        console.error('Error retrieving custom objects:', error.response.data);
    }
}

// Call the function
getCustomObjects();
Replace YOUR_ACCESS_TOKEN with the access token you obtained earlier. This code sets up the endpoint and headers, then makes a GET request to retrieve the custom objects.
Understanding the Expected Output and Verifying Success
Upon successful execution, the console will display the custom objects retrieved from your HubSpot sandbox. Verify the output by checking the data against your sandbox account.
If the request is successful, you'll see a JSON object containing your custom objects. If there are errors, the error message will help you troubleshoot the issue.
Handling Errors and Understanding HubSpot API Error Codes
When interacting with the HubSpot API, you may encounter errors. Common error codes include:
- 401 Unauthorized: Check your access token and ensure it is valid.
- 403 Forbidden: Verify that your app has the necessary scopes and permissions.
- 429 Too Many Requests: You have exceeded the rate limit. Implement request throttling.
Refer to the HubSpot API Usage Guidelines for more information on error handling and rate limits.
By following these steps, you can efficiently retrieve custom objects from HubSpot using JavaScript, enhancing your application's integration capabilities.
Conclusion: Best Practices for Using HubSpot API with JavaScript
Integrating with HubSpot's API to manage custom objects using JavaScript can significantly enhance your application's functionality and streamline business processes. By following the steps outlined in this guide, you can efficiently set up OAuth authentication, make API calls, and handle potential errors.
Best Practices for Secure and Efficient HubSpot API Integration
- Securely Store Credentials: Always store your OAuth tokens securely, using environment variables or secure vaults, to prevent unauthorized access.
- Handle Rate Limits: HubSpot enforces rate limits to ensure fair usage. Implement request throttling to avoid hitting the limit. For OAuth apps, the limit is 100 requests every 10 seconds per account. More details can be found in the HubSpot API Usage Guidelines.
- Transform and Standardize Data: Ensure that data retrieved from HubSpot is transformed and standardized to fit your application's requirements, maintaining consistency across systems.
Enhancing Integration Capabilities with Endgrate
While integrating with HubSpot's API can be straightforward, managing multiple integrations across different platforms can become complex. Endgrate offers a unified API solution that simplifies integration management, allowing you to focus on your core product. With Endgrate, you can build once for each use case and leverage an intuitive integration experience for your customers.
Explore how Endgrate can streamline your integration processes by visiting Endgrate and discover how you can save time and resources by outsourcing integrations.
Read More
- https://endgrate.com/provider/hubspot
- https://developers.hubspot.com/docs/api/overview
- https://developers.hubspot.com/docs/api/intro-to-auth
- https://developers.hubspot.com/docs/api/usage-details
- https://developers.hubspot.com/docs/api/scopes
- https://developers.hubspot.com/docs/api/crm/crm-custom-objects
- https://developers.hubspot.com/docs/api/crm/properties

Ready to get started?
