Using the Intercom API to Create or Update Contacts in PHP

Introduction to Intercom API for Contact Management
Intercom is a powerful customer communication platform that helps businesses engage with their users through messaging, email, and more. It offers a suite of tools for customer support, marketing, and sales, making it a popular choice for companies looking to enhance their customer interaction strategies.
Developers often integrate with Intercom's API to manage customer data efficiently. By connecting with Intercom, you can automate tasks such as creating or updating contact information, which is crucial for maintaining accurate customer records. For example, you might want to automatically update a user's contact details in Intercom whenever they change their email address on your platform.
This article will guide you through using PHP to interact with the Intercom API, focusing on creating and updating contacts. You'll learn how to set up the necessary authentication and make API calls to manage contact data effectively.
Setting Up Your Intercom Developer Account for API Integration
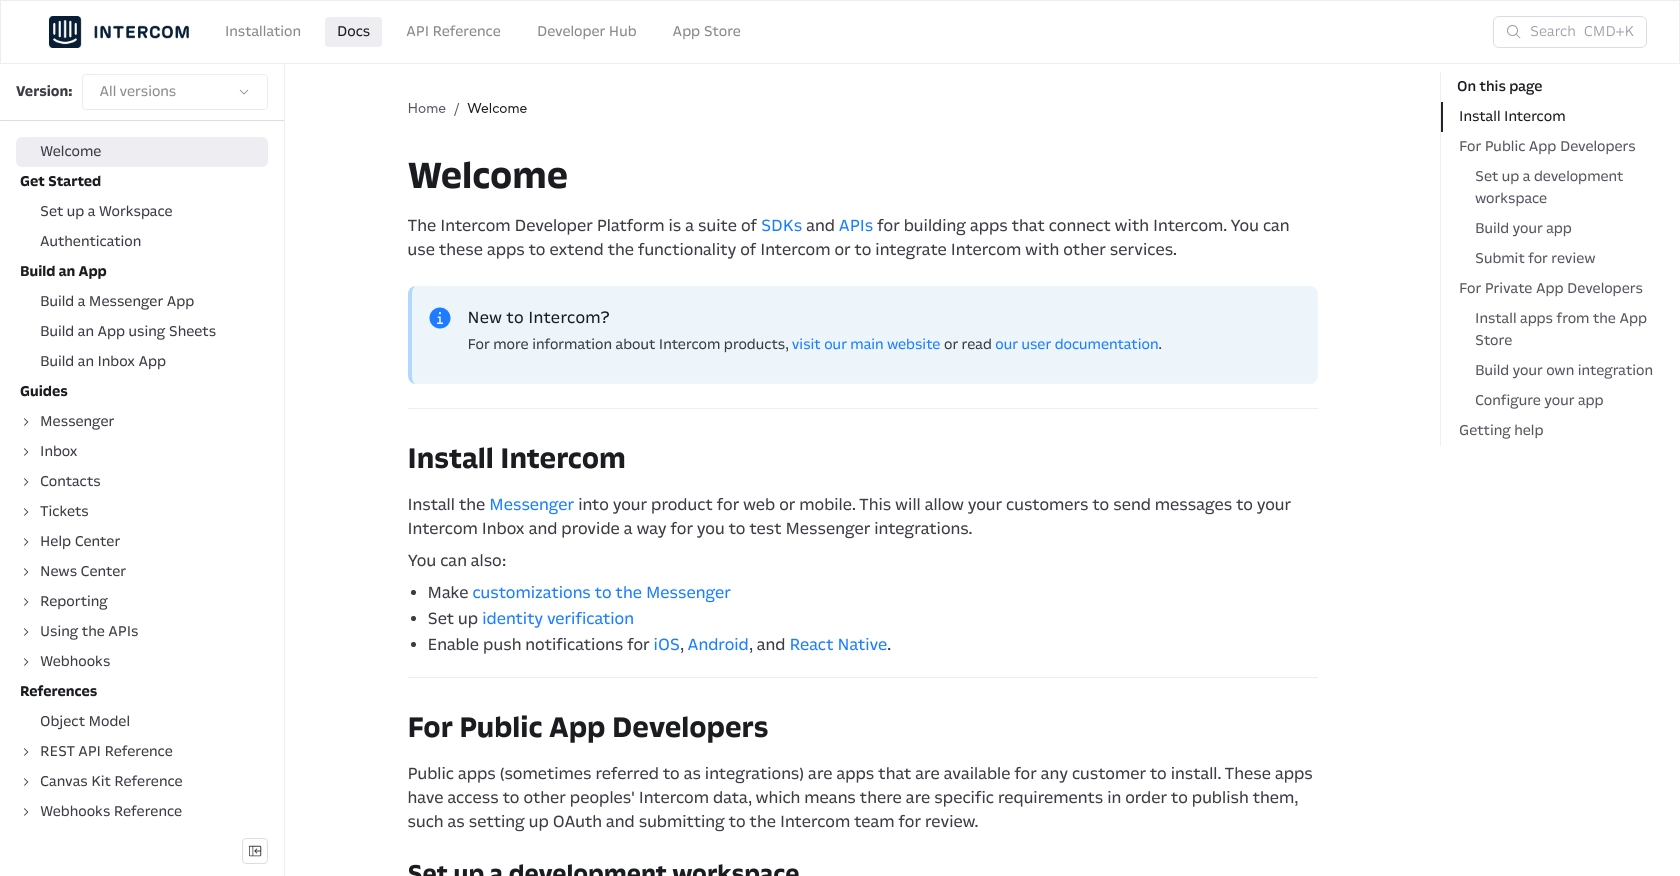
Before you can start interacting with the Intercom API using PHP, you'll need to set up a developer account and create an app for OAuth authentication. This setup will allow you to securely access and manage contact data within your Intercom workspace.
Create a Free Intercom Developer Workspace
To begin, you'll need to create a free Intercom developer workspace. This workspace will serve as your testing environment, allowing you to experiment with the API without affecting live data.
- Visit the Intercom Developer Hub and sign up for a free account.
- Once registered, log in to your Intercom account and navigate to the Developer Hub.
- Here, you can create a new development workspace, which will provide access to the necessary tools and resources for building your app.
Configure OAuth for Intercom API Access
Intercom uses OAuth for secure API access. Follow these steps to set up OAuth for your application:
- In the Developer Hub, create a new app and select the option to use OAuth.
- Provide the initial information, including your app's name and description.
- Set up your Redirect URLs, ensuring they use HTTPS for secure communication. You can specify multiple URLs for testing and production environments.
- Define the necessary permissions (scopes) for your app. Only select the scopes you need, such as reading and writing contacts.
Generate Client ID and Client Secret
After configuring OAuth, you'll receive a Client ID and Client Secret, which are essential for authenticating your API requests:
- Navigate to the Basic Information page of your app in the Developer Hub.
- Copy the Client ID and Client Secret and store them securely, as you'll need them to obtain an access token.
Obtain an Access Token
With your Client ID and Client Secret, you can now obtain an access token to authenticate your API requests:
- Redirect users to the following URL to get the authorization code:
https://app.intercom.com/oauth?client_id=YOUR_CLIENT_ID&state=YOUR_STATE - Once the user authorizes your app, they will be redirected to your specified Redirect URL with a code parameter.
- Exchange this code for an access token by making a POST request to:
https://api.intercom.io/auth/eagle/token - Include the following parameters in the request body:
{ "code": "AUTHORIZATION_CODE", "client_id": "YOUR_CLIENT_ID", "client_secret": "YOUR_CLIENT_SECRET" } - Upon a successful request, you'll receive an access token, which you can use to authenticate your API calls.
With your Intercom developer account set up and OAuth configured, you're ready to start making API calls to create or update contacts using PHP.

sbb-itb-96038d7
Making API Calls to Intercom for Contact Management Using PHP
To interact with the Intercom API for creating or updating contacts, you'll need to use PHP along with the Guzzle HTTP client. This section will guide you through setting up your PHP environment and making API calls to manage contact data in Intercom.
Setting Up Your PHP Environment for Intercom API Integration
Before making API calls, ensure your PHP environment is ready:
- Ensure you have PHP 7.4 or higher installed on your machine.
- Install Composer, the PHP package manager, if you haven't already.
- Use Composer to install the Guzzle HTTP client by running the following command in your terminal:
composer require guzzlehttp/guzzleCreating a New Contact in Intercom Using PHP
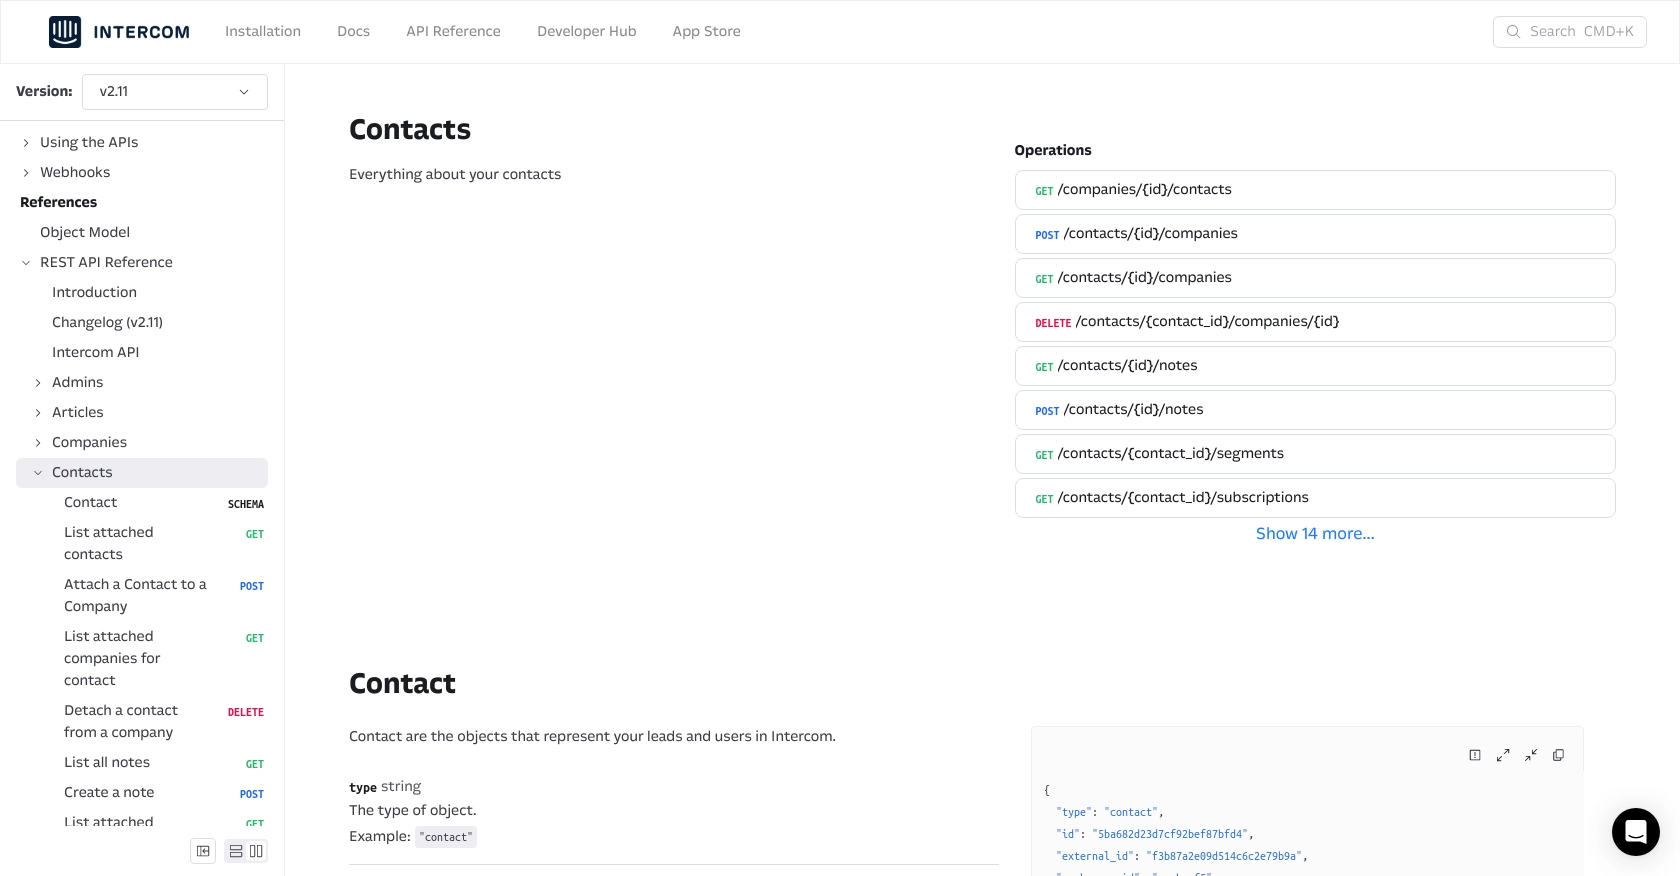
To create a new contact in Intercom, you'll need to make a POST request to the Intercom API. Here's how you can do it:
request('POST', 'https://api.intercom.io/contacts', [
    'headers' => [
        'Authorization' => 'Bearer YOUR_ACCESS_TOKEN',
        'Intercom-Version' => '2.11',
        'Content-Type' => 'application/json',
    ],
    'json' => [
        'email' => 'newuser@example.com',
        'name' => 'New User',
    ],
]);

echo $response->getBody();
?>
Replace YOUR_ACCESS_TOKEN with the access token you obtained earlier. This code will create a new contact with the specified email and name in your Intercom workspace.
Updating an Existing Contact in Intercom Using PHP
To update an existing contact, you'll need the contact's unique identifier. Here's how you can update a contact's information:
request('PUT', 'https://api.intercom.io/contacts/{id}', [
    'headers' => [
        'Authorization' => 'Bearer YOUR_ACCESS_TOKEN',
        'Intercom-Version' => '2.11',
        'Content-Type' => 'application/json',
    ],
    'json' => [
        'email' => 'updateduser@example.com',
        'name' => 'Updated User',
    ],
]);

echo $response->getBody();
?>
Replace {id} with the contact's unique ID and YOUR_ACCESS_TOKEN with your access token. This will update the contact's email and name in Intercom.
Handling API Responses and Errors
After making API calls, it's crucial to handle responses and potential errors. Check the status code of the response to ensure the request was successful:
getStatusCode() == 200) {
    echo "Request was successful!";
} else {
    echo "Error: " . $response->getStatusCode();
}
?>
For more detailed error handling, refer to the Intercom API documentation at Intercom API Contacts Documentation.
By following these steps, you can efficiently create or update contacts in Intercom using PHP, streamlining your customer data management processes.

Best Practices for Intercom API Integration and Contact Management
Successfully integrating with the Intercom API requires attention to best practices to ensure secure and efficient contact management. Here are some key considerations:
Securely Storing API Credentials
Always store your API credentials, such as the Client ID, Client Secret, and Access Token, securely. Avoid hardcoding them in your source code. Instead, use environment variables or secure vaults to manage sensitive information.
Handling Intercom API Rate Limits
Intercom enforces rate limits to ensure fair usage of their API. Be mindful of these limits and implement strategies to handle rate limiting gracefully. Consider using exponential backoff or retry mechanisms when you encounter rate limit errors.
Transforming and Standardizing Contact Data
Ensure that contact data is consistently formatted before sending it to Intercom. This includes standardizing email formats, phone numbers, and other attributes to maintain data integrity and avoid errors during API calls.
Monitoring and Logging API Interactions
Implement logging for all API interactions to monitor requests and responses. This will help you troubleshoot issues and optimize your integration over time. Consider using logging libraries to capture detailed information about each API call.
Streamlining Integration with Endgrate
Building and maintaining multiple integrations can be time-consuming and resource-intensive. Endgrate offers a unified API solution that simplifies the integration process by providing a single endpoint to connect with multiple platforms, including Intercom.
By leveraging Endgrate, you can:
- Save time and resources by outsourcing integration tasks and focusing on your core product development.
- Build once for each use case instead of multiple times for different integrations, reducing complexity and maintenance overhead.
- Provide an intuitive integration experience for your customers, enhancing their interaction with your platform.
Explore how Endgrate can streamline your integration efforts by visiting Endgrate.
Read More
Ready to get started?
