Using the Intercom API to Get Contacts (with PHP examples)

Introduction to Intercom API Integration
Intercom is a powerful customer communication platform that enables businesses to engage with their customers through personalized messaging and support. It offers a suite of tools for managing customer interactions, including live chat, email marketing, and customer data management.
For developers, integrating with Intercom's API can unlock a wealth of possibilities for enhancing customer engagement and streamlining communication processes. By accessing Intercom's contact data, developers can automate tasks such as syncing customer information with other platforms or triggering personalized messages based on user behavior.
In this article, we'll explore how to use the Intercom API to retrieve contact information using PHP. This integration can be particularly useful for businesses looking to consolidate customer data across multiple systems, ensuring a seamless and personalized customer experience.
Setting Up Your Intercom Test Account for API Integration
Before diving into the Intercom API, you'll need to set up a test or sandbox account. This allows you to safely experiment with API calls without affecting live data. Intercom provides a development workspace for this purpose, which is essential for building and testing integrations.
Creating a Development Workspace in Intercom
To get started, follow these steps to create a development workspace:
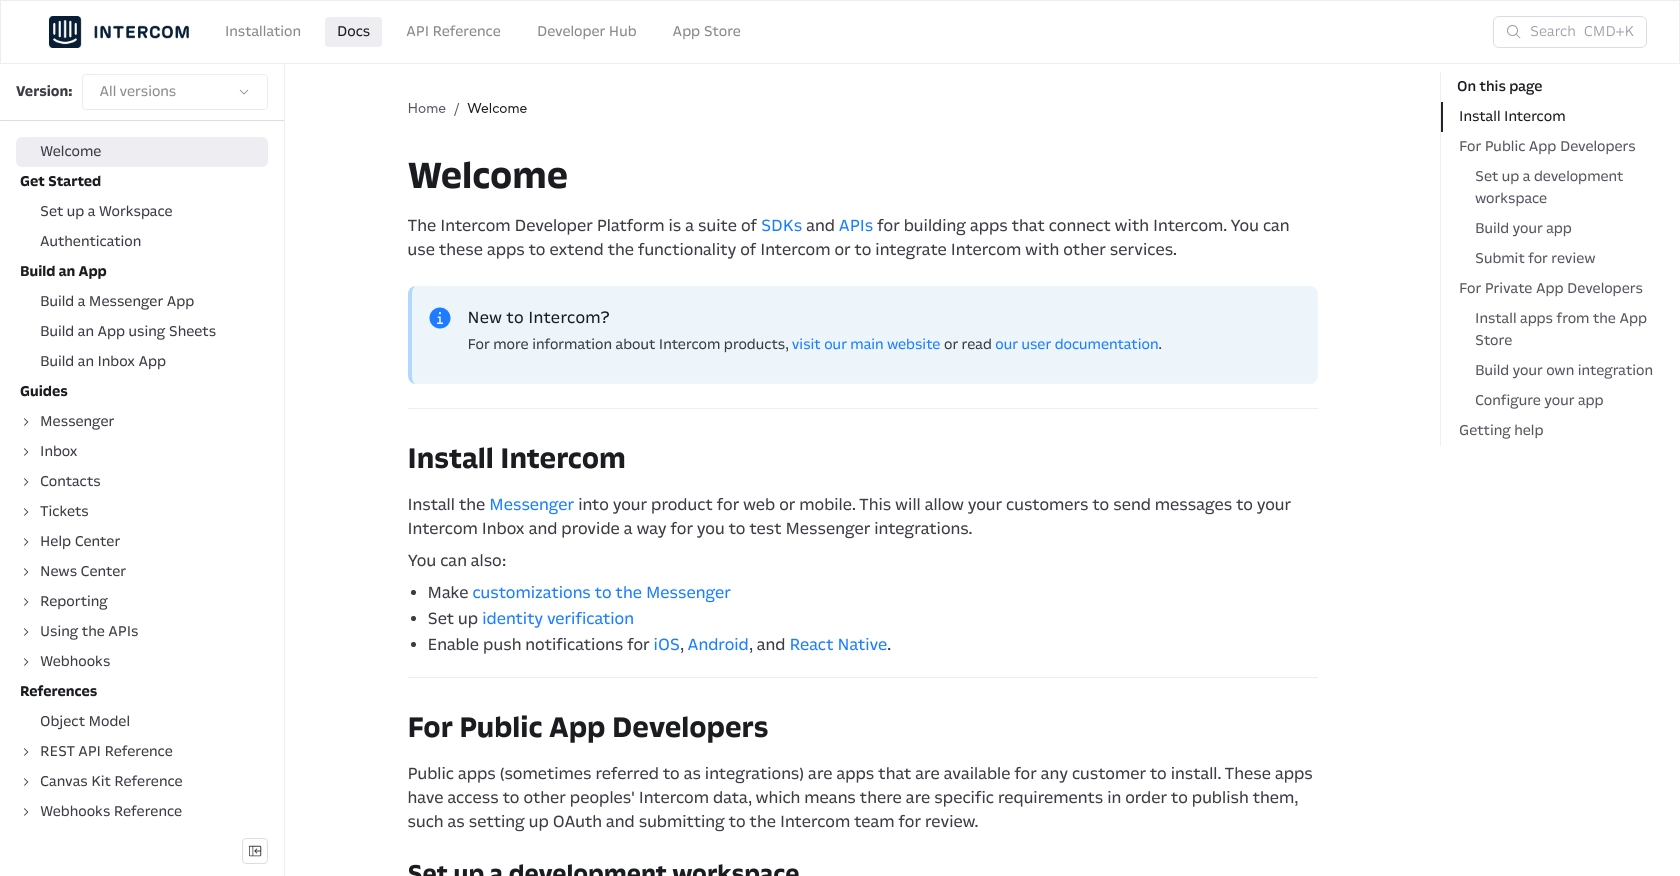
- Visit the Intercom Developer Hub and sign up for a free development account.
- Once registered, navigate to the Developer Hub and create a new app. Ensure it's associated with your main Intercom workspace.
- In the app settings, enable OAuth by ticking the "Use OAuth" option on the Authentication page.
Configuring OAuth for Intercom API Access
Intercom uses OAuth for authentication, which requires setting up an app with specific permissions. Here's how to configure OAuth:
- In your app's settings, provide the necessary initial information, including redirect URLs. Ensure these URLs use HTTPS for secure communication.
- Select the permissions your app needs. Only choose the scopes essential for your use case to streamline the review process.
- Generate your
client_idandclient_secretfrom the Basic Information page in the Developer Hub.
Obtaining the Authorization Code
To retrieve the authorization code, redirect users to the following URL:
https://app.intercom.com/oauth?client_id=YOUR_CLIENT_ID&state=YOUR_STATE
Replace YOUR_CLIENT_ID and YOUR_STATE with your app's client ID and a random session-specific string, respectively. After user approval, Intercom will redirect back to your specified URL with a code parameter.
Exchanging the Authorization Code for an Access Token
Once you have the authorization code, exchange it for an access token with a POST request:
$client = new \GuzzleHttp\Client();
$response = $client->request('POST', 'https://api.intercom.io/auth/eagle/token', [
    'form_params' => [
        'code' => 'YOUR_AUTH_CODE',
        'client_id' => 'YOUR_CLIENT_ID',
        'client_secret' => 'YOUR_CLIENT_SECRET'
    ]
]);
$accessToken = json_decode($response->getBody(), true)['access_token'];
Replace YOUR_AUTH_CODE, YOUR_CLIENT_ID, and YOUR_CLIENT_SECRET with the appropriate values. This access token will be used in subsequent API requests.
With your test account and OAuth configured, you're ready to start making API calls to Intercom. This setup ensures you can safely test and develop your integration without impacting live data.
sbb-itb-96038d7
Making API Calls to Retrieve Contacts from Intercom Using PHP
With your Intercom test account and OAuth setup complete, you can now proceed to make API calls to retrieve contact information. This section will guide you through the process of using PHP to interact with the Intercom API, ensuring you can efficiently access and manage contact data.
Prerequisites for Intercom API Integration with PHP
Before making API calls, ensure you have the following prerequisites:
- PHP 7.4 or higher installed on your machine.
- Composer for managing PHP dependencies.
- The GuzzleHTTP library, which can be installed via Composer using the following command:
composer require guzzlehttp/guzzle
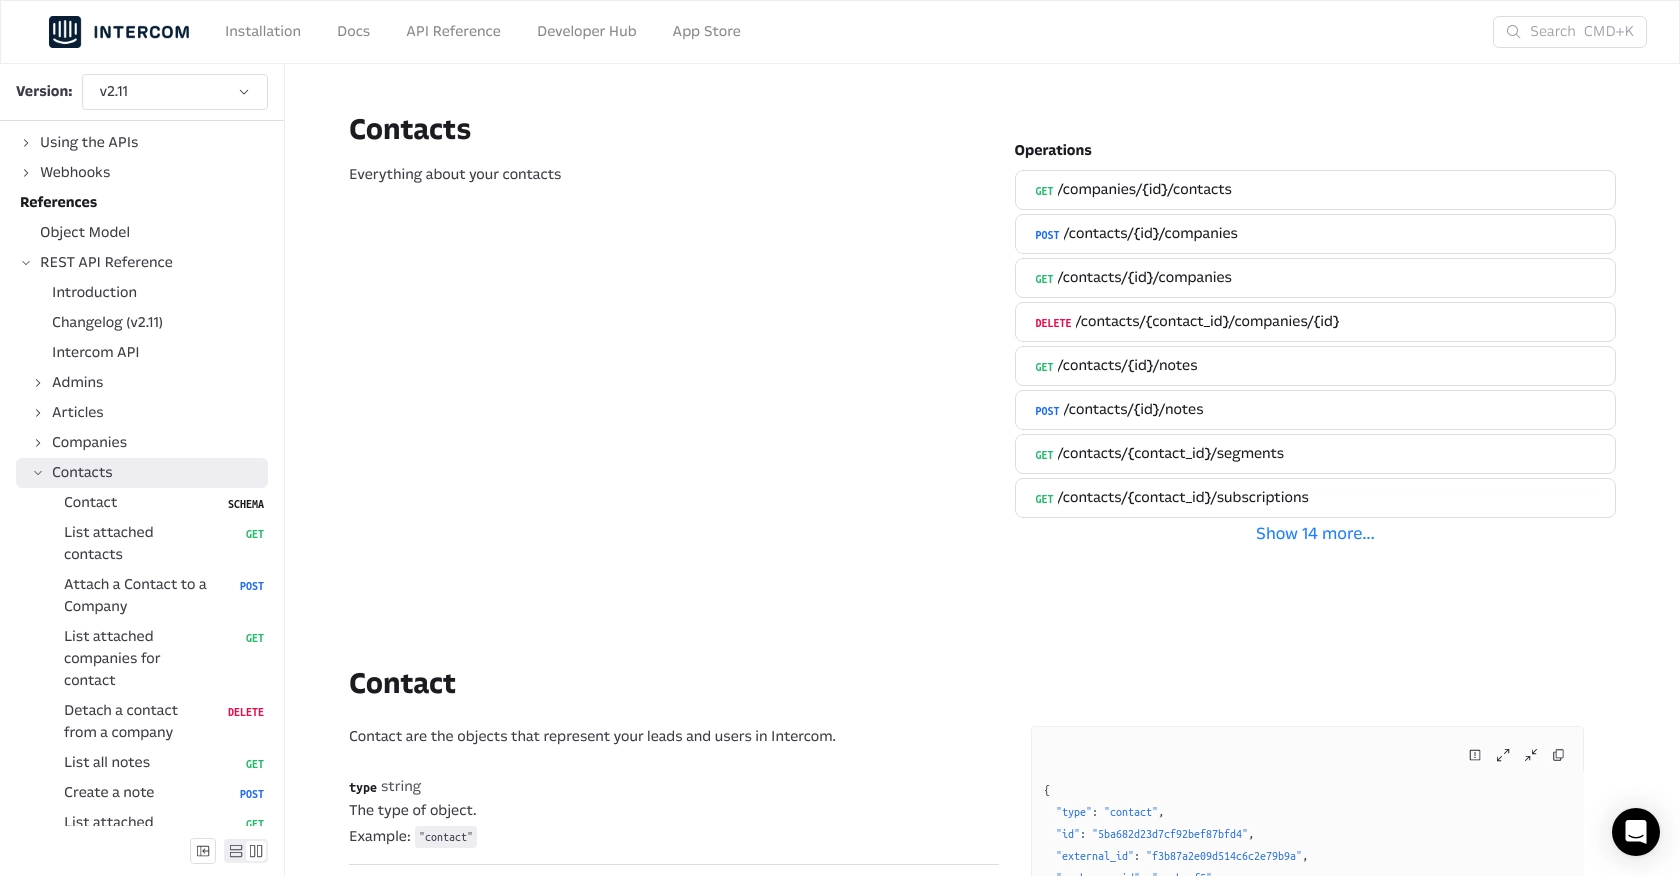
Retrieving Contacts from Intercom API with PHP
To fetch contact data from Intercom, you'll need to make a GET request to the Intercom API endpoint. Here's a step-by-step guide with example code:
 'Bearer YOUR_ACCESS_TOKEN',
    'Intercom-Version' => '2.11'
];

// Make the GET request
$response = $client->request('GET', $endpoint, ['headers' => $headers]);

// Parse the JSON response
$data = json_decode($response->getBody(), true);

// Display the contacts
foreach ($data['data'] as $contact) {
    echo 'Name: ' . $contact['name'] . ', Email: ' . $contact['email'] . "\n";
}
?>
Replace YOUR_ACCESS_TOKEN with the access token obtained during the OAuth setup. This script initializes a Guzzle client, sets the necessary headers, and makes a GET request to the Intercom API to retrieve contact data.
Verifying Successful API Requests and Handling Errors
After running the script, you should see a list of contacts printed in your terminal. To verify the request's success, check the response status code:
if ($response->getStatusCode() === 200) {
    echo "Request successful!";
} else {
    echo "Request failed with status: " . $response->getStatusCode();
}
Handle errors by checking the status code and implementing appropriate error handling logic. For detailed error information, refer to the Intercom API documentation.
By following these steps, you can efficiently retrieve and manage contact data from Intercom using PHP, enabling seamless integration and data synchronization across your systems.
Best Practices for Intercom API Integration Using PHP
Successfully integrating with the Intercom API requires attention to best practices to ensure security, efficiency, and scalability. Here are some key considerations:
- Securely Store User Credentials: Always store sensitive information such as access tokens securely. Use environment variables or secure vaults to prevent unauthorized access.
- Handle Rate Limiting: Intercom's API may have rate limits. Implement logic to handle HTTP 429 status codes by retrying requests after a delay. Check the Intercom API documentation for specific rate limit details.
- Standardize Data Fields: Ensure that data fields retrieved from Intercom are standardized across your systems for consistency and ease of use.
- Error Handling: Implement robust error handling to manage different HTTP status codes and provide meaningful feedback to users or logs for debugging.
Enhancing Integration Efficiency with Endgrate
While building custom integrations with Intercom can be rewarding, it can also be time-consuming and complex. Endgrate offers a streamlined solution by providing a unified API endpoint for multiple platforms, including Intercom.
With Endgrate, you can:
- Save time and resources by outsourcing integration development, allowing you to focus on your core product.
- Build once for each use case instead of multiple times for different integrations, reducing redundancy.
- Provide an intuitive integration experience for your customers, enhancing user satisfaction and engagement.
Explore how Endgrate can simplify your integration processes by visiting Endgrate's website.
Conclusion: Streamlining Customer Engagement with Intercom API
Integrating with the Intercom API using PHP opens up numerous opportunities for enhancing customer engagement and streamlining communication processes. By following the steps outlined in this article, you can efficiently retrieve and manage contact data, ensuring a seamless and personalized experience for your users.
Whether you're building custom solutions or leveraging tools like Endgrate, the key is to focus on creating value for your customers through efficient and effective integration strategies.
Read More

Ready to get started?
