How to Create Customers with the Stamped API in Javascript

Introduction to Stamped API
Stamped is a powerful platform that empowers over 75,000 brands to enhance their customer engagement through reviews, loyalty programs, and more. By providing tools that drive faster and more efficient growth, Stamped helps businesses build stronger relationships with their customers.
Developers may want to integrate with Stamped's API to automate customer management tasks, such as creating new customer profiles. For example, you could use the Stamped API to automatically add new customers from an e-commerce platform, streamlining the process and ensuring that customer data is consistently updated across systems.
Setting Up Your Stamped API Test Account
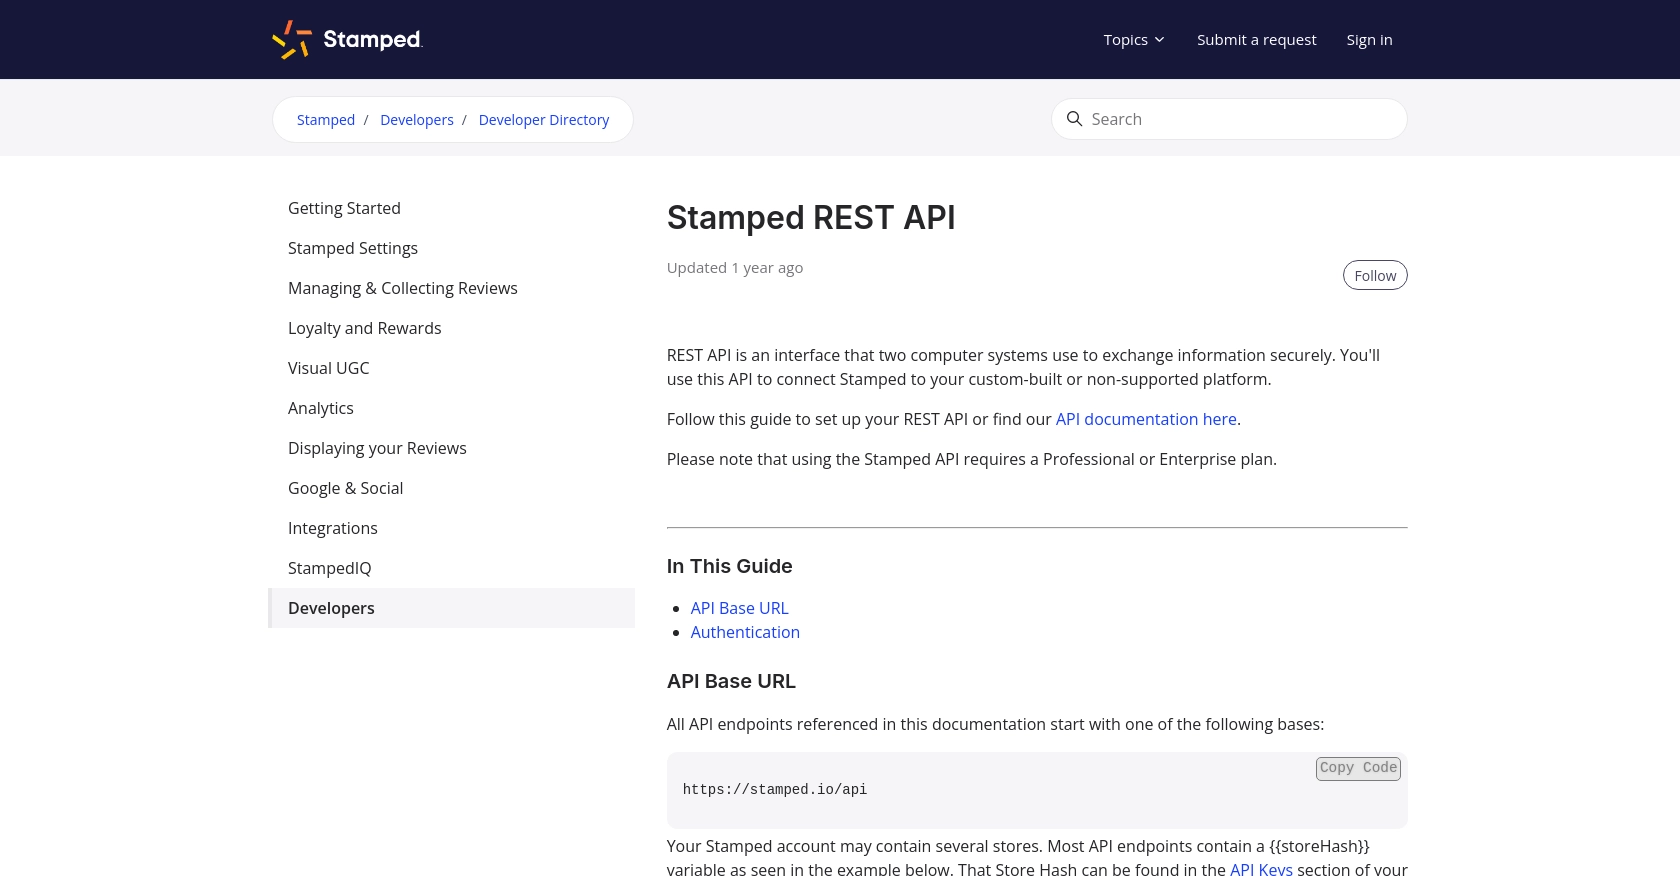
Before you begin integrating with the Stamped API, it's essential to set up a test account to ensure a smooth development process. Stamped offers a robust API that requires authentication through API keys, which are available to users on a Professional or Enterprise plan. Follow these steps to get started:
Step 1: Sign Up for a Stamped Account
If you don't already have a Stamped account, visit the Stamped website and sign up for a Professional or Enterprise plan. These plans provide access to the API keys necessary for integration.
Step 2: Access the API Keys
Once your account is set up, log in to the Stamped dashboard. Navigate to the API Keys section in the Control Panel. Here, you'll find your public and private API keys, which are crucial for authenticating your API requests.
Step 3: Configure Authentication
The Stamped API uses HTTP Basic Auth for authentication. Use your public API key as the username and your private API key as the password. This setup ensures secure access to the API endpoints.
// Example of setting up authentication headers in JavaScript
const headers = new Headers();
headers.set('Authorization', 'Basic ' + btoa('your_public_key:your_private_key'));
Replace your_public_key and your_private_key with the actual keys from your Stamped account.
Step 4: Identify Your Store Hash
Your Stamped account may contain multiple stores. Locate the {{storeHash}} variable in the API Keys section, as it is required for most API endpoints. This identifier ensures that your API calls are directed to the correct store.
With these steps completed, you are now ready to start making API calls to the Stamped platform. In the next section, we'll explore how to create customers using the Stamped API with JavaScript.
sbb-itb-96038d7
Making API Calls to Create Customers with Stamped API in JavaScript
Now that you have set up your Stamped API test account, it's time to dive into making API calls to create customers using JavaScript. This section will guide you through the necessary steps, including setting up your environment, writing the code, and handling potential errors.
Setting Up Your JavaScript Environment for Stamped API Integration
Before making API calls, ensure that your development environment is ready. You'll need Node.js installed on your machine, along with the node-fetch package to make HTTP requests.
- Install Node.js from the official website.
- Initialize your project and install
node-fetchby running the following commands in your terminal:
npm init -y
npm install node-fetch
Writing JavaScript Code to Create Customers via Stamped API
With your environment set up, you can now write the JavaScript code to create a customer using the Stamped API. Follow the example below:
const fetch = require('node-fetch');
// Define the API endpoint and headers
const storeHash = 'your_store_hash';
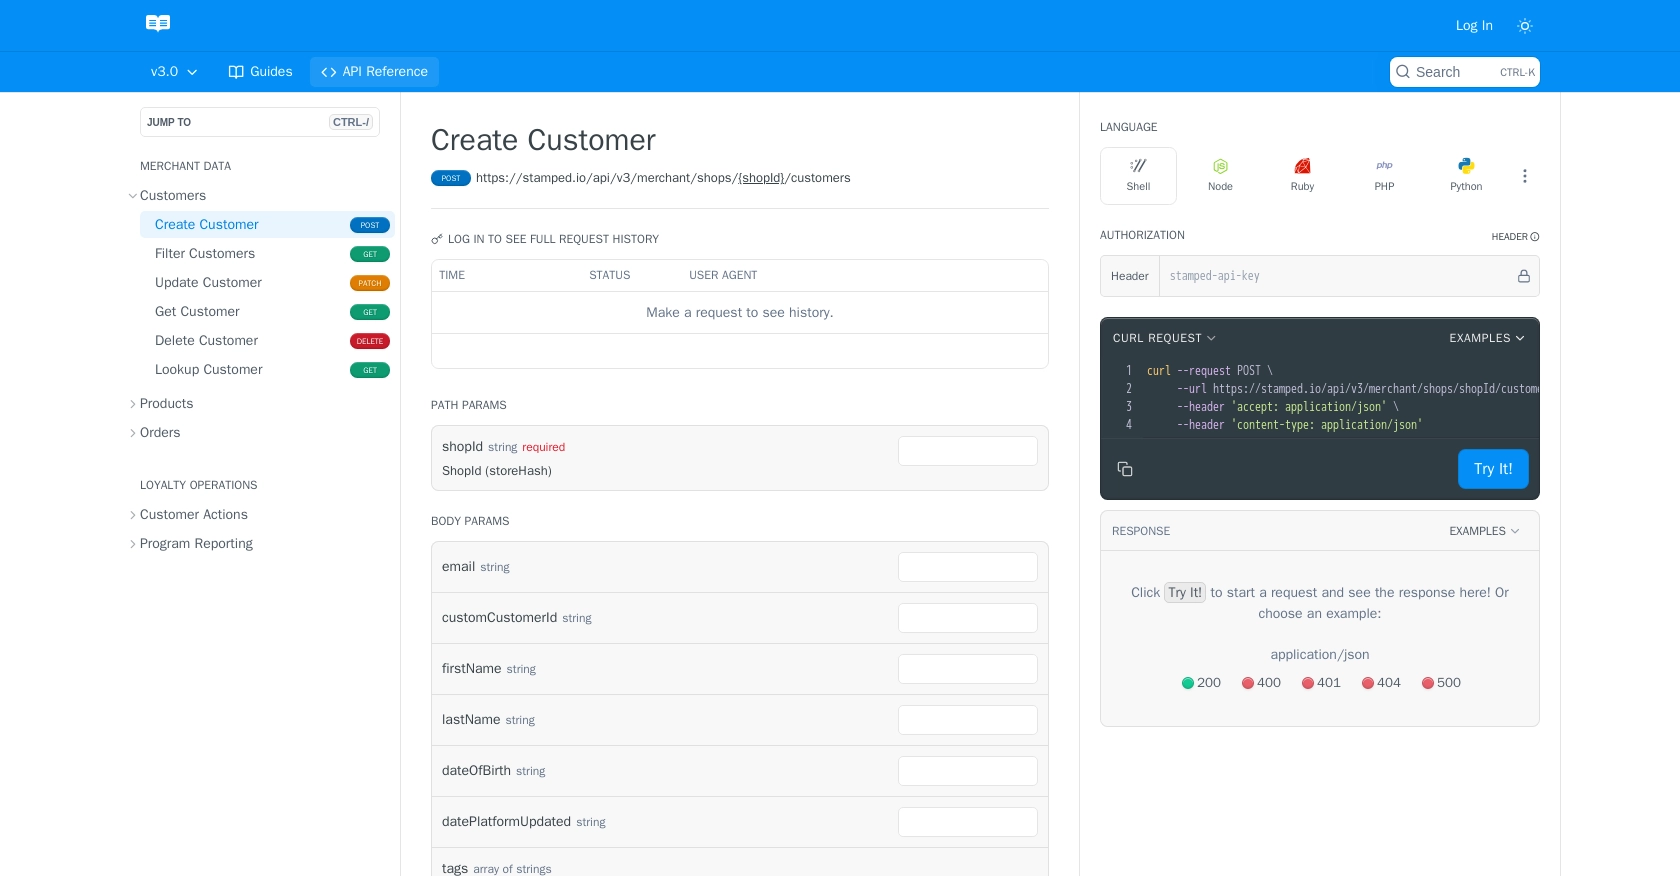
const url = `https://stamped.io/api/v3/merchant/shops/${storeHash}/customers`;
const headers = {
'Authorization': 'Basic ' + Buffer.from('your_public_key:your_private_key').toString('base64'),
'Content-Type': 'application/json'
};
// Define the customer data
const customerData = {
email: 'customer@example.com',
firstName: 'John',
lastName: 'Doe'
};
// Function to create a customer
async function createCustomer() {
try {
const response = await fetch(url, {
method: 'POST',
headers: headers,
body: JSON.stringify(customerData)
});
if (response.ok) {
const data = await response.json();
console.log('Customer created successfully:', data);
} else {
console.error('Failed to create customer:', response.status, response.statusText);
}
} catch (error) {
console.error('Error:', error);
}
}
// Call the function
createCustomer();Replace your_store_hash, your_public_key, and your_private_key with your actual Stamped account details. The customerData object should be modified to include the customer's information you wish to create.
Verifying Successful Customer Creation in Stamped Dashboard
After running the code, check your Stamped dashboard to verify that the customer has been successfully created. Navigate to the Customers section to see the newly added customer profile.
Handling Errors and Troubleshooting Stamped API Requests
When making API calls, it's crucial to handle potential errors gracefully. The code above checks the response status and logs any errors encountered during the request. Common issues may include incorrect API keys, invalid store hash, or network problems. Ensure that your credentials are correct and that your network connection is stable.
For more detailed information on error codes, refer to the Stamped API documentation.
Conclusion and Best Practices for Using Stamped API in JavaScript
Integrating with the Stamped API to create customers using JavaScript can significantly streamline your customer management processes, ensuring data consistency across platforms. By following the steps outlined in this guide, you can efficiently set up your environment, authenticate requests, and handle potential errors.
Best Practices for Secure and Efficient Stamped API Integration
- Secure Storage of API Credentials: Always store your API keys securely, using environment variables or secure vaults, to prevent unauthorized access.
- Handle Rate Limiting: Be mindful of any rate limits imposed by the Stamped API to avoid throttling. Implement retry logic with exponential backoff to manage requests efficiently.
- Data Transformation and Standardization: Ensure that customer data is transformed and standardized before sending it to the API to maintain data integrity.
Streamlining Integrations with Endgrate
While integrating with individual APIs like Stamped can be beneficial, managing multiple integrations can become complex and time-consuming. Endgrate offers a unified API solution that simplifies this process by providing a single endpoint to connect with various platforms, including Stamped.
By leveraging Endgrate, you can save time and resources, allowing your team to focus on core product development. With Endgrate's intuitive integration experience, you can build once for each use case and easily extend support to multiple platforms.
Explore how Endgrate can enhance your integration strategy by visiting Endgrate's website and discover the benefits of a streamlined integration process.
Read More


Ready to get started?
