Using the Iterable API to Create or Update Users (with PHP examples)

Introduction to Iterable API for User Management
Iterable is a powerful marketing automation platform that helps businesses engage with their customers through personalized messaging across multiple channels. With its robust API, developers can seamlessly integrate Iterable into their existing systems to manage user data, track events, and automate marketing workflows.
Connecting with Iterable's API allows developers to efficiently create or update user profiles, ensuring that customer data is always up-to-date and accurate. For example, a developer might use the Iterable API to automatically update user preferences based on their interactions with a website, enhancing the personalization of marketing campaigns.
Setting Up Your Iterable Test or Sandbox Account for API Integration
Before you can start using the Iterable API to create or update users, you'll need to set up a test or sandbox account. This will allow you to safely experiment with API calls without affecting live data.
Creating an Iterable Account
If you don't already have an Iterable account, you can sign up for a free trial on the Iterable website. Follow the instructions to create your account and log in.
Generating an API Key for Iterable API Access
To interact with the Iterable API, you'll need an API key. Here's how to generate one:
- Log in to your Iterable account.
- Navigate to the Integrations section in the sidebar.
- Select API Keys.
- Click on Create New API Key.
- Enter a name for your API key and select the appropriate permissions for your needs.
- Click Create and copy the generated API key. Store it securely as you'll need it for authentication in your API requests.
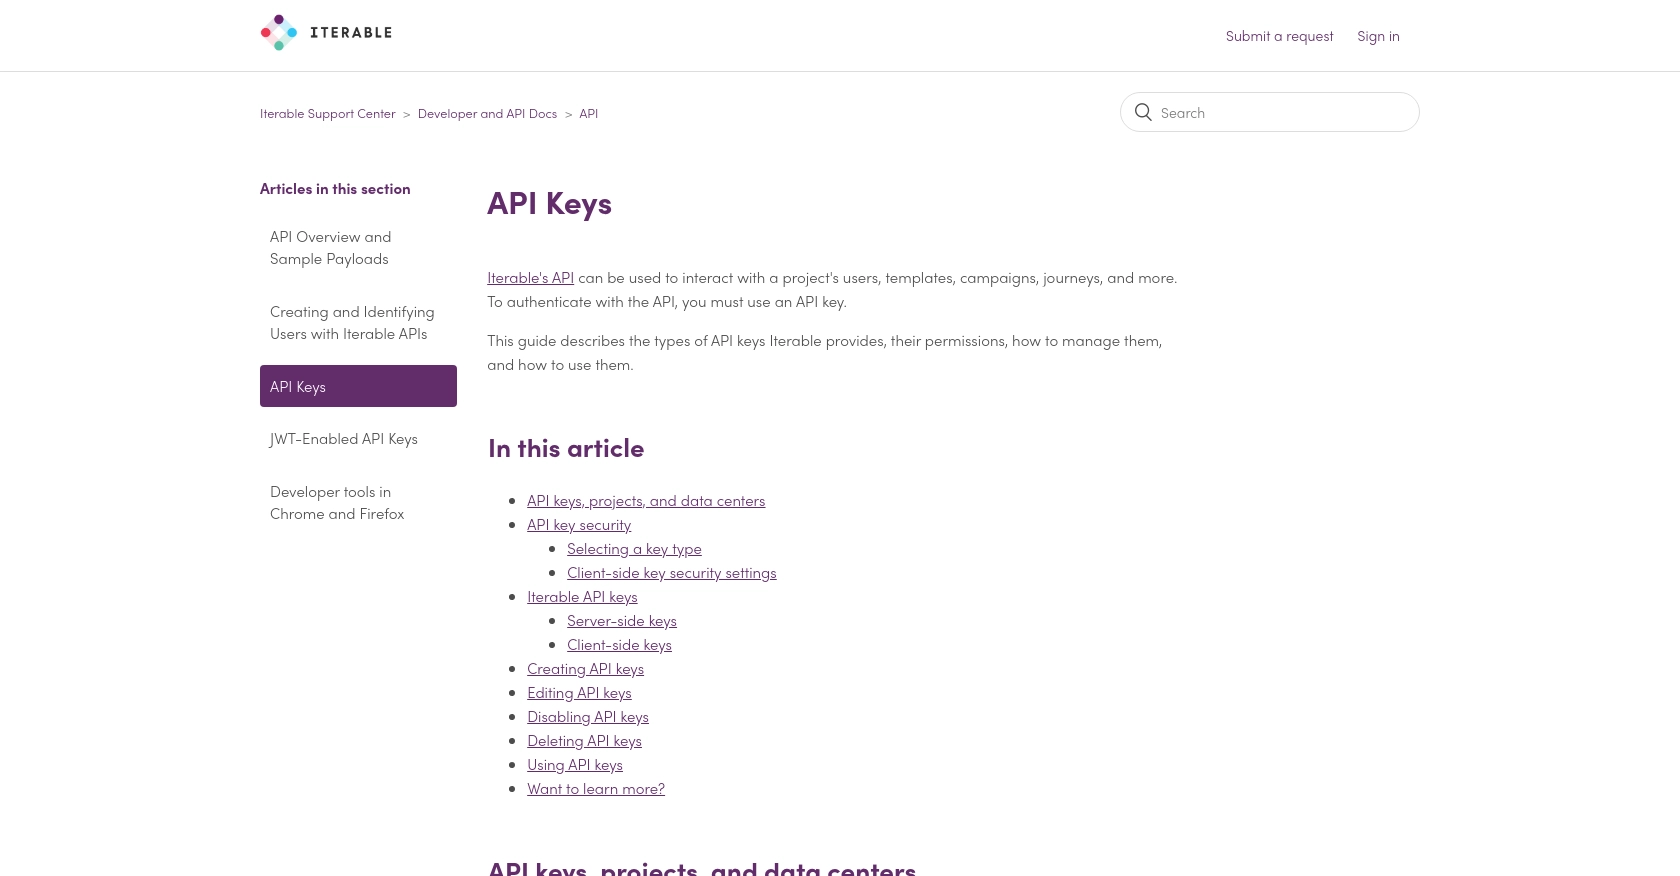
For more details on API key management, refer to the Iterable API Keys documentation.
Configuring Your PHP Environment for Iterable API Integration
Ensure your PHP environment is set up correctly to make API requests:
- PHP version 7.4 or higher is recommended.
- Install the
cURLextension for making HTTP requests.
With your Iterable account and API key ready, you can now proceed to make API calls to create or update users.

sbb-itb-96038d7
Making API Calls to Create or Update Users with Iterable in PHP
To interact with the Iterable API for creating or updating users, you'll need to set up your PHP environment and write the necessary code to make HTTP requests. This section will guide you through the process of making API calls using PHP, ensuring that you can efficiently manage user data within Iterable.
Setting Up Your PHP Environment for Iterable API Integration
Before making API calls, ensure your PHP environment is configured correctly:
- PHP version 7.4 or higher is recommended.
- Ensure the
cURLextension is installed and enabled for making HTTP requests.
Installing Required PHP Dependencies for Iterable API
To handle HTTP requests, you'll need to use the cURL extension. This is typically included with PHP, but you can verify its installation by running:
php -m | grep curl
If cURL is not installed, you can enable it by modifying your php.ini file or using your package manager.
Example Code for Making API Calls to Iterable
Below is an example of how to create or update a user in Iterable using PHP:
<?php
$apiKey = 'YOUR_API_KEY';
$url = 'https://api.iterable.com/api/users/update';

$data = [
    'email' => 'user@example.com',
    'dataFields' => [
        'firstName' => 'John',
        'lastName' => 'Doe'
    ]
];

$ch = curl_init($url);
curl_setopt($ch, CURLOPT_HTTPHEADER, [
    'Content-Type: application/json',
    'Api-Key: ' . $apiKey
]);
curl_setopt($ch, CURLOPT_RETURNTRANSFER, true);
curl_setopt($ch, CURLOPT_POST, true);
curl_setopt($ch, CURLOPT_POSTFIELDS, json_encode($data));

$response = curl_exec($ch);
curl_close($ch);

echo $response;
?>
Replace YOUR_API_KEY with the API key you generated earlier. This script initializes a cURL session, sets the necessary headers, and sends a POST request to the Iterable API to update user data.
Handling API Responses and Errors
After executing the API call, you should handle the response to ensure the request was successful. The response will typically include a status code and message:
- Success: A successful request will return a status code of 200 with a message indicating success.
- Error: If there is an error, the response will include an error code and message. Common errors include
BadApiKey,InvalidJsonBody, andRateLimitExceeded.
For more detailed error handling, refer to the Iterable API Documentation.
Verifying API Call Success in Iterable
To verify that your API call was successful, you can check the user data in your Iterable account. Navigate to the user profile section and ensure the updated information is reflected.
By following these steps, you can effectively manage user data in Iterable using PHP, enhancing your application's integration capabilities.
Conclusion and Best Practices for Using Iterable API with PHP
Integrating the Iterable API into your PHP applications can significantly enhance your ability to manage user data and automate marketing workflows. By following the steps outlined in this guide, you can efficiently create or update user profiles, ensuring that your customer data remains accurate and up-to-date.
Best Practices for Secure and Efficient API Integration
- Secure API Key Storage: Always store your API keys securely, using environment variables or secure vaults, to prevent unauthorized access.
- Handle Rate Limits: Be mindful of the rate limits imposed by Iterable. Implement retry logic and exponential backoff strategies to handle rate limit errors gracefully.
- Data Standardization: Ensure consistent data formats when updating user profiles to avoid data type mismatches and errors.
- Error Handling: Implement robust error handling to manage API response codes effectively, ensuring that your application can recover from errors smoothly.
Enhance Your Integration with Endgrate
For developers looking to streamline their integration processes, consider using Endgrate. With Endgrate, you can save time and resources by outsourcing integrations, allowing you to focus on your core product. Build once for each use case and enjoy an intuitive integration experience for your customers.
Explore how Endgrate can simplify your integration needs by visiting Endgrate's website.
Read More
Ready to get started?
