Using the Mailshake API to Get Leads in Javascript
Introduction to Mailshake API
Mailshake is a powerful sales engagement platform designed to streamline outreach efforts by automating email campaigns and follow-ups. It offers a suite of tools that help sales teams and marketers connect with prospects more effectively, enhancing productivity and conversion rates.
Integrating with the Mailshake API allows developers to automate lead management processes, such as retrieving leads for analysis or integration with other CRM systems. For example, a developer might use the Mailshake API to fetch leads and sync them with a custom dashboard, providing real-time insights into campaign performance.
Setting Up Your Mailshake API Account for Lead Retrieval
Before you can start using the Mailshake API to retrieve leads, you'll need to set up your Mailshake account and obtain an API key. This key will allow you to authenticate your requests and access the necessary data.
Creating a Mailshake Account
If you don't already have a Mailshake account, follow these steps to create one:
- Visit the Mailshake website and click on the "Sign Up" button.
- Fill in the required details, such as your email address and password, to create your account.
- Once your account is created, log in to access the Mailshake dashboard.
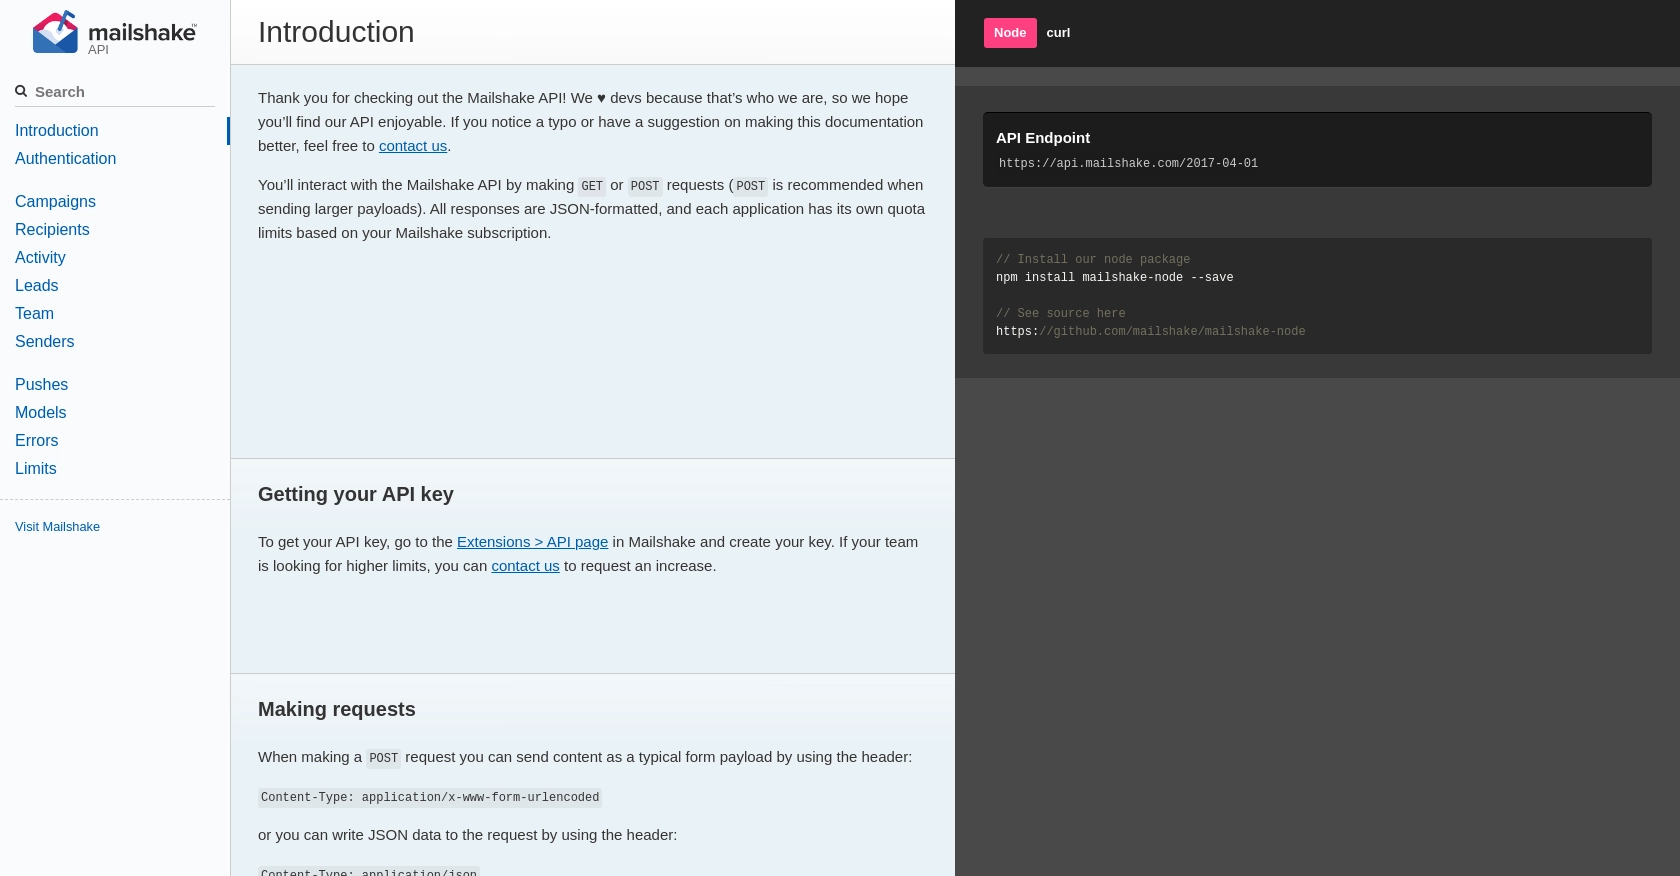
Generating Your Mailshake API Key
To interact with the Mailshake API, you'll need an API key. Follow these steps to generate it:
- Navigate to the "Extensions" section in the Mailshake dashboard.
- Select "API" from the dropdown menu.
- Click on "Create API Key" to generate a new key.
- Copy the API key and store it securely, as you'll need it to authenticate your API requests.
Authenticating with the Mailshake API Using Your API Key
Mailshake uses simple API key-based authentication. Here's how you can authenticate your requests:
// Example of authenticating a request using the Mailshake API key
const mailshake = require('mailshake-node')('your-api-key');

mailshake.me()
    .then(result => {
        console.log(JSON.stringify(result, null, 2));
    })
    .catch(err => {
        console.error(`${err.code}: ${err.message}`);
    });
Replace your-api-key with the API key you generated earlier. This code snippet demonstrates how to authenticate and test your connection by retrieving user information.
For more details on authentication, refer to the Mailshake API documentation.
sbb-itb-96038d7
Making API Calls to Retrieve Leads Using Mailshake in JavaScript
To effectively interact with the Mailshake API and retrieve leads, you'll need to set up your JavaScript environment and make the appropriate API calls. This section will guide you through the process of setting up your environment, writing the code, and handling responses and errors.
Setting Up Your JavaScript Environment for Mailshake API
Before making API calls, ensure you have Node.js installed on your machine. You can download it from the official Node.js website. Once Node.js is installed, you can use npm (Node Package Manager) to install the necessary dependencies.
// Install the Mailshake Node.js package
npm install mailshake-node --save
This command installs the Mailshake Node.js package, which simplifies interactions with the Mailshake API.
Writing JavaScript Code to Fetch Leads from Mailshake
With your environment set up, you can now write the JavaScript code to fetch leads. Create a new JavaScript file, for example, getLeads.js, and add the following code:
const mailshake = require('mailshake-node')('your-api-key');

// Function to fetch leads
mailshake.leads.list({ campaignID: 1, status: 'open' })
    .then(result => {
        console.log('Leads:', JSON.stringify(result.results, null, 2));
    })
    .catch(err => {
        console.error(`Error: ${err.code} - ${err.message}`);
    });
Replace 'your-api-key' with the API key you generated earlier. This code snippet demonstrates how to list leads from a specific campaign with an open status.
Running Your JavaScript Code and Handling Responses
To execute your code, run the following command in your terminal:
node getLeads.js
If successful, the console will display the leads retrieved from Mailshake. You can verify the data by checking your Mailshake dashboard to ensure the leads match the retrieved information.
Error Handling and Troubleshooting Mailshake API Calls
When making API calls, it's crucial to handle potential errors effectively. The Mailshake API provides various error codes, such as invalid_api_key and limit_reached. Refer to the Mailshake API documentation for a comprehensive list of error codes and their meanings.
Implement error handling in your code to manage these scenarios and ensure a robust integration:
.catch(err => {
    if (err.code === 'invalid_api_key') {
        console.error('Invalid API key. Please check your credentials.');
    } else if (err.code === 'limit_reached') {
        console.error('API rate limit reached. Please try again later.');
    } else {
        console.error(`Unexpected error: ${err.code} - ${err.message}`);
    }
});
By incorporating error handling, you can provide informative feedback and maintain a seamless user experience.
Conclusion and Best Practices for Using Mailshake API in JavaScript
Integrating with the Mailshake API using JavaScript provides a powerful way to automate and enhance your lead management processes. By following the steps outlined in this guide, you can efficiently retrieve and manage leads, ensuring your sales and marketing efforts are streamlined and effective.
Best Practices for Secure and Efficient Mailshake API Integration
- Secure API Key Storage: Always store your API key securely and avoid hardcoding it directly in your source code. Consider using environment variables or a secure vault to manage sensitive credentials.
- Handle Rate Limits: Be mindful of Mailshake's rate limits to avoid disruptions. Implement logic to handle the
limit_reachederror and retry requests after the specified wait time. - Data Standardization: Ensure that the data retrieved from Mailshake is standardized and transformed as needed to integrate seamlessly with other systems or dashboards.
- Error Handling: Implement comprehensive error handling to manage different error scenarios gracefully, providing informative feedback to users or logging errors for further analysis.
Enhancing Your Integration Experience with Endgrate
While integrating with Mailshake API can significantly boost your lead management capabilities, managing multiple integrations can become complex and time-consuming. This is where Endgrate can help.
Endgrate offers a unified API solution that simplifies the integration process across various platforms, including Mailshake. By using Endgrate, you can:
- Save time and resources by outsourcing integrations, allowing you to focus on your core product development.
- Build once for each use case, eliminating the need to create multiple integrations for different platforms.
- Provide an intuitive and seamless integration experience for your customers, enhancing their satisfaction and engagement.
Explore how Endgrate can transform your integration strategy by visiting Endgrate today.
Read More

Ready to get started?
