Using the Mailshake API to Get Recipients in Javascript
Introduction to Mailshake API Integration
Mailshake is a powerful email outreach platform designed to help businesses streamline their email campaigns and maximize engagement. With features like automated follow-ups, personalized messaging, and detailed analytics, Mailshake is a preferred choice for marketers and sales teams looking to enhance their outreach efforts.
Integrating with the Mailshake API allows developers to automate and manage email campaigns programmatically. For example, you can use the API to retrieve a list of recipients in a campaign, enabling you to analyze engagement metrics or sync data with other applications seamlessly.
This article will guide you through using JavaScript to interact with the Mailshake API, specifically focusing on retrieving recipients from a campaign. By following this tutorial, you'll learn how to efficiently access and manage your email outreach data using Mailshake's robust API.
Setting Up Your Mailshake API Test Account
Before you can start interacting with the Mailshake API using JavaScript, you'll need to set up a Mailshake account and obtain an API key. This key will allow you to authenticate your requests and access the necessary data.
Creating a Mailshake Account
If you don't already have a Mailshake account, you can sign up for a free trial or choose a suitable plan on the Mailshake website. Follow the instructions to complete the registration process and log in to your account.
Generating Your Mailshake API Key
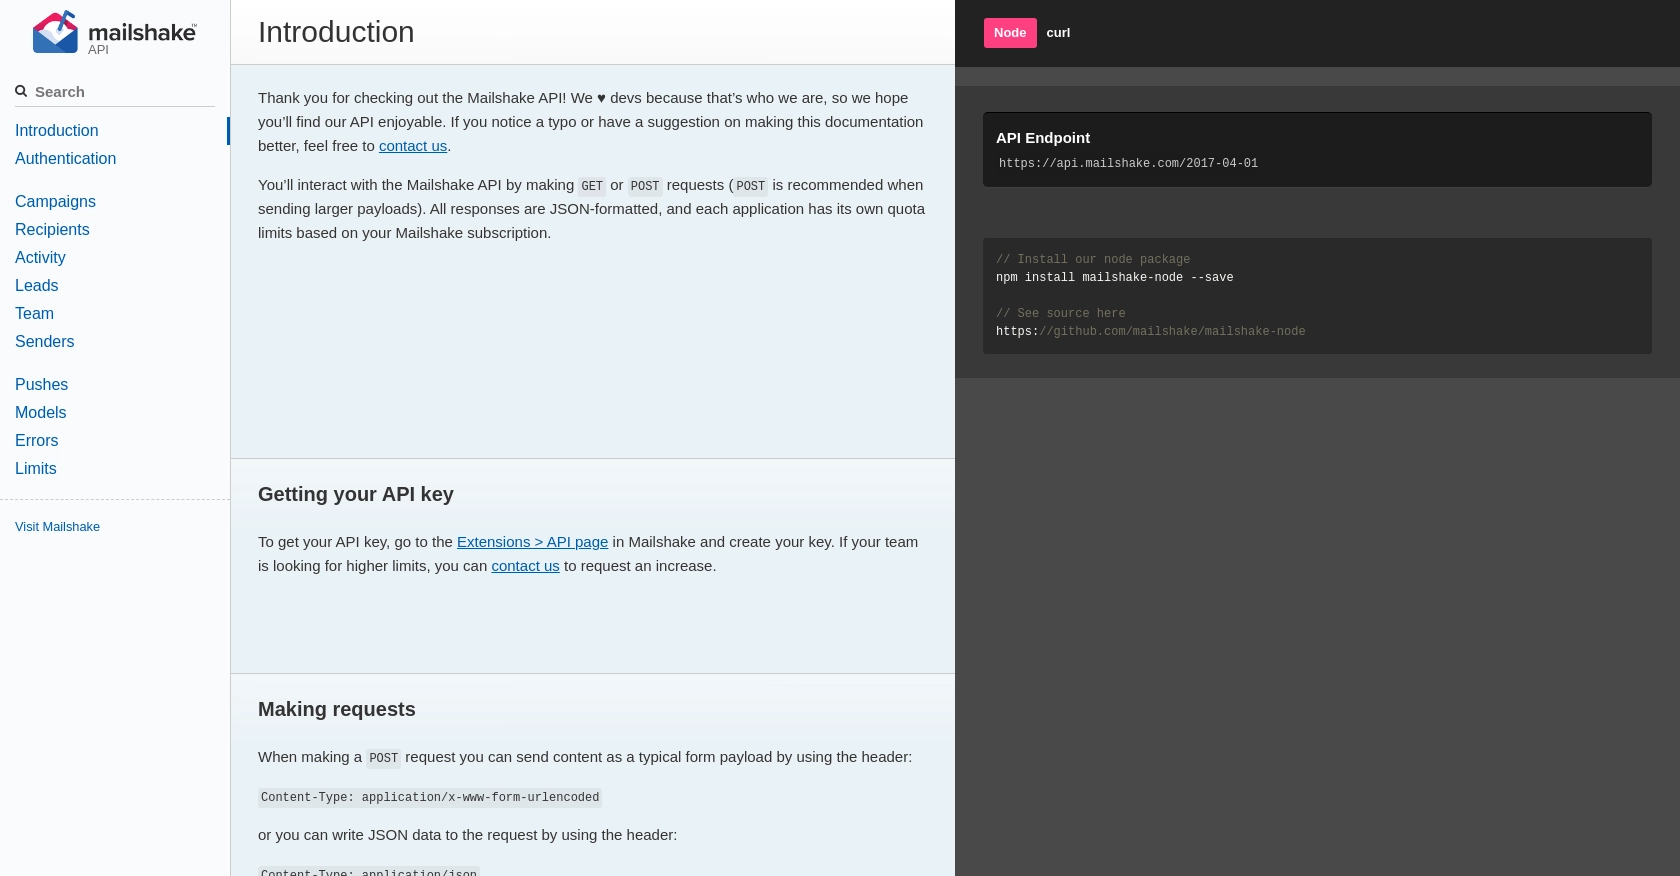
Once you have access to your Mailshake account, follow these steps to generate your API key:
- Navigate to the Extensions section in the Mailshake dashboard.
- Click on API to access the API settings page.
- Select Create API Key and follow the prompts to generate a new key.
- Copy the API key and store it securely, as you'll need it to authenticate your API requests.
For more details on obtaining your API key, refer to the Mailshake API documentation.
Understanding Mailshake API Authentication
The Mailshake API uses simple API key-based authentication. You can include your API key in the request header or as a query parameter. Here's an example of how to include the API key in the header:
// Example of setting the API key in the header
const headers = {
    'Authorization': 'Basic ' + btoa('your-api-key:')
};
Replace your-api-key with the API key you generated earlier. This setup ensures that your requests are authenticated and authorized to access your Mailshake data.
sbb-itb-96038d7
Making API Calls to Retrieve Mailshake Recipients Using JavaScript
To interact with the Mailshake API and retrieve recipients from a campaign, you'll need to use JavaScript to make HTTP requests. This section will guide you through setting up your environment, writing the necessary code, and handling responses effectively.
Setting Up Your JavaScript Environment for Mailshake API Integration
Before making API calls, ensure you have Node.js installed on your machine. You can download it from the official Node.js website. Additionally, you'll need the axios library to handle HTTP requests. Install it using the following command:
npm install axiosWriting JavaScript Code to Retrieve Recipients from Mailshake
With your environment ready, you can now write the JavaScript code to interact with the Mailshake API. Create a new file named getRecipients.js and add the following code:
const axios = require('axios');

// Set your API key and campaign ID
const apiKey = 'your-api-key';
const campaignID = 1;

// Configure the request headers
const headers = {
    'Authorization': 'Basic ' + Buffer.from(apiKey + ':').toString('base64')
};

// Define the API endpoint
const endpoint = `https://api.mailshake.com/2017-04-01/recipients/list`;

// Make the API call to retrieve recipients
axios.post(endpoint, { campaignID }, { headers })
    .then(response => {
        console.log('Recipients:', response.data.results);
    })
    .catch(error => {
        console.error('Error fetching recipients:', error.response.data);
    });
Replace your-api-key with the API key you generated earlier. This script sets up the necessary headers and makes a POST request to the Mailshake API to retrieve recipients from the specified campaign.
Understanding and Handling Mailshake API Responses
The Mailshake API returns paginated data, so you may need to handle multiple pages of results. The response includes a nextToken parameter that you can use to fetch additional pages. Here's how you can modify the code to handle pagination:
function fetchRecipients(nextToken = null) {
    const data = { campaignID };
    if (nextToken) data.nextToken = nextToken;

    axios.post(endpoint, data, { headers })
        .then(response => {
            console.log('Recipients:', response.data.results);
            if (response.data.nextToken) {
                fetchRecipients(response.data.nextToken);
            }
        })
        .catch(error => {
            console.error('Error fetching recipients:', error.response.data);
        });
}

// Start fetching recipients
fetchRecipients();
This function recursively fetches all pages of recipients by checking for the nextToken and calling itself until all data is retrieved.
Verifying Successful API Requests and Handling Errors
To ensure your API requests are successful, check the response status and data. If an error occurs, the Mailshake API provides detailed error codes and messages. Common errors include invalid_api_key and limit_reached. For a complete list of error codes, refer to the Mailshake API documentation.
By following these steps, you can efficiently retrieve and manage recipients from your Mailshake campaigns using JavaScript, enabling seamless integration with your applications.
Conclusion and Best Practices for Using Mailshake API with JavaScript
Integrating with the Mailshake API using JavaScript provides a powerful way to automate and manage your email outreach campaigns. By following the steps outlined in this article, you can efficiently retrieve and handle recipient data, enhancing your ability to analyze engagement and sync with other applications.
Best Practices for Secure and Efficient Mailshake API Integration
- Secure API Key Storage: Always store your API key securely, avoiding hardcoding it in your source files. Consider using environment variables or secure vaults.
- Handle Rate Limits: Be mindful of Mailshake's rate limits to avoid disruptions. Implement logic to handle
limit_reachederrors gracefully and retry requests after the specified wait time. - Data Transformation: Standardize and transform data fields as needed to ensure compatibility with your application’s data structures.
- Error Handling: Implement robust error handling to manage API errors effectively. Refer to the Mailshake API documentation for detailed error codes and solutions.
Streamlining Integrations with Endgrate
If managing multiple integrations is becoming a bottleneck, consider leveraging Endgrate to simplify the process. Endgrate allows you to build once for each use case, reducing the need for repetitive integration efforts. By outsourcing integrations, you can focus on your core product and provide an intuitive experience for your customers.
Explore how Endgrate can enhance your integration strategy by visiting Endgrate today.
Read More

Ready to get started?
