Using the Microsoft Dynamics 365 API to Get Custom Objects in Javascript
Introduction to Microsoft Dynamics 365 API
Microsoft Dynamics 365 is a powerful suite of business applications that combines CRM and ERP capabilities to streamline business processes and improve customer engagement. It offers a comprehensive platform for managing sales, customer service, finance, operations, and more.
Developers often integrate with the Microsoft Dynamics 365 API to access and manipulate custom objects, enabling them to tailor the platform to specific business needs. For example, a developer might retrieve custom entities to generate detailed reports or automate workflows, enhancing productivity and decision-making.
Setting Up a Microsoft Dynamics 365 Test/Sandbox Account
To begin integrating with the Microsoft Dynamics 365 API, you need to set up a test or sandbox account. This environment allows you to safely experiment with API calls without affecting live data.
Creating a Microsoft Dynamics 365 Free Trial Account
If you don't have a Microsoft Dynamics 365 account, you can start by signing up for a free trial. Follow these steps:
- Visit the Microsoft Dynamics 365 website and click on "Try for free."
- Fill out the registration form with your details and submit it.
- Follow the instructions in the confirmation email to activate your account.
Registering an Application in Microsoft Entra ID
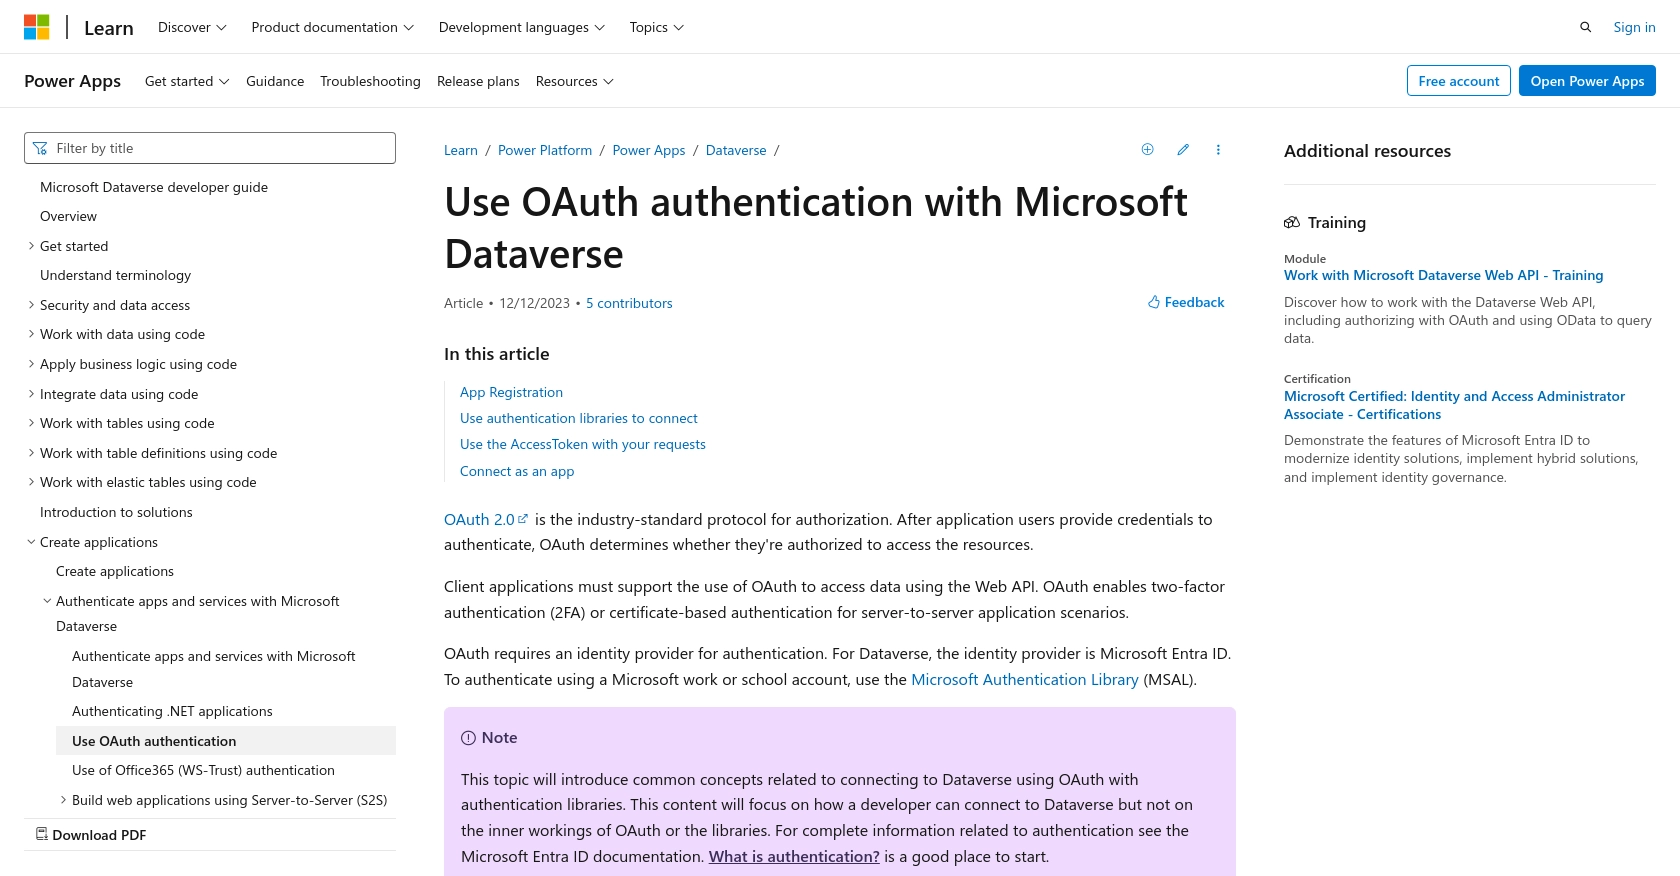
To use OAuth authentication with Microsoft Dynamics 365, you need to register an application in Microsoft Entra ID. This process will provide you with the necessary credentials to authenticate API requests.
- Navigate to the Azure Portal and sign in with your Microsoft account.
- Go to "Azure Active Directory" and select "App registrations."
- Click on "New registration" and fill in the application details:
- Name: Enter a descriptive name for your app.
- Redirect URI: Set this to
https://localhostfor local development.
- Click "Register" to create the application.
Generating Client ID and Client Secret
After registering your application, you need to generate the client ID and client secret:
- In the app registration overview, note down the "Application (client) ID."
- Navigate to "Certificates & secrets" and click on "New client secret."
- Provide a description and set an expiration period, then click "Add."
- Copy the client secret value immediately, as it will not be shown again.
Configuring API Permissions
To access custom objects in Microsoft Dynamics 365, configure the necessary API permissions:
- In the app registration, go to "API permissions" and click "Add a permission."
- Select "Dynamics CRM" and choose the permissions required for your application, such as "user_impersonation."
- Click "Add permissions" to apply the changes.
For more detailed instructions on app registration and OAuth authentication, refer to the official documentation: Use OAuth authentication with Microsoft Dataverse.
sbb-itb-96038d7
Making API Calls to Retrieve Custom Objects from Microsoft Dynamics 365 Using JavaScript
To interact with Microsoft Dynamics 365 and retrieve custom objects, you'll need to make API calls using JavaScript. This section will guide you through the process, including setting up your environment, writing the code, and handling responses.
Setting Up Your JavaScript Environment for Microsoft Dynamics 365 API
Before you start coding, ensure you have the necessary tools and libraries installed:
- Node.js: Ensure you have Node.js installed on your machine. You can download it from the official website.
- Axios: A promise-based HTTP client for the browser and Node.js. Install it using npm:
npm install axiosWriting JavaScript Code to Authenticate and Retrieve Custom Objects
With your environment set up, you can now write the JavaScript code to authenticate and retrieve custom objects from Microsoft Dynamics 365.
const axios = require('axios');
// Define your credentials and endpoints
const clientId = 'Your_Client_ID';
const clientSecret = 'Your_Client_Secret';
const tenantId = 'Your_Tenant_ID';
const resource = 'https://yourorg.crm.dynamics.com';
const tokenEndpoint = `https://login.microsoftonline.com/${tenantId}/oauth2/v2.0/token`;
// Function to get access token
async function getAccessToken() {
try {
const response = await axios.post(tokenEndpoint, null, {
params: {
client_id: clientId,
client_secret: clientSecret,
scope: `${resource}/.default`,
grant_type: 'client_credentials'
}
});
return response.data.access_token;
} catch (error) {
console.error('Error fetching access token:', error);
}
}
// Function to retrieve custom objects
async function getCustomObjects() {
const accessToken = await getAccessToken();
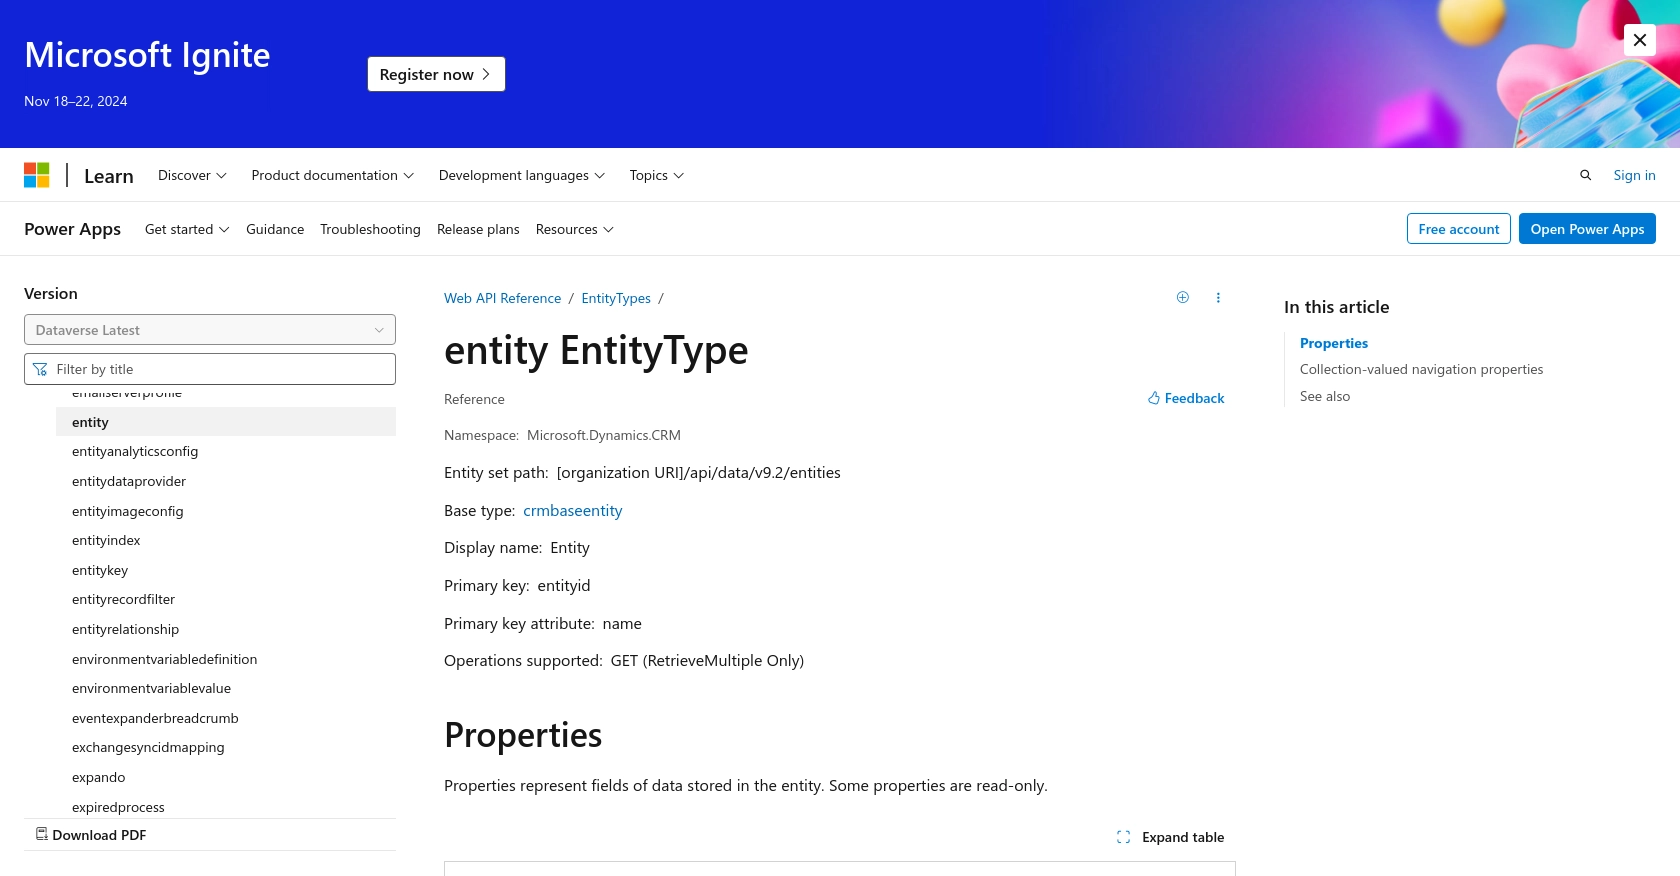
const apiUrl = `${resource}/api/data/v9.2/entities`;
try {
const response = await axios.get(apiUrl, {
headers: {
Authorization: `Bearer ${accessToken}`,
'OData-MaxVersion': '4.0',
'OData-Version': '4.0',
Accept: 'application/json'
}
});
console.log('Custom Objects:', response.data.value);
} catch (error) {
console.error('Error retrieving custom objects:', error);
}
}
// Execute the function
getCustomObjects();
Understanding the JavaScript Code for Microsoft Dynamics 365 API
In the code above, we first define our credentials and endpoints. The getAccessToken function authenticates with Microsoft Dynamics 365 using OAuth and retrieves an access token. This token is then used in the getCustomObjects function to make a GET request to the API endpoint, retrieving the custom objects.
Handling API Responses and Errors
When making API calls, it's crucial to handle responses and potential errors effectively. The code includes error handling using try-catch blocks to catch and log any errors that occur during the API requests.
Verify the success of your requests by checking the console output for the retrieved custom objects. If the request fails, review the error messages for troubleshooting.
For more detailed information on API calls and error codes, refer to the official documentation: Microsoft Dynamics 365 API Reference.
Conclusion and Best Practices for Using Microsoft Dynamics 365 API with JavaScript
Integrating with the Microsoft Dynamics 365 API allows developers to access and manipulate custom objects, enhancing the platform's flexibility and functionality. By following the steps outlined in this guide, you can efficiently authenticate and interact with Dynamics 365 using JavaScript.
Storing User Credentials Securely
When handling sensitive information such as client IDs and secrets, ensure they are stored securely. Consider using environment variables or secure vaults to protect these credentials from unauthorized access.
Handling Microsoft Dynamics 365 API Rate Limiting
Be mindful of the API rate limits to avoid throttling. Implement retry logic with exponential backoff to handle rate limit errors gracefully. For more information on rate limits, refer to the official documentation.
Transforming and Standardizing Data Fields
When retrieving data from Microsoft Dynamics 365, ensure that the data fields are transformed and standardized according to your application's requirements. This practice helps maintain consistency and improves data integration across different systems.
Leveraging Endgrate for Seamless Integrations
For developers looking to streamline their integration processes, consider using Endgrate. With Endgrate, you can save time and resources by outsourcing integrations, allowing you to focus on your core product. Build once for each use case and enjoy an intuitive integration experience for your customers. Learn more at Endgrate.
By adhering to these best practices, you can ensure a robust and secure integration with Microsoft Dynamics 365, enhancing your application's capabilities and delivering a seamless user experience.
Read More
- https://endgrate.com/provider/microsoftdynamics365
- https://learn.microsoft.com/en-us/power-apps/developer/data-platform/authenticate-oauth
- https://learn.microsoft.com/en-us/graph/use-the-api
- https://learn.microsoft.com/en-us/power-apps/developer/data-platform/webapi/reference/entity?view=dataverse-latest

Ready to get started?
