Using the Jira API to Get Issues in Javascript
Introduction to Jira API Integration
Jira is a powerful project management tool widely used by software development teams to plan, track, and manage agile software development projects. It offers a robust set of features for issue tracking, project management, and collaboration, making it an essential tool for teams aiming to enhance productivity and streamline workflows.
Integrating with the Jira API allows developers to automate and extend Jira's capabilities, enabling seamless interaction with Jira's data and functionalities. For example, a developer might want to retrieve issues from Jira to generate custom reports or integrate with other tools in their development pipeline.
This article will guide you through using JavaScript to interact with the Jira API, specifically focusing on retrieving issues. By following this tutorial, you'll learn how to set up your environment, authenticate with Jira, and make API calls to fetch issue data efficiently.
Setting Up Your Jira Test/Sandbox Account
Before diving into the Jira API integration using JavaScript, it's essential to set up a Jira test or sandbox account. This environment allows you to safely experiment with API calls without affecting your production data.
Creating a Jira Sandbox Account
If you don't already have a Jira account, you can sign up for a free trial or use an existing account to create a sandbox environment. Follow these steps to get started:
- Visit the Jira website and sign up for a free trial.
- Once your account is created, log in to Jira and navigate to your dashboard.
- Create a new project to serve as your sandbox environment. This will help you test API interactions without impacting your main projects.
Setting Up OAuth 2.0 for Jira API Authentication
Jira uses OAuth 2.0 for secure API authentication. Follow these steps to set up OAuth 2.0 for your Jira API integration:
- Go to the Atlassian Developer Console and create a new application.
- Note down the Client ID and Client Secret generated for your app.
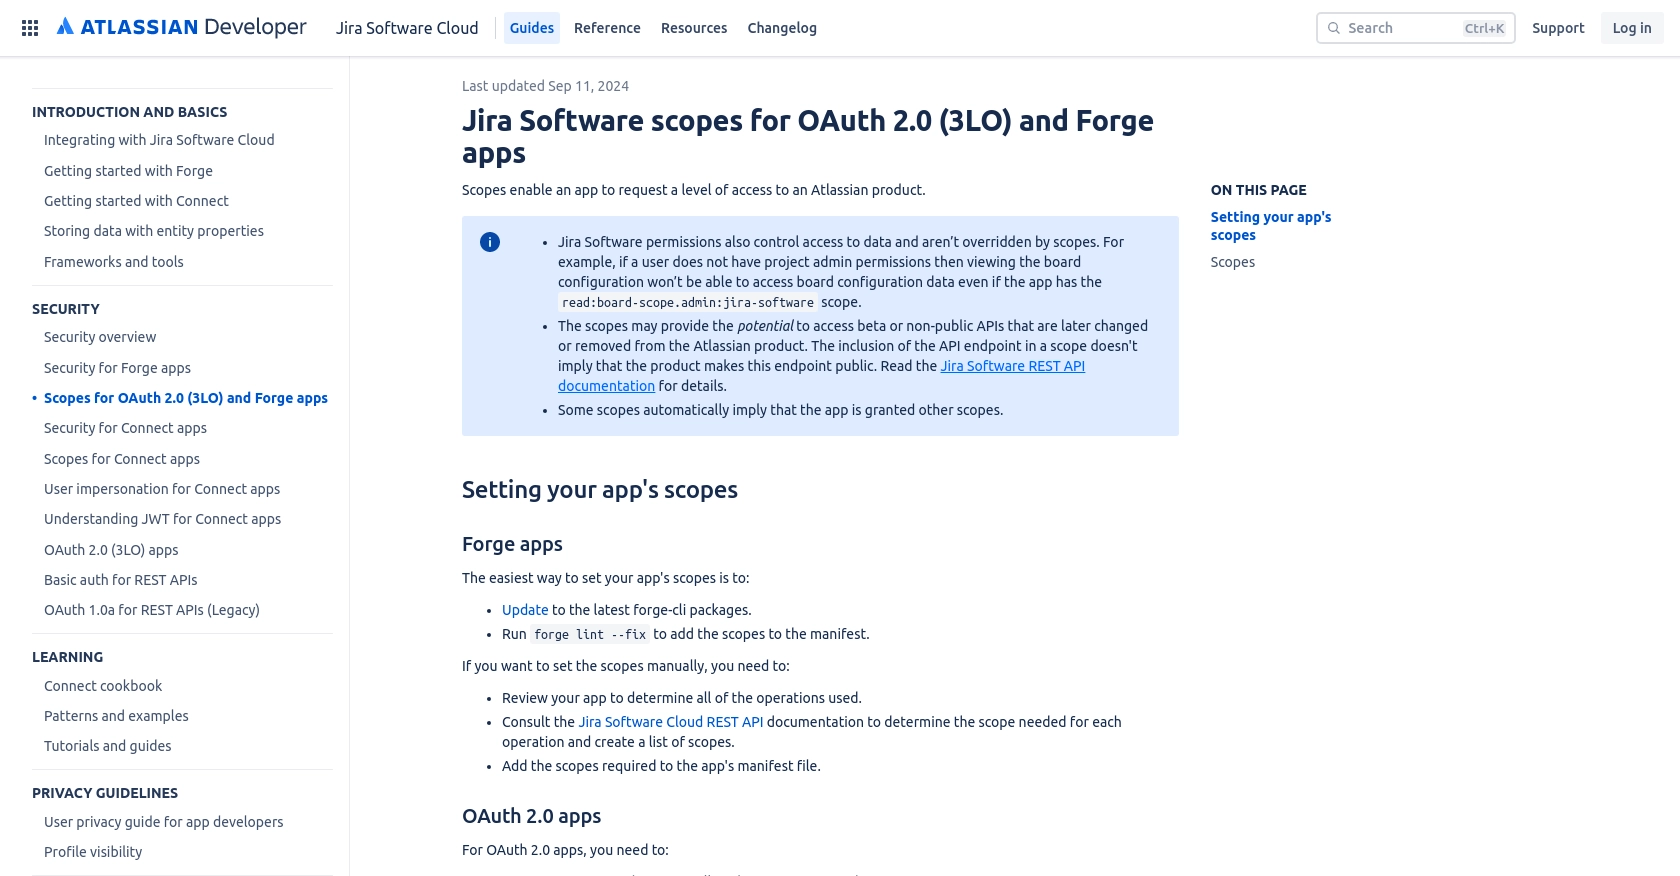
- Define the necessary scopes for your application. For retrieving issues, you'll need the
read:issue:jira-softwarescope. Refer to the Jira Software scopes documentation for more details. - Configure the redirect URL for your application. This URL will be used during the OAuth flow to redirect users back to your application.
Generating an Access Token
With your OAuth 2.0 setup complete, you can now generate an access token to authenticate API requests:
- Direct users to the authorization URL, including your Client ID and requested scopes.
- Upon user consent, Jira will redirect to your specified URL with an authorization code.
- Exchange this authorization code for an access token by making a POST request to
https://api.atlassian.com/oauth/tokenwith your Client ID, Client Secret, and authorization code.
For more detailed instructions, refer to the Jira API authentication documentation.
sbb-itb-96038d7
Making API Calls to Retrieve Jira Issues Using JavaScript
Once you have set up your Jira sandbox account and configured OAuth 2.0 authentication, you can proceed to make API calls to retrieve issues. This section will guide you through the process of using JavaScript to interact with the Jira API.
Setting Up Your JavaScript Environment for Jira API Integration
Before making API calls, ensure you have the necessary tools and libraries installed. You'll need Node.js and npm (Node Package Manager) to manage dependencies. Follow these steps to set up your environment:
- Install Node.js from the official website.
- Initialize a new Node.js project by running
npm init -yin your project directory. - Install the Axios library for making HTTP requests by running
npm install axios.
Writing JavaScript Code to Fetch Issues from Jira
With your environment set up, you can now write JavaScript code to interact with the Jira API. The following example demonstrates how to retrieve issues using Axios:
const axios = require('axios');
// Replace with your access token
const accessToken = 'YOUR_ACCESS_TOKEN';
// Replace with your Jira domain
const jiraDomain = 'your-domain.atlassian.net';
// Function to get issues from Jira
async function getJiraIssues() {
try {
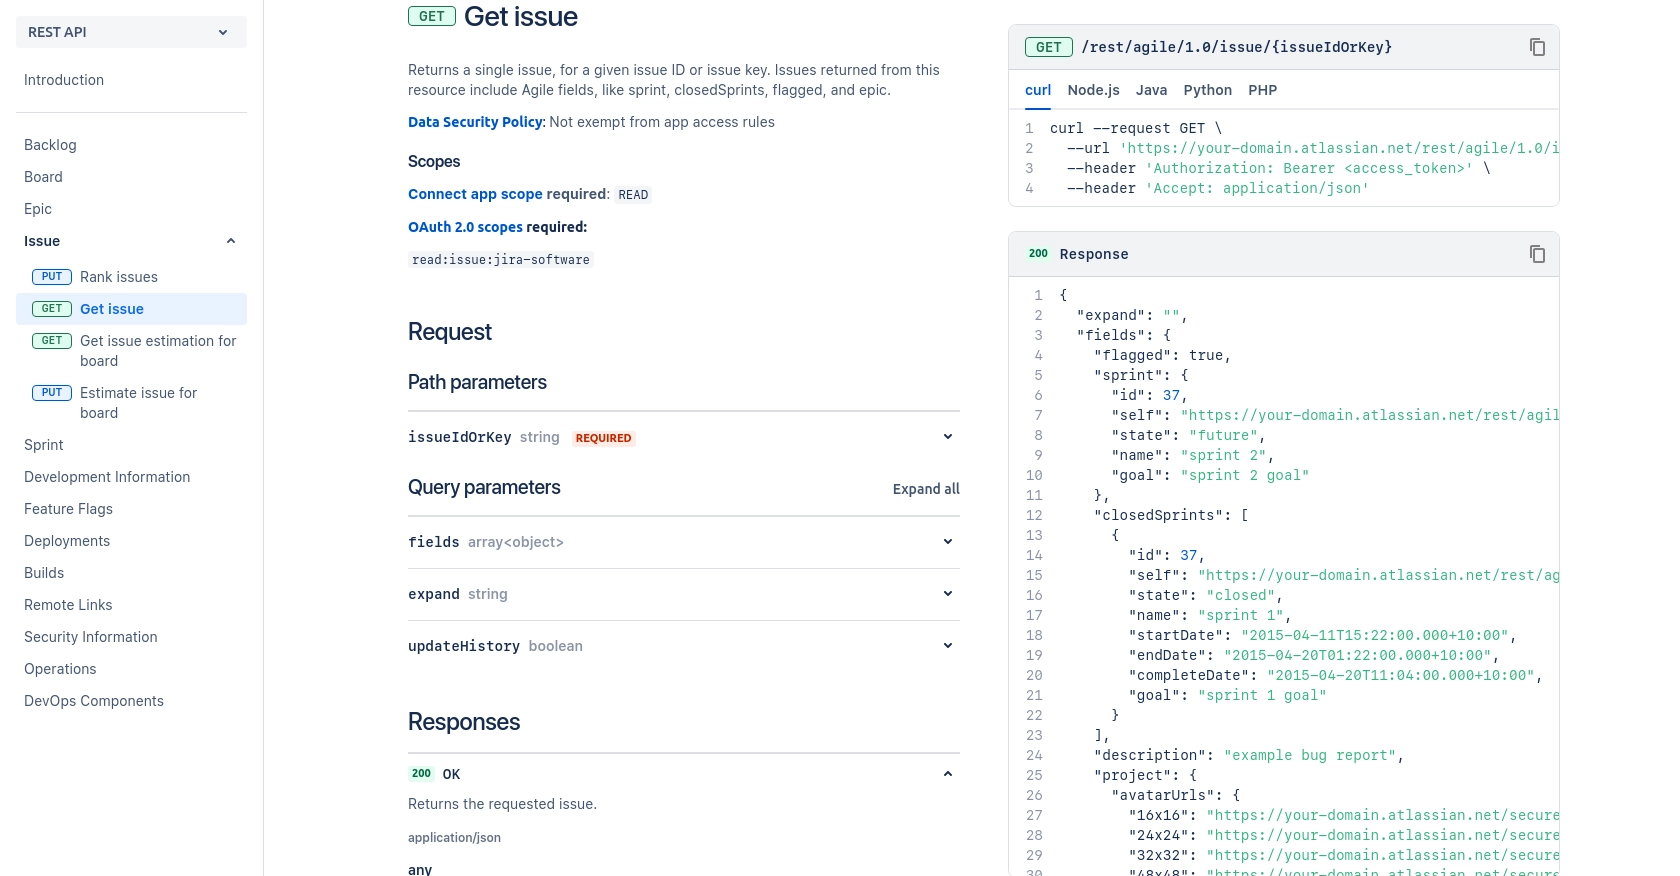
const response = await axios.get(`https://${jiraDomain}/rest/agile/1.0/issue/{issueIdOrKey}`, {
headers: {
'Authorization': `Bearer ${accessToken}`,
'Accept': 'application/json'
}
});
// Log the retrieved issues
console.log(response.data);
} catch (error) {
console.error('Error fetching issues:', error.response ? error.response.data : error.message);
}
}
// Call the function to fetch issues
getJiraIssues();
Replace YOUR_ACCESS_TOKEN with the access token you generated and your-domain.atlassian.net with your Jira domain. This script makes a GET request to the Jira API to fetch issue data.
Understanding the API Response and Handling Errors
Upon a successful request, the API will return a JSON object containing issue details. You can access various fields such as the issue key, summary, and status. Here's an example of what the response might look like:
{
    "id": "10001",
    "key": "HSP-1",
    "fields": {
        "summary": "Example bug report",
        "status": {
            "name": "To Do"
        }
    }
}
In case of errors, the API will return an error code and message. Common error codes include 400 (Bad Request), 401 (Unauthorized), and 404 (Not Found). Ensure you handle these errors gracefully in your application.
For more details on error codes and handling, refer to the Jira API documentation.
Best Practices for Using the Jira API in JavaScript
When working with the Jira API, it's crucial to follow best practices to ensure efficient and secure integration. Here are some recommendations:
- Securely Store Credentials: Always store your OAuth credentials and access tokens securely. Avoid hardcoding them in your source code. Use environment variables or secure vaults to manage sensitive information.
- Handle Rate Limiting: Jira's API may impose rate limits on requests. Implement retry logic with exponential backoff to handle rate limit responses gracefully. For more details on rate limits, refer to the Jira API documentation.
- Data Transformation and Standardization: When retrieving data from Jira, consider transforming and standardizing it to fit your application's needs. This can involve mapping Jira fields to your internal data structures.
- Error Handling: Implement robust error handling to manage API errors effectively. Log errors for debugging and provide meaningful feedback to users when issues occur.
Streamlining Jira Integrations with Endgrate
Building and maintaining integrations with Jira can be time-consuming and complex. Endgrate simplifies this process by providing a unified API endpoint that connects to multiple platforms, including Jira. With Endgrate, you can:
- Save time and resources by outsourcing integrations, allowing you to focus on your core product development.
- Build once for each use case instead of creating multiple integrations for different platforms.
- Offer an intuitive integration experience for your customers, enhancing their interaction with your product.
Explore how Endgrate can streamline your integration efforts by visiting Endgrate and discover the benefits of a unified integration solution.
Read More
- https://endgrate.com/provider/jira
- https://developer.atlassian.com/cloud/jira/software/scopes-for-oauth-2-3LO-and-forge-apps/
- https://developer.atlassian.com/cloud/jira/software/rest/intro/#introduction
- https://developer.atlassian.com/cloud/jira/software/rest/api-group-issue/#api-rest-agile-1-0-issue-issueidorkey-get

Ready to get started?
