Using the Microsoft Dynamics 365 API to Get Users in Python

Introduction to Microsoft Dynamics 365 API
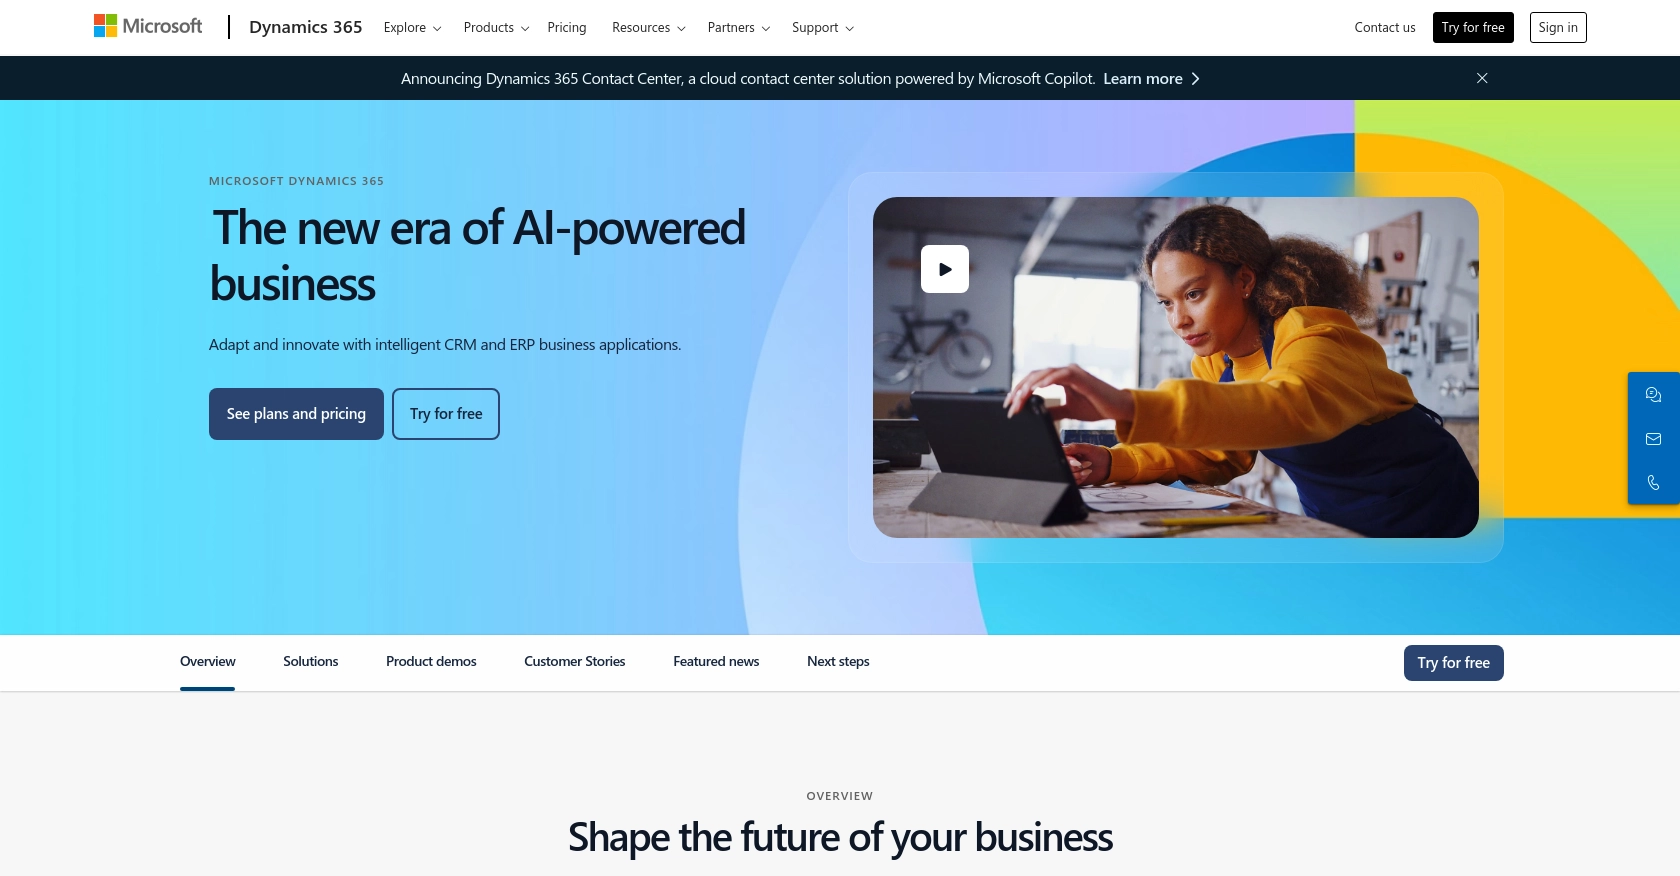
Microsoft Dynamics 365 is a comprehensive suite of business applications that combines CRM and ERP capabilities to streamline business processes and enhance customer engagement. It offers a wide range of tools for sales, customer service, finance, operations, and more, making it a popular choice for businesses looking to integrate their operations seamlessly.
Developers may want to connect with Microsoft Dynamics 365 to access user data and automate workflows. For example, using the Microsoft Dynamics 365 API, a developer can retrieve user information to synchronize data with other systems or to generate reports that provide insights into user activities and roles within the organization.
This article will guide you through using Python to interact with the Microsoft Dynamics 365 API, focusing on retrieving user data efficiently and effectively.
Setting Up Your Microsoft Dynamics 365 Test Account
Before you can start interacting with the Microsoft Dynamics 365 API, you'll need to set up a test or sandbox account. This will allow you to safely experiment with API calls without affecting live data.
Creating a Microsoft Dynamics 365 Sandbox Account
If you don't already have a Microsoft Dynamics 365 account, you can sign up for a free trial or create a sandbox environment. Follow these steps to get started:
- Visit the Microsoft Dynamics 365 website and select the option to start a free trial.
- Follow the on-screen instructions to create your account. You'll need to provide some basic information and verify your email address.
- Once your account is set up, navigate to the Dynamics 365 Admin Center to create a sandbox environment. This will be your testing ground for API interactions.
Registering an Application for OAuth Authentication
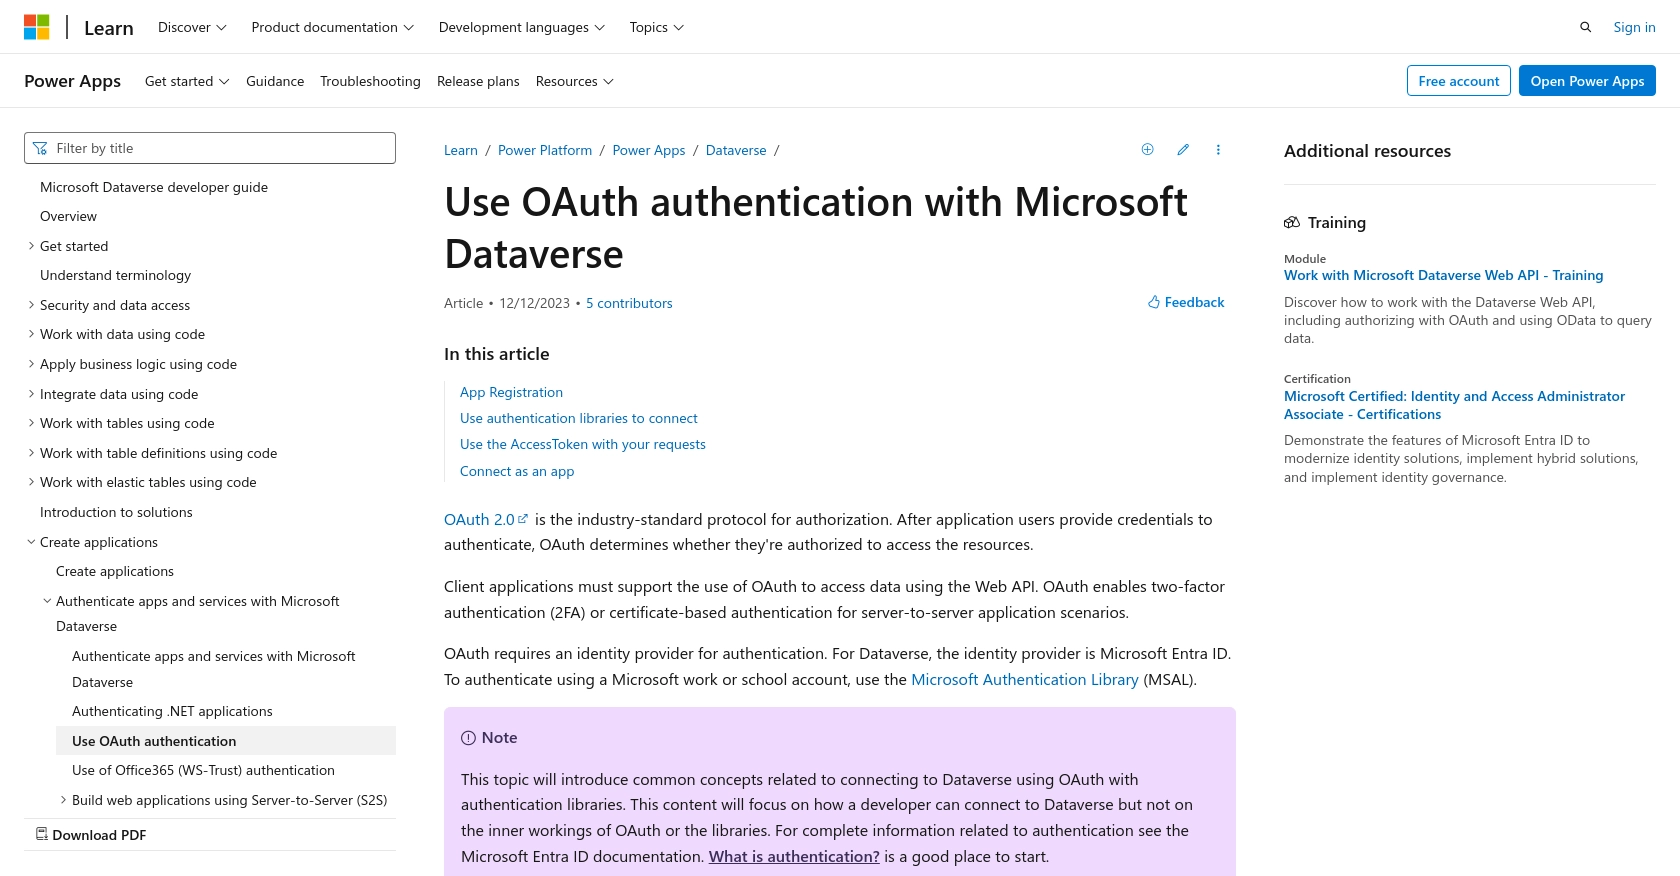
To interact with the Microsoft Dynamics 365 API, you'll need to register an application in your Microsoft Entra ID tenant. This process will provide you with the necessary credentials for OAuth authentication.
Follow these steps to register your application:
- Go to the Azure Portal and sign in with your Microsoft account.
- Navigate to the "Azure Active Directory" section and select "App registrations."
- Click on "New registration" and fill out the required fields, such as the application name and redirect URI.
- After registering the app, note down the Application (client) ID and Directory (tenant) ID.
- Under "Certificates & secrets," create a new client secret and save it securely. You'll need this for authentication.
For more detailed instructions, refer to the Microsoft OAuth authentication documentation.
Configuring Permissions for Microsoft Dynamics 365 API Access
Once your application is registered, you'll need to configure the necessary permissions to access the Microsoft Dynamics 365 API:
- In the Azure Portal, navigate to your registered app and select "API permissions."
- Click on "Add a permission" and choose "Dynamics CRM."
- Select the permissions required for your application, such as "user_impersonation" for accessing user data.
- Grant admin consent for the permissions to ensure your app can access the API.
With these steps completed, your sandbox account and application are ready for testing API interactions.

sbb-itb-96038d7
Making API Calls to Retrieve Users from Microsoft Dynamics 365 Using Python
To interact with the Microsoft Dynamics 365 API and retrieve user data, you'll need to set up your Python environment and make the necessary API calls. This section will guide you through the process, including setting up Python, installing dependencies, and executing the API call.
Setting Up Python Environment for Microsoft Dynamics 365 API
Before making API calls, ensure you have the following prerequisites installed on your machine:
- Python 3.11.1 or later
- The Python package installer, pip
Once these are installed, open your terminal or command prompt and install the requests library, which will be used to make HTTP requests:
pip install requestsWriting Python Code to Retrieve Users from Microsoft Dynamics 365
Create a new Python file named get_dynamics_users.py and add the following code to it:
import requests

# Set the API endpoint and headers
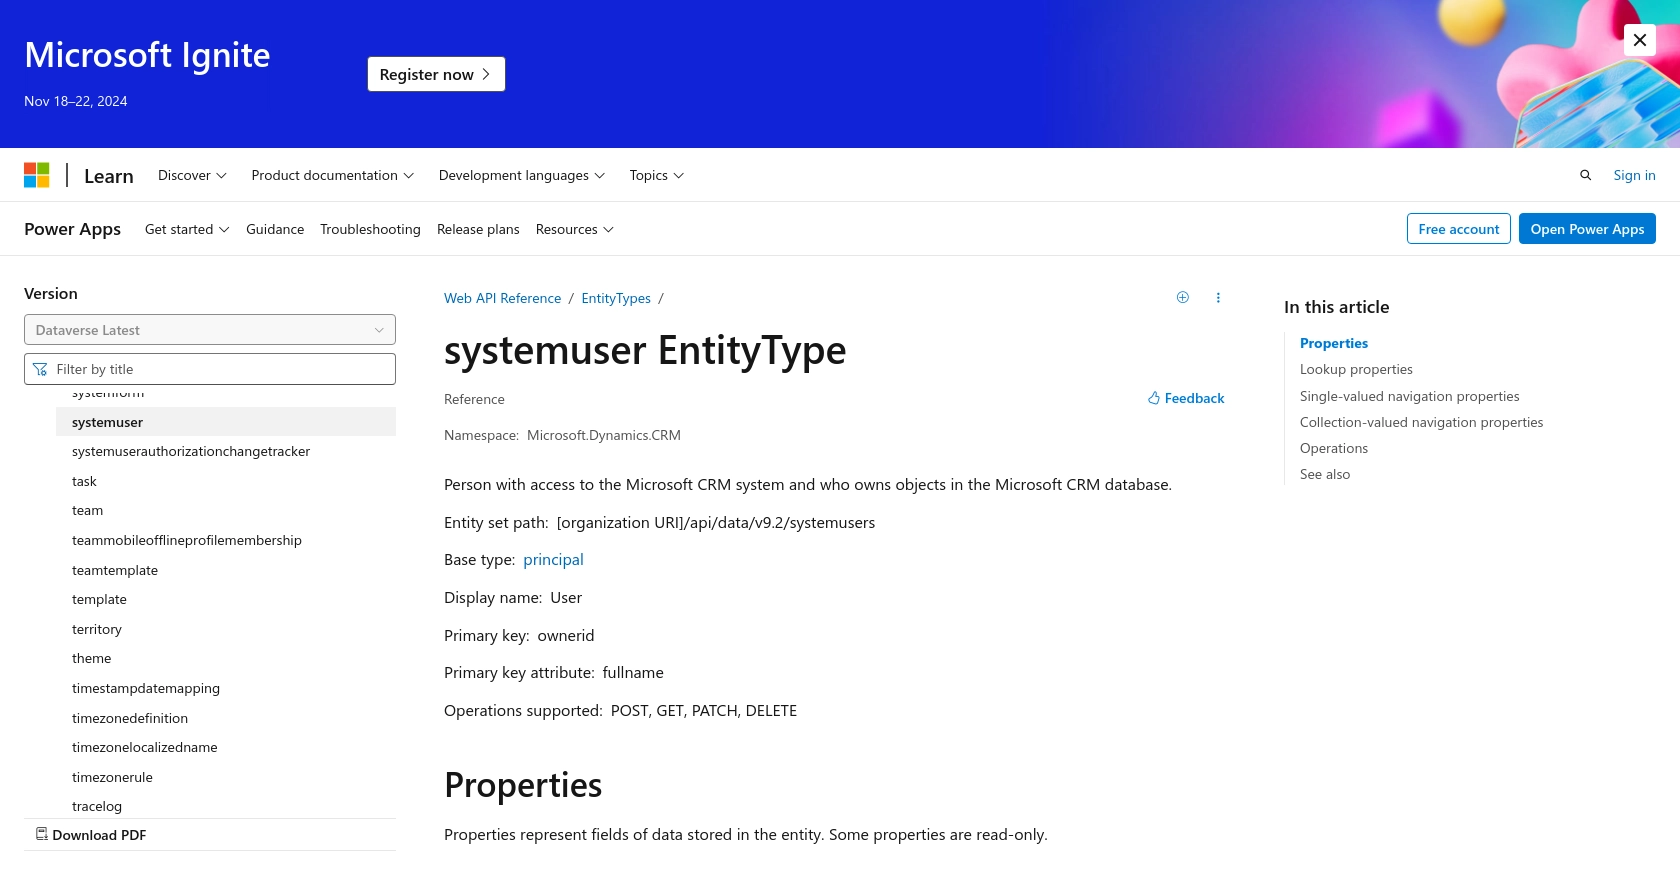
endpoint = "https://yourorg.crm.dynamics.com/api/data/v9.2/systemusers"
headers = {
    "Authorization": "Bearer Your_Access_Token",
    "OData-MaxVersion": "4.0",
    "OData-Version": "4.0",
    "Accept": "application/json"
}

# Make a GET request to the API
response = requests.get(endpoint, headers=headers)

# Check if the request was successful
if response.status_code == 200:
    # Parse the JSON data from the response
    data = response.json()
    # Loop through the users and print their information
    for user in data['value']:
        print(f"User ID: {user['systemuserid']}, Full Name: {user['fullname']}")
else:
    print(f"Failed to retrieve users: {response.status_code} - {response.reason}")
Replace Your_Access_Token with the access token obtained during the OAuth authentication process. This token is essential for authorizing your API requests.
Executing the Python Script to Fetch User Data
Run the script from your terminal or command prompt using the following command:
python get_dynamics_users.pyIf successful, the script will output the user IDs and full names of users in your Microsoft Dynamics 365 environment.
Handling Errors and Verifying API Call Success
It's crucial to handle potential errors when making API calls. The script checks the response status code to ensure the request was successful. If the request fails, it prints an error message with the status code and reason.
To verify the success of your API call, you can cross-check the retrieved user data with the data available in your Microsoft Dynamics 365 sandbox environment.
For more information on error codes, refer to the Microsoft Dynamics 365 API documentation.

Conclusion and Best Practices for Using Microsoft Dynamics 365 API with Python
Integrating with the Microsoft Dynamics 365 API using Python offers developers a powerful way to access and manage user data, enabling seamless synchronization and automation across various business applications. By following the steps outlined in this guide, you can efficiently retrieve user information and leverage it for enhanced business insights and operations.
Best Practices for Secure and Efficient API Integration
- Securely Store Credentials: Always store your OAuth credentials, such as client secrets and access tokens, securely. Consider using environment variables or secure vaults to manage sensitive information.
- Handle Rate Limiting: Be mindful of the API rate limits to avoid throttling. Implement retry logic with exponential backoff to handle rate limit errors gracefully. For more information, refer to the Microsoft Graph API documentation.
- Data Standardization: Ensure that the data retrieved from Microsoft Dynamics 365 is standardized and transformed as needed to fit your application's requirements. This will help maintain data consistency across systems.
- Error Handling: Implement robust error handling to manage potential issues during API calls. Log errors for further analysis and troubleshooting.
Streamlining Integrations with Endgrate
While building integrations with Microsoft Dynamics 365 can be rewarding, it can also be time-consuming and complex. Endgrate simplifies this process by providing a unified API endpoint that connects to multiple platforms, including Microsoft Dynamics 365. This allows you to focus on your core product while outsourcing integration efforts.
With Endgrate, you can build once for each use case and avoid the hassle of managing multiple integrations. Take advantage of an intuitive integration experience and enhance your product's capabilities effortlessly. Visit Endgrate to learn more about how it can transform your integration strategy.
Read More
- https://endgrate.com/provider/microsoftdynamics365
- https://learn.microsoft.com/en-us/power-apps/developer/data-platform/authenticate-oauth
- https://learn.microsoft.com/en-us/graph/use-the-api
- https://learn.microsoft.com/en-us/power-apps/developer/data-platform/webapi/reference/systemuser?view=dataverse-latest
Ready to get started?
