Using the Microsoft Dynamics 365 Business Central API to Create or Update Contacts (with Python examples)

Introduction to Microsoft Dynamics 365 Business Central
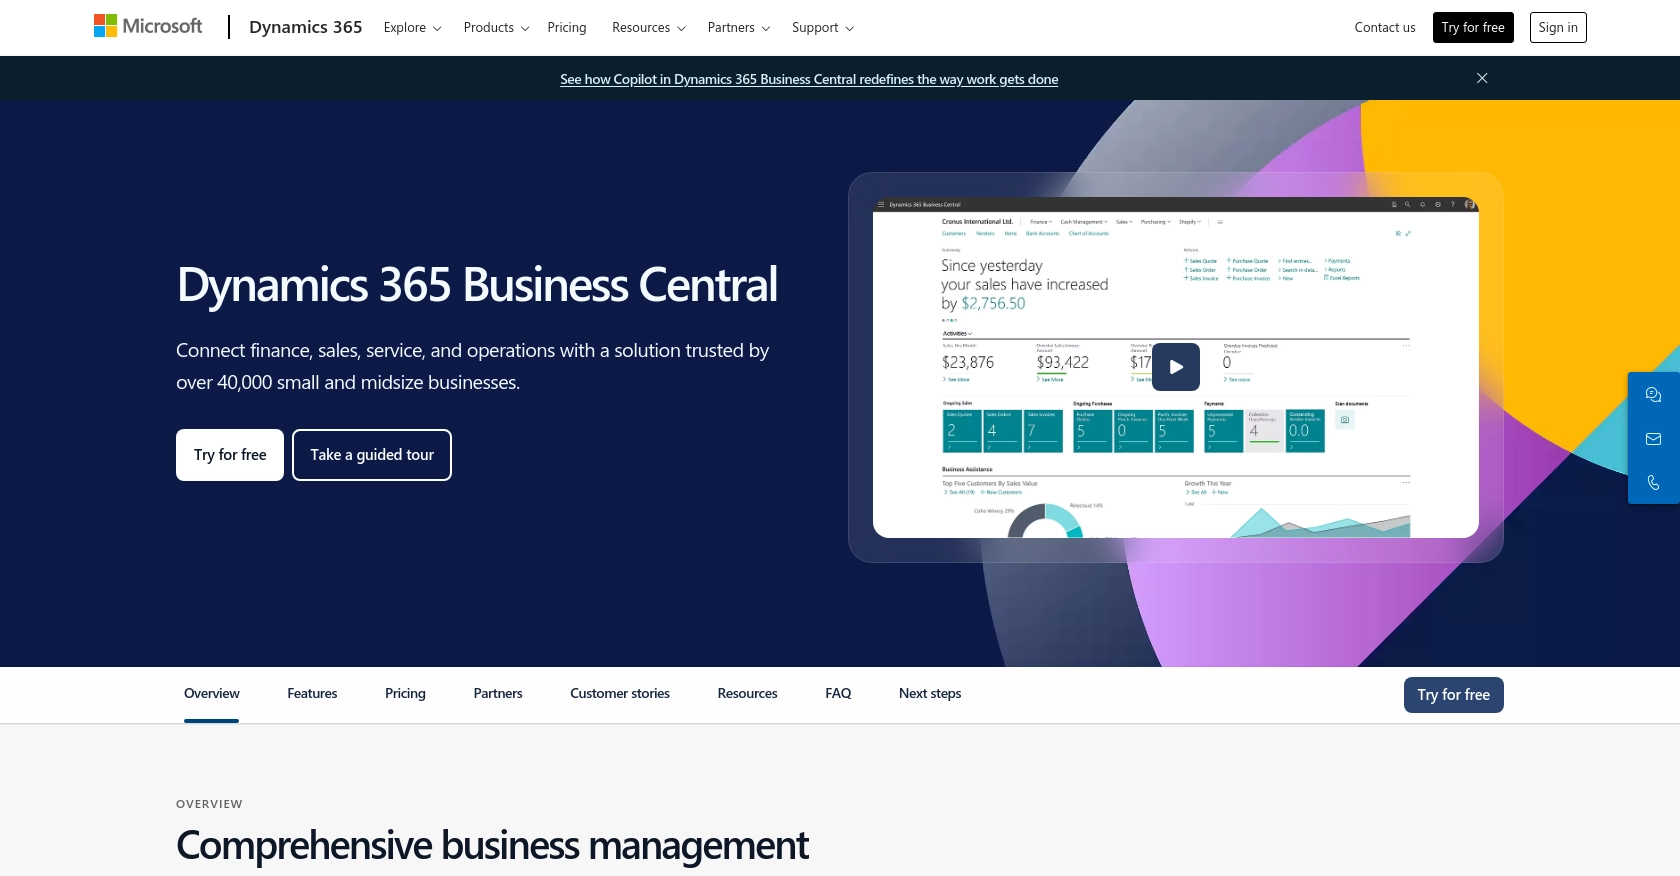
Microsoft Dynamics 365 Business Central is a comprehensive business management solution designed for small to medium-sized businesses. It integrates various business processes, including finance, sales, service, and operations, into a single platform, enabling companies to streamline their operations and make informed decisions.
Developers often seek to integrate with Microsoft Dynamics 365 Business Central to automate and enhance business workflows. By leveraging its API, developers can create or update contact information, ensuring that customer data is always current and accessible. For example, a developer might use the API to automatically update contact details from an external CRM system, ensuring seamless data synchronization across platforms.
Setting Up a Microsoft Dynamics 365 Business Central Sandbox Account
Before you can start integrating with the Microsoft Dynamics 365 Business Central API, you'll need to set up a sandbox account. This environment allows developers to test and experiment with API calls without affecting live data.
Creating a Microsoft Dynamics 365 Business Central Sandbox Account
To create a sandbox account, follow these steps:
- Visit the Microsoft Dynamics 365 Business Central website and sign up for a free trial.
- Once registered, navigate to the Business Central dashboard.
- In the dashboard, select Sandbox Environments from the settings menu.
- Click on Create Sandbox and follow the prompts to set up your sandbox environment.
Registering an App for OAuth Authentication
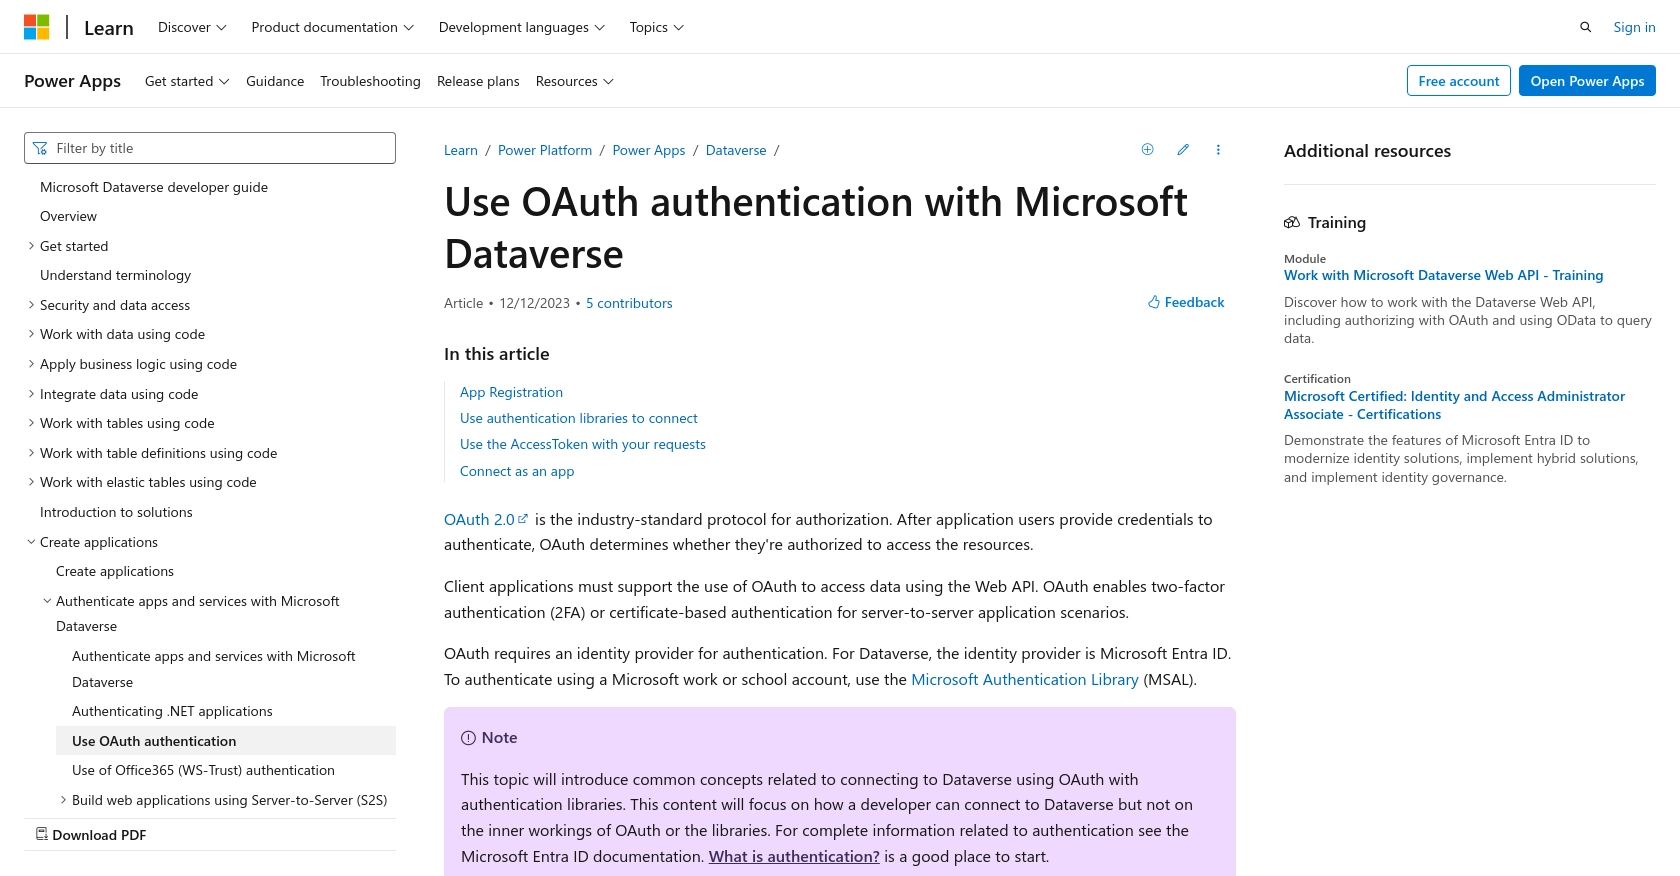
Since the Microsoft Dynamics 365 Business Central API uses OAuth for authentication, you'll need to register an application in Microsoft Entra ID. This will provide you with the necessary credentials to authenticate API requests.
- Go to the Azure Portal and sign in with your Microsoft account.
- Navigate to Azure Active Directory and select App registrations.
- Click on New registration and fill in the required details, such as the application name and redirect URI.
- Once registered, note down the Client ID and Tenant ID.
- Under Certificates & Secrets, create a new client secret and save it securely.
For detailed instructions on app registration, refer to the Microsoft OAuth authentication documentation.
Configuring API Permissions
To interact with the Business Central API, you'll need to configure the appropriate permissions for your registered app:
- In the Azure Portal, navigate to your app registration and select API permissions.
- Click on Add a permission and choose Dynamics 365 Business Central.
- Select the necessary permissions for accessing and modifying contact data.
- Grant admin consent for the permissions to ensure they are active.
With your sandbox account and app registration set up, you're ready to start making API calls to Microsoft Dynamics 365 Business Central.

sbb-itb-96038d7
Making API Calls to Microsoft Dynamics 365 Business Central Using Python
To interact with the Microsoft Dynamics 365 Business Central API, you'll need to use Python to create or update contacts. This section will guide you through the process of setting up your environment, writing the necessary code, and handling responses effectively.
Setting Up Your Python Environment
Before making API calls, ensure you have the following prerequisites installed on your machine:
- Python 3.11.1 or later
- The Python package installer, pip
Next, install the requests library, which will be used to make HTTP requests:
pip install requestsCreating or Updating Contacts with the Microsoft Dynamics 365 Business Central API
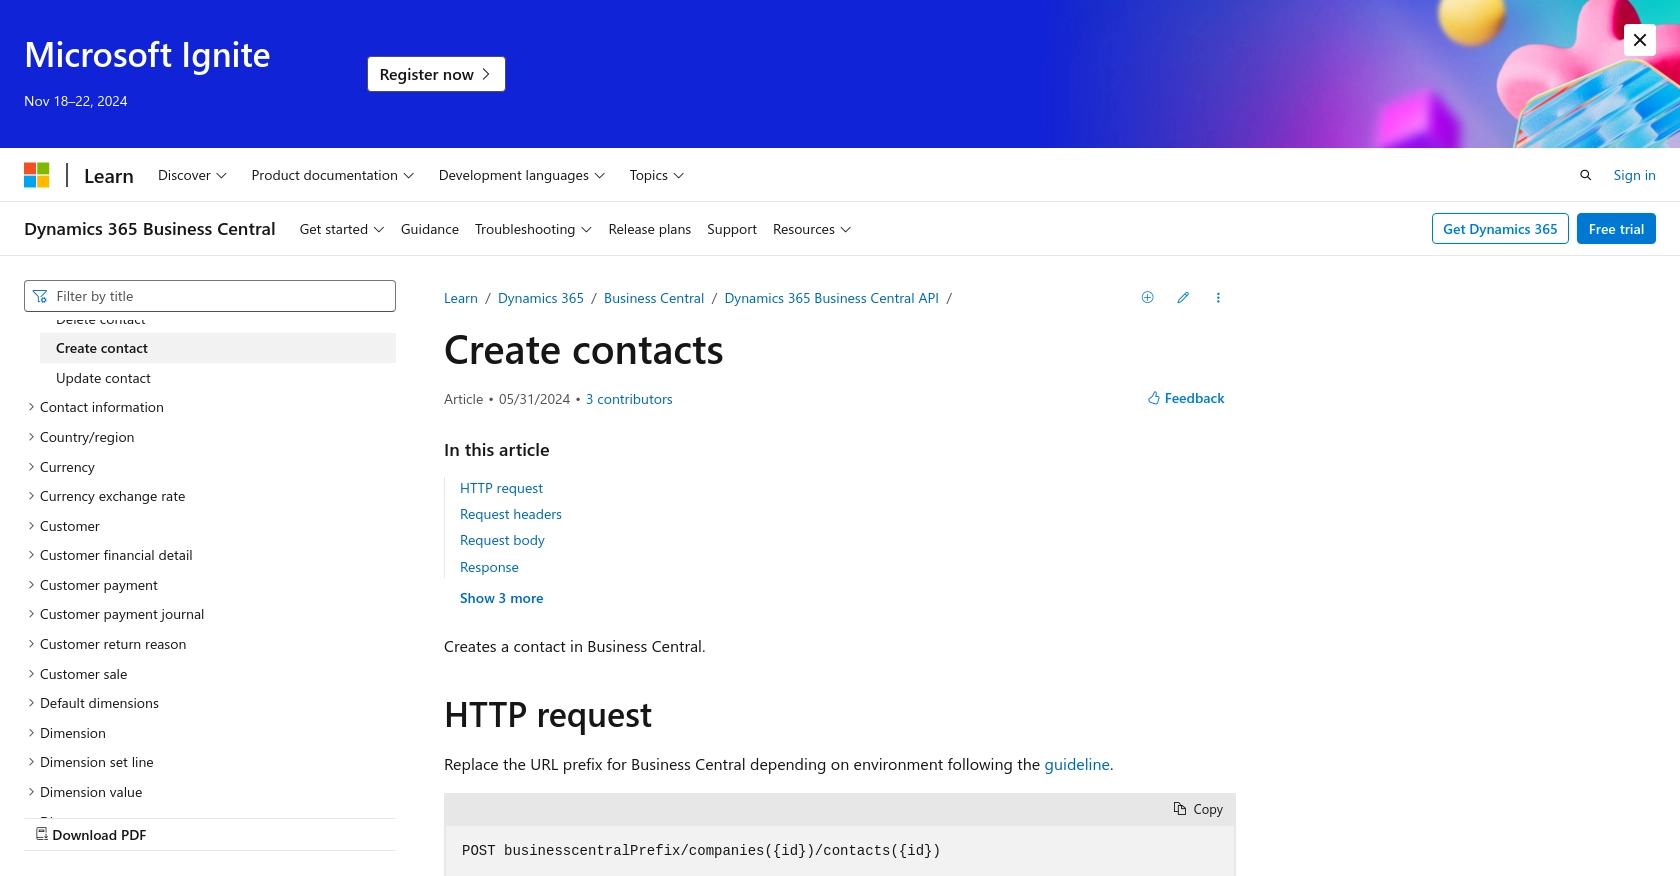
To create or update contacts, you'll need to make a POST request to the Business Central API. Below is a Python example demonstrating how to achieve this:
import requests
import json

# Set the API endpoint
url = "https://{businesscentralPrefix}/api/v2.0/companies({id})/contacts({id})"

# Set the request headers
headers = {
    "Authorization": "Bearer Your_Token",
    "Content-Type": "application/json"
}

# Define the contact information
contact_data = {
    "id": "5d115c9c-44e3-ea11-bb43-000d3a2feca1",
    "number": "108001",
    "type": "Company",
    "displayName": "CRONUS USA, Inc.",
    "companyNumber": "17806",
    "companyName": "CRONUS US",
    "businessRelation": "Vendor",
    "addressLine1": "7122 South Ashford Street",
    "city": "Atlanta",
    "state": "GA",
    "country": "US",
    "postalCode": "31772",
    "phoneNumber": "+1 425 555 0100",
    "email": "ah@contoso.com"
}

# Make the POST request
response = requests.post(url, headers=headers, data=json.dumps(contact_data))

# Check the response status
if response.status_code == 201:
    print("Contact created successfully.")
else:
    print(f"Failed to create contact: {response.status_code} - {response.text}")
Replace Your_Token with the token obtained during the OAuth authentication process. The url should be updated with your specific Business Central environment details.
Verifying API Call Success and Handling Errors
After executing the API call, verify the success by checking the response status code. A status code of 201 indicates that the contact was created successfully. If the request fails, the response will contain an error code and message, which can be used to diagnose the issue.
For more information on error codes, refer to the Microsoft Dynamics 365 Business Central API documentation.

Conclusion and Best Practices for Using Microsoft Dynamics 365 Business Central API
Integrating with the Microsoft Dynamics 365 Business Central API allows developers to streamline business processes by automating the creation and updating of contact information. By following the steps outlined in this guide, you can efficiently manage contact data and ensure seamless synchronization across platforms.
Best Practices for Secure and Efficient API Integration
- Securely Store Credentials: Always store your OAuth tokens and client secrets securely. Consider using environment variables or secure vaults to manage sensitive information.
- Handle Rate Limiting: Be mindful of API rate limits to prevent service disruptions. Implement retry logic with exponential backoff to handle rate limit errors gracefully.
- Data Standardization: Ensure that data fields are standardized and validated before making API calls to maintain data integrity across systems.
- Error Handling: Implement robust error handling to capture and log API errors. Use the error codes and messages provided in the API response to diagnose and resolve issues.
Streamlining Integrations with Endgrate
For developers looking to simplify their integration processes, Endgrate offers a unified API solution that connects to multiple platforms, including Microsoft Dynamics 365 Business Central. By leveraging Endgrate, you can save time and resources, allowing you to focus on your core product development. Build once for each use case and enjoy an intuitive integration experience for your customers.
Explore how Endgrate can enhance your integration strategy by visiting Endgrate's website.
Read More
- https://endgrate.com/provider/microsoftdynamics365businesscentral
- https://learn.microsoft.com/en-us/power-apps/developer/data-platform/authenticate-oauth
- https://learn.microsoft.com/en-us/graph/use-the-api
- https://learn.microsoft.com/en-us/dynamics365/business-central/dev-itpro/api-reference/v2.0/api/dynamics_contact_create
Ready to get started?
