Using the Nimble API to Create or Update Companies in Javascript
Introduction to Nimble CRM API
Nimble is a relationship-focused CRM platform that helps businesses manage their contacts, tasks, and deals seamlessly. With its integration capabilities, Nimble allows users to consolidate customer information from various sources, providing a comprehensive view of their interactions and relationships.
Developers might want to integrate with the Nimble API to automate and enhance their CRM processes. For example, using the Nimble API, a developer can create or update company records directly from their application, ensuring that the CRM data remains up-to-date and consistent across platforms.
This article will guide you through using JavaScript to interact with the Nimble API, focusing on creating or updating company records. By following this tutorial, you can streamline your CRM workflows and improve data accuracy within Nimble.
Setting Up Your Nimble Test Account for API Integration
Before you start integrating with the Nimble API, it's essential to set up a test account. This allows you to safely experiment with API calls without affecting your live data. Nimble offers a straightforward way to create a sandbox environment using an API key for authentication.
Creating a Nimble Account
If you don't have a Nimble account, you can sign up for a free trial on the Nimble website. This will give you access to the CRM features and the ability to generate an API key.
- Visit the Nimble website and click on "Sign Up".
- Follow the instructions to create your account.
- Once your account is set up, log in to access the dashboard.
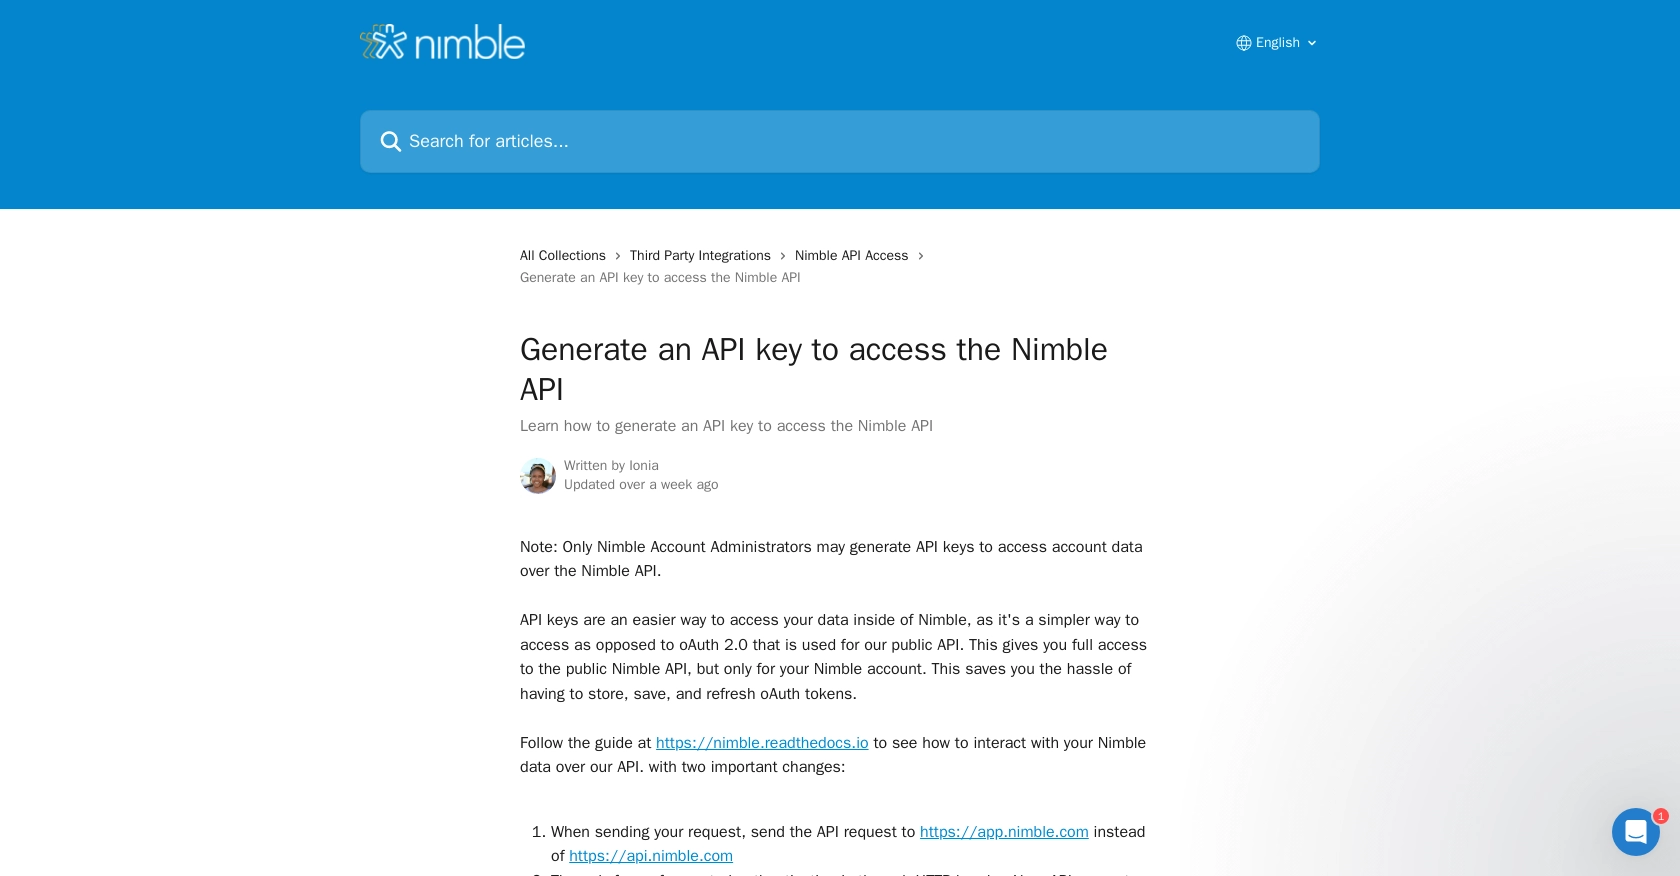
Generating an API Key for Nimble API Access
To interact with the Nimble API, you'll need an API key. This key will authenticate your requests and allow you to access your account data programmatically.
- Navigate to the "Settings" section in your Nimble dashboard.
- Click on "API Token" to access the API settings.
- Select "Generate New Token" and provide a description for your token.
- Click "Generate" to create your API key.
- Copy the generated API key and store it securely, as you'll need it for API requests.
Note: Only Nimble Account Administrators can generate API keys. Ensure you have the necessary permissions or contact your account admin for assistance.
Configuring API Key Authentication in JavaScript
With your API key ready, you can now configure your JavaScript application to authenticate API requests. Nimble requires the API key to be included in the HTTP header of each request.
// Example of setting up the API key in a JavaScript request
const apiKey = 'YOUR_API_KEY';
const headers = {
    'Authorization': `Bearer ${apiKey}`
};

// Example API request to Nimble
fetch('https://app.nimble.com/api/v1/companies', {
    method: 'GET',
    headers: headers
})
.then(response => response.json())
.then(data => console.log(data))
.catch(error => console.error('Error:', error));
Replace YOUR_API_KEY with the API key you generated. This setup will allow you to make authenticated requests to the Nimble API.
For more detailed information on generating an API key, refer to the Nimble API documentation.
sbb-itb-96038d7
Making API Calls to Nimble for Creating or Updating Companies Using JavaScript
To effectively interact with the Nimble API for creating or updating company records, you'll need to set up your JavaScript environment correctly. This section will guide you through the necessary steps, including setting up your environment, writing the code to make API calls, and handling responses and errors.
Setting Up Your JavaScript Environment for Nimble API Integration
Before you begin, ensure you have a modern JavaScript environment set up. You can use Node.js or any browser-based JavaScript environment. Make sure to have the fetch API available, which is standard in most environments for making HTTP requests.
Installing Necessary Dependencies for Nimble API Calls
While the fetch API is built-in, you might want to use additional libraries for handling HTTP requests more efficiently. Consider using Axios for a more robust solution.
// Install Axios using npm
// npm install axios
Writing JavaScript Code to Create or Update Companies in Nimble
Below is an example of how to create or update a company record using the Nimble API. This example uses the fetch API, but you can adapt it to use Axios if preferred.
// Define the API endpoint and headers
const apiUrl = 'https://app.nimble.com/api/v1/companies';
const apiKey = 'YOUR_API_KEY';
const headers = {
    'Authorization': `Bearer ${apiKey}`,
    'Content-Type': 'application/json'
};

// Define the company data to be created or updated
const companyData = {
    fields: {
        'company name': [{ value: 'New Company Inc.' }],
        'description': [{ value: 'A new company description' }]
    }
};

// Make a POST request to create or update the company
fetch(apiUrl, {
    method: 'POST',
    headers: headers,
    body: JSON.stringify(companyData)
})
.then(response => response.json())
.then(data => {
    if (data.errors) {
        console.error('Error:', data.errors);
    } else {
        console.log('Company created/updated successfully:', data);
    }
})
.catch(error => console.error('Error:', error));
Replace YOUR_API_KEY with your actual API key. This code snippet sends a POST request to the Nimble API to create or update a company record. Ensure the fields you include match those required by Nimble.
Handling API Responses and Errors in Nimble Integration
When making API calls, it's crucial to handle responses and errors effectively. The Nimble API returns JSON responses, which you can parse and use to verify the success of your requests.
- Check for HTTP status codes to determine if the request was successful.
- Handle validation errors by inspecting the
errorsfield in the response. - Log any unexpected errors to help with debugging and improving your integration.
For more detailed information on handling errors, refer to the Nimble API documentation.
Conclusion and Best Practices for Nimble API Integration Using JavaScript
Integrating with the Nimble API using JavaScript can significantly enhance your CRM workflows by automating the creation and updating of company records. By following the steps outlined in this guide, you can ensure that your CRM data remains consistent and up-to-date across platforms.
Best Practices for Secure and Efficient Nimble API Integration
- Secure API Key Storage: Always store your API keys securely. Avoid hardcoding them in your source code. Use environment variables or secure vaults to manage sensitive information.
- Handle Rate Limiting: Be mindful of Nimble's API rate limits to avoid throttling. Implement exponential backoff strategies to handle retries gracefully.
- Data Standardization: Ensure that data fields are standardized before sending them to Nimble. This helps maintain data consistency and reduces errors.
- Error Handling: Implement robust error handling to manage API response errors effectively. Log errors for debugging and continuously improve your integration.
Streamlining CRM Integrations with Endgrate
While integrating with the Nimble API can be straightforward, managing multiple integrations can become complex. Endgrate offers a unified API solution that simplifies integration processes across various platforms, including Nimble. By using Endgrate, you can:
- Save time and resources by outsourcing integration management.
- Build once for each use case instead of multiple times for different integrations.
- Provide an intuitive integration experience for your customers.
Explore how Endgrate can streamline your CRM integrations by visiting Endgrate.
Read More

Ready to get started?
