Using the Notion API to Get Records (with Javascript examples)
Introduction to Notion API Integration
Notion is a versatile productivity tool that combines notes, tasks, databases, and wikis into a single platform. Its flexibility and customization options make it a popular choice for teams looking to streamline their workflows and manage projects efficiently.
Developers can leverage the Notion API to integrate Notion's powerful features into their applications, enabling seamless data management and automation. For example, you might use the Notion API to retrieve records from a Notion database and display them in a custom dashboard, enhancing visibility and collaboration within your team.
Setting Up Your Notion API Test or Sandbox Account
Before you can start integrating with the Notion API, you'll need to set up a test or sandbox account. This involves creating an integration within Notion and obtaining the necessary credentials to authenticate your API requests.
Creating a Notion Integration for API Access
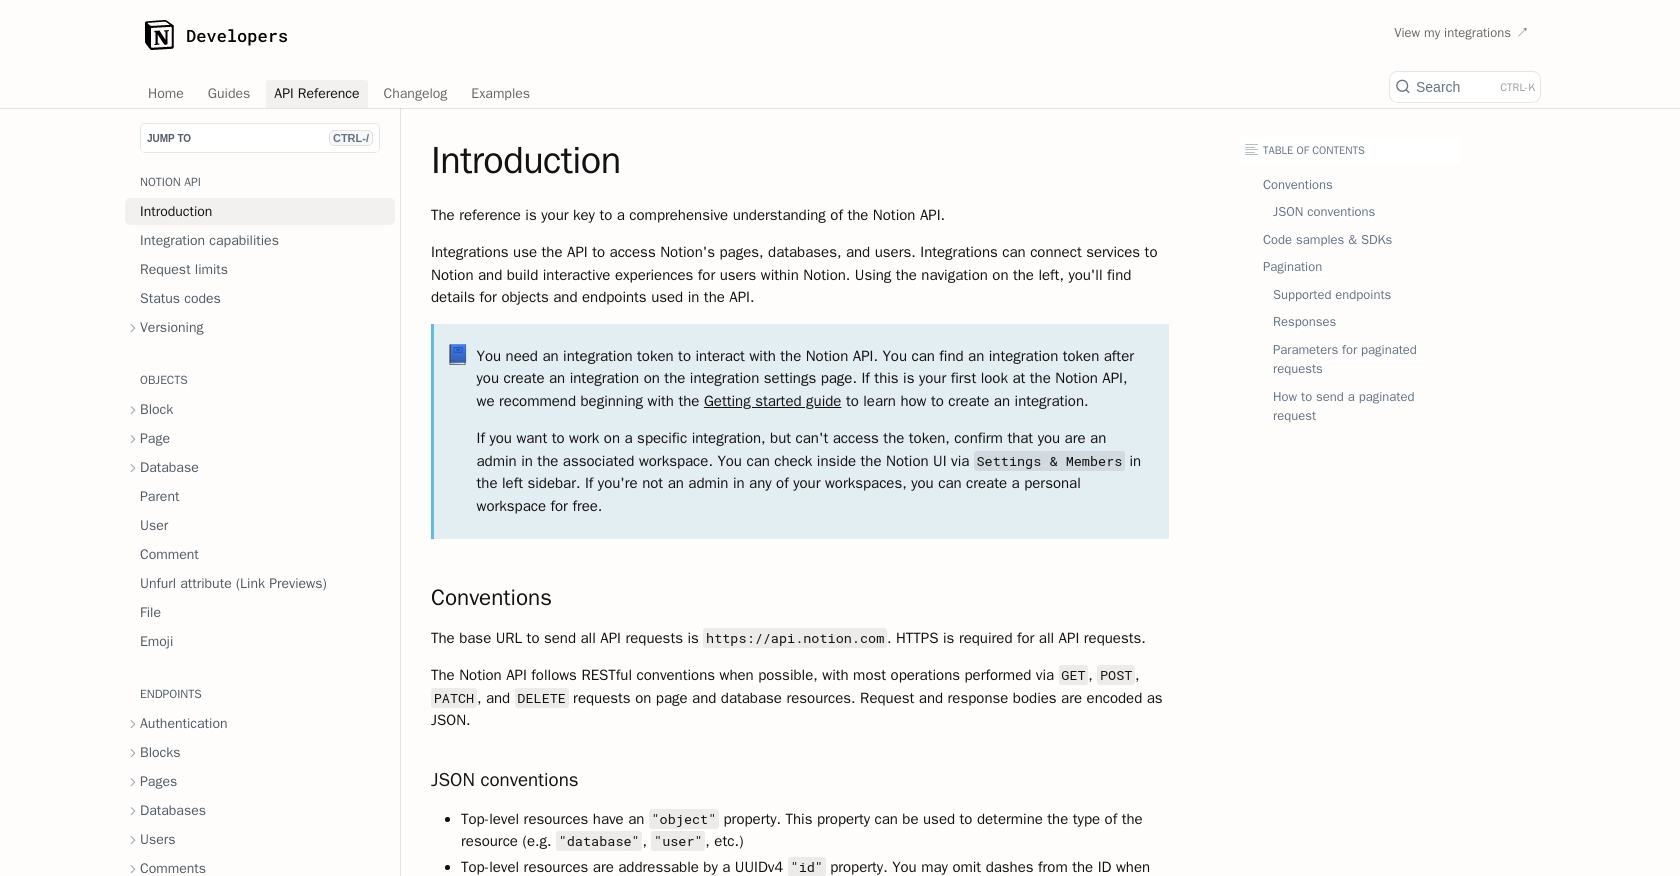
To interact with the Notion API, you must first create an integration. Follow these steps to set up your integration:
- Log in to your Notion account. If you don't have one, you can sign up for free on the Notion website.
- Navigate to the My Integrations page from the Notion developer portal.
- Click on New Integration to start the process.
- Fill out the required fields, including your integration's name, and select the workspace you want to connect.
- Once created, you'll receive an integration token. Keep this token secure as it will be used to authenticate your API requests.
Configuring OAuth for Notion API Authentication
The Notion API uses OAuth 2.0 for authentication. Here's how to set it up:
- In your integration settings, locate the OAuth Client ID and Client Secret.
- Set up your redirect URI, which is the URL users will be redirected to after authorizing your integration.
- Use the authorization URL to direct users to Notion's authorization page, where they can grant access to your integration.
- Once authorized, Notion will redirect users to your specified URI with an authorization code.
- Exchange this code for an access token by making a POST request to the token endpoint.
Generating and Securing Your Notion API Integration Token
After setting up OAuth, you'll need to securely store your integration token:
- Use environment variables to store your token securely, avoiding hardcoding it into your source code.
- Consider using a secret management tool to manage and access your tokens safely.
With your Notion integration and authentication configured, you're ready to start making API calls to retrieve and manage records within your Notion workspace.
sbb-itb-96038d7
Making API Calls to Retrieve Records from Notion Using JavaScript
To interact with the Notion API and retrieve records, you'll need to use JavaScript to make HTTP requests. This section will guide you through the process of setting up your environment, writing the code, and handling responses effectively.
Setting Up Your JavaScript Environment for Notion API Integration
Before making API calls, ensure your development environment is ready:
- Install Node.js and npm if you haven't already. You can download them from the official Node.js website.
- Create a new project directory and navigate to it in your terminal.
- Initialize a new Node.js project by running
npm init -y. - Install the Notion SDK by running
npm install @notionhq/client.
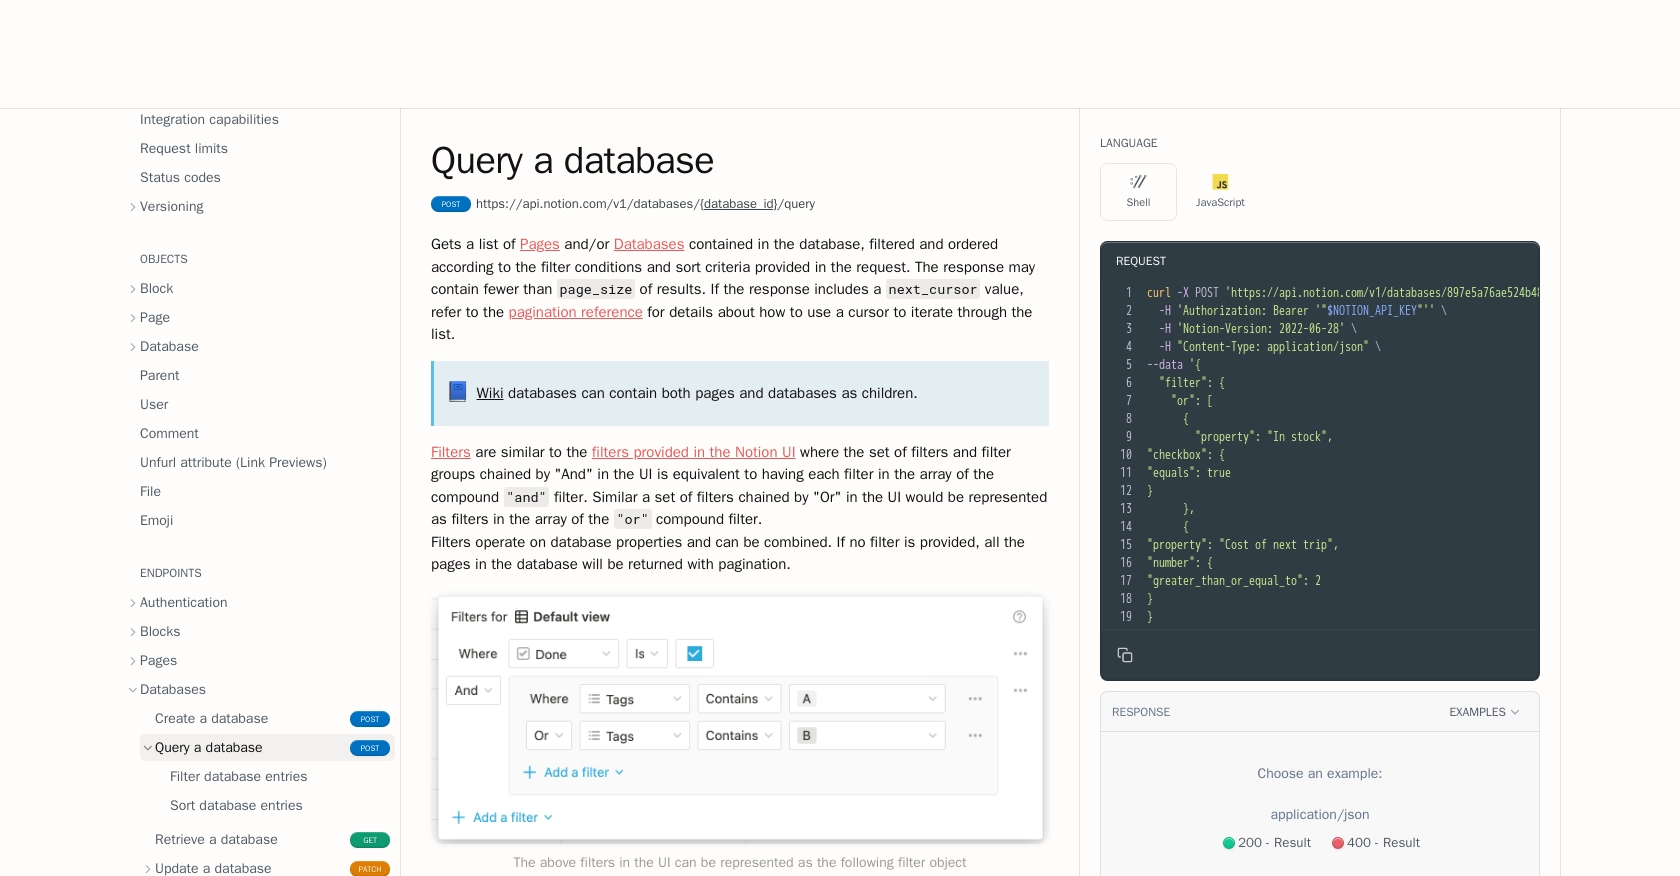
Writing JavaScript Code to Query Notion Databases
With your environment set up, you can now write the code to query a Notion database:
const { Client } = require('@notionhq/client');

// Initialize the Notion client
const notion = new Client({ auth: process.env.NOTION_TOKEN });

// Function to query a database
async function queryDatabase(databaseId) {
    try {
        const response = await notion.databases.query({
            database_id: databaseId,
        });
        console.log(response.results);
    } catch (error) {
        console.error('Error querying database:', error);
    }
}

// Replace with your actual database ID
const databaseId = 'your-database-id';
queryDatabase(databaseId);
In this code, we initialize the Notion client using the integration token stored in an environment variable. We then define a function to query a database by its ID and log the results to the console.
Handling API Responses and Errors from Notion
When making API calls, it's crucial to handle responses and potential errors:
- Check the response status code to ensure the request was successful. A status code of 200 indicates success.
- Handle errors using try-catch blocks to catch exceptions and log error messages for debugging.
- Refer to the Notion API status codes documentation for detailed information on error codes and their meanings.
Verifying Successful API Calls in Your Notion Workspace
After running your code, verify that the API call succeeded by checking the records in your Notion workspace. The retrieved data should match the records in the specified database.
By following these steps, you can efficiently retrieve records from Notion databases using JavaScript, enabling seamless integration and data management within your applications.
Conclusion and Best Practices for Using Notion API with JavaScript
Integrating with the Notion API using JavaScript opens up a world of possibilities for enhancing productivity and collaboration within your team. By following the steps outlined in this guide, you can efficiently retrieve and manage records from Notion databases, allowing for seamless data integration and automation.
Best Practices for Secure and Efficient Notion API Integration
- Secure Token Management: Always store your integration tokens securely using environment variables or secret management tools to prevent unauthorized access.
- Handle Rate Limits: Be mindful of Notion's rate limits, which allow an average of three requests per second. Implement error handling for HTTP 429 responses and use the Retry-After header to manage request pacing. For more details, refer to the Notion API request limits documentation.
- Data Standardization: Ensure that data retrieved from Notion is standardized and transformed as needed to fit your application's requirements.
- Error Handling: Implement comprehensive error handling by checking response status codes and logging errors for debugging. Refer to the Notion API status codes documentation for guidance on handling specific error codes.
Enhance Your Integration Experience with Endgrate
While building custom integrations with the Notion API can be rewarding, it can also be time-consuming and complex. Consider leveraging Endgrate to streamline your integration process. With Endgrate, you can:
- Save time and resources by outsourcing integrations and focusing on your core product development.
- Build once for each use case instead of multiple times for different integrations.
- Provide an easy, intuitive integration experience for your customers.
Explore how Endgrate can simplify your integration needs by visiting Endgrate's website.
Read More
- https://endgrate.com/provider/Notion
- https://developers.notion.com/reference/intro
- https://developers.notion.com/docs/getting-started
- https://developers.notion.com/docs/authorization
- https://developers.notion.com/reference/request-limits
- https://developers.notion.com/reference/status-codes
- https://developers.notion.com/reference/post-database-query
- https://developers.notion.com/reference/post-search

Ready to get started?
