Using the Outlook API to Get Messages in Python

Introduction to Outlook API Integration
Outlook, part of the Microsoft 365 suite, is a widely used email and calendar service that helps businesses and individuals manage their communications and schedules effectively. With its robust features and seamless integration with other Microsoft services, Outlook is a preferred choice for many organizations.
Developers often seek to integrate with the Outlook API to access and manage email data programmatically. This can be particularly useful for automating tasks such as retrieving messages, organizing emails, or integrating with other applications to enhance productivity. For example, a developer might use the Outlook API to fetch unread messages and trigger notifications in a custom dashboard, streamlining communication workflows.
Setting Up Your Outlook API Test Account
Before you can start integrating with the Outlook API, you'll need to set up a test environment. This involves creating a Microsoft account and registering an application in the Microsoft Entra admin center. This setup allows you to access the Outlook API using OAuth 2.0 authentication.
Create a Microsoft Account
If you don't already have a Microsoft account, you can create one for free. Visit the Microsoft account sign-up page and follow the instructions to create your account. This account will be used to access the Microsoft Entra admin center and register your application.
Register Your Application in Microsoft Entra
To interact with the Outlook API, you must register your application with the Microsoft identity platform. This process will provide you with the necessary credentials, such as the client ID and client secret, to authenticate your API requests.
- Sign in to the Microsoft Entra admin center using your Microsoft account.
- Navigate to Identity > Applications > App registrations and click on New registration.
- Enter a name for your application and select the appropriate account type. For most scenarios, choose Accounts in any organizational directory and personal Microsoft accounts.
- Click Register to complete the registration process.
Configure Authentication for Your Outlook API App
After registering your application, you need to configure its authentication settings to enable OAuth 2.0.
- In the app registration overview, select Authentication from the left-hand menu.
- Under Platform configurations, click Add a platform and choose Web.
- Enter a Redirect URI. This is the URL where users will be redirected after they authenticate. For testing, you can use
http://localhost. - Ensure that Access tokens and ID tokens are checked under Implicit grant and hybrid flows.
- Click Configure to save your settings.
Generate Client Secret for Outlook API Access
To securely authenticate your application, generate a client secret.
- In the app registration, navigate to Certificates & secrets.
- Under Client secrets, click New client secret.
- Add a description and set an expiration period for the secret.
- Click Add and copy the client secret value. Store it securely, as it will not be shown again.
With your Microsoft account, registered application, and generated client secret, you're now ready to authenticate and make API calls to the Outlook API. This setup ensures secure access to Outlook data, allowing you to integrate and automate email management tasks efficiently.

sbb-itb-96038d7
Making API Calls to Retrieve Outlook Messages Using Python
To interact with the Outlook API and retrieve messages, you'll need to use Python, a versatile and widely-used programming language. This section will guide you through setting up your Python environment, installing necessary dependencies, and executing the API call to fetch messages from Outlook.
Setting Up Your Python Environment for Outlook API Integration
Before making API calls, ensure you have Python installed on your machine. This tutorial uses Python 3.11.1. You will also need the requests library to handle HTTP requests.
- Verify your Python installation by running the following command in your terminal or command prompt:
python --version
- Install the
requestslibrary using pip:pip install requests
Executing the API Call to Get Outlook Messages
With your environment set up, you can now write a Python script to call the Outlook API and retrieve messages. The following example demonstrates how to use the requests library to make this call.
import requests

# Set the API endpoint and headers
endpoint = "https://graph.microsoft.com/v1.0/me/messages"
headers = {
    "Authorization": "Bearer Your_Access_Token",
    "Content-Type": "application/json"
}

# Make a GET request to the API
response = requests.get(endpoint, headers=headers)

# Check if the request was successful
if response.status_code == 200:
    messages = response.json()
    for message in messages['value']:
        print(f"Subject: {message['subject']}, From: {message['sender']['emailAddress']['name']}")
else:
    print(f"Failed to retrieve messages: {response.status_code}")
Replace Your_Access_Token with the access token obtained during the authentication process. This token authorizes your application to access Outlook data on behalf of the user.
Verifying Successful API Requests and Handling Errors
After running the script, you should see a list of email subjects and senders printed to the console. This indicates a successful API call. If the request fails, the script will print an error message with the HTTP status code.
Common HTTP status codes include:
- 200 OK: The request was successful.
- 401 Unauthorized: The access token is missing or invalid.
- 403 Forbidden: The application does not have permission to access the resource.
- 404 Not Found: The requested resource does not exist.
For more detailed error handling, refer to the Microsoft Graph API documentation.

Conclusion and Best Practices for Using the Outlook API in Python
Integrating with the Outlook API using Python offers developers a powerful way to automate and enhance email management tasks. By following the steps outlined in this guide, you can efficiently retrieve messages and integrate them into your applications, streamlining workflows and improving productivity.
Best Practices for Secure and Efficient Outlook API Integration
- Securely Store Credentials: Always store your client ID, client secret, and access tokens securely. Consider using environment variables or secure vaults to protect sensitive information.
- Handle Rate Limiting: Be mindful of the API rate limits to avoid throttling. Implement exponential backoff strategies to handle rate limit responses gracefully. For more information, refer to the Microsoft Graph API throttling documentation.
- Optimize Data Retrieval: Use query parameters like
$selectand$topto limit the data returned by the API, improving response times and reducing bandwidth usage. - Implement Error Handling: Ensure robust error handling by checking for common HTTP status codes and implementing retry logic where appropriate.
- Regularly Refresh Tokens: Access tokens are short-lived. Use refresh tokens to obtain new access tokens without user intervention, ensuring uninterrupted access to the API.
Enhance Your Integration Capabilities with Endgrate
While integrating with the Outlook API can significantly enhance your application's functionality, managing multiple integrations can be complex and time-consuming. Endgrate simplifies this process by providing a unified API endpoint that connects to multiple platforms, including Outlook. This allows you to focus on your core product while outsourcing the intricacies of integration management.
Explore how Endgrate can streamline your integration efforts, saving you time and resources. Visit Endgrate to learn more about how you can build once for each use case and deliver an intuitive integration experience for your customers.
Read More
- https://endgrate.com/provider/outlook
- https://docs.microsoft.com/en-us/graph/overview
- https://learn.microsoft.com/en-us/graph/auth/auth-concepts
- https://learn.microsoft.com/en-us/graph/auth-register-app-v2
- https://learn.microsoft.com/en-us/graph/auth-v2-user?tabs=http
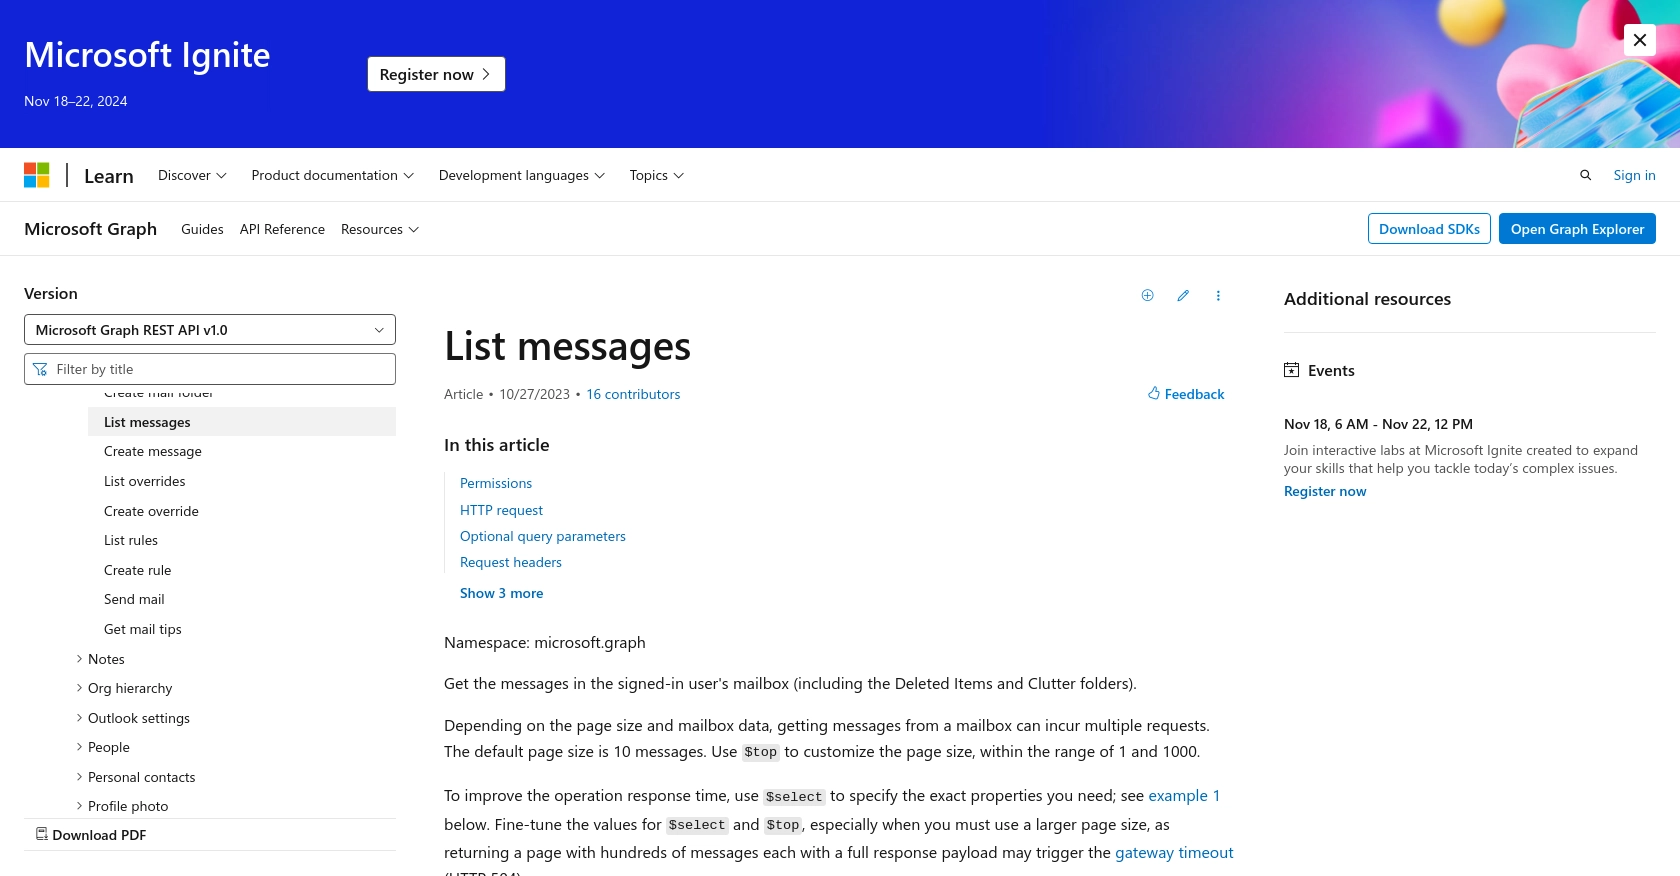
- https://learn.microsoft.com/en-us/graph/api/user-list-messages?view=graph-rest-1.0&tabs=http
Ready to get started?
