Using the Outreach API to Get Prospects in Javascript
Introduction to Outreach API for Prospect Management
Outreach is a powerful sales engagement platform designed to enhance the productivity and efficiency of sales teams. It offers a suite of tools that streamline communication, automate repetitive tasks, and provide valuable insights into customer interactions.
Developers may want to integrate with the Outreach API to access and manage prospect data, enabling more personalized and automated sales processes. For example, by using the Outreach API, a developer can retrieve a list of prospects and their details to tailor communication strategies and improve engagement rates.
This article will guide you through using JavaScript to interact with the Outreach API, specifically focusing on retrieving prospect information. This integration can significantly enhance your sales operations by providing real-time access to critical prospect data.
Setting Up Your Outreach Test or Sandbox Account
Before you can start integrating with the Outreach API, you'll need to set up a test or sandbox account. This will allow you to safely experiment with API calls without affecting live data. Outreach provides a development environment where you can create and manage your applications.
Creating an Outreach Developer Account
If you don't already have an Outreach account, you can sign up for a free trial or a developer account on the Outreach website. This will give you access to the necessary tools and resources to start building your integration.
- Visit the Outreach Developer Portal.
- Follow the instructions to create your account and log in.
Setting Up OAuth for Outreach API Access
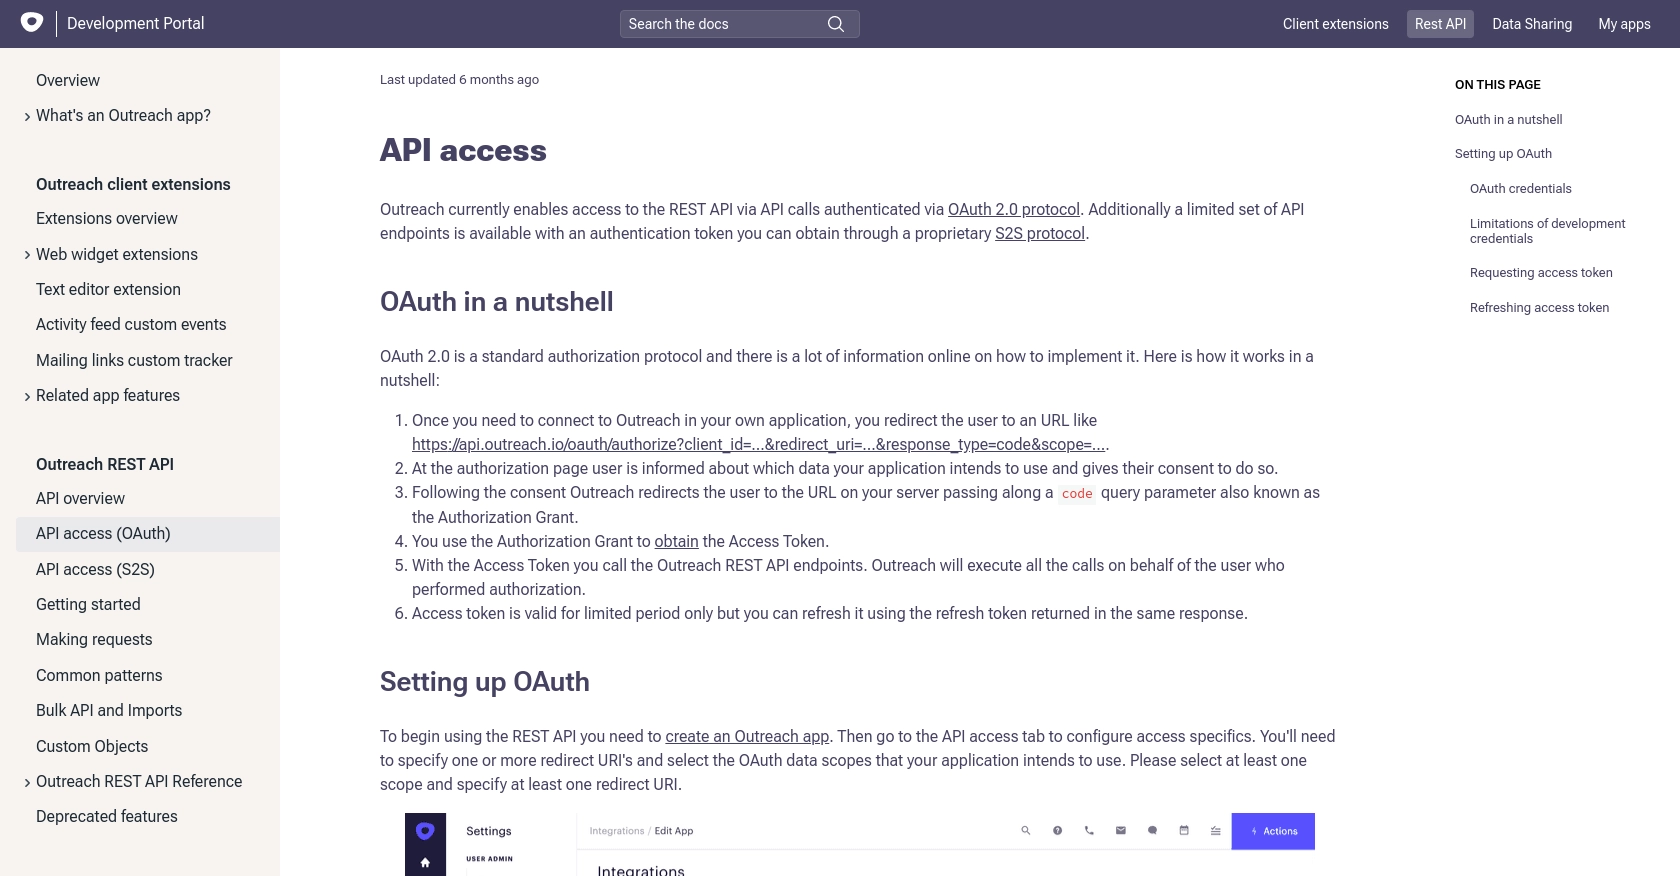
The Outreach API uses OAuth 2.0 for authentication. To interact with the API, you'll need to create an Outreach app and configure OAuth credentials. Here's how to set it up:
- Navigate to the "My Apps" section in the Outreach Developer Portal.
- Click on "Create App" to start a new application.
- Fill in the required details, such as the app name and description.
- Under the "API Access" tab, configure your OAuth settings:
- Specify one or more redirect URIs.
- Select the OAuth scopes your application will require, such as
prospects.readfor reading prospect data. - Save your settings to generate your OAuth credentials, including the client ID and client secret.
Note: Your OAuth client secret will only be displayed once, so make sure to store it securely.
Obtaining Access Tokens for API Requests
Once your app is set up, you'll need to obtain an access token to authenticate your API requests. Follow these steps:
- Redirect users to the Outreach authorization URL:
- After the user authorizes the app, they'll be redirected to your specified URI with an authorization code.
- Exchange the authorization code for an access token by making a POST request:
- Store the access token securely for use in your API calls.
https://api.outreach.io/oauth/authorize?client_id=YOUR_CLIENT_ID&redirect_uri=YOUR_REDIRECT_URI&response_type=code&scope=prospects.readcurl https://api.outreach.io/oauth/token \
-X POST \
-d client_id=YOUR_CLIENT_ID \
-d client_secret=YOUR_CLIENT_SECRET \
-d redirect_uri=YOUR_REDIRECT_URI \
-d grant_type=authorization_code \
-d code=AUTHORIZATION_CODEFor more details on OAuth setup, refer to the Outreach OAuth Documentation.
sbb-itb-96038d7
Making API Calls to Retrieve Prospects Using JavaScript and Outreach API
To interact with the Outreach API and retrieve prospect data using JavaScript, you'll need to ensure your environment is set up correctly. This section will guide you through the necessary steps, including setting up your JavaScript environment, installing dependencies, and executing API calls to fetch prospect information.
Setting Up Your JavaScript Environment for Outreach API Integration
Before making API calls, ensure you have Node.js installed on your machine. Node.js provides the runtime environment needed to execute JavaScript code outside a browser. You can download and install Node.js from the official Node.js website.
Once Node.js is installed, you can use npm (Node Package Manager) to install the required dependencies. For this tutorial, we'll use the axios library to make HTTP requests. Run the following command in your terminal:
npm install axiosExecuting API Calls to Fetch Prospects from Outreach
With your environment set up, you can now write a script to retrieve prospects from the Outreach API. Create a new JavaScript file named getProspects.js and add the following code:
const axios = require('axios');

// Set the API endpoint and headers
const endpoint = 'https://api.outreach.io/api/v2/prospects';
const headers = {
  'Authorization': 'Bearer YOUR_ACCESS_TOKEN',
  'Content-Type': 'application/vnd.api+json'
};

// Function to fetch prospects
async function fetchProspects() {
  try {
    const response = await axios.get(endpoint, { headers });
    const prospects = response.data.data;
    prospects.forEach(prospect => {
      console.log(`Name: ${prospect.attributes.firstName} ${prospect.attributes.lastName}`);
    });
  } catch (error) {
    console.error('Error fetching prospects:', error.response ? error.response.data : error.message);
  }
}

// Execute the function
fetchProspects();
Replace YOUR_ACCESS_TOKEN with the access token you obtained during the OAuth setup. This script uses axios to send a GET request to the Outreach API endpoint for prospects. It then logs the first and last names of each prospect to the console.
Verifying Successful API Requests and Handling Errors
After running the script, you should see a list of prospect names printed in your terminal. This indicates that the API call was successful. If you encounter any errors, ensure that your access token is valid and that your OAuth scopes include prospects.read.
Common error codes you might encounter include:
- 401 Unauthorized: Check if your access token is correct and not expired.
- 403 Forbidden: Ensure your OAuth scopes are correctly set.
- 429 Too Many Requests: You have exceeded the rate limit of 10,000 requests per hour. Wait for the limit to reset before making more requests.
For more details on error handling, refer to the Outreach API Documentation.

Conclusion and Best Practices for Using Outreach API with JavaScript
Integrating with the Outreach API using JavaScript can significantly enhance your sales operations by providing real-time access to prospect data. By following the steps outlined in this guide, you can efficiently set up your environment, authenticate using OAuth, and retrieve valuable prospect information.
Best Practices for Secure and Efficient API Integration
- Securely Store Credentials: Always store your OAuth client ID, client secret, and access tokens securely. Consider using environment variables or a secure vault to manage sensitive information.
- Handle Rate Limiting: Be mindful of the Outreach API's rate limit of 10,000 requests per hour. Implement logic to handle
429 Too Many Requestserrors and retry requests after the rate limit resets. - Refresh Tokens: Use the refresh token to obtain a new access token before the current one expires. This ensures uninterrupted access to the API.
- Optimize Data Handling: Use sparse fieldsets to retrieve only the necessary data, reducing payload size and improving performance.
Enhance Your Integration Strategy with Endgrate
While integrating with the Outreach API can provide powerful capabilities, managing multiple integrations can be complex and time-consuming. Endgrate offers a streamlined solution by providing a unified API endpoint that connects to multiple platforms, including Outreach.
With Endgrate, you can:
- Save time and resources by outsourcing integrations and focusing on your core product.
- Build once for each use case instead of multiple times for different integrations.
- Provide an easy, intuitive integration experience for your customers.
Explore how Endgrate can simplify your integration strategy by visiting Endgrate.
Read More

Ready to get started?
