How to Create or Update Customers with the Chargebee API in PHP

Introduction to Chargebee API for Customer Management
Chargebee is a robust subscription management platform that simplifies billing, invoicing, and revenue operations for businesses. It offers a comprehensive API that allows developers to seamlessly integrate Chargebee's functionalities into their applications, enhancing the automation of subscription and billing processes.
By integrating with Chargebee's API, developers can efficiently manage customer data, including creating and updating customer profiles. This integration is particularly beneficial for businesses looking to streamline their customer management workflows, such as automatically updating customer information from a CRM system to Chargebee.
In this article, we will explore how to use PHP to interact with the Chargebee API for creating or updating customer records. This guide will provide step-by-step instructions and code examples to help developers effectively leverage Chargebee's API capabilities.
Setting Up Your Chargebee Test/Sandbox Account
Before you can start integrating with the Chargebee API, it's essential to set up a test or sandbox account. This environment allows you to safely test API calls without affecting your live data.
Creating a Chargebee Test Account
To begin, you'll need to create a Chargebee test account:
- Visit the Chargebee signup page and register for a free trial account.
- Follow the instructions to complete the registration process. Once registered, you'll have access to the Chargebee dashboard.
Obtaining Your Chargebee API Key
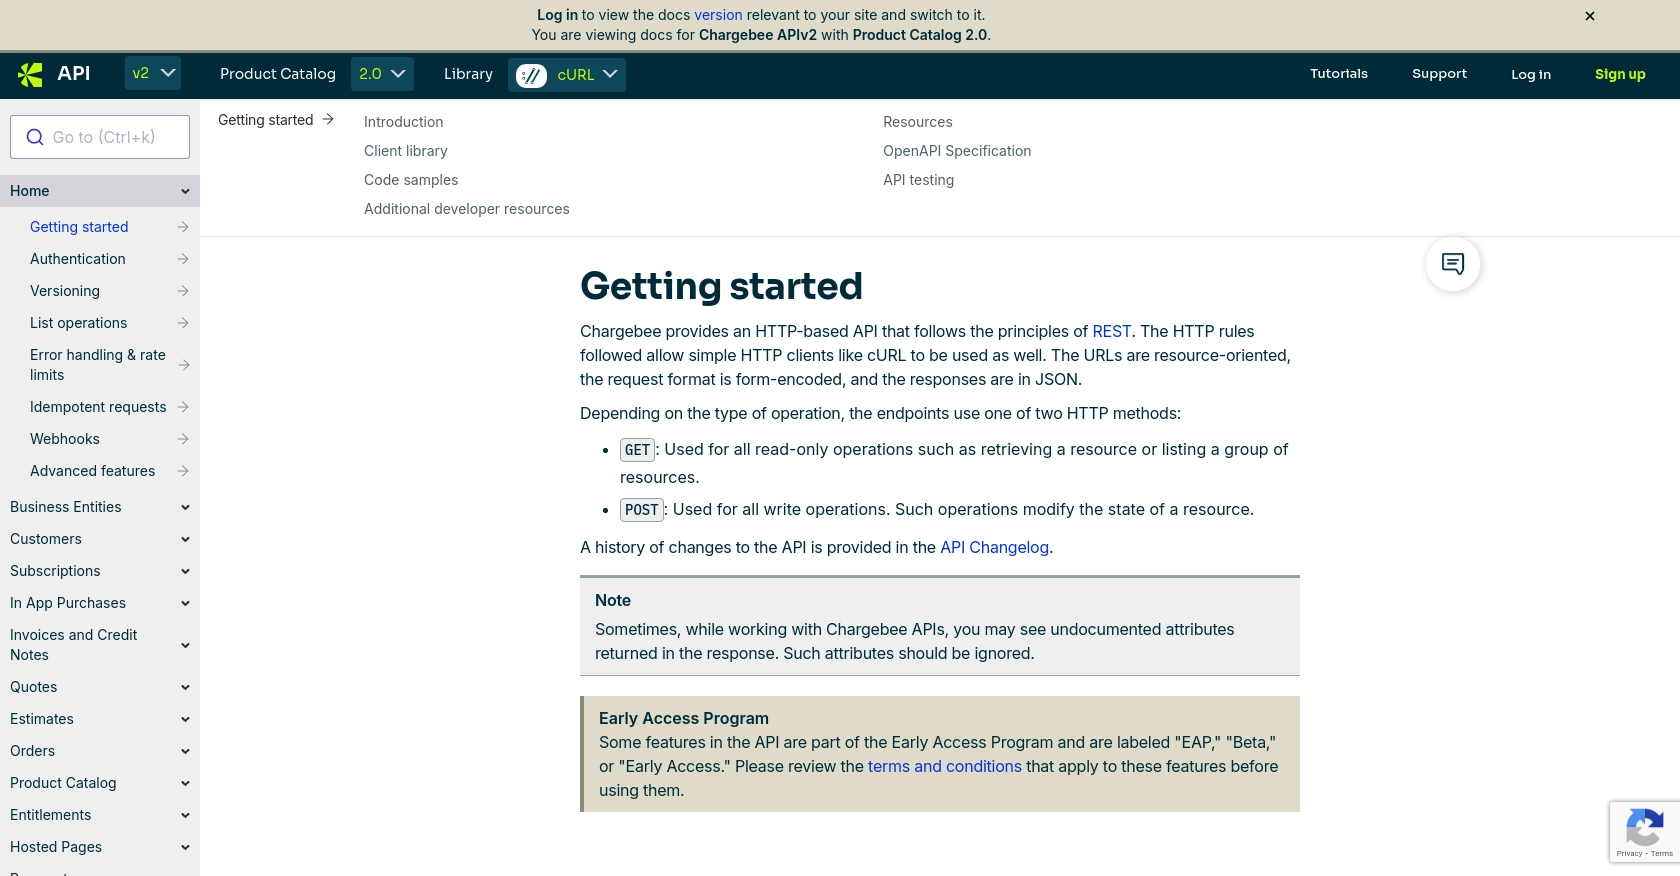
Chargebee uses HTTP Basic authentication for API calls, where the username is your API key, and the password is left empty. Here's how to obtain your API key:
- Log in to your Chargebee account and navigate to the "Settings" section.
- Under "API & Webhooks," select "API Keys."
- Click on "Create a Key" to generate a new API key for your test site.
- Copy the API key and store it securely, as it will be used for authenticating your API requests.
Configuring Your Chargebee Sandbox Environment
Once your test account is set up, you can configure the sandbox environment to mimic your live site settings:
- Set up your product catalog, pricing plans, and billing configurations as you would on your live site.
- Use Chargebee's "Time Machine" feature to simulate different billing scenarios and test your integration thoroughly.
With your Chargebee test account and API key ready, you're all set to start making API calls to create or update customer records using PHP.

sbb-itb-96038d7
Making API Calls to Create or Update Customers with Chargebee API in PHP
To interact with the Chargebee API using PHP, you'll need to ensure your environment is set up correctly. This section will guide you through the necessary steps, including setting up PHP, installing required dependencies, and writing the code to create or update customer records.
Setting Up Your PHP Environment for Chargebee API Integration
Before making API calls, ensure you have the following prerequisites:
- PHP 7.4 or higher installed on your machine.
- Composer, the PHP package manager, for managing dependencies.
To install Composer, follow the instructions on the Composer download page.
Installing Required PHP Libraries for Chargebee API
You'll need the guzzlehttp/guzzle library to handle HTTP requests. Install it using Composer:
composer require guzzlehttp/guzzleWriting PHP Code to Create or Update Customers in Chargebee
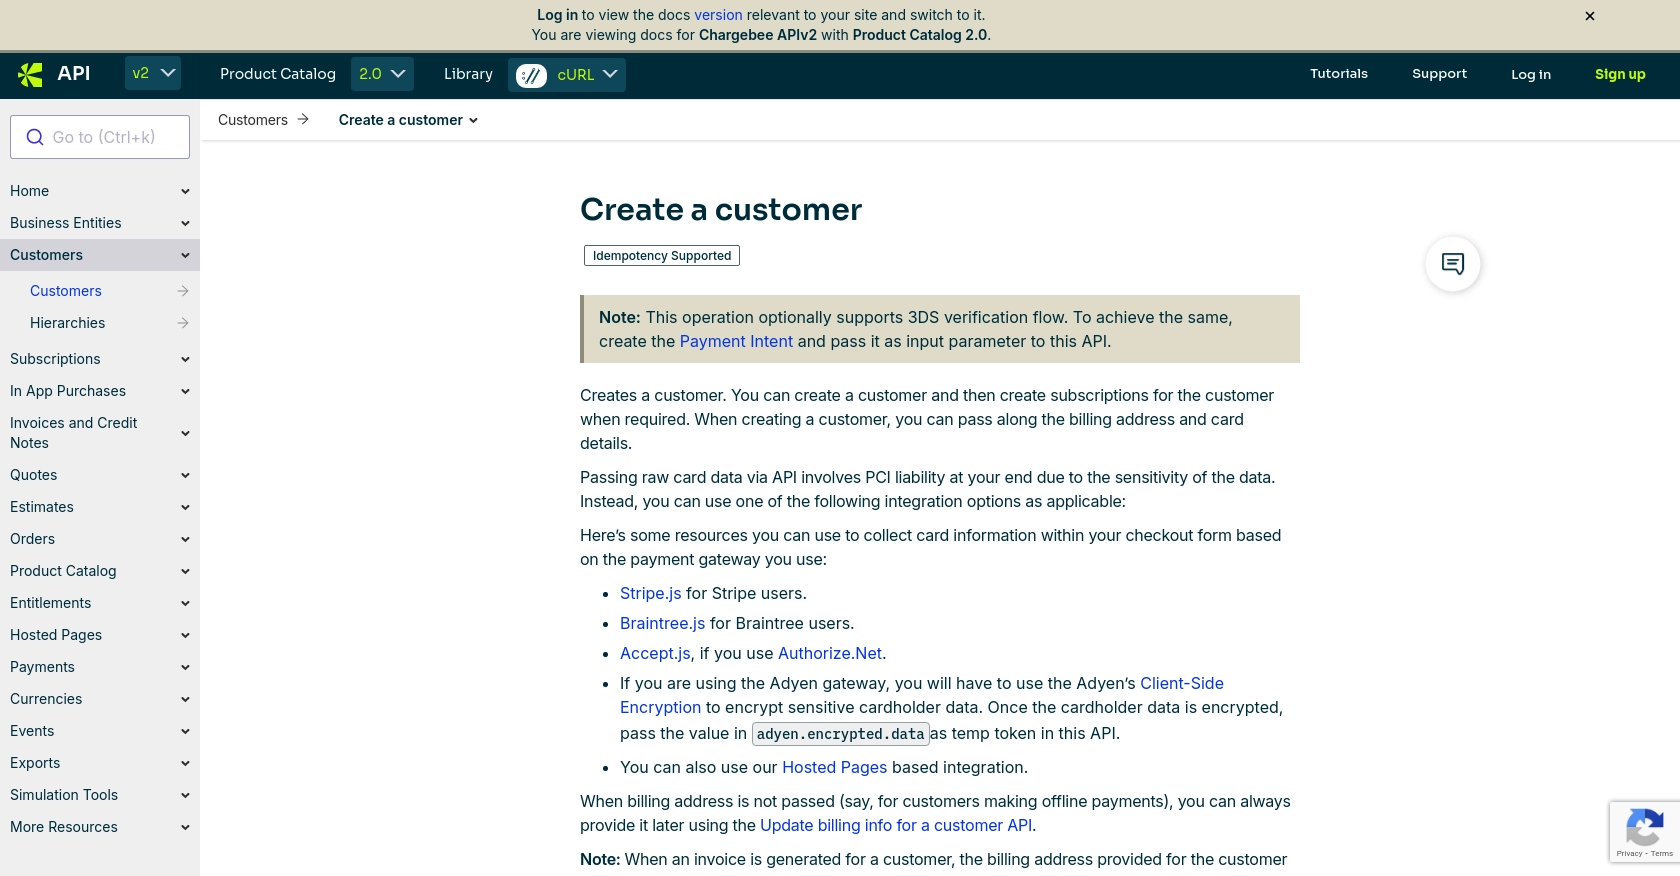
With your environment ready, you can now write the PHP code to interact with the Chargebee API. Below is an example of how to create or update a customer:
require 'vendor/autoload.php';

use GuzzleHttp\Client;

$client = new Client();

$apiKey = 'your_api_key_here';
$site = 'your_site_here';

$response = $client->request('POST', "https://{$site}.chargebee.com/api/v2/customers", [
    'auth' => [$apiKey, ''],
    'form_params' => [
        'first_name' => 'John',
        'last_name' => 'Doe',
        'email' => 'john.doe@example.com',
        'locale' => 'en-US',
        'billing_address' => [
            'first_name' => 'John',
            'last_name' => 'Doe',
            'line1' => '123 Main St',
            'city' => 'Anytown',
            'state' => 'CA',
            'zip' => '12345',
            'country' => 'US'
        ]
    ]
]);

$data = json_decode($response->getBody(), true);

echo "Customer ID: " . $data['customer']['id'];
Replace your_api_key_here and your_site_here with your actual Chargebee API key and site name.
Verifying Successful API Requests in Chargebee Sandbox
After running the code, check your Chargebee sandbox account to verify the customer record was created or updated successfully. Navigate to the "Customers" section in the Chargebee dashboard to view the changes.
Handling Errors and Chargebee API Error Codes
Chargebee API uses standard HTTP status codes to indicate success or failure. Here are some common error codes:
- 400 Bad Request: The request was invalid or cannot be served.
- 401 Unauthorized: Authentication failed or user does not have permissions for the requested operation.
- 404 Not Found: The requested resource could not be found.
- 429 Too Many Requests: Rate limit exceeded. Retry after some time.
For more detailed error handling, refer to the Chargebee API error handling documentation.

Best Practices for Using Chargebee API in PHP
When integrating with the Chargebee API, it's essential to follow best practices to ensure security, efficiency, and reliability. Here are some recommendations:
- Securely Store API Keys: Never hardcode API keys in your source code. Use environment variables or secure vaults to store sensitive information.
- Handle Rate Limits: Chargebee imposes rate limits on API requests. Implement exponential backoff strategies to handle HTTP 429 errors gracefully. For more details, refer to the Chargebee API rate limits documentation.
- Validate Data Before Sending: Ensure that all data sent to the API is validated and sanitized to prevent errors and security vulnerabilities.
- Use Idempotency Keys: For operations that can be retried, use idempotency keys to prevent duplicate actions.
- Monitor API Usage: Regularly monitor your API usage and logs to detect any anomalies or unauthorized access.
Enhance Your Integration with Endgrate
While integrating with Chargebee's API can streamline your subscription management processes, managing multiple integrations can be complex and time-consuming. This is where Endgrate can help.
Endgrate provides a unified API that simplifies integration with multiple platforms, including Chargebee. By using Endgrate, you can:
- Save Time and Resources: Focus on your core product by outsourcing integration management to Endgrate.
- Build Once, Use Everywhere: Develop a single integration for each use case and apply it across different platforms.
- Improve Customer Experience: Offer an intuitive and seamless integration experience for your customers.
Explore how Endgrate can enhance your integration strategy by visiting Endgrate's website.
Read More
Ready to get started?
