Using the Clickup API to Create Task (with Python examples)
Introduction to ClickUp API
ClickUp is a versatile project management tool that offers a wide range of features to help teams organize tasks, manage workflows, and enhance productivity. Its flexibility and robust functionality make it a popular choice for businesses looking to streamline their operations.
Developers might want to integrate with the ClickUp API to automate task management processes, such as creating tasks programmatically. For example, a developer could use the ClickUp API to automatically generate tasks based on incoming support tickets, ensuring that no customer request goes unnoticed.
Setting Up a ClickUp Test or Sandbox Account
Before you can start using the ClickUp API to create tasks, you'll need to set up a test or sandbox account. This allows you to safely experiment with API calls without affecting your live data.
Creating a ClickUp Account
If you don't already have a ClickUp account, you can sign up for a free account on the ClickUp website. Follow the instructions to create your account and log in.
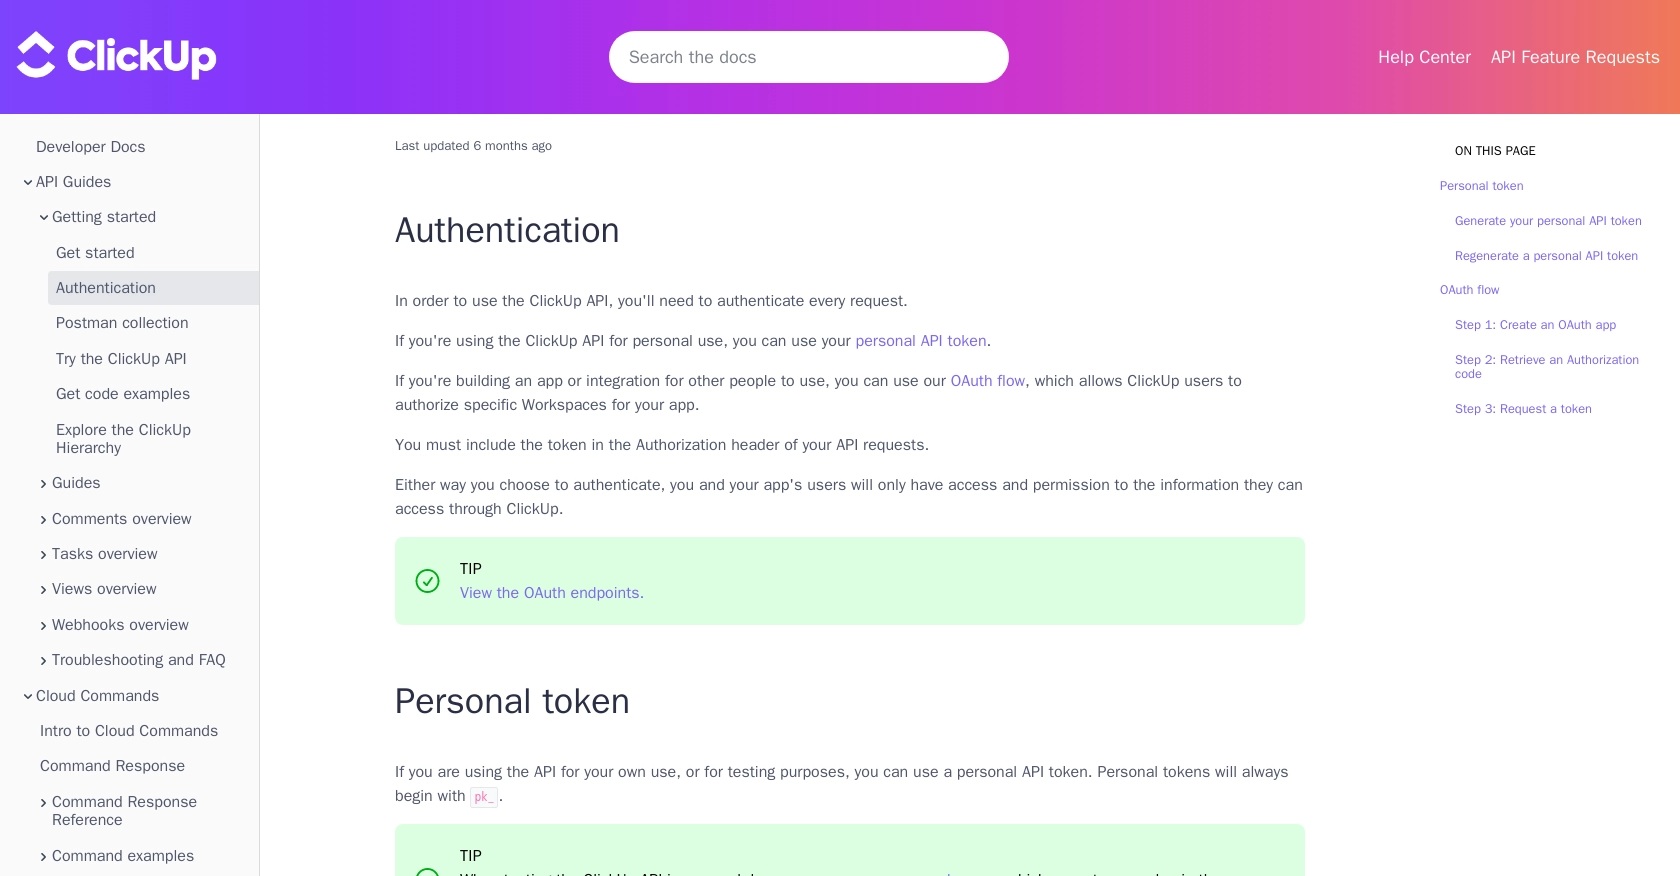
Generating a Personal API Token in ClickUp
For personal use or testing, you can use a personal API token. Follow these steps to generate one:
- Log into your ClickUp account.
- In ClickUp 3.0, click your avatar in the upper-right corner and select Settings.
- Scroll down and click Apps in the sidebar.
- Under API Token, click Generate.
- Copy and save your personal API token for later use.
Remember, personal tokens will always begin with pk_.
Setting Up OAuth for ClickUp API
If you're developing an application for others, you'll need to use the OAuth flow:
- Log into ClickUp and click your avatar in the lower-left corner.
- Select Integrations and then click ClickUp API.
- Click Create an App and provide a name and redirect URL for your app.
- Once created, you'll receive a
client_idandsecret.
Use these credentials to authenticate users and access their ClickUp resources.
For more details, refer to the ClickUp Authentication Documentation.
sbb-itb-96038d7
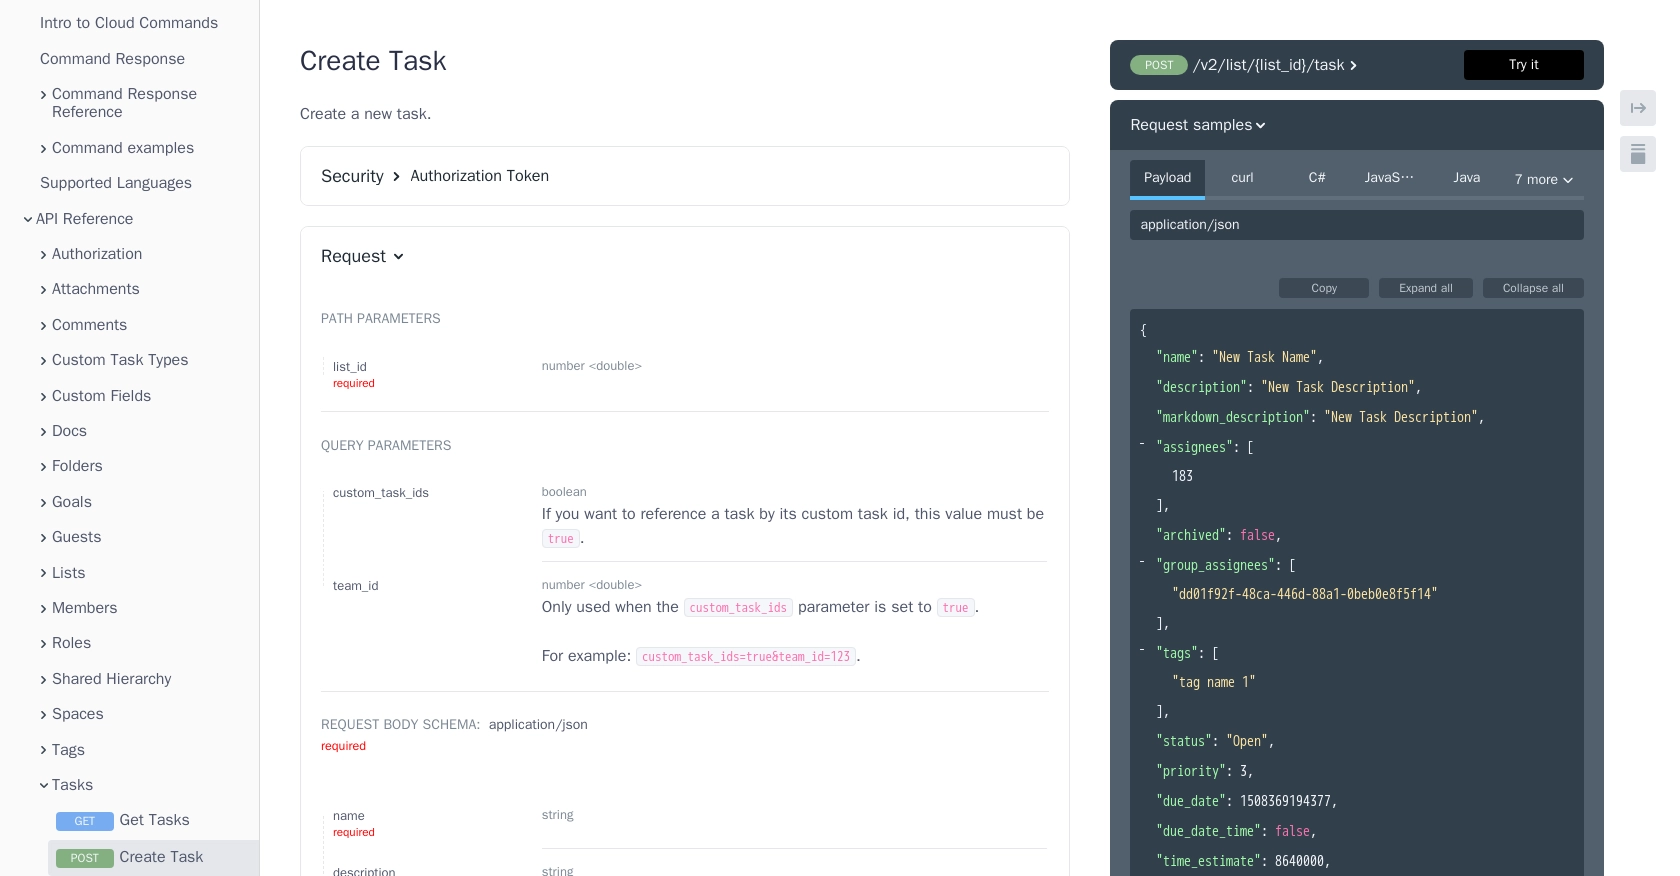
How to Make the ClickUp API Call to Create a Task Using Python
To interact with the ClickUp API and create tasks programmatically, you'll need to use Python. This section will guide you through the necessary steps, including setting up your environment, writing the code, and handling potential errors.
Setting Up Your Python Environment for ClickUp API
Before making API calls, ensure you have Python installed on your machine. This tutorial uses Python 3.11.1. Additionally, you'll need the requests library to handle HTTP requests. Install it using the following command:
pip install requestsWriting Python Code to Create a Task in ClickUp
Once your environment is ready, you can write the Python script to create a task in ClickUp. Here's a step-by-step guide:
import requests

# Define the API endpoint and headers
list_id = "your_list_id"  # Replace with your actual list ID
url = f"https://api.clickup.com/api/v2/list/{list_id}/task"
headers = {
    "Authorization": "Bearer Your_Token",  # Replace with your actual token
    "Content-Type": "application/json"
}

# Define the task data
task_data = {
    "name": "New Task Name",
    "description": "New Task Description",
    "assignees": [183],  # Replace with actual assignee IDs
    "status": "Open",
    "priority": 3
}

# Make the POST request to create the task
response = requests.post(url, json=task_data, headers=headers)

# Check the response status
if response.status_code == 200:
    print("Task Created Successfully:", response.json())
else:
    print("Failed to Create Task:", response.status_code, response.text)
Replace Your_Token with your personal API token or OAuth token, and your_list_id with the ID of the list where you want to create the task. The assignees field should contain the IDs of the users you want to assign the task to.
Verifying the Task Creation in ClickUp
After running the script, you should see a confirmation message if the task is created successfully. You can verify this by checking the specified list in your ClickUp account to see if the new task appears.
Handling Errors and Common Issues with ClickUp API
If the request fails, the script will print the status code and error message. Common issues include:
- 401 Unauthorized: Check if your API token is correct and has the necessary permissions.
- 404 Not Found: Ensure the list ID is correct.
- 400 Bad Request: Verify that the JSON payload is correctly formatted.
For more detailed error handling, refer to the ClickUp API documentation.
Best Practices for Using ClickUp API in Python
When working with the ClickUp API, it's essential to follow best practices to ensure efficient and secure integration. Here are some recommendations:
- Secure Storage of API Credentials: Always store your API tokens and OAuth credentials securely. Avoid hardcoding them in your scripts. Use environment variables or secure vaults to manage sensitive information.
- Handle Rate Limiting: ClickUp may impose rate limits on API requests. Implement retry logic with exponential backoff to handle rate limit errors gracefully. Check the API documentation for specific rate limit details.
- Data Validation and Error Handling: Validate data before sending it to the API to prevent errors. Implement comprehensive error handling to manage different HTTP status codes and error messages effectively.
- Optimize API Calls: Minimize the number of API calls by batching requests when possible. This reduces latency and improves performance.
- Keep API Documentation Handy: Regularly refer to the ClickUp API documentation for updates and detailed information on API endpoints and parameters.
Streamline Your Integrations with Endgrate
Building and maintaining integrations can be time-consuming and complex. With Endgrate, you can simplify this process by leveraging a unified API endpoint that connects to multiple platforms, including ClickUp. This allows you to focus on your core product while Endgrate handles the intricacies of integration.
Endgrate's intuitive platform enables you to build once for each use case, reducing the need for multiple integrations. Save time and resources by outsourcing your integration needs and providing a seamless experience for your customers.
Explore how Endgrate can enhance your integration strategy by visiting Endgrate today.
Read More

Ready to get started?
