Using the Pipedrive API to Create or Update Products in Javascript
Introduction to Pipedrive API for Product Management
Pipedrive is a powerful sales CRM platform designed to help businesses manage their sales processes more effectively. With its intuitive interface and robust features, Pipedrive enables sales teams to track leads, manage deals, and optimize their sales pipelines.
For developers, integrating with Pipedrive's API offers the opportunity to automate and enhance sales operations. By leveraging the Pipedrive API, developers can create or update products within the CRM, streamlining inventory management and ensuring that sales teams have access to the most up-to-date product information.
Consider a scenario where a developer needs to update product details in Pipedrive whenever there is a change in the inventory system. This integration can help maintain consistency across platforms, reducing manual data entry and minimizing errors.
Setting Up Your Pipedrive Developer Sandbox Account
Before you begin integrating with the Pipedrive API, it's essential to set up a developer sandbox account. This environment allows you to test and develop your application without affecting live data, ensuring a risk-free development process.
Creating a Pipedrive Developer Sandbox Account
To create a sandbox account, follow these steps:
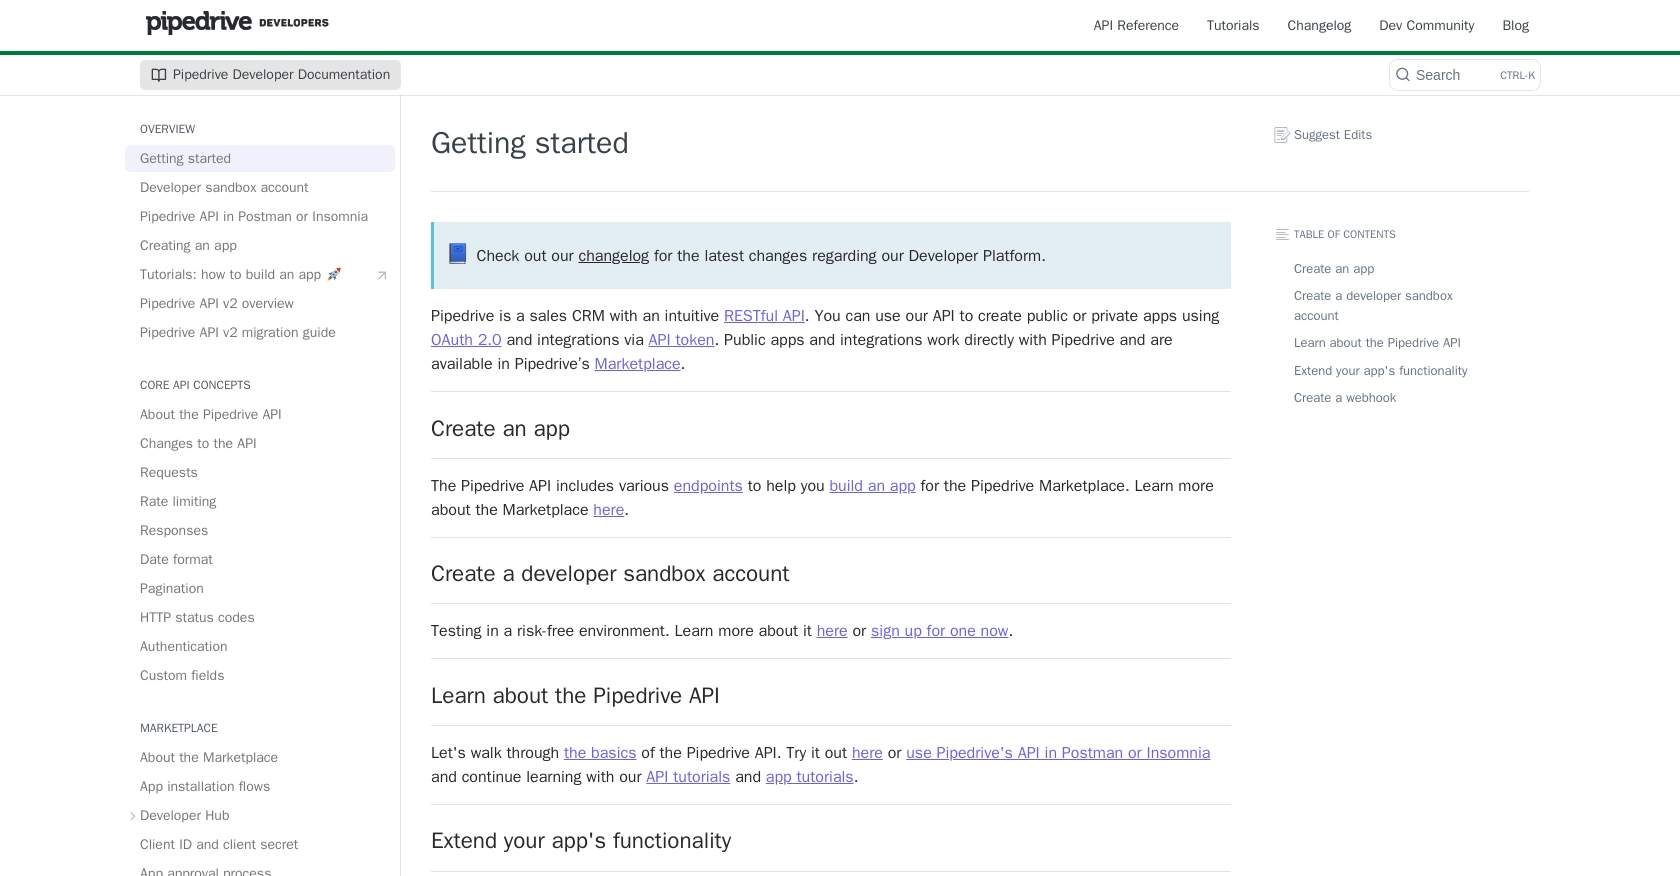
- Visit the Pipedrive Developer Sandbox Account page.
- Fill out the required form to request access to a sandbox account.
- Once your request is approved, you'll receive credentials to access your sandbox environment.
The sandbox account functions like a regular Pipedrive account, providing a safe space to build and test your integration.
Generating OAuth Credentials for Pipedrive API
Pipedrive uses OAuth 2.0 for authentication, which requires creating an app to obtain the necessary credentials. Follow these steps to set up OAuth:
- Log in to your Pipedrive Developer Hub.
- Navigate to the "Apps" section and click on "Create an App."
- Fill in the app details, including the name and description.
- Under "OAuth & Permissions," note down the Client ID and Client Secret. These will be used to authenticate API requests.
- Set the necessary scopes and permissions for your app to interact with products.
- Save your app settings.
Ensure you securely store your Client ID and Client Secret, as they are crucial for authenticating your API calls.
Importing Sample Data into Pipedrive Sandbox
To simulate real-world scenarios, you can import sample data into your sandbox account:
- Log in to your sandbox account.
- Go to the "..." (More) menu and select "Import Data."
- Choose "From a spreadsheet" and upload your sample data file.
- Follow the prompts to map your data fields and complete the import process.
This sample data will help you test your API interactions effectively.
sbb-itb-96038d7
Making API Calls to Pipedrive for Product Management Using JavaScript
To interact with the Pipedrive API for creating or updating products, you'll need to use JavaScript to make HTTP requests. This section will guide you through setting up your environment, writing the code, and handling responses effectively.
Setting Up Your JavaScript Environment for Pipedrive API
Before making API calls, ensure you have Node.js installed on your machine. Node.js provides the runtime environment needed to execute JavaScript outside of a browser.
- Download and install Node.js from the official website.
- Verify the installation by running
node -vandnpm -vin your terminal. - Create a new project directory and navigate into it.
- Initialize a new Node.js project by running
npm init -y. - Install the
axioslibrary for making HTTP requests usingnpm install axios.
Writing JavaScript Code to Create or Update Products in Pipedrive
With your environment set up, you can now write the JavaScript code to interact with the Pipedrive API. Below is an example of how to create a new product:
const axios = require('axios');

// Set your Pipedrive API credentials
const clientId = 'Your_Client_ID';
const clientSecret = 'Your_Client_Secret';
const accessToken = 'Your_Access_Token';

// Define the API endpoint for creating a product
const endpoint = 'https://api.pipedrive.com/v1/products';

// Define the product data
const productData = {
    name: 'New Product',
    code: 'NP001',
    description: 'A new product description',
    unit: 'piece',
    tax: 20
};

// Function to create a product
async function createProduct() {
    try {
        const response = await axios.post(endpoint, productData, {
            headers: {
                'Authorization': `Bearer ${accessToken}`,
                'Content-Type': 'application/json'
            }
        });
        console.log('Product Created:', response.data);
    } catch (error) {
        console.error('Error creating product:', error.response.data);
    }
}

createProduct();
Replace Your_Client_ID, Your_Client_Secret, and Your_Access_Token with your actual Pipedrive OAuth credentials.
Handling API Responses and Errors in Pipedrive
After making an API call, it's crucial to handle the response and any potential errors. The example above logs the response data to the console, which includes the details of the created product. If an error occurs, it logs the error message.
Common HTTP status codes to handle include:
- 200 OK: The request was successful.
- 201 Created: A new resource was successfully created.
- 400 Bad Request: The request was invalid or cannot be served.
- 401 Unauthorized: Authentication failed.
- 429 Too Many Requests: Rate limit exceeded. Refer to the Pipedrive rate limiting documentation for more details.
Verifying API Requests in Pipedrive Sandbox
To ensure your API requests are successful, verify the changes in your Pipedrive sandbox account:
- Log in to your Pipedrive sandbox account.
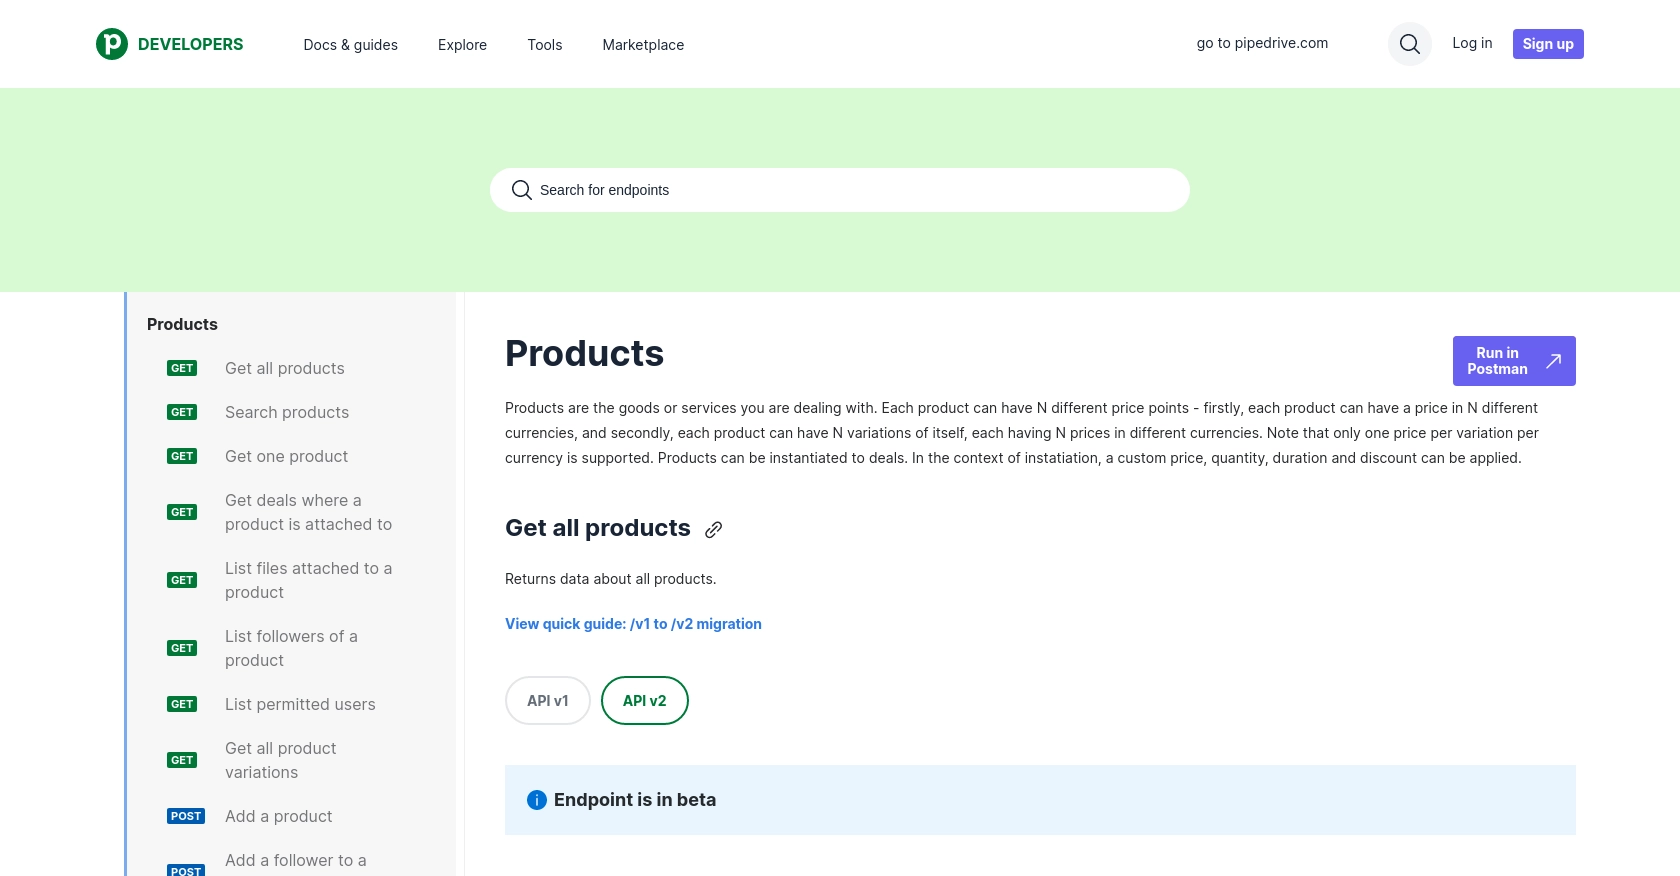
- Navigate to the "Products" section to see the newly created or updated product.
- Check that all product details match the data sent in your API request.
By following these steps, you can efficiently manage products in Pipedrive using JavaScript, ensuring seamless integration and data consistency across platforms.
Conclusion and Best Practices for Using Pipedrive API with JavaScript
Integrating with the Pipedrive API using JavaScript offers a powerful way to automate and enhance your sales operations. By creating or updating products programmatically, you can ensure that your sales team always has access to the most current product information, reducing manual errors and improving efficiency.
Best Practices for Secure and Efficient Pipedrive API Integration
- Securely Store Credentials: Always keep your OAuth credentials, such as the Client ID and Client Secret, secure. Consider using environment variables or secure vaults to store sensitive information.
- Handle Rate Limiting: Be mindful of Pipedrive's rate limits, which allow up to 80 requests per 2 seconds per access token for the Essential plan. Implement error handling for HTTP 429 status codes and consider using webhooks to reduce unnecessary API calls. For more details, refer to the Pipedrive rate limiting documentation.
- Data Consistency: Regularly verify that the data in your Pipedrive account matches your source systems to maintain consistency and accuracy across platforms.
- Optimize API Calls: Use batch processing and pagination to efficiently handle large datasets and minimize the number of API requests.
Leverage Endgrate for Seamless Integration Management
For developers looking to streamline their integration processes, Endgrate offers a unified API solution that simplifies connecting with multiple platforms, including Pipedrive. By using Endgrate, you can save time and resources, allowing you to focus on your core product development while ensuring a seamless integration experience for your customers.
Explore how Endgrate can enhance your integration strategy by visiting Endgrate and discover the benefits of a single API endpoint for all your integration needs.
Read More
- https://endgrate.com/provider/pipedrive
- https://pipedrive.readme.io/docs/getting-started
- https://pipedrive.readme.io/docs/developer-sandbox-account
- https://pipedrive.readme.io/docs/marketplace-creating-a-proper-app
- https://pipedrive.readme.io/docs/core-api-concepts-rate-limiting
- https://pipedrive.readme.io/docs/core-api-concepts-pagination
- https://pipedrive.readme.io/docs/core-api-concepts-http-status-codes
- https://pipedrive.readme.io/docs/core-api-concepts-custom-fields
- https://developers.pipedrive.com/docs/api/v1/Products
- https://developers.pipedrive.com/docs/api/v1/ProductFields

Ready to get started?
