Using the Quickbooks API to Create or Update Accounts (with PHP examples)
Introduction to QuickBooks API Integration
QuickBooks is a widely-used accounting software that offers comprehensive solutions for managing finances, invoicing, payroll, and more for businesses of all sizes. Its robust platform allows businesses to streamline their financial operations and maintain accurate records with ease.
Integrating with QuickBooks API can significantly enhance a developer's ability to automate accounting tasks, such as creating or updating accounts programmatically. For example, a developer might use the QuickBooks API to automatically update account details from an external system, ensuring that financial data remains consistent and up-to-date across platforms.
Setting Up Your QuickBooks Test/Sandbox Account
Before diving into the integration process, it's essential to set up a QuickBooks sandbox account. This environment allows developers to test API interactions without affecting live data, ensuring a smooth development experience.
Creating a QuickBooks Developer Account
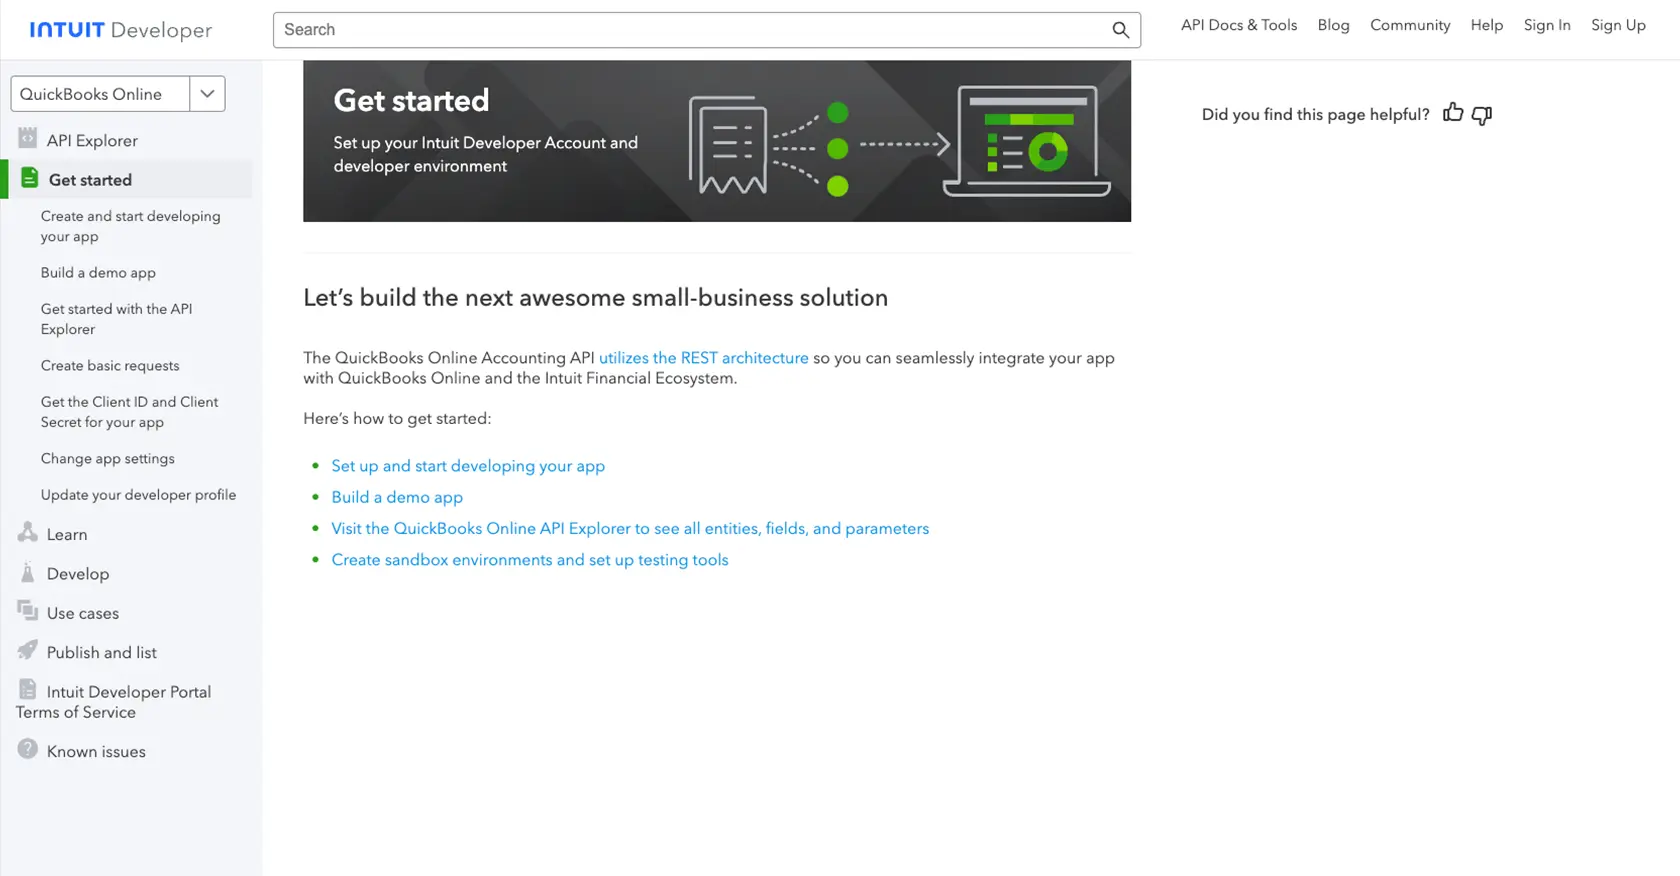
To begin, you'll need a QuickBooks Developer account. Follow these steps to create one:
- Visit the QuickBooks Developer Portal.
- Click on "Sign Up" and fill in the required information to create your account.
- Once registered, log in to your developer account.
Setting Up a QuickBooks Sandbox Company
After creating your developer account, set up a sandbox company to test your API calls:
- Navigate to the "Dashboard" in your QuickBooks Developer account.
- Select "Sandbox" from the menu and click on "Add Sandbox Company."
- Follow the prompts to create a new sandbox company, which will mimic a real QuickBooks environment.
Creating an App for OAuth Authentication
QuickBooks API uses OAuth 2.0 for authentication. You'll need to create an app to obtain the necessary credentials:
- In your QuickBooks Developer account, go to the "My Apps" section.
- Click on "Create an App" and choose "QuickBooks Online and Payments."
- Fill in the app details, such as name and description.
- Once the app is created, navigate to the "Keys & OAuth" tab to find your Client ID and Client Secret.
Ensure you save these credentials securely, as they are required for authenticating API requests.
Configuring OAuth Redirect URIs
To complete the OAuth setup, configure the redirect URIs:
- In the "Keys & OAuth" tab, scroll down to "Redirect URIs."
- Add the URI where users will be redirected after authentication. This is typically your application's URL.
- Save the changes to update your app settings.
With your sandbox account and app set up, you're ready to start making API calls to QuickBooks. For more detailed information, refer to the official QuickBooks documentation.
sbb-itb-96038d7
Making API Calls to QuickBooks for Account Management Using PHP
With your QuickBooks sandbox and app set up, you can now proceed to make API calls to create or update accounts. This section will guide you through the process using PHP, a popular server-side scripting language known for its ease of use and flexibility.
Prerequisites for PHP Integration with QuickBooks API
Before you begin, ensure you have the following installed on your development environment:
- PHP 7.4 or later
- Composer, the PHP package manager
Additionally, you'll need to install the Guzzle HTTP client, which simplifies making HTTP requests in PHP. You can install it using Composer with the following command:
composer require guzzlehttp/guzzleAuthenticating with QuickBooks API Using OAuth 2.0
To interact with the QuickBooks API, you'll need to authenticate using OAuth 2.0. Here's how you can set up the authentication process in PHP:
require 'vendor/autoload.php';

use GuzzleHttp\Client;

$client = new Client();
$response = $client->post('https://oauth.platform.intuit.com/oauth2/v1/tokens/bearer', [
    'auth' => [YOUR_CLIENT_ID, YOUR_CLIENT_SECRET],
    'form_params' => [
        'grant_type' => 'authorization_code',
        'code' => YOUR_AUTHORIZATION_CODE,
        'redirect_uri' => YOUR_REDIRECT_URI
    ]
]);

$accessToken = json_decode($response->getBody(), true)['access_token'];
Replace YOUR_CLIENT_ID, YOUR_CLIENT_SECRET, YOUR_AUTHORIZATION_CODE, and YOUR_REDIRECT_URI with your actual credentials and redirect URI. This code retrieves an access token, which you'll use in subsequent API calls.
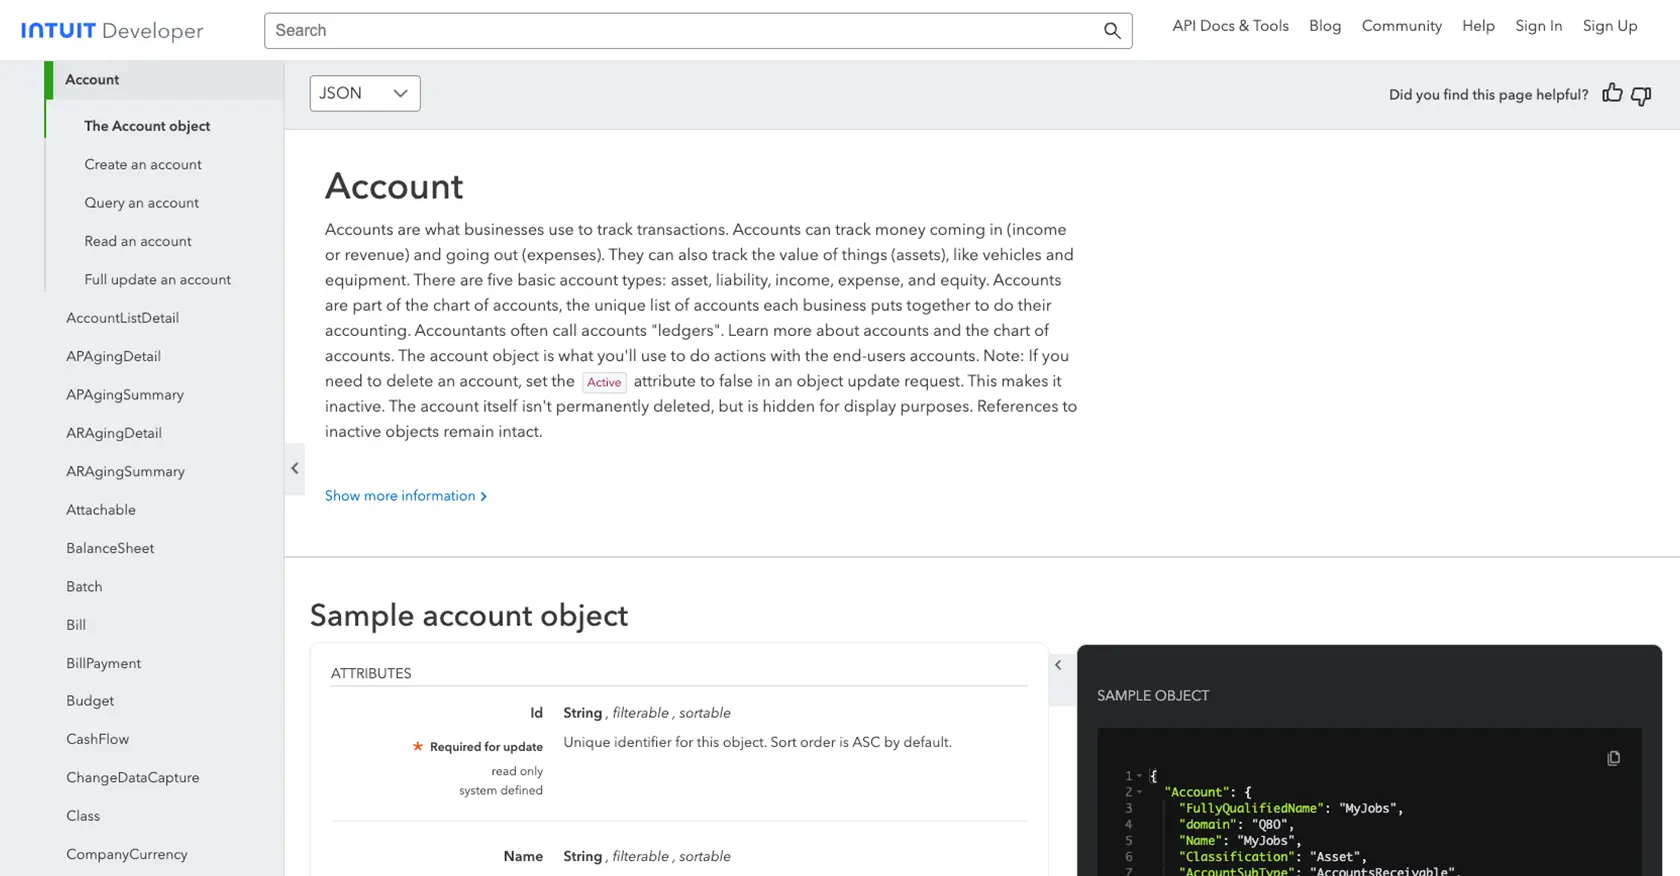
Creating or Updating Accounts in QuickBooks Using PHP
Once authenticated, you can create or update accounts in QuickBooks. Here's an example of how to create an account:
$response = $client->post('https://sandbox-quickbooks.api.intuit.com/v3/company/YOUR_COMPANY_ID/account', [
    'headers' => [
        'Authorization' => 'Bearer ' . $accessToken,
        'Content-Type' => 'application/json',
        'Accept' => 'application/json'
    ],
    'json' => [
        'Name' => 'New Account',
        'AccountType' => 'Bank'
    ]
]);

if ($response->getStatusCode() == 200) {
    echo "Account created successfully.";
} else {
    echo "Failed to create account.";
}
Replace YOUR_COMPANY_ID with your QuickBooks company ID. This code sends a POST request to create a new account with the specified name and type. You can modify the JSON payload to update an existing account by including the account ID and other fields you wish to change.
Handling Errors and Verifying API Requests
It's crucial to handle errors gracefully and verify that your API requests succeed. QuickBooks API provides detailed error codes and messages that you can use to troubleshoot issues. Check the response status code and body to identify any errors:
if ($response->getStatusCode() != 200) {
    $error = json_decode($response->getBody(), true);
    echo "Error: " . $error['Fault']['Error'][0]['Message'];
}
Verify the success of your requests by checking the QuickBooks sandbox environment to ensure that the accounts are created or updated as expected. For more information on error handling, refer to the QuickBooks API documentation.
Conclusion and Best Practices for QuickBooks API Integration
Integrating with the QuickBooks API using PHP provides a powerful way to automate and streamline accounting processes. By following the steps outlined in this guide, developers can efficiently create or update accounts within QuickBooks, ensuring that financial data remains consistent and accurate across platforms.
Best Practices for Secure and Efficient QuickBooks API Usage
- Securely Store Credentials: Always store your Client ID, Client Secret, and access tokens securely. Consider using environment variables or a secure vault to manage sensitive information.
- Handle Rate Limiting: QuickBooks API enforces rate limits to ensure fair usage. Monitor the response headers for rate limit information and implement exponential backoff strategies to handle retries gracefully.
- Standardize Data Fields: Ensure that data fields are consistent and standardized across your applications to avoid discrepancies and maintain data integrity.
- Monitor API Responses: Regularly check API responses for errors and handle them appropriately. Utilize logging to track and debug any issues that arise during API interactions.
Streamlining Integration Development with Endgrate
While integrating with QuickBooks API can be highly beneficial, managing multiple integrations can become complex and time-consuming. This is where Endgrate can help. By providing a unified API endpoint, Endgrate simplifies the integration process, allowing developers to focus on their core product rather than managing individual integrations.
With Endgrate, you can build once for each use case and leverage an intuitive integration experience for your customers. Save time and resources by outsourcing integrations and ensuring seamless connectivity across platforms.
Explore how Endgrate can enhance your integration strategy by visiting Endgrate's website and discover the benefits of a streamlined integration process.
Read More
- https://endgrate.com/provider/quickbooks
- https://developer.intuit.com/app/developer/qbo/docs/get-started/start-developing-your-app
- https://developer.intuit.com/app/developer/qbo/docs/get-started/get-client-id-and-client-secret
- https://developer.intuit.com/app/developer/qbo/docs/get-started/app-settings
- https://developer.intuit.com/app/developer/qbo/docs/api/accounting/all-entities/account

Ready to get started?
