Using the Quickbooks API to Create Or Update Customers in PHP

Introduction to QuickBooks API Integration
QuickBooks is a widely-used accounting software that offers a comprehensive suite of tools for managing business finances. It is particularly popular among small to medium-sized businesses for its ease of use and robust features, including invoicing, payroll, and expense tracking.
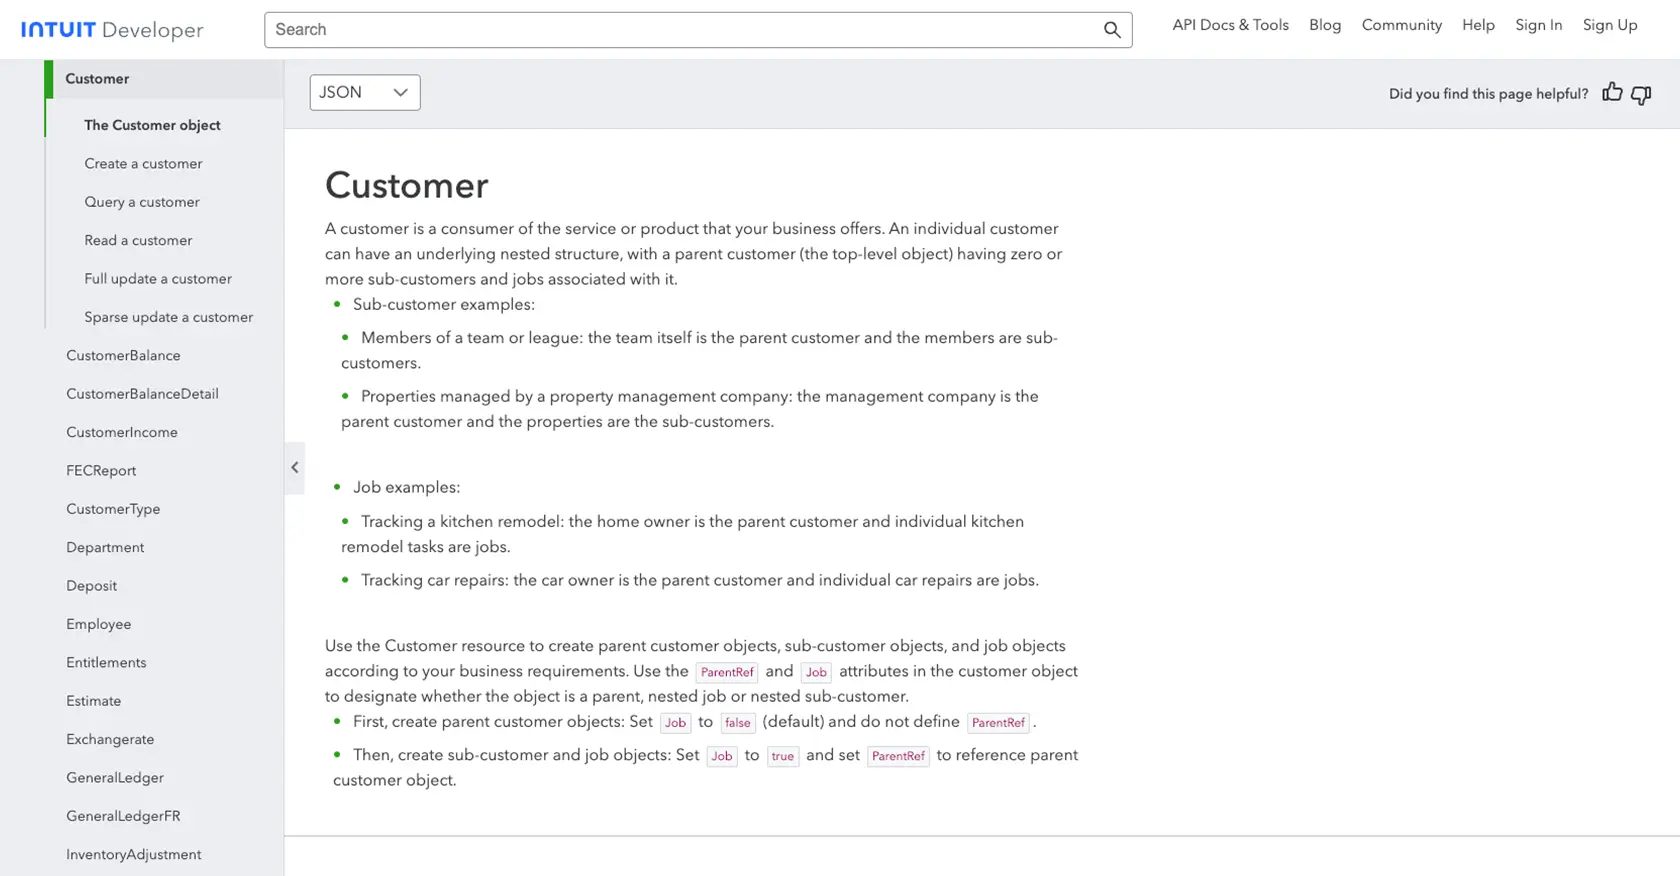
Developers may want to integrate with QuickBooks to streamline financial operations and automate accounting tasks. By leveraging the QuickBooks API, developers can create or update customer records directly from their applications, ensuring that customer information is always up-to-date and accurate.
For example, a developer might use the QuickBooks API to automatically update customer details whenever a change is made in their CRM system, reducing manual data entry and minimizing errors.
Setting Up Your QuickBooks Sandbox Account for API Integration
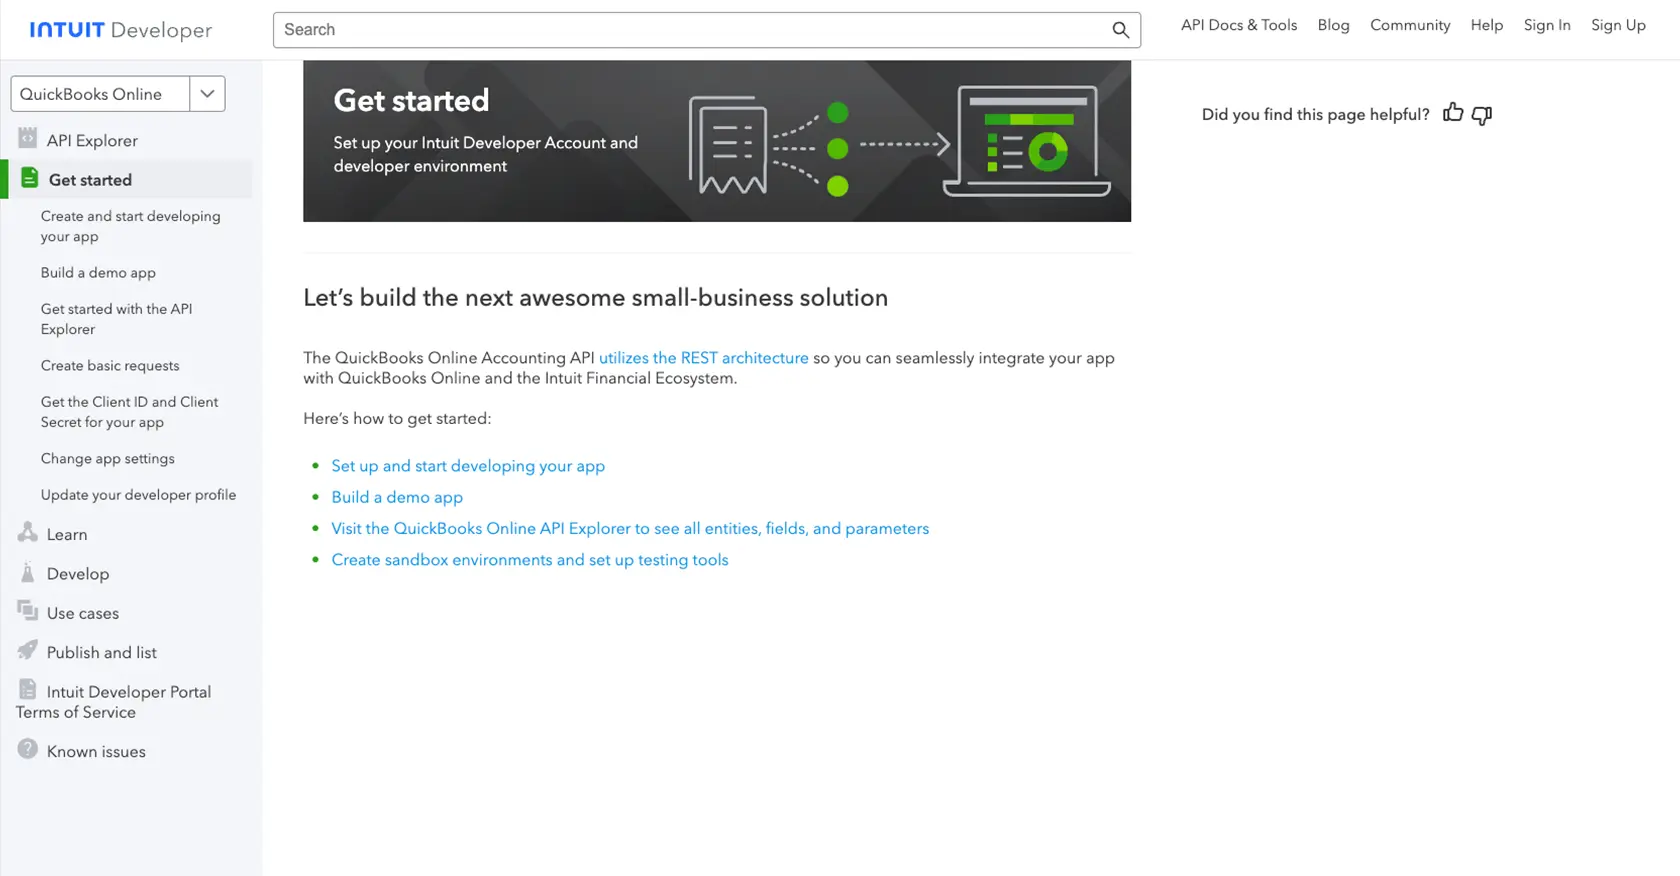
Before you can start integrating with the QuickBooks API, you'll need to set up a sandbox account. This allows you to test your application without affecting real data. QuickBooks provides a sandbox environment specifically for developers to experiment and ensure their integrations work as expected.
Creating a QuickBooks Developer Account
To begin, you'll need a QuickBooks Developer account. Follow these steps to create one:
- Visit the QuickBooks Developer Portal.
- Click on "Sign Up" and fill in the required information to create your account.
- Once registered, log in to your QuickBooks Developer account.
Setting Up a QuickBooks Sandbox Company
After creating your developer account, you can set up a sandbox company to test your API interactions:
- Navigate to the "Dashboard" in your QuickBooks Developer account.
- Select "Sandbox" from the menu and click on "Add a Sandbox Company."
- Follow the prompts to create a new sandbox company. This will simulate a real QuickBooks environment for testing purposes.
Creating an App for OAuth Authentication
QuickBooks uses OAuth 2.0 for authentication. You'll need to create an app to obtain the necessary credentials:
- In your QuickBooks Developer account, go to the "My Apps" section.
- Click on "Create an App" and choose "QuickBooks Online and Payments."
- Fill in the required details for your app, such as name and description.
- Once your app is created, navigate to the "Keys & OAuth" section to find your Client ID and Client Secret.
These credentials will be used to authenticate API requests. Ensure you keep them secure and do not share them publicly.
Configuring OAuth 2.0 for API Access
To enable OAuth 2.0 authentication, follow these steps:
- In the "Keys & OAuth" section of your app, set the redirect URI to a valid endpoint in your application.
- Use the Client ID and Client Secret to generate an access token. This token will be used to authenticate your API requests.
- Refer to the QuickBooks OAuth 2.0 documentation for detailed instructions on generating and refreshing access tokens.
With your sandbox account and OAuth credentials set up, you're ready to start making API calls to QuickBooks. This setup ensures you can safely test your integration without impacting live data.

sbb-itb-96038d7
Making API Calls to QuickBooks for Customer Management in PHP
With your QuickBooks sandbox and OAuth credentials ready, you can now proceed to make API calls to create or update customer records. This section will guide you through the process using PHP, a popular server-side scripting language known for its ease of use and flexibility.
Prerequisites for QuickBooks API Integration with PHP
Before diving into the code, ensure you have the following prerequisites installed on your development environment:
- PHP 7.4 or later
- Composer, the PHP package manager
Additionally, you'll need to install the Guzzle HTTP client, which simplifies making HTTP requests in PHP. You can install it using Composer with the following command:
composer require guzzlehttp/guzzleCreating or Updating Customers Using QuickBooks API
To interact with the QuickBooks API, you'll need to make HTTP requests to the appropriate endpoints. Below is an example of how to create or update a customer using PHP and the Guzzle HTTP client.
require 'vendor/autoload.php';

use GuzzleHttp\Client;

// Initialize the Guzzle client
$client = new Client();

// Set the API endpoint and headers
$endpoint = 'https://sandbox-quickbooks.api.intuit.com/v3/company/YOUR_COMPANY_ID/customer';
$headers = [
    'Authorization' => 'Bearer YOUR_ACCESS_TOKEN',
    'Content-Type' => 'application/json',
    'Accept' => 'application/json'
];

// Define the customer data
$customerData = [
    'DisplayName' => 'John Doe',
    'PrimaryEmailAddr' => [
        'Address' => 'johndoe@example.com'
    ]
];

// Make a POST request to create a new customer
$response = $client->post($endpoint, [
    'headers' => $headers,
    'json' => $customerData
]);

// Check the response status
if ($response->getStatusCode() == 200) {
    echo "Customer created or updated successfully.";
} else {
    echo "Failed to create or update customer.";
}
Replace YOUR_COMPANY_ID and YOUR_ACCESS_TOKEN with your actual QuickBooks company ID and access token. The above code demonstrates how to send a POST request to the QuickBooks API to create or update a customer record. The response will indicate whether the operation was successful.
Verifying API Call Success in QuickBooks Sandbox
After executing the API call, you can verify the success of the operation by checking the customer records in your QuickBooks sandbox environment. Log in to your QuickBooks Developer account, navigate to the sandbox company, and view the customer list to ensure the new or updated customer appears as expected.
Handling Errors and QuickBooks API Error Codes
When making API calls, it's crucial to handle potential errors gracefully. QuickBooks API may return various error codes, such as:
- 400 Bad Request: The request was invalid or cannot be served.
- 401 Unauthorized: Authentication failed or user does not have permissions for the requested operation.
- 500 Internal Server Error: An error occurred on the server side.
Refer to the QuickBooks API documentation for a comprehensive list of error codes and their meanings. Implement error handling in your code to manage these scenarios effectively.

Best Practices for QuickBooks API Integration
When integrating with the QuickBooks API, it's essential to follow best practices to ensure a secure and efficient implementation. Here are some key considerations:
- Secure Storage of Credentials: Store your Client ID, Client Secret, and access tokens securely. Avoid hardcoding them in your source code. Use environment variables or secure vaults to manage sensitive information.
- Handle Rate Limiting: QuickBooks API imposes rate limits to prevent abuse. Monitor your API usage and implement retry logic with exponential backoff to handle rate limit errors gracefully. Refer to the QuickBooks API documentation for specific rate limit details.
- Data Transformation and Standardization: Ensure that data fields are transformed and standardized to match QuickBooks' requirements. This minimizes errors and ensures data consistency across systems.
Streamlining Integrations with Endgrate
Building and maintaining integrations can be time-consuming and complex, especially when dealing with multiple platforms. Endgrate offers a solution by providing a unified API endpoint that connects to various platforms, including QuickBooks.
With Endgrate, you can:
- Save Time and Resources: Focus on your core product while outsourcing integration complexities to Endgrate.
- Build Once, Deploy Everywhere: Develop a single integration for each use case and apply it across different platforms.
- Enhance Customer Experience: Provide your customers with a seamless and intuitive integration experience.
Explore how Endgrate can simplify your integration processes by visiting Endgrate's website and discover the benefits of a streamlined integration strategy.
Read More
- https://endgrate.com/provider/quickbooks
- https://developer.intuit.com/app/developer/qbo/docs/get-started/start-developing-your-app
- https://developer.intuit.com/app/developer/qbo/docs/get-started/get-client-id-and-client-secret
- https://developer.intuit.com/app/developer/qbo/docs/get-started/app-settings
- https://developer.intuit.com/app/developer/qbo/docs/api/accounting/all-entities/customer
Ready to get started?
